
The LEMP software stack consists of a group of server-side software that serves dynamic web pages and web applications. It is an acronym representing four separate components: (L) Linux OS, (E) Nginx Web Server, (M) MySQL/MariaDB Database, and (P) PHP Scripting Language.
AlmaLinux, one of the most popular Red Hat Enterprise Linux replacements, is a reliable, secure, and stable Linux distribution, ensuring your server’s seamless operations. Because of these qualities, it is a reasonable and often favored choice of system administrators for Linux-based servers.
This tutorial shows you how to install the LEMP Stack (Nginx, MariaDB, and PHP) on AlmaLinux 9, transforming it into an ultimate server for developing and hosting your web applications. So without further ado, let’s get to work.
Prerequisites
You’ll need access to an AlmaLinux 9 server to complete this guide. In addition, all commands shown are run by a regular user with sudo execution permissions. Therefore, you should own one.
Of course, you can skip the sudo portion of the commands and run them directly as a root user. The result will be the same in both cases.
Furthermore, ensure that your firewall does not block port 80 to the server and port 443 if you plan to use SSL.
sudo firewall-cmd --permanent --add-service={http,https}
sudo firewall-cmd --reload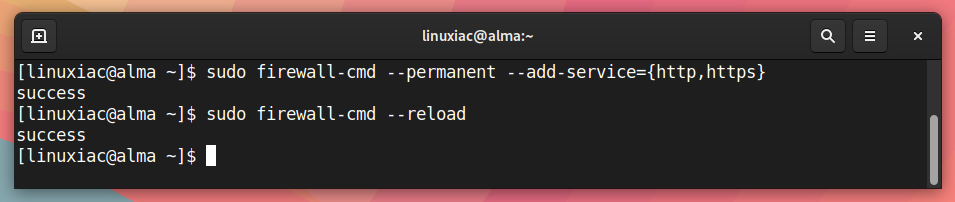
1. Update Software Repositories
First, we will use the DNF command to update the list of available packages. This ensures that only the most recent versions of the packages are used throughout the installation of the LEMP stack on our AlmaLinux 9 system and prevent difficulties.
In addition, make sure the system is fully updated. If packages are waiting to be updated, I advise applying them before moving on.
sudo dnf update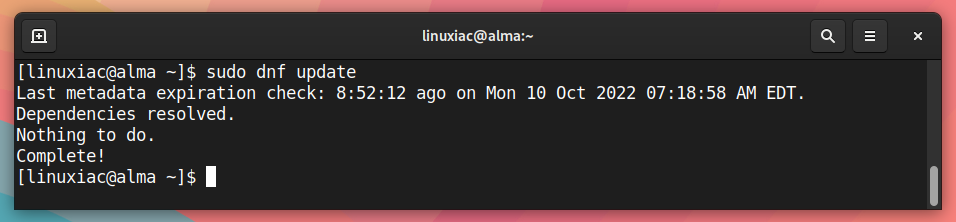
2. Install Nginx Web Server on AlmaLinux 9
The web server enables you to serve content such as web pages to website visitors. This step takes care of the second requirement in the LEMP stack, the Nginx web server.
Use the following commands to install the latest Nginx version on your AlmaLinux 9 server. When prompted, enter “Y” to confirm that you want to install it.
sudo dnf install nginx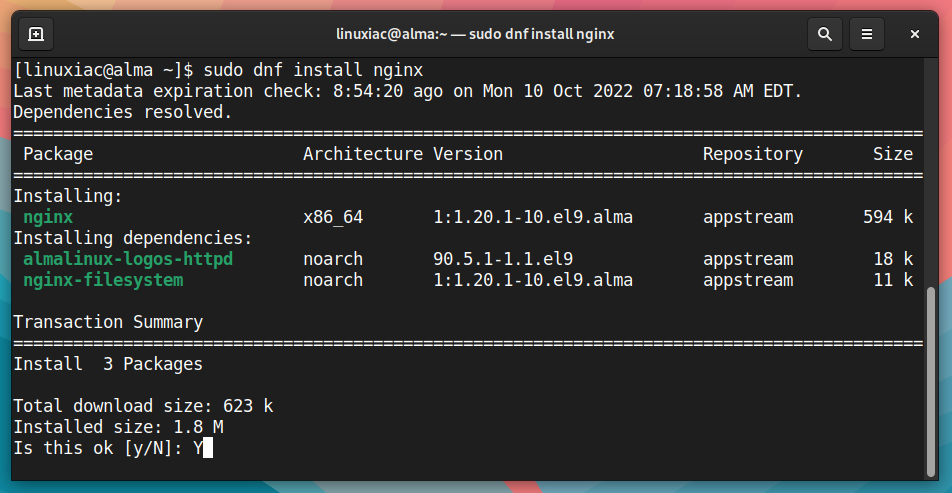
Once the Nginx web server is installed on your AlmaLinux 9 system, please enable it to run at boot time and start the Nginx service.
sudo systemctl enable nginx
sudo systemctl start nginx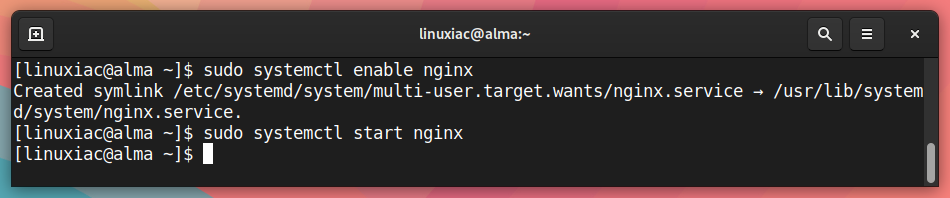
Let’s check now that the Nginx server has been successfully launched.
sudo systemctl status nginx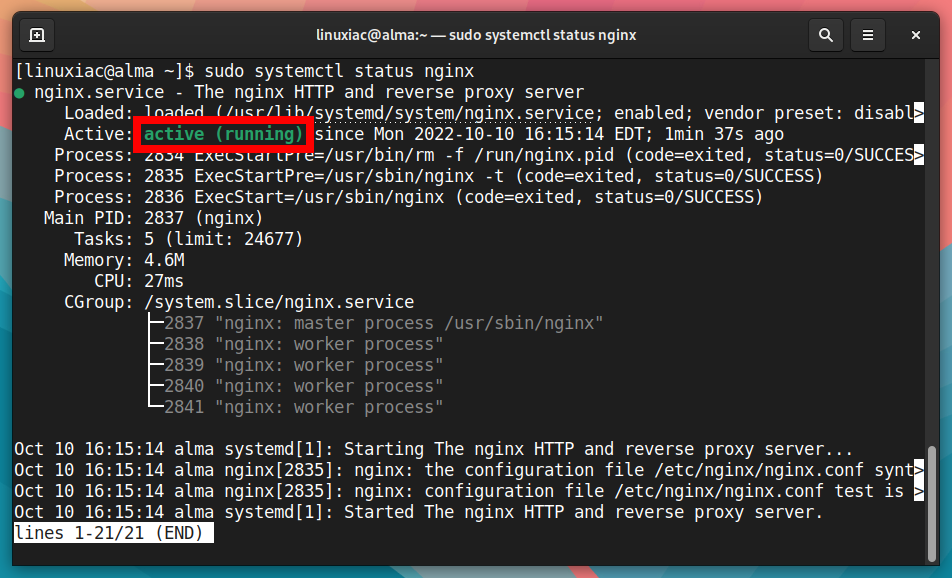
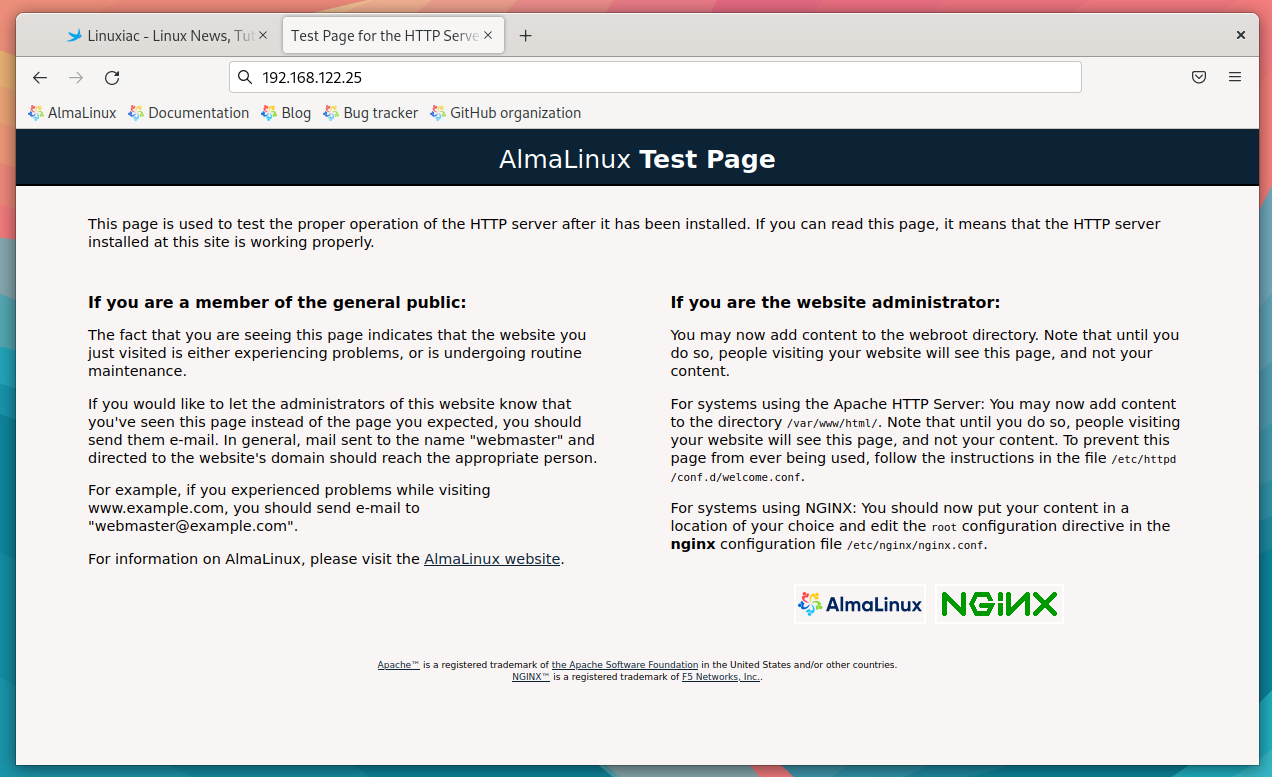
Finally, open a web browser and type the server’s IP address in the address bar. It should display the default AlmaLinux 9 Nginx’s welcome page.
3. Install MariaDB Server on AlmaLinux 9
Now that you have a working web server, you need to install the database server to store and manage data for your website. Instead of MySQL, we’ll be installing MariaDB in this tutorial.
It is an open-source RDBMS (Relational Database Management System), backward compatible, binary drop-in replacement of MySQL. MariaDB provides improved performance with faster replication speeds, tighter security measures, and additional storage engines compared to MySQL.
To install the MariaDB database, run the commands below, and when prompted, confirm installation by typing “Y” and hitting “Enter.”
sudo dnf install mariadb-server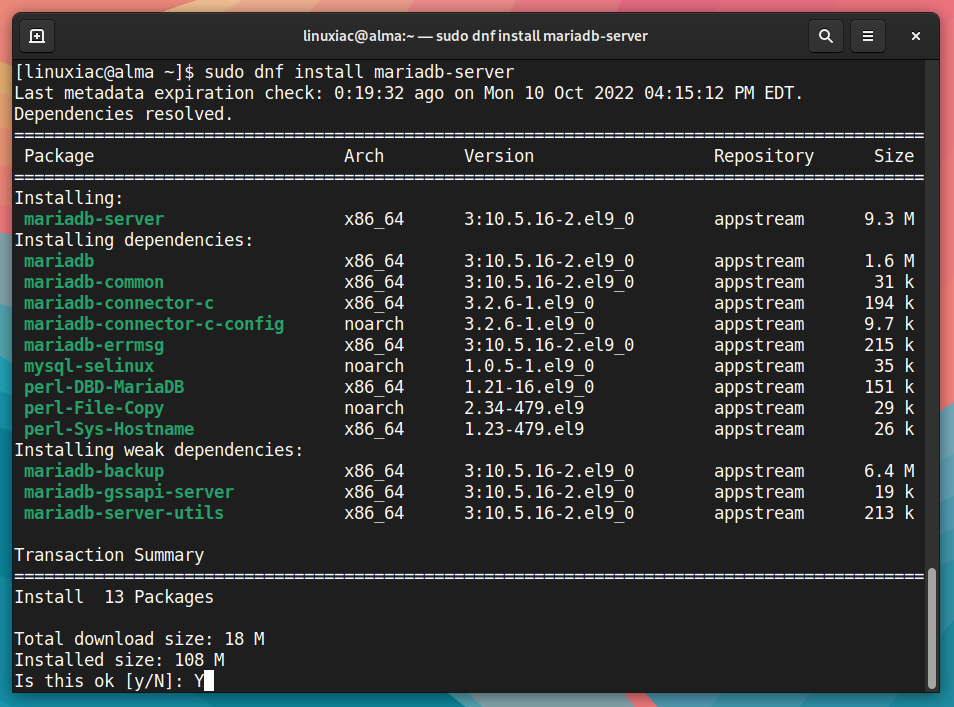
Then let’s enable and start the MariaDB service with the following commands.
sudo systemctl enable mariadb
sudo systemctl start mariadb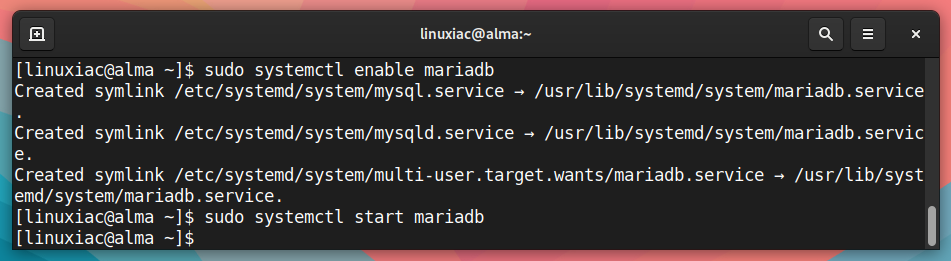
3.1 Securing MariaDB Server
Next, we’ll use a script (mysql_secure_installation) provided by the mariadb-server package to restrict access to the server and remove unused accounts because the default setup makes your MariaDB installation unsafe.
Run the post-installation security script.
sudo mysql_secure_installationAfter running the above command, you will be prompted to enter the MariaDB root password. Just leave the root password empty, and press the “Enter” key. For the rest, keep typing “Y” and hitting “Enter.”
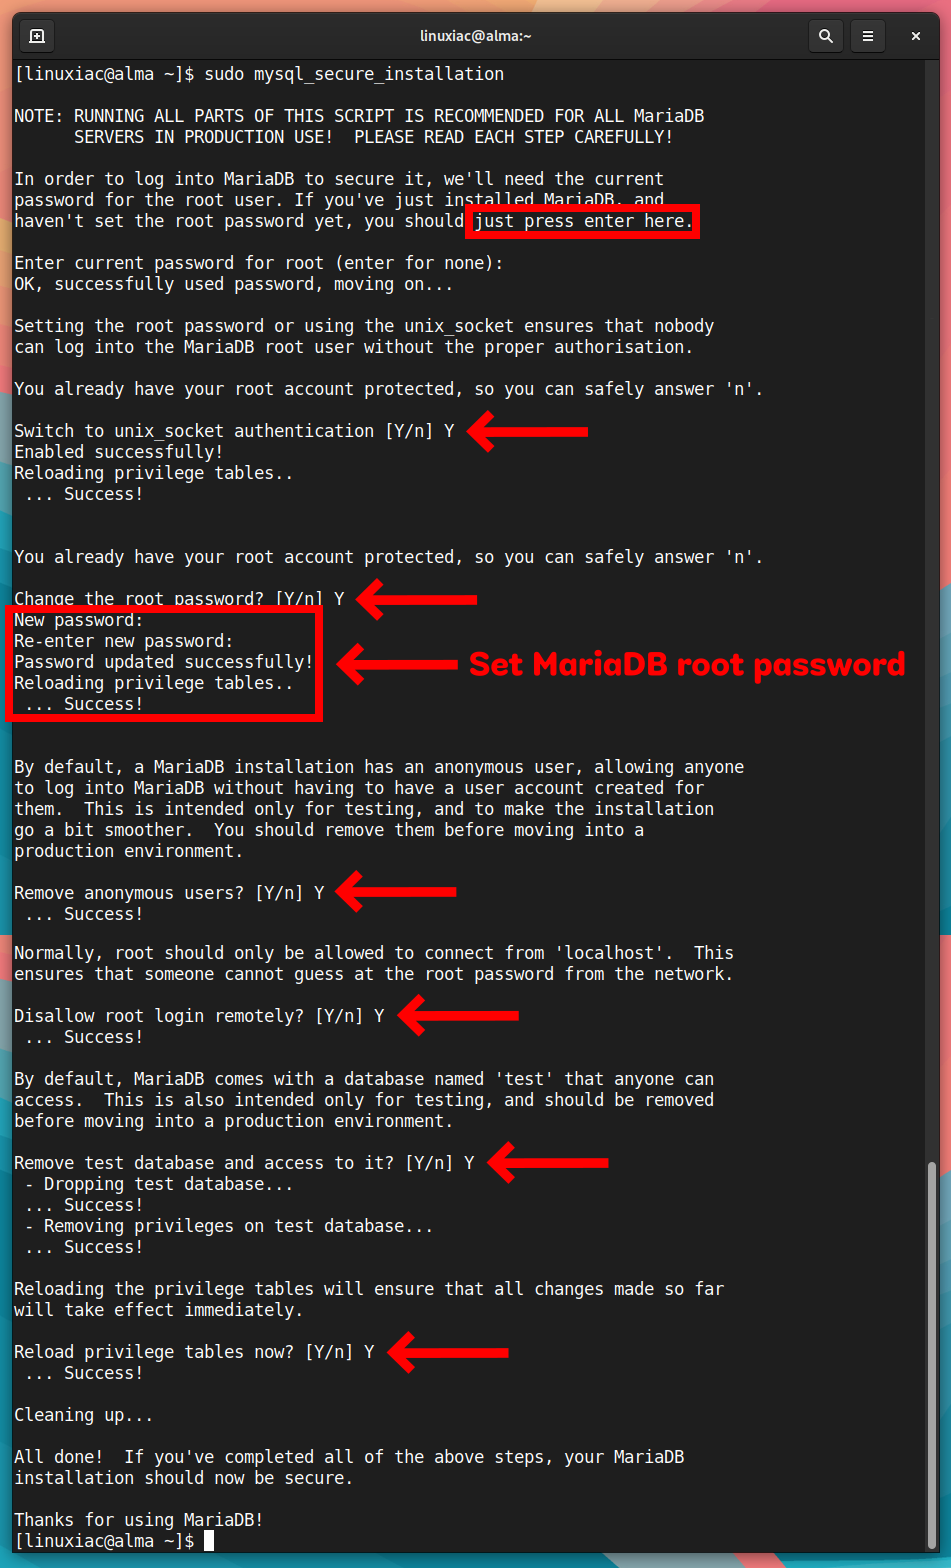
Great! You have secured the MariaDB server in the LEMP stack on AlmaLinux 9.
We clarify that the password specified above for the MariaDB root accounts is only for remote users. To log in from the host we installed, you do not need to enter a password and will not be asked for one. Just type “sudo mysql” to access the MariaDB shell.
3.2 Testing MariaDB Installation
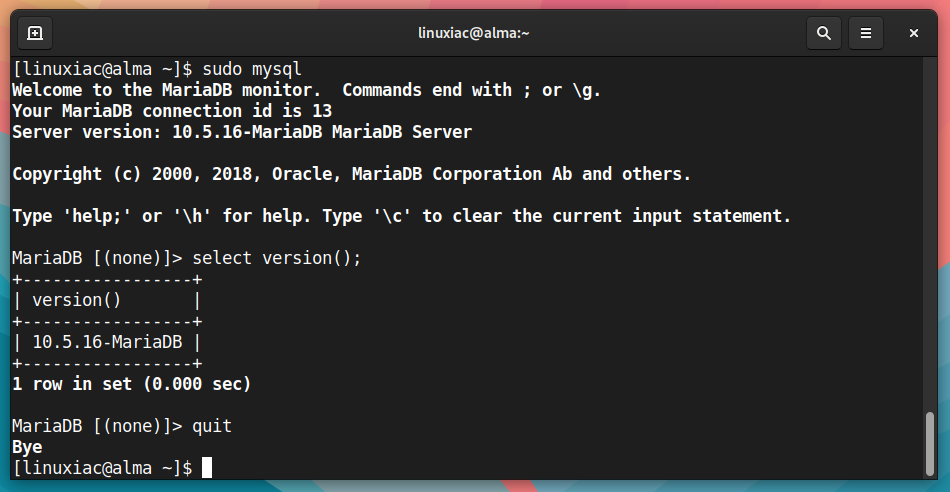
Let’s log into it and run a simple query to check if the database server is functioning normally.
To log in, type the command shown below.
sudo mysqlThis will connect to the MariaDB server, and the MariaDB shell should come up. Then, run a simple query:
select version();In response to your query, the MariaDB server should return its version. Finally, to exit the MariaDB shell and return to the system terminal, use the “quit” command.
4. Install PHP on AlmaLinux 9
The last step to have a complete LEMP stack installed on our AlmaLinux 9 system is to install PHP Scripting Language. To add PHP support to Nginx, you must install and use PHP-FPM to execute PHP files.
So, to install PHP-FPM alongside several most widely used PHP modules, type the command below, and when prompted, enter “Y” to confirm that you want to install it.
sudo dnf install php-fpm php-mysqlnd php-gd php-cli php-curl php-mbstring php-bcmath php-zip php-opcache php-xml php-json php-intl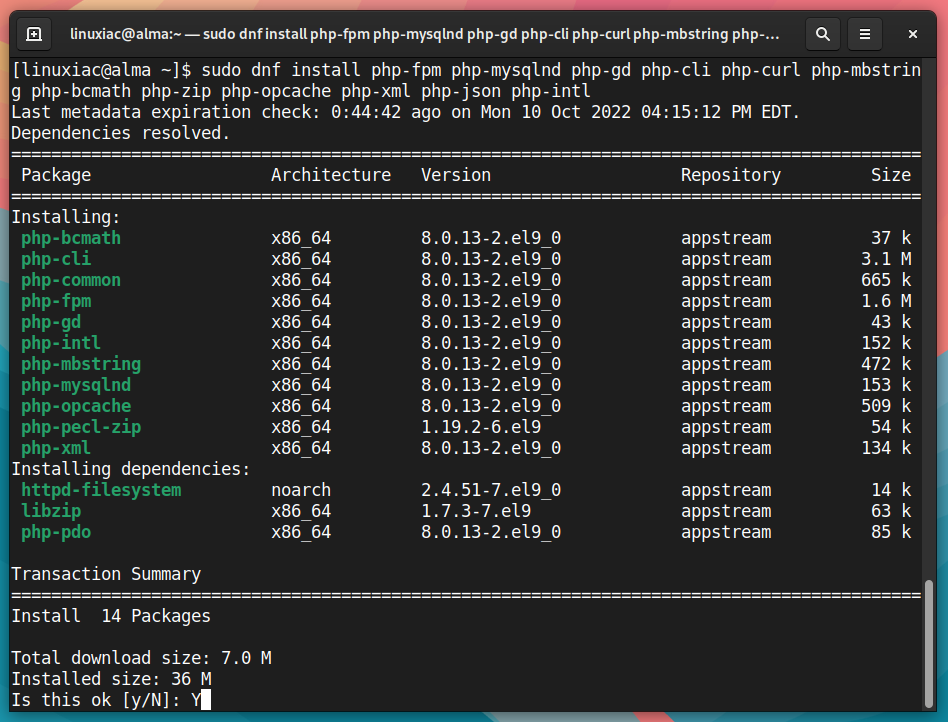
After the installation is complete, we need to make one more adjustment to the PHP-FPM service. Here’s what it is about.
By default, the PHP-FPM service is run as the Apache user. However, because we are using Nginx, we must modify the PHP-FPM configuration file and switch the default user from “apache” to “nginx.”
sudo vim /etc/php-fpm.d/www.confFind these two lines:
user = apache
group = apache
And then change them to look like this:
user = nginx
group = nginx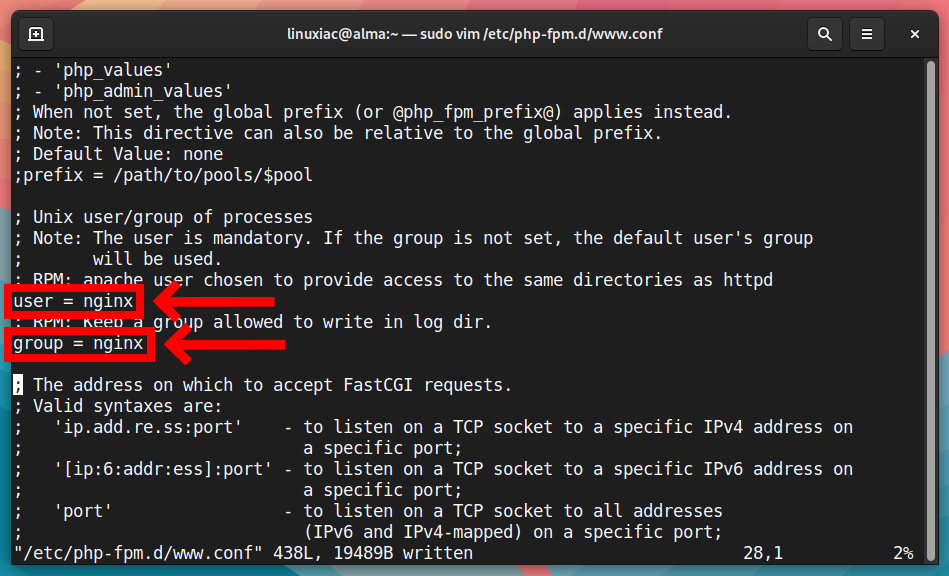
Save and exit the file. Then, enable and start the PHP-FPM service.
sudo systemctl enable php-fpm
sudo systemctl start php-fpm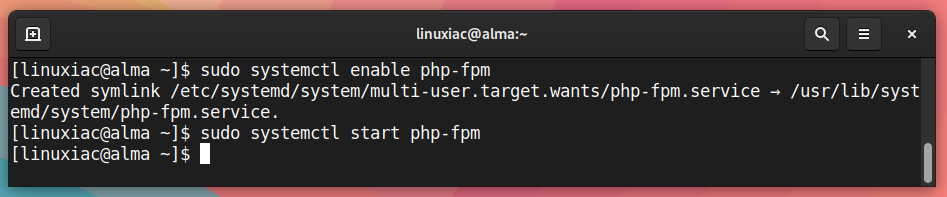
Finally, check the status of the PHP-FPM service.
sudo systemctl status php-fpm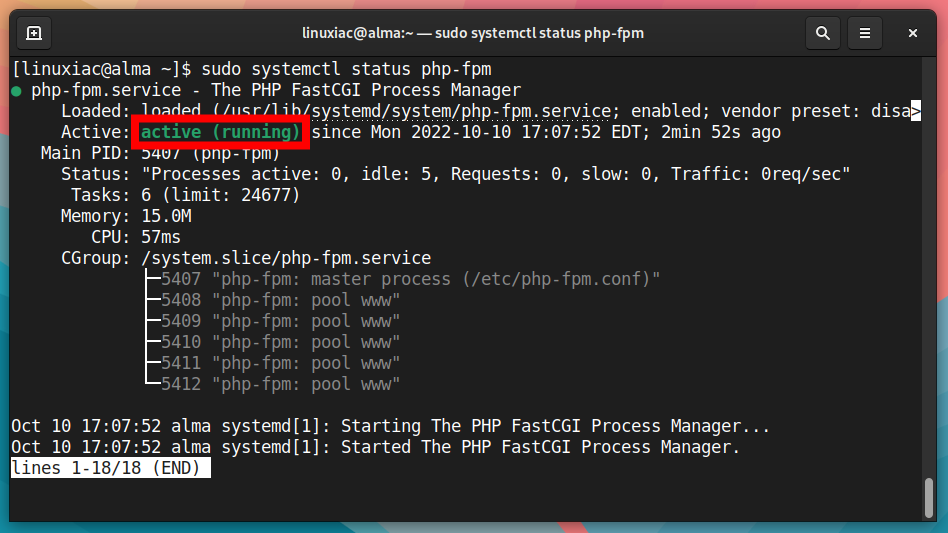
5. Create an Nginx Virtual Host
Now that we’ve installed all of the LEMP components on our AlmaLinux 9 server, we need to add a configuration file for the site. To accomplish this, we will create a new Server Block, often known as a Virtual Host.
If you want a more in-depth look into Nginx’s Server Blocks, check out our “How to Create Nginx Virtual Host (Server Block)” guide.
However, for testing purposes, you can experiment with example.com, and the easiest way to do this is to add a line with an entry for “example.com” in your /etc/hosts file.
You must point the domain name records at the server’s IP address. In our case, the server IP address is 192.168.122.25. So, if you use Linux, open the /etc/hosts file on your desktop PC and add the following line to the file:
192.168.122.25 example.comCode language: CSS (css)Then, save and exit the file.
Next, create a new web files directory for your application. First, ensure that you replaced “example.com” with your domain name.
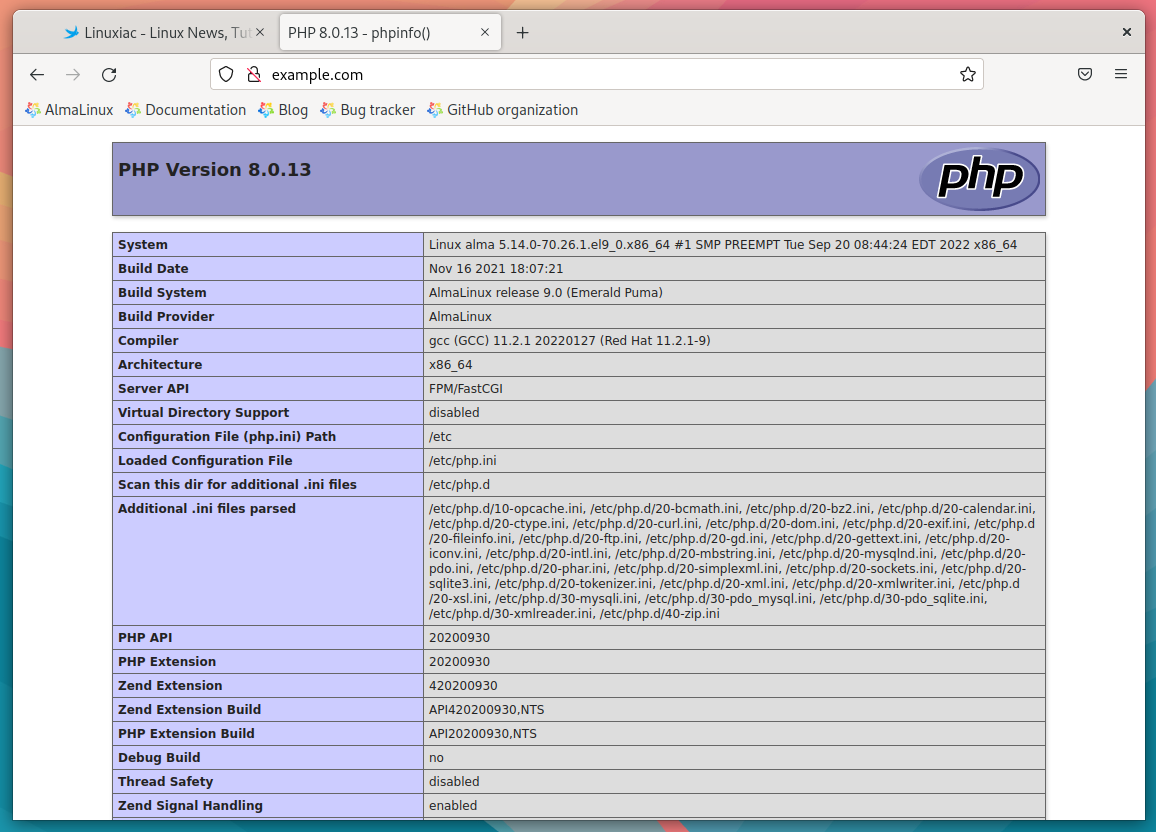
sudo mkdir /var/www/example.comCode language: JavaScript (javascript)Then, create a test PHP file:
echo "<?php phpinfo(); ?>" | sudo tee /var/www/example.com/index.phpCode language: PHP (php)Grant Nginx read and write permissions to the directory.
sudo chown -R nginx:nginx /var/www/example.comCode language: JavaScript (javascript)It is time to create our server block, a file containing the site’s configuration.
sudo vim /etc/nginx/conf.d/example.com.confAdd the following content to the file, then save it and exit.
server {
    listen       80;
    listen       [::]:80;
    server_name  example.com www.example.com;
    root         /var/www/example.com;

    index index.php index.html;
    try_files $uri $uri/ /index.php?$args;

    access_log /var/log/nginx/example_com.access;
    error_log /var/log/nginx/example_com.error;

    location ~ \.php$ {
        include fastcgi_params;
        fastcgi_pass unix:/run/php-fpm/www.sock;
        fastcgi_split_path_info ^(.+\.php)(/.+)$;
        fastcgi_index index.php;
        fastcgi_param SCRIPT_FILENAME $document_root$fastcgi_script_name;
    }
}Code language: PHP (php)
Remember to replace “example.com” with the actual domain and paths you use.
Finally, restart the Nginx web server so that the changes take effect.
sudo systemctl restart nginx6. Test Your AlmaLinux 9 LEMP Installation
You have completed the installation of Nginx, MariaDB, and PHP on AlmaLinux 9, so your LEMP stack should now be fully operational.
Launch your browser and visit your site’s domain to test the configuration. A web page with complete information about your PHP installation should appear.
Congratulations! You successfully installed a fully functional LEMP stack on AlmaLinux 9.
Conclusion
This guide showed you how to install the LEMP stack (Nginx, MariaDB, and PHP) on AlmaLinux 9. As a result, PHP-based web apps can now run on your server.
There are several next steps you could take from here. For example, I recommend that you read our guide on setting SSL certificates on the Nginx server to ensure that your website provides content over a secure SSL (HTTPS) connection.
Thanks for your time! I hope you find this guide helpful. Your feedback and comments are most welcome.


If you run Nginx as “nginx” user, then you also need to change permissions on the files in the “/var/lib/php/session” directory, otherwise PHP “session_start()” will give permission errors. Alternatively, you could run Nginx as the “apache” user.