Nginx is the most popular web server due to its performance and ease of use. It’s a free and open-source high-performance HTTP server. In addition to its web server capabilities, Nginx can also function as a reverse proxy and load balancer.
Following the steps below will show you how to install Nginx on various Linux distros like Ubuntu, Debian, CentOS, Rocky Linux, and AlmaLinux, and test its functionality.
In addition, if you want to know how to secure your Nginx with a free Let’s Encrypt SSL certificate, I recommend going through our guides:
- Let’s Encrypt: Get Free SSL Certificate Using Certbot
- ZeroSSL: How to Secure Your Website with a Free SSL Certificate
1. Installing Nginx
Before you begin, you should have a regular, non-root user with sudo privileges.
1.1 Install Nginx on Ubuntu or Debian
Nginx is available in the default Ubuntu and Debian repositories, so you can easily install it using the apt package management tool.
Let’s first make sure your system is up to date:
sudo apt updateAfterward, you can install Nginx:
sudo apt install nginx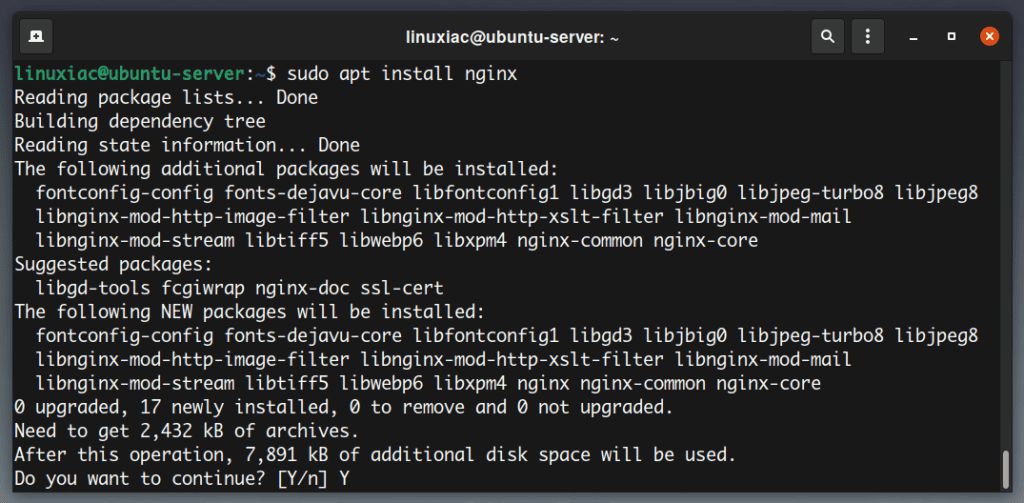
1.2 Install Nginx on CentOS 7
On CentOS 7, Nginx packages are available in the EPEL (Extra Packages for Enterprise Linux) repositories. If you don’t have it already installed, you can do it by typing:
sudo yum install epel-release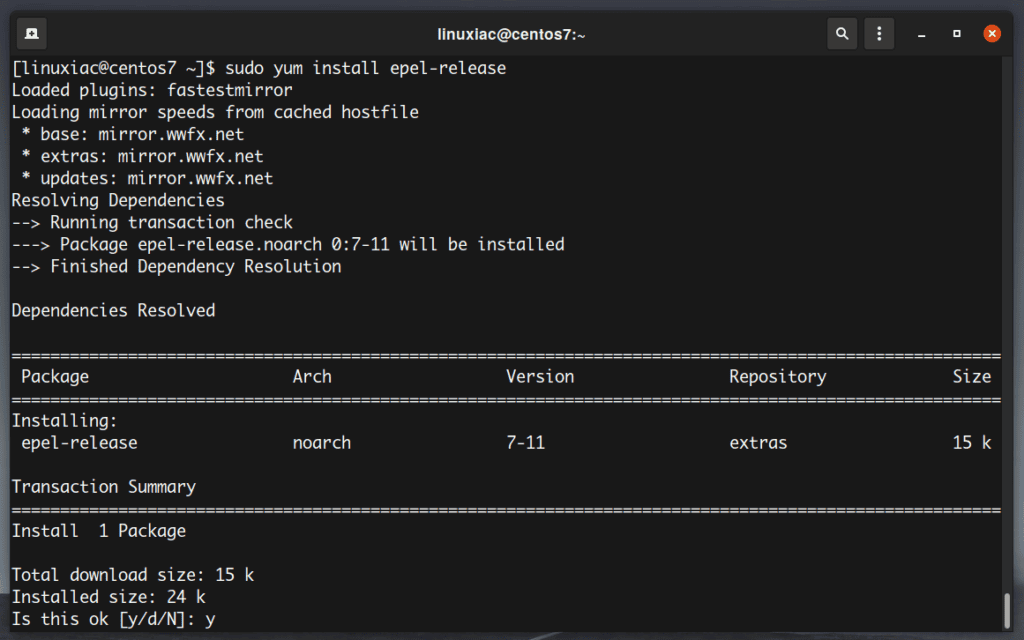
Now you can proceed with installing Nginx:
sudo yum install nginx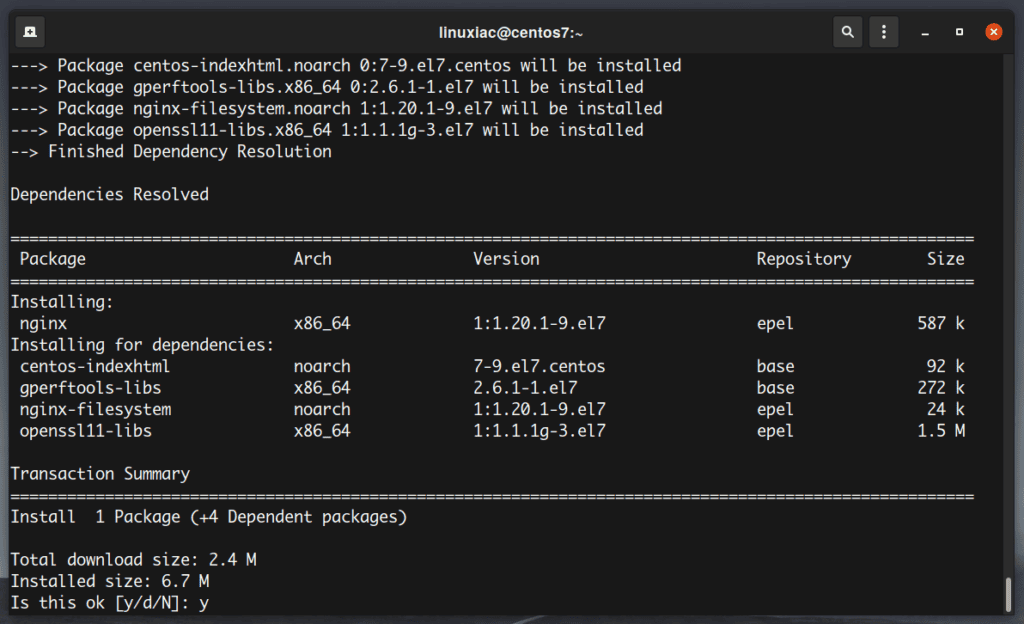
Press y and then hit Enter to accept the EPEL GPG key if you see this.
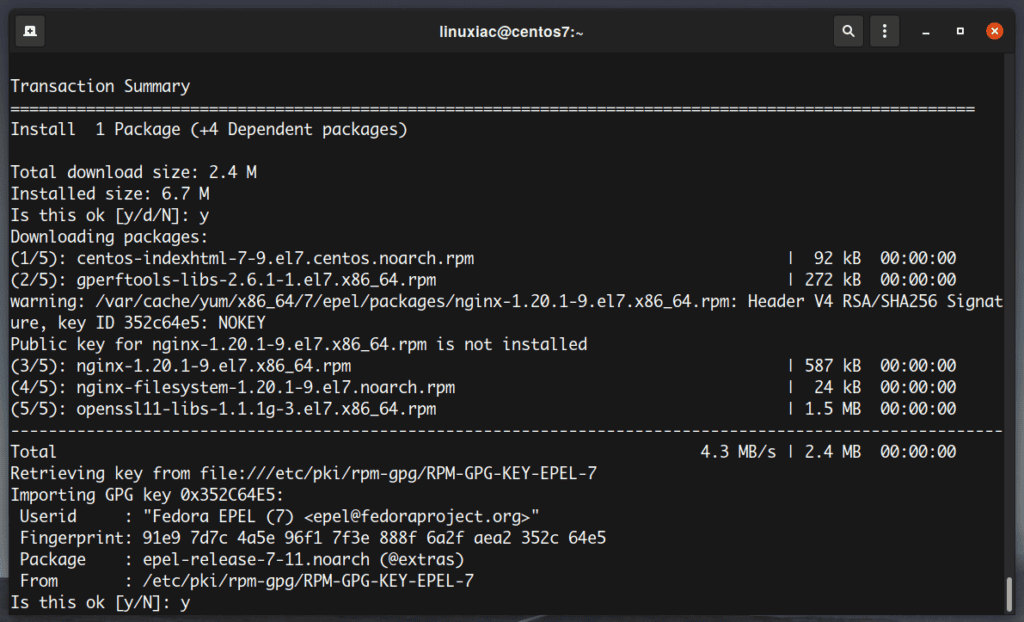
Once the installation is complete, enable and start the Nginx service:
sudo systemctl enable nginx
sudo systemctl start nginx
And finally you need to open both HTTP (80) and HTTPS (443) ports.
sudo firewall-cmd --permanent --zone=public --add-service=http
sudo firewall-cmd --permanent --zone=public --add-service=https
sudo firewall-cmd --reloadCode language: PHP (php)
1.3 Install Nginx on CentOS 8, Rocky Linux, or AlmaLinux
We’ll use the DNF package manager to install Nginx, the default package manager on CentOS 8, Rocky Linux, and AlmaLinux.
First, update all the available packages:
sudo dnf upgradeAfter the update is complete, install Nginx by running the following command:
sudo dnf install nginx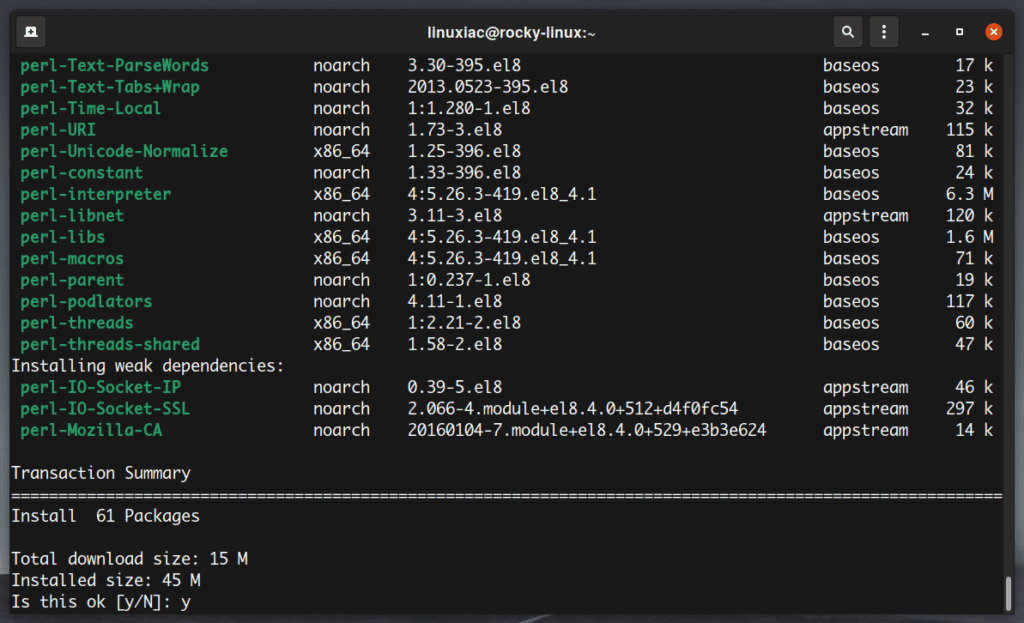
Once the installation is complete, enable and start the Nginx service:
sudo systemctl enable nginx
sudo systemctl start nginx
To allow HTTP (80) and HTTPS (443) traffic on the firewall, execute the command:
sudo firewall-cmd --permanent --zone=public --add-service=http
sudo firewall-cmd --permanent --zone=public --add-service=https
sudo firewall-cmd --reloadCode language: PHP (php)
2. Check the Nginx Service Status
To confirm that the Nginx web server is running, execute the command:
sudo systemctl status nginx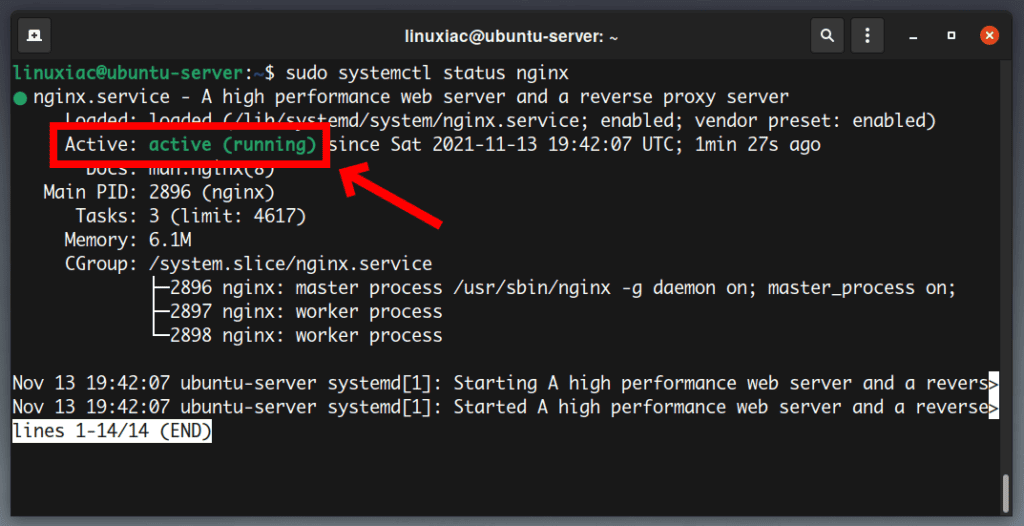
You can conclude from the output shown above that the Nginx service is up and running.
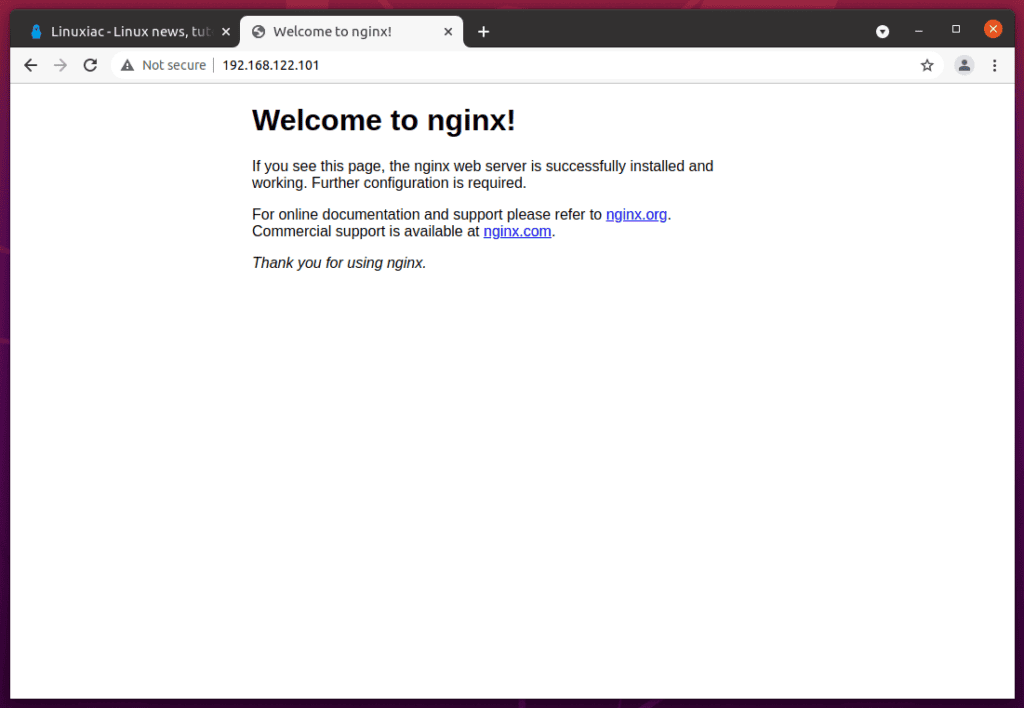
Additionally, you can access the default Nginx landing page to confirm that the webserver is running correctly by navigating to your server’s IP address.
If you don’t know how to find out the server’s IP address, this article will help you find it.
This will display the default Nginx landing page, indicating that all is well.
3. Nginx Configuration Files and Directories
Now that Nginx is installed, there are essential folders and locations that you should be aware of.
3.1 Server Configuration Files
/etc/nginx: The main directory containing all the Nginx configuration files./etc/nginx/nginx.conf: The main Nginx configuration file./etc/nginx/sites-available: The directory where individual websites are defined. Remember that Nginx will not use the configuration files found in this directory unless they are linked to the/etc/nginx/sites-enableddirectory./etc/nginx/sites-enabled: List of websites actively served by Nginx.
To activate websites so they’re linked to the /etc/nginx/sites-enabled directory, use the command shown below to create a symlink of the website configuration:
sudo ln -s /etc/nginx/sites-available/mydomain.com.conf /etc/nginx/sites-enabled/Of course, you need to replace mydomain.com.conf with your VirtualHost .conf file.
3.2 Nginx Logs
The Nginx log files (access.log and error.log) are located in the /var/log/nginx/ directory.
access.log: Every request to your web server is recorded in this log file.error.log: A log of any errors generated in Nginx. This is where you will come to troubleshoot when your server is not running as expected.
3.3 Default Public Web Directory
Nginx has a default document root set up in its base configuration files by default. Therefore, when creating a virtual host or server block, the web server looks for website files in the document root directory specified in these configuration files.
/var/www/html: On Ubuntu and Debian, Nginx stores its documents here./usr/share/nginx/html: The default Nginx webpage is located here on CentOS, Rocky Linux, and Alma Linux.
Conclusion
In this tutorial you learned how to install Nginx on various Linux distros. Now it’s up to you to figure out what content you want to serve your users.
Related: How to Configure Nginx to Work with PHP via PHP-FPM
If you want to learn more about Nginx and how it works, check out the official Nginx documentation.
