If you’re like me, juggling multiple tasks and projects, having a reliable and easy-to-use note-taking app is essential. That’s where Memos comes in, offering a sleek interface and powerful features to keep your thoughts organized and accessible.
At the same time, if installing software makes you think of long, complicated processes, fear not! Our guide is tailored for beginners and seasoned tech enthusiasts, breaking each step down into simple, easy-to-follow, and well-explained instructions.
By the end of this article, you’ll have Memos up and running, ready to capture your ideas, to-do lists, and notes most efficiently. But before we dive into the installation itself, let’s take a moment to explore what this software is all about and what it offers.
What Is Memos?
Memos is a lightweight note-taking app – a tool designed to streamline the process of recording information, ideas, and tasks. With it, you transform the traditional method of jotting down notes on paper into a more efficient, accessible, and organized digital format.
One of the most compelling features of Memos is its ease of self-hosting, thanks to Docker. Within minutes, you can run your own instance of Memos, giving you complete control over your data and ensuring your privacy is never compromised.
Moreover, Memos takes a minimalist approach to note-taking by focusing on pure text and providing added support for Markdown. This feature allows you to structure your notes efficiently without the distraction of complex formatting options.
Lastly, the app offers intuitive sharing features, allowing you to customize and distribute your notes easily. For those who love to tinker and integrate, Memos provides a RESTful API, opening up endless possibilities for third-party services and applications.
Right off the bat, Memos comes equipped with SQLite to keep all your data safe and sound. However, if you’re more committed to the enterprise approach and plan to store a truly HUGE amount of data, you’ll be happy to hear that Memos also plays nice with MySQL and PostgreSQL.
This is perfect for anyone leveraging its multi-user strengths to the max. But, just between us, for most situations – like 99% of the time – SQLite’s got your back and is all you’ll need.
Prerequisites
Before proceeding with the installation, ensure you have Docker installed on your system. But if you don’t have it – fear not; any of the following guides will significantly help you get it.
- How to Install Docker on Ubuntu 22.04
- How to Install Docker on Debian 12 (Bookworm)
- How to Install Docker on AlmaLinux / Rocky Linux
- How to Install Docker on Fedora
- How to Install Docker on Linux Mint 21
- How to Install Docker on Raspberry Pi
The other essential component is Docker Compose. Remember, it’s provided separately from Docker. Therefore, you must have the Docker installed before adding Docker Compose to the picture; otherwise, Compose will not function.
So, if you haven’t, its installation is pretty simple. To install Docker Compose, type the following two commands:
sudo curl -L "https://github.com/docker/compose/releases/latest/download/docker-compose-linux-$(uname -m)" -o /usr/local/bin/docker-compose
sudo chmod +x /usr/local/bin/docker-composeCode language: JavaScript (javascript)
Install Memos with Docker Compose
The first step is to create the project directory in which our Docker Compose deployment file will be placed. Then switch to it; from here on, you need to execute all commands further down in this guide from that location.
mkdir memos
cd memos
Next, we must create a “docker-compose.yaml” file, like a blueprint for our Docker setup. This file will define the services, volumes, ports, etc., telling Docker Compose what to do and how to set up our Memos instance.
Open your favorite text editor and paste the following content into it:
nano docker-compose.yamlCode language: CSS (css)version: "3.0"
services:
memos:
image: neosmemo/memos:stable
container_name: memos
ports:
- 5230:5230
volumes:
- ./memos-data:/var/opt/memos
restart: unless-stoppedCode language: JavaScript (javascript)As you can see, the file’s content is more than simple. In the “ports” section, we’re setting up a connection where our local port 5230 is linked to port 5230 inside the container. We use this port to access the Memos via our web browser.
In the “volumes” section, we link our local “memos-data” folder to the container’s “/var/opt/memos” directory, thus ensuring persistent storage of the application’s data. No worries that the “memos-data” directory isn’t created yet. Compose will automatically take care of creating it when you deploy the application.
Finally, execute the following command to start and run the container in the background:
docker-compose up -dThe Docker image will start downloading. At the end, you should see a screen similar to the one below, informing you that your Memos installation has been successfully deployed and the container is up and running.
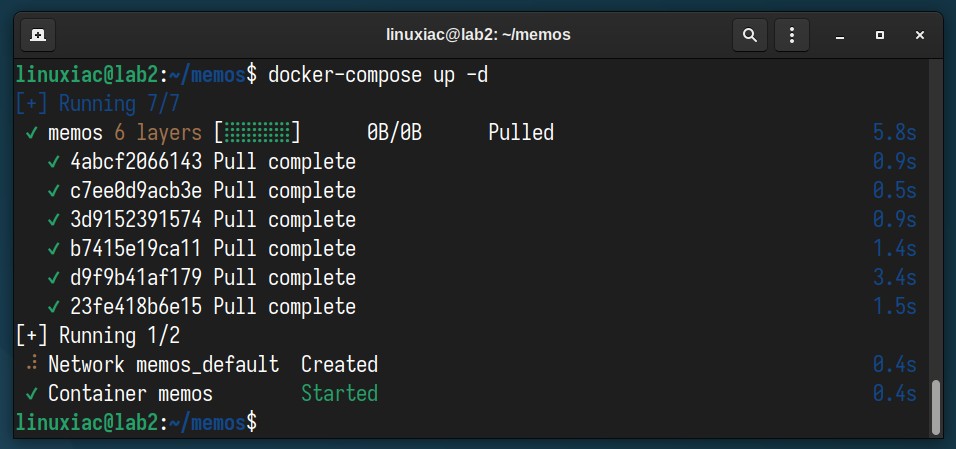
Now, you can access the Memos by navigating to “http://your-server-ip:5230” in your web browser. If you are accessing it from the same machine the container is running on, you can also use “http://localhost:5230.”
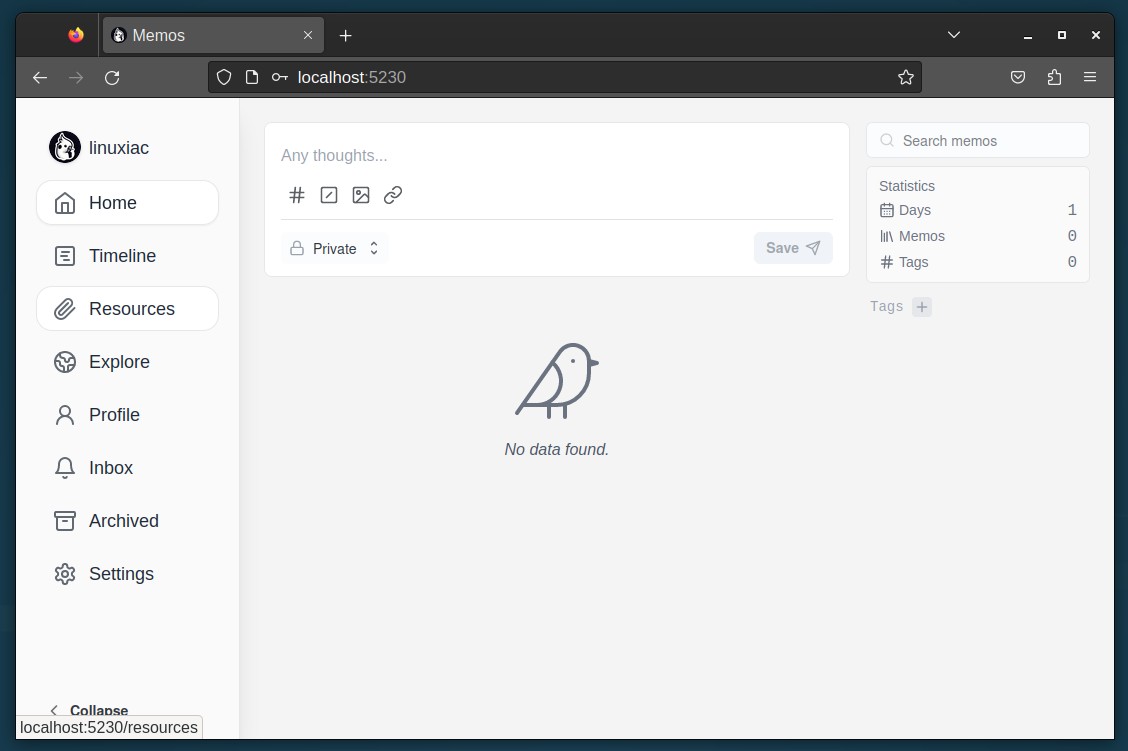
You will be greeted by the Memos sign-up screen, allowing you to create your first user, who will automatically be assigned admin rights. Type in your preferred username and password, then hit the “Sign up” button to start.
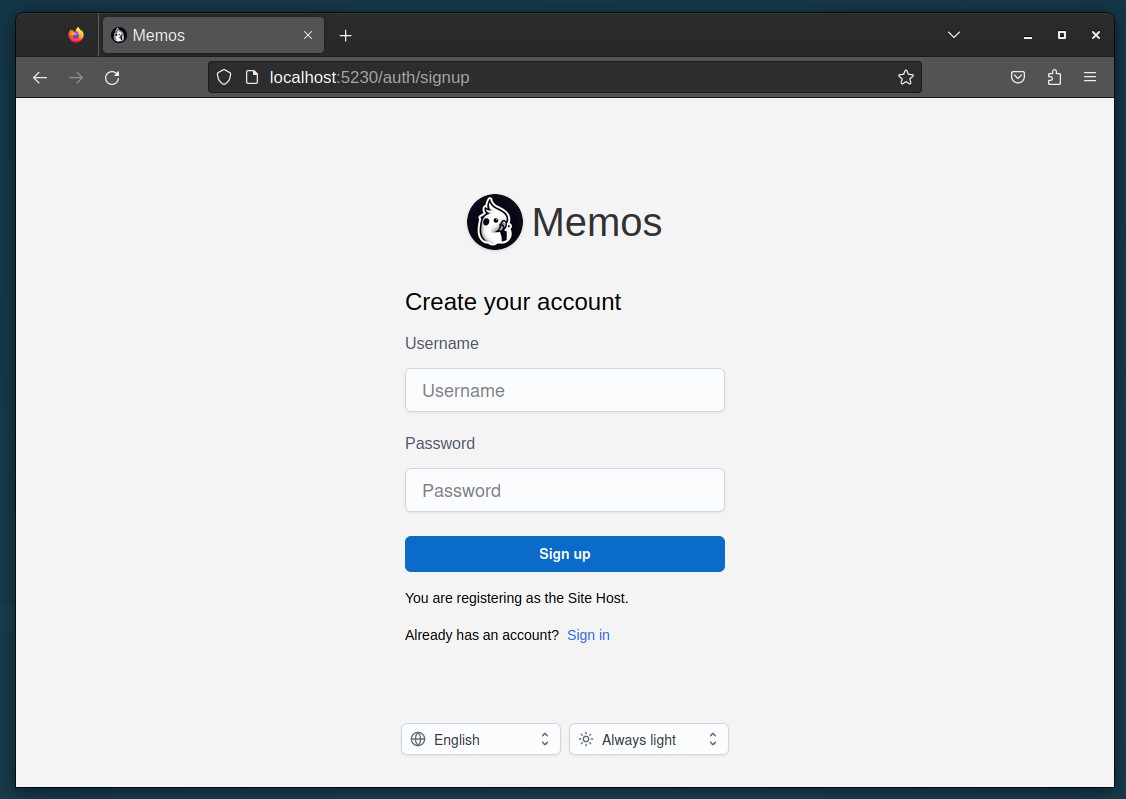
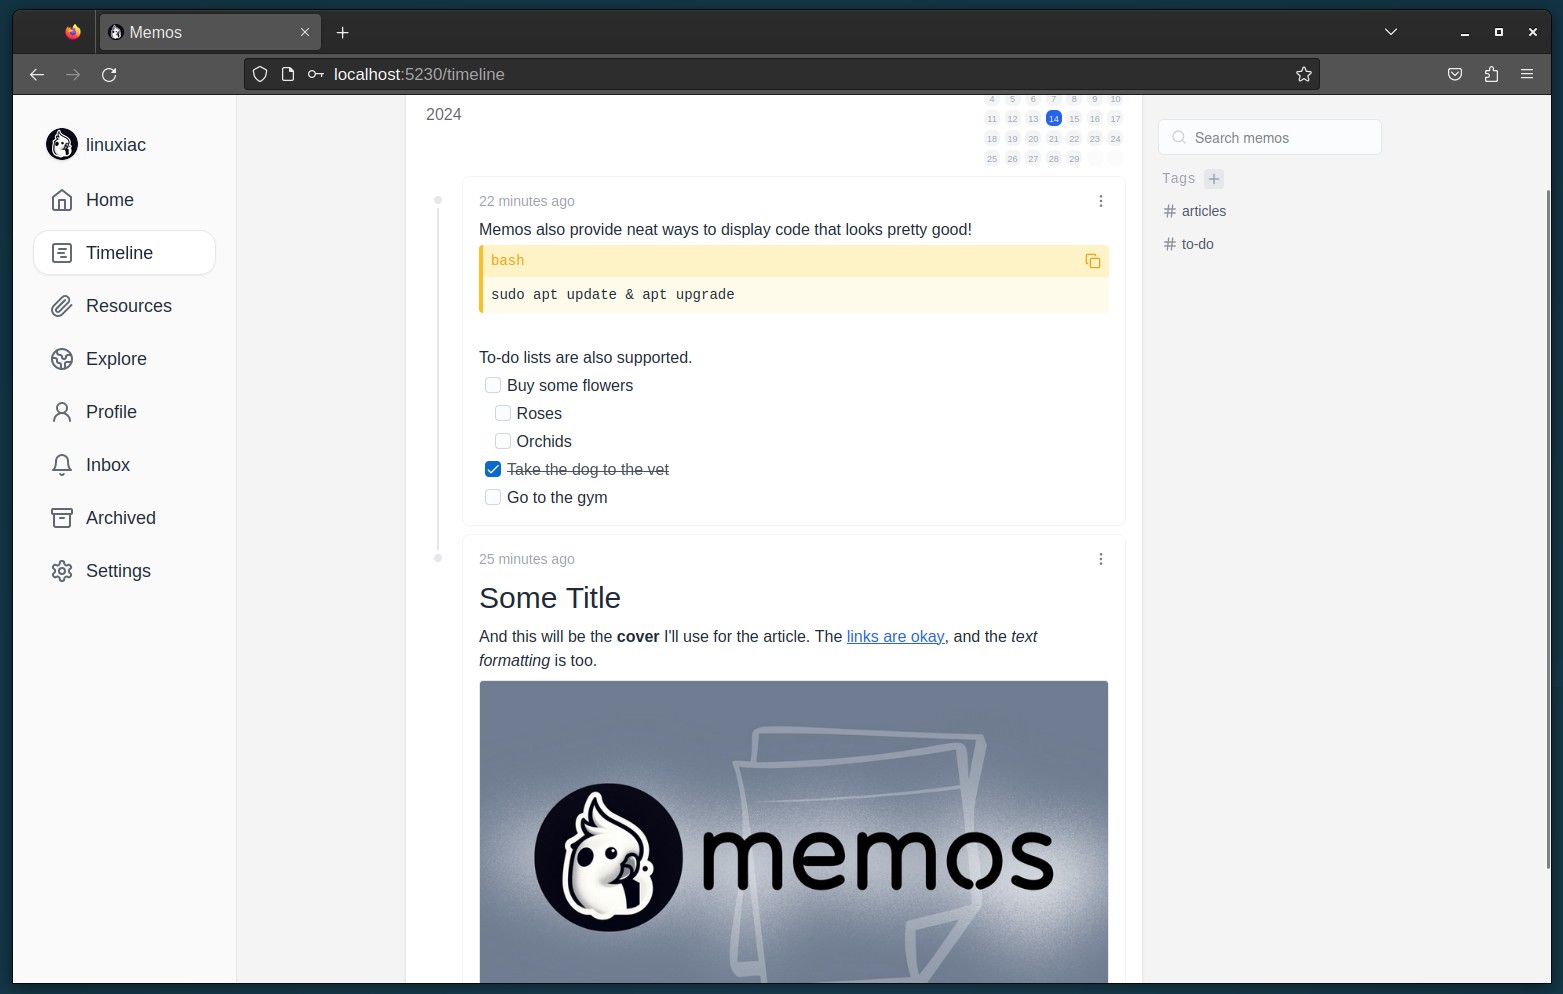
And that’s it – you’ve made it! Take a moment to pat yourself on the back for completing the task. You can now jump right in and begin jotting down your ideas, adding photos and links to them, making lists, and exploring all the other cool features Memos brings to the table. Enjoy!
Syntax Tips
You’ll want to pick up a few handy tips to get the hang of text formatting with Memos. Since Memos doesn’t have a WYSIWYG (what you see is what you get) editor, it uses Markup for styling. So, learning some neat tricks can significantly affect your text’s appearance.
Just put signs (#) before your word or phrase to create a heading.
# Heading 1 becomes <h1>Heading 1</h1>
## Heading 2 becomes <h2>Heading 2</h2>
### Heading 3 becomes <h3>Heading 3</h3>Code language: HTML, XML (xml)
To create lists, use asterisks (*), pluses (+), or hyphens (-).
* Item 1
 * Item 1.1
 * Item 1.2
* Item 2
* Item NCode language: CSS (css)
Memos also support italic, bold, and strikethrough text formatting.
*Italic*
**Bold**
~~Strikethrough~~
To create a link, just put the text you want to display inside square brackets ‘[ ],’ and then add the link itself right after it in parentheses ‘().’ For example, if you want to make a clickable link called ‘Linux news‘ that points to ‘https://linuxiac.com,’ here’s how you’d do it:
[Linux news](https://linuxiac.com)Code language: JavaScript (javascript)Of course, Memos also supports many other features, such as images, tables, blockquotes, and more. To explore all the amazing things it can do, visit this link.
Bottom Line
And there you have it, a comprehensive guide to setting up the Memos Note-Taking App using Docker. Whether you’re a digital nomad, a student, or someone who just loves to keep their thoughts and projects neatly organized, Memos offers a seamless way to capture and manage your ideas.
Just a quick note – while our setup isn’t using HTTPS, we strongly suggest adding an extra layer of security for production use. How? Simply by putting Memos behind a reverse proxy such as Traefik, Nginx Proxy Manager, Caddy, etc., to enable HTTPS functionality.
We also highly recommend you check out our “How to Install and Use Docker Compose” guide to familiarize yourself with the basic Docker Compose commands and easily manage your new Memos deployment.
Furthermore, if you’re wondering, “OK, but how can I update the Memos container when a new version comes out?” there’s no room for worry. We’ve got you covered! With the help of Watchtower and our detailed and easy-to-follow guide, “Watchtower: Automatically Update Docker Container Images,” you’ll always have the most up-to-date Memos version.
Finally, for more information, visit the project documentation or its website. Thank you for following along with our guide! Please let me know in the comments section below if you have any questions.