
On June 30, 2024, CentOS 7 will reach End-of-Life (EOL). After this date, the operating system will no longer receive security updates or maintenance support. Essentially, CentOS 7 will be retiring from the server platform lineup after many years of reliable service.
Since you’ve landed here, you prefer Oracle Linux as an upgrade path for your CentOS 7 system. Congratulations on your choice! It is an exceptionally reliable server platform from a brand that speaks for itself.
We’ve also provided migration guides for the other two enterprise Linux distributions, AlmaLinux and Rocky. Now, to complete the trio, this tutorial will seamlessly walk you through transitioning from CentOS 7 to Oracle Linux 8. But before we get to the action, there are a few key points we need to clarify.
CentOS 7 to Oracle Linux Upgrade Path
The latest version of Oracle Linux is 9. However, this guide focuses on migrating to version 8. Why? Because a direct migration from CentOS 7 to Oracle Linux 9 is impossible. Instead, you must first upgrade to Oracle Linux 8 as an intermediary step before moving on to version 9. For a clearer understanding, refer to the image below.
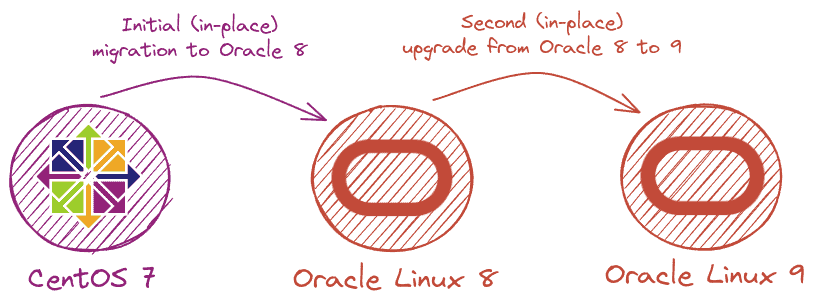
If you’re wondering, an in-place upgrade, as mentioned in the image above, refers to updating the current operating system to a newer version without removing the existing one and manually reinstalling or reconfiguring the system and applications. This means you’re essentially upgrading the OS while it’s running.
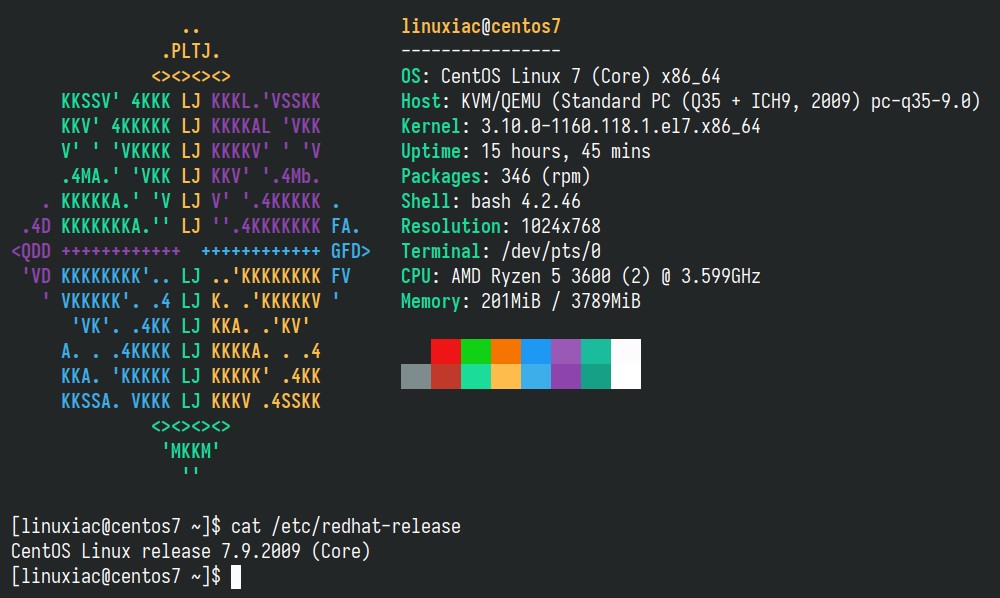
Having clarified this, we can now proceed to action. Here is our CentOS 7 system before starting the migration process to Oracle Linux 8.
Step 1: Take System Backup
First, let’s ensure all your important data is safe. So, before doing anything else, we strongly recommend making a full system backup so that if something goes wrong, you can restore your system with all the vital data to its previous state.
However, if you do not feel like taking the above approach, you can instead use a command like the one shown below, which will archive all of the more critical directories and their contents in a tar.gz archive.
sudo tar czf /centos7-data.tar.gz \
     --exclude=/centos7-data.tar.gz \
     --exclude=/dev \
     --exclude=/mnt \
     --exclude=/proc \
     --exclude=/sys \
     --exclude=/tmp \
     --exclude=/media \
     --exclude=/lost+found \
     /Code language: Bash (bash)
Feel free to add more “–exclude=” parameters if needed. Finally, the command creates a backup of all files in the “centos7-data.tar.gz” file located on the root partition (/), which you should ideally transfer to another computer or drive, for example, using the SCP command.
Step 2: Update All Software
Ensure you have a fully updated CentOS 7 system. Open the terminal app and type the following command:
sudo yum updateCode language: Bash (bash)If there are any pending updates, install them. The result should be a fully up-to-date system with no packages waiting to be updated.
Step 3: Migrate CentOS 7 to Oracle Linux 8
Before we start, let’s say a few words about the tool that will help us with the migration: ELevate. Designed by AlmaLinux, it supports migrations between major versions of Red Hat Enterprise Linux forks (Alma, Rocky, Oracle), allowing users to migrate from CentOS 7.x to 8.x versions of the RHEL derivative or upgrade from 8.x to 9.x within the same. For more information, visit the project’s page.
Step 3.1: Install the ELevate Tool
The first step in the upgrade process is installing the “elevate-release” package on your current CentOS 7 system.
sudo yum install http://repo.almalinux.org/elevate/elevate-release-latest-el$(rpm --eval %rhel).noarch.rpmCode language: Bash (bash)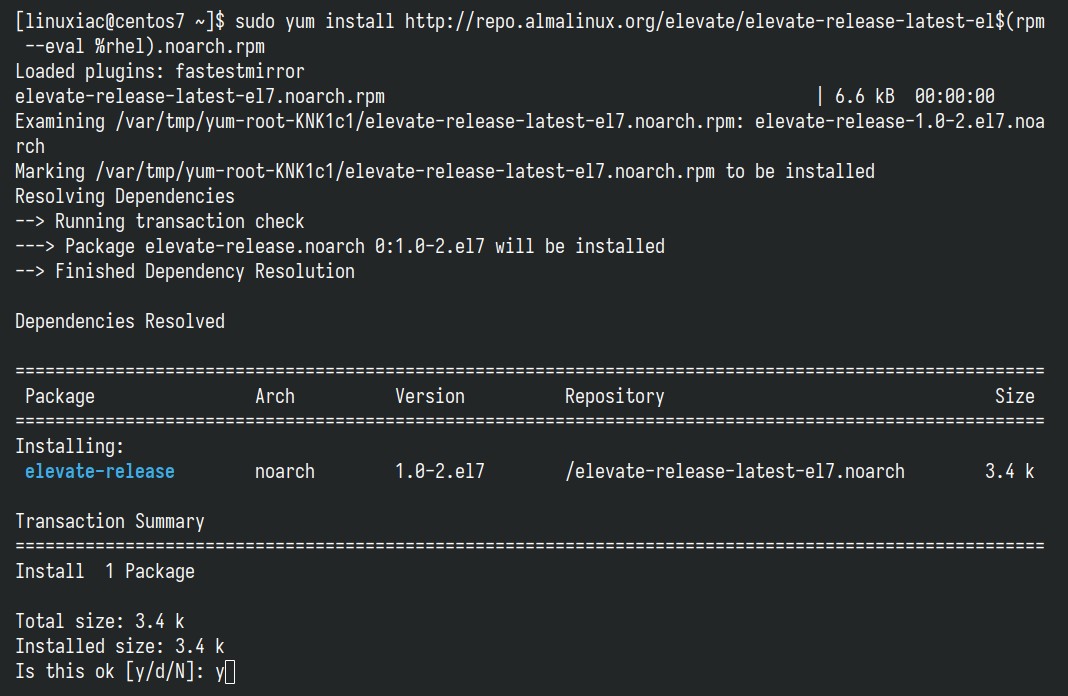
Step 3.2: Install Leapp and Migration Data
The migration process is based on a combination of Red Hat’s Leapp, a tool designed to facilitate in-place upgrades of RHEL systems from one major version to another, and a community-created library containing the migration metadata set. So, let’s install them:
sudo yum install leapp-upgrade leapp-data-oraclelinuxCode language: Bash (bash)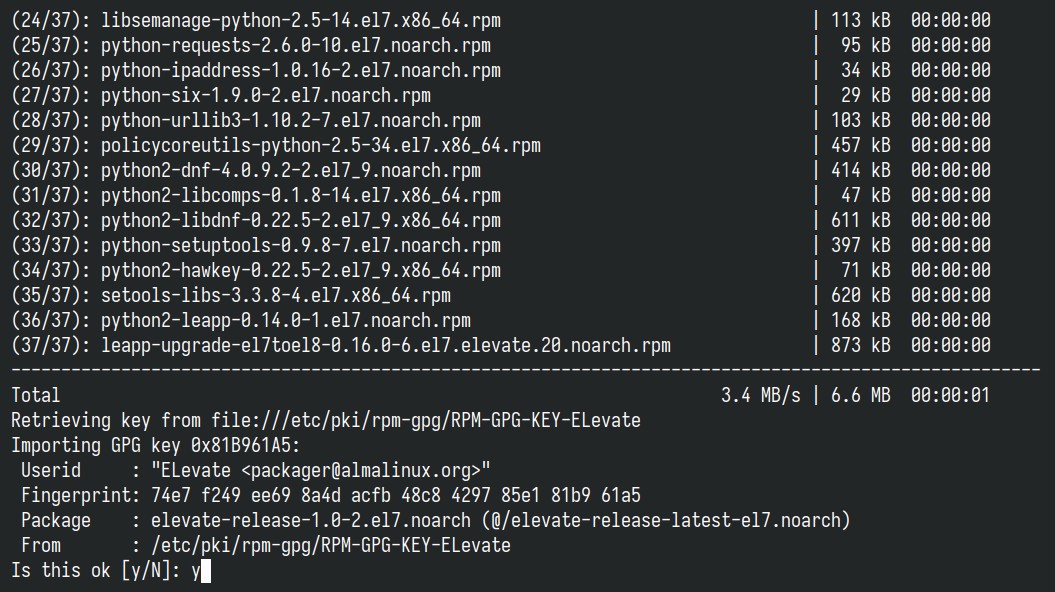
When you run the above command, it will install more than 30 extra packages, mostly Python-related dependencies. This is completely expected. Also, you’ll see a prompt asking you to accept the GPG key for Alma’s ELevate repository. Just go ahead and accept it.
Step 3.3: Start Pre-Upgrade Checks
The next step is to start a pre-upgrade check. The command below verifies server compatibility without making any actual changes and creates a “/var/log/leapp/leapp-report.txt” file that contains possible problems and recommended solutions:
sudo leapp preupgradeCode language: Bash (bash)Most likely, some of the checks will fail, but there is no room for worry! That’s normal because some tweaks are required in advance.
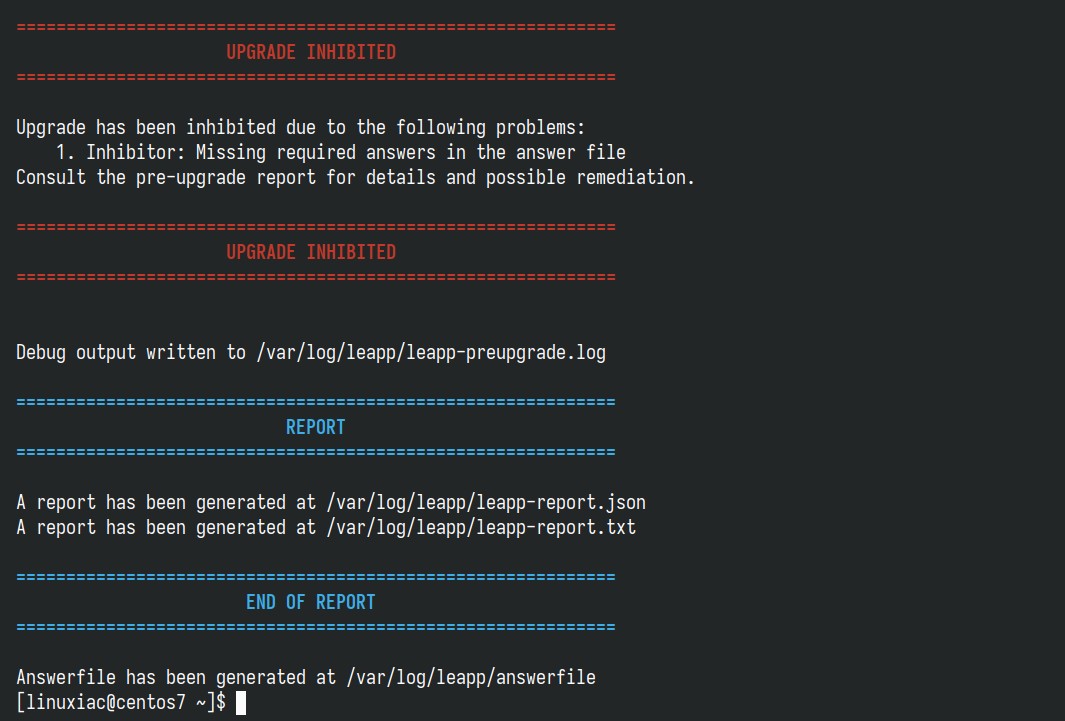
According to the official documentation, depending on the case, the three commands below solve the issue. In our case, this is the third command. No problem to run all three – do it.
sudo rmmod pata_acpi
echo PermitRootLogin yes | sudo tee -a /etc/ssh/sshd_config
sudo leapp answer --section remove_pam_pkcs11_module_check.confirm=TrueCode language: Bash (bash)
When you rerun the pre-upgrade check, you’ll see a green report confirming everything is in order. This means you’re all set to proceed safely with the upgrade.
sudo leapp preupgradeCode language: Bash (bash)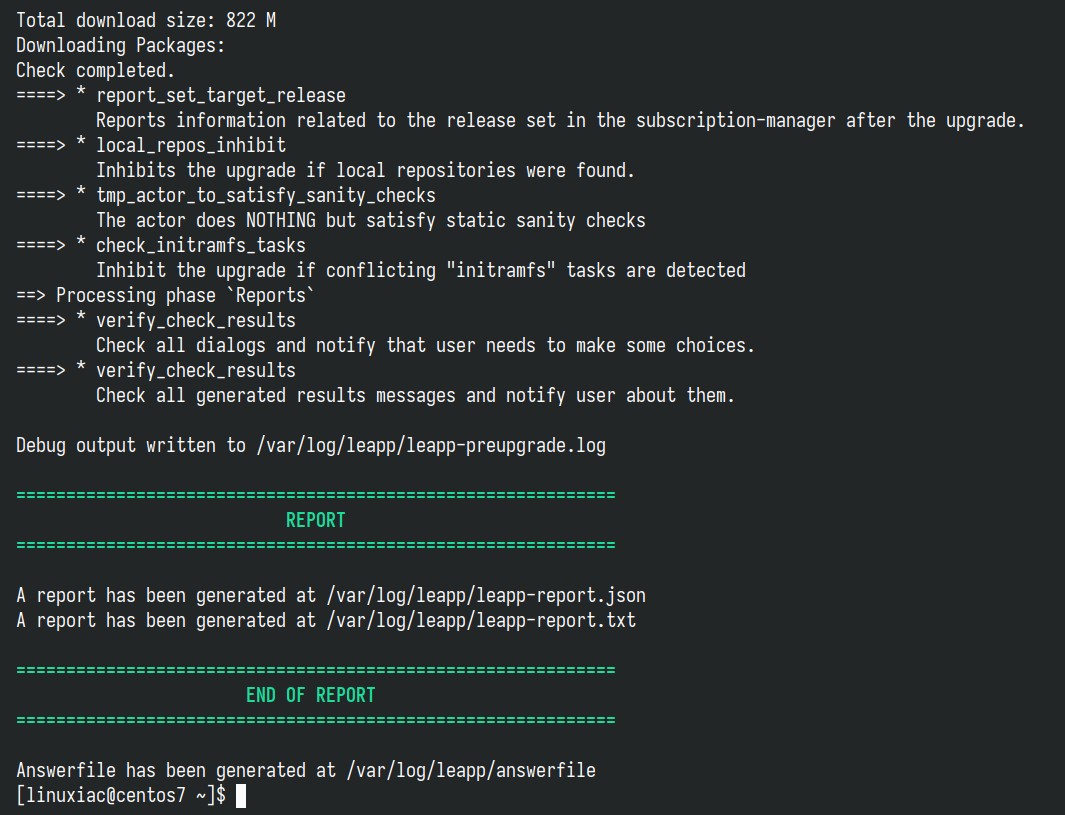
Step 3.4: Start the Actual Migration from CentOS 7 to Oracle Linux 8
Run the following command to migrate your CentOS 7 system to Oracle Linux 8.
sudo leapp upgradeCode language: Bash (bash)Please be aware that upgrading can occasionally lead to errors if you are using packages from external repositories, such as EPEL. A common example is encountering an issue with the “openssl11-libs” package from the EPEL repo.
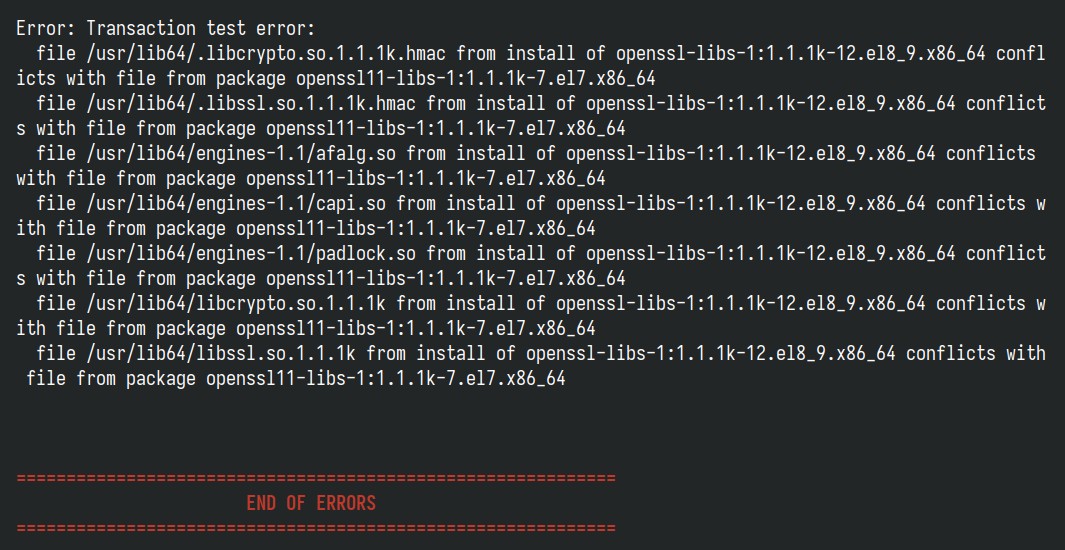
To fix this problem, uninstall the package by executing yum remove <package_name>. Afterward, rerun the sudo leap upgrade command, which should proceed without issues.
Moreover, now’s the perfect time to grab a coffee and settle in because, depending on your internet connection speed, the upgrade process will take some time.
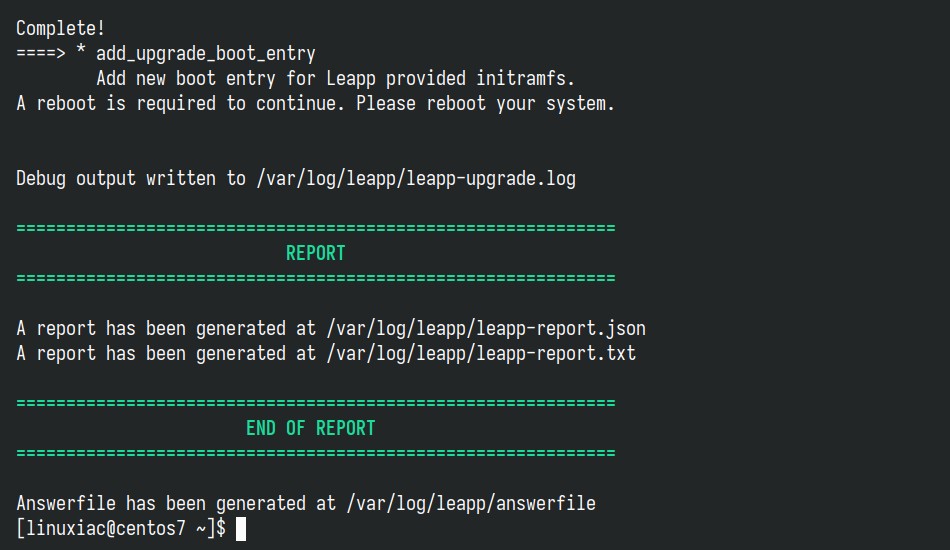
Once the migration is completed, you’ll be offered to reboot the system. Okay, the moment of truth!
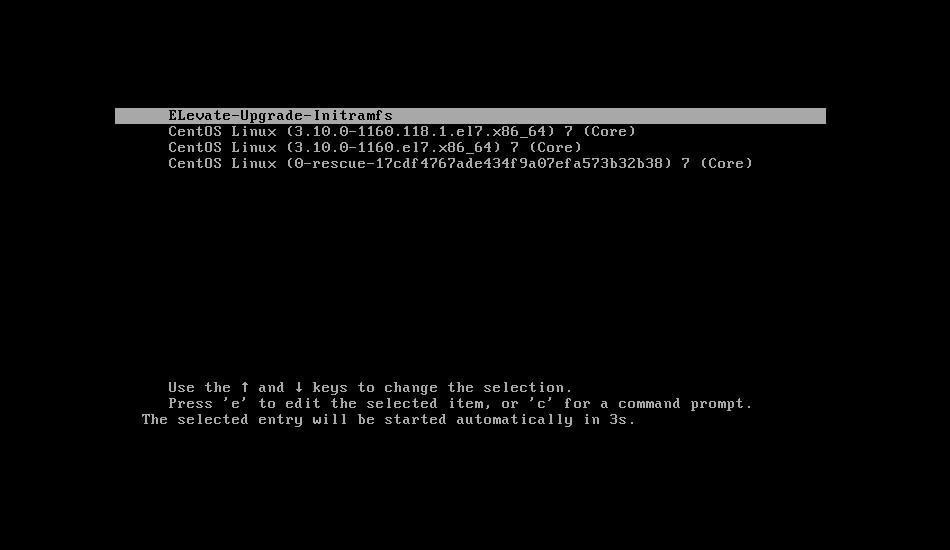
sudo rebootCode language: Bash (bash)After restart, you’ll notice a new option called “ELevate-Upgrade-Initramfs” pop up in the GRUB menu. Your computer will pick it up automatically and start on its own in just a few moments.
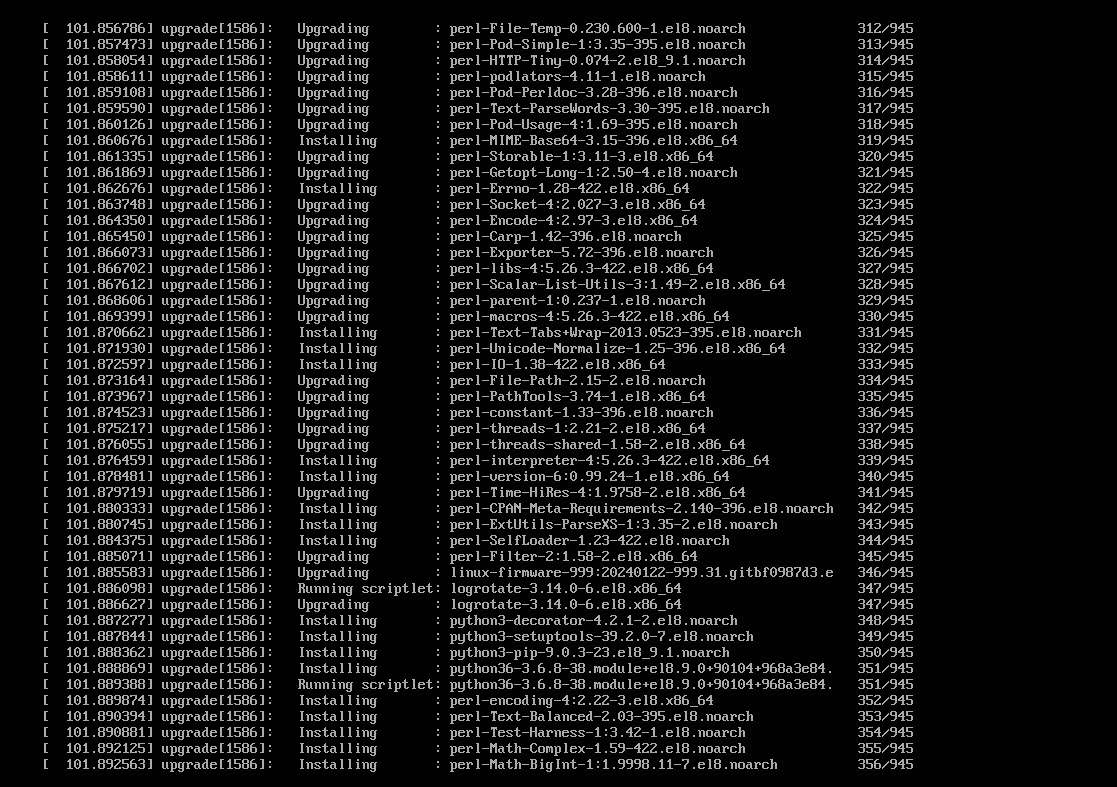
Since the package upgrades involve a lot of background activity, the process might take a while. Please be patient if you cannot access the terminal to track these changes. Depending on your hardware’s capabilities and the number of packages being updated, it could take anywhere from a few minutes to half an hour.
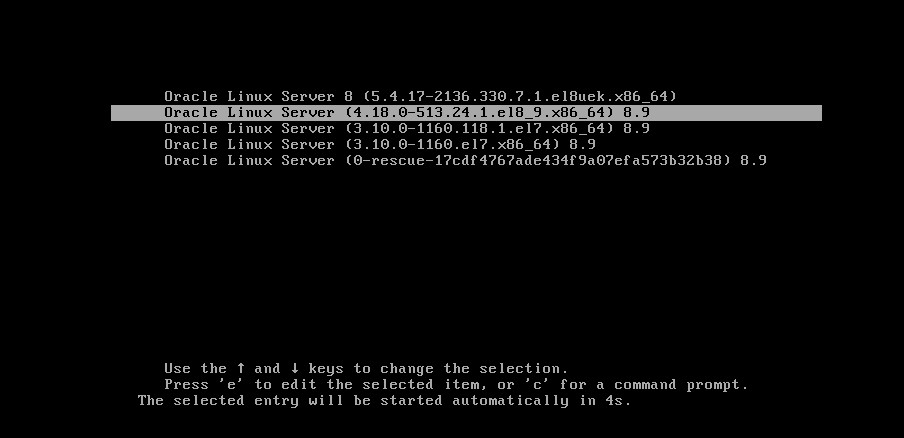
In the final loop, the system will automatically reboot again, but this time, GRUB will display the entries for your Oracle Linux 8 system.
At this point, it’s time to give yourself a big pat on the back because, just like that, you’ve successfully transitioned your system from CentOS 7 to Oracle Linux 8. A big congrats from me as well!
Step 4: Check the OS Version (Optional)
To ensure everything goes according to plan, why not take a quick peek at the OS version? In addition, you can update the server hostname to match Oracle.
sudo hostnamectl set-hostname oracle8
sudo rebootCode language: Bash (bash)
cat /etc/oracle-releaseCode language: Bash (bash)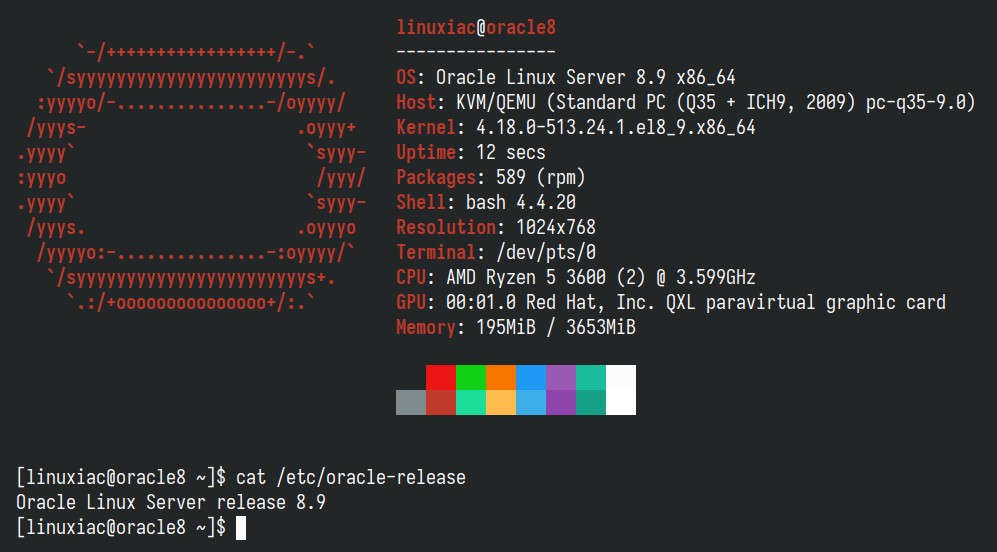
Post-Installation Steps
We recommend starting by removing the EPEL repository if you’re using it. It still targets the older CentOS 7 and could lead to errors due to compatibility issues when you try to upgrade your system or install new packages. To remove it, execute:
sudo dnf remove epel-releaseCode language: Bash (bash)Then, you can add it again. The installer will recognize that your system is RHEL 8 compatible and will install the appropriate EPEL 8 repository.
sudo dnf install epel-releaseCode language: Bash (bash)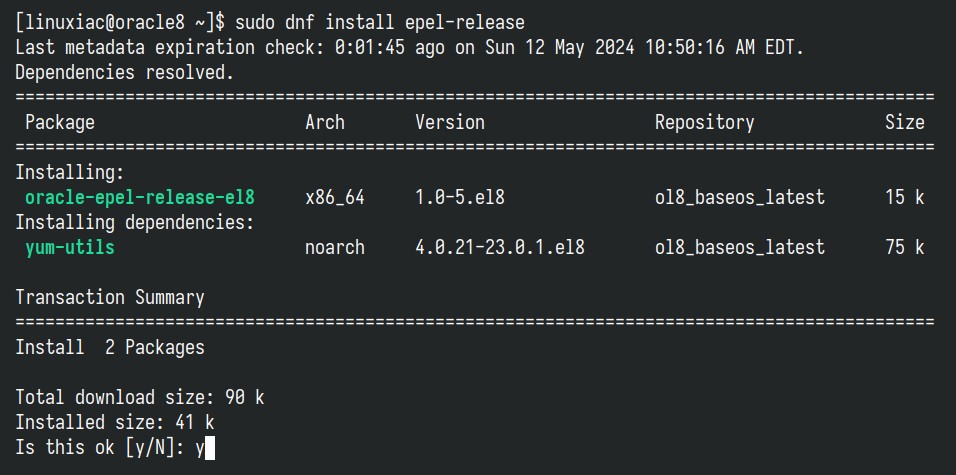
Upgrade your system.
sudo dnf updateCode language: Bash (bash)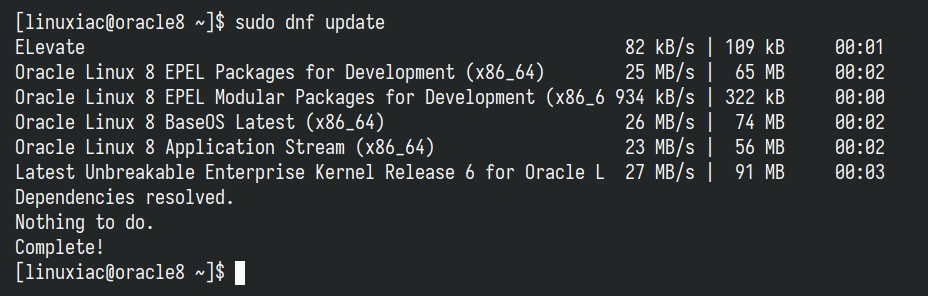
Remove all CentOS 7-related packages. To find them, run the command below:
sudo rpm -aq | grep el7Code language: Bash (bash)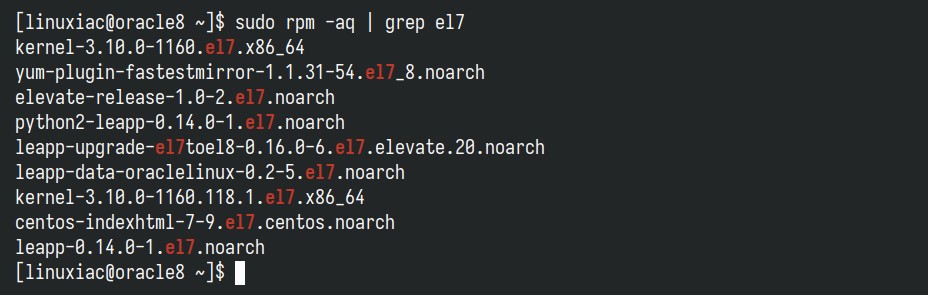
Then open the “/etc/yum.conf” file and comment out the “exclude” line shown below.
sudo nano /etc/yum.confCode language: Bash (bash)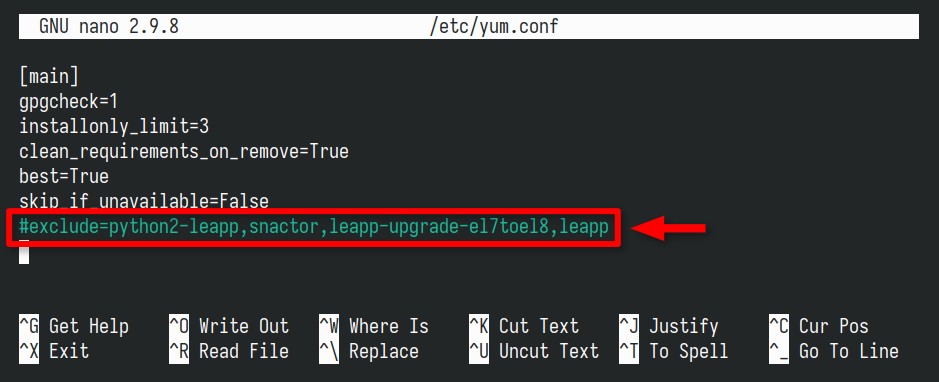
Finally, to remove them, list them individually as arguments to the dnf remove command. In our case, it looks like this:
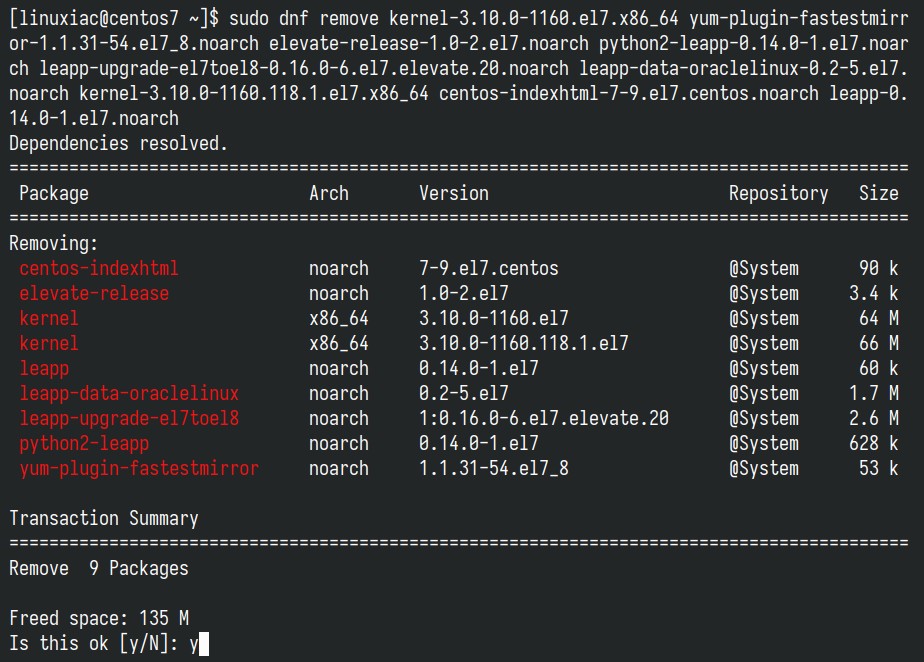
For a more in-depth introduction to the DNF command, we highly recommend consulting our article on the subject, “DNF Command-Line Package Manager in Linux: A Complete Guide.”
Conclusion
As outlined in this comprehensive guide, the migration from CentOS 7 to Oracle Linux 8 provides a strategic upgrade path in light of CentOS 7 reaching its end of life on June 30, 2024.
Users can confidently transition to a more contemporary and supported version of Oracle Linux by meticulously following the steps provided. For more information, see the Oracle’s documentation.
I try to make this guide as simple as possible. Thanks for using it! Please share your thoughts in the comments box below.


Thanks Bobby
Hey Bobby!
Thanks for the detailed instructions.