Having a solid foundation is crucial for anyone venturing into web development, creating dynamic websites, or hosting applications. This is where the LEMP stack comes into play – an acronym representing Linux, Nginx, MySQL/MariaDB, and PHP – a powerful combination that forms the backbone of countless websites and applications worldwide.
Debian, known for its stability, security, and extensive package repositories, remains popular among developers and administrators for creating reliable server environments.
This comprehensive guide walks you through the step-by-step process of setting up an Nginx, PHP, and MariaDB (LEMP stack) on Debian 12 “Bookworm.” So without further ado, let’s get to work.
Prerequisites
Before diving into the installation process, we’ll outline the prerequisites, ensuring you have a smooth experience. This includes having access to a Debian 12 server, basic command-line proficiency, and a user account with sudo execution privileges.
Of course, you can skip the sudo portion of the commands and run them directly as a root user. The result will be the same in both cases.
Furthermore, ensure that your firewall does not block port 80 to the server and port 443 if you plan to use SSL.
Step 1: Update Software Repositories
First, we will use the APT command to update the list of available packages. This ensures that only the most recent versions of the packages are used throughout the installation of the LEMP stack on our Debian 12 system and prevents difficulties.
In addition, make sure the system is fully updated. If packages are waiting to be updated, I advise applying them before moving on.
sudo apt update
sudo apt upgradeCode language: Bash (bash)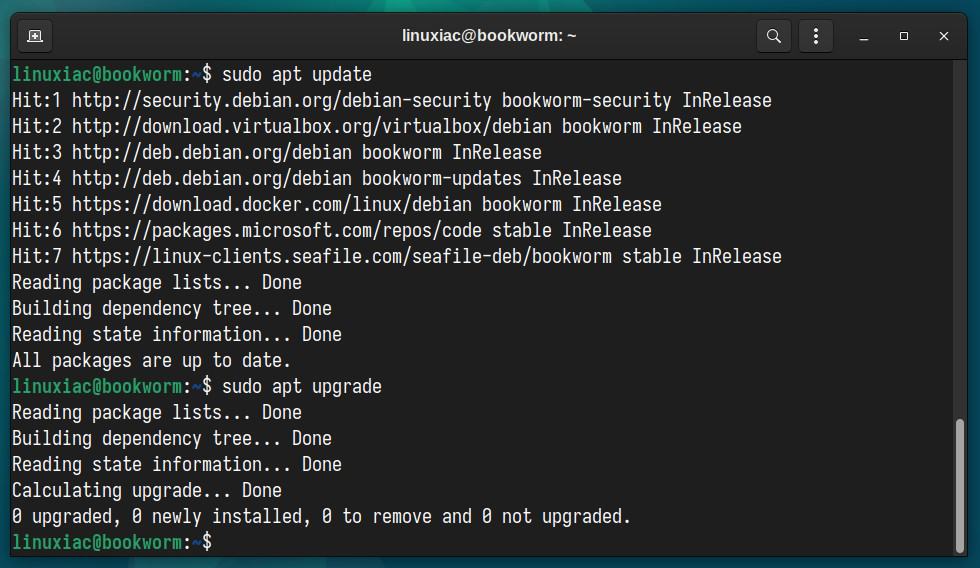
Step 2: Install Nginx Web Server on Debian 12
The web server enables you to serve visitors’ content, such as web pages. This step takes care of the second requirement in the LEMP stack, the Nginx web server.
Use the following commands to install the latest Nginx version on your Debian 12 server. When prompted, enter “Y” to confirm that you want to install it.
sudo apt install nginxCode language: Bash (bash)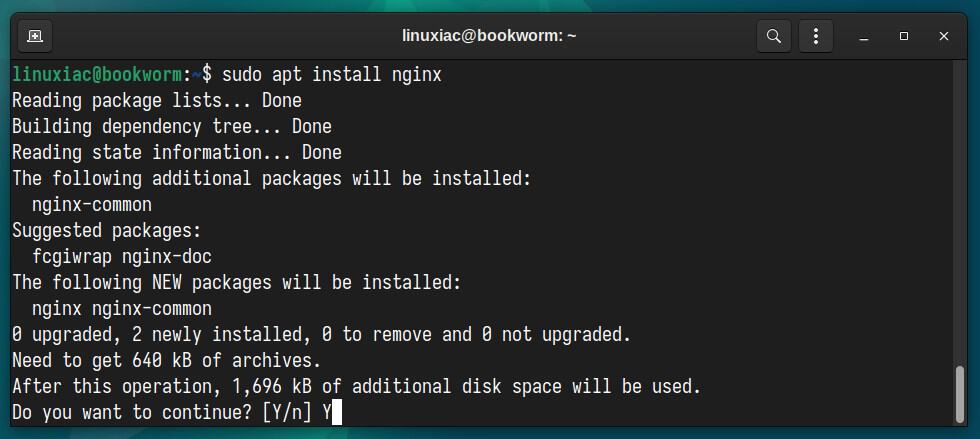
After installation, Nginx will run on your Debian 12 server. But first, let’s check if it works as expected.
Open a web browser on your system and type the server’s IP address in the address bar.
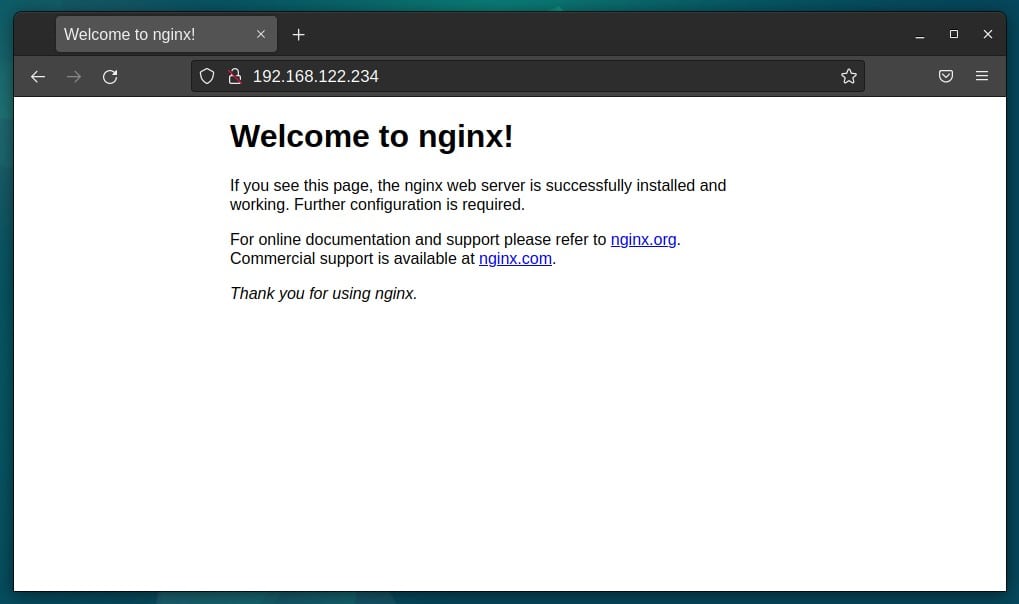
You should be greeted by Nginx’s default welcome page.
Step 3: Install MariaDB Server on Debian 12
Now that you have a working web server, you need to install the database server to store and manage data for your website. Instead of MySQL, we’ll be installing MariaDB in this tutorial.
It is an open-source RDBMS (Relational Database Management System), backward compatible, binary drop-in replacement of MySQL. MariaDB provides improved performance with faster replication speeds, tighter security measures, and additional storage engines compared to MySQL.
To install the MariaDB database, run the commands below, and when prompted, confirm installation by typing “Y” and hitting “Enter.”
sudo apt install mariadb-serverCode language: Bash (bash)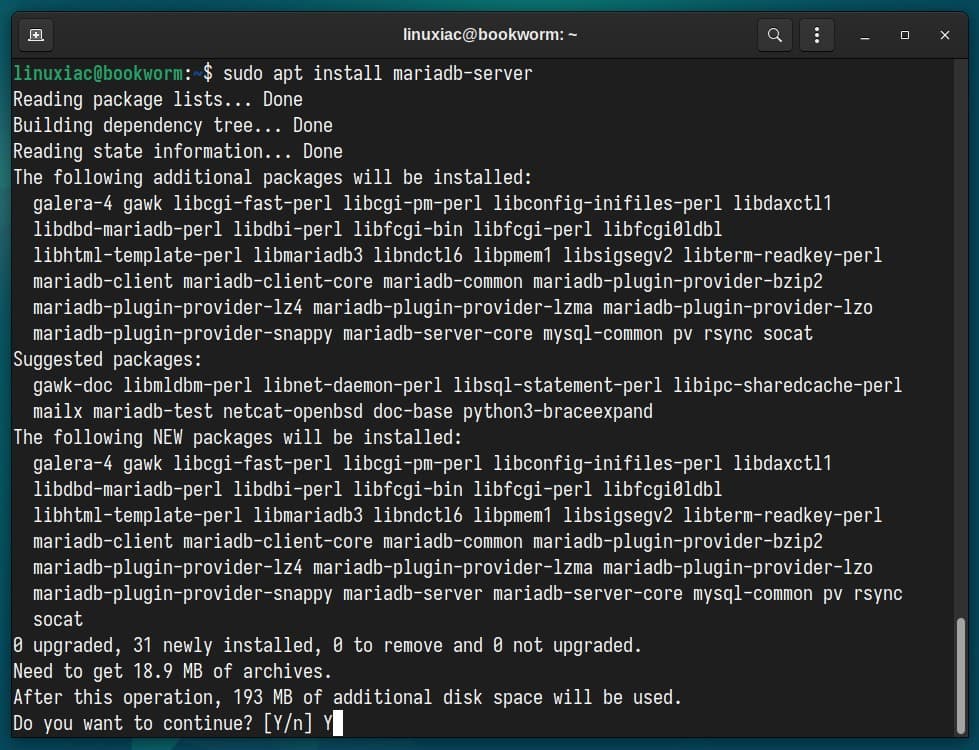
3.1 Securing MariaDB Server
Next, we’ll use a script (mysql_secure_installation) provided by the “mariadb-server” package to restrict access to the server and remove unused accounts because the default setup makes your MariaDB installation unsafe.
Run the post-installation security script.
sudo mysql_secure_installationCode language: Bash (bash)After running the above command, you will be prompted to enter the MariaDB root password. Just leave the root password empty and press the “Enter” key. For the rest, keep typing “Y” and hitting “Enter.”
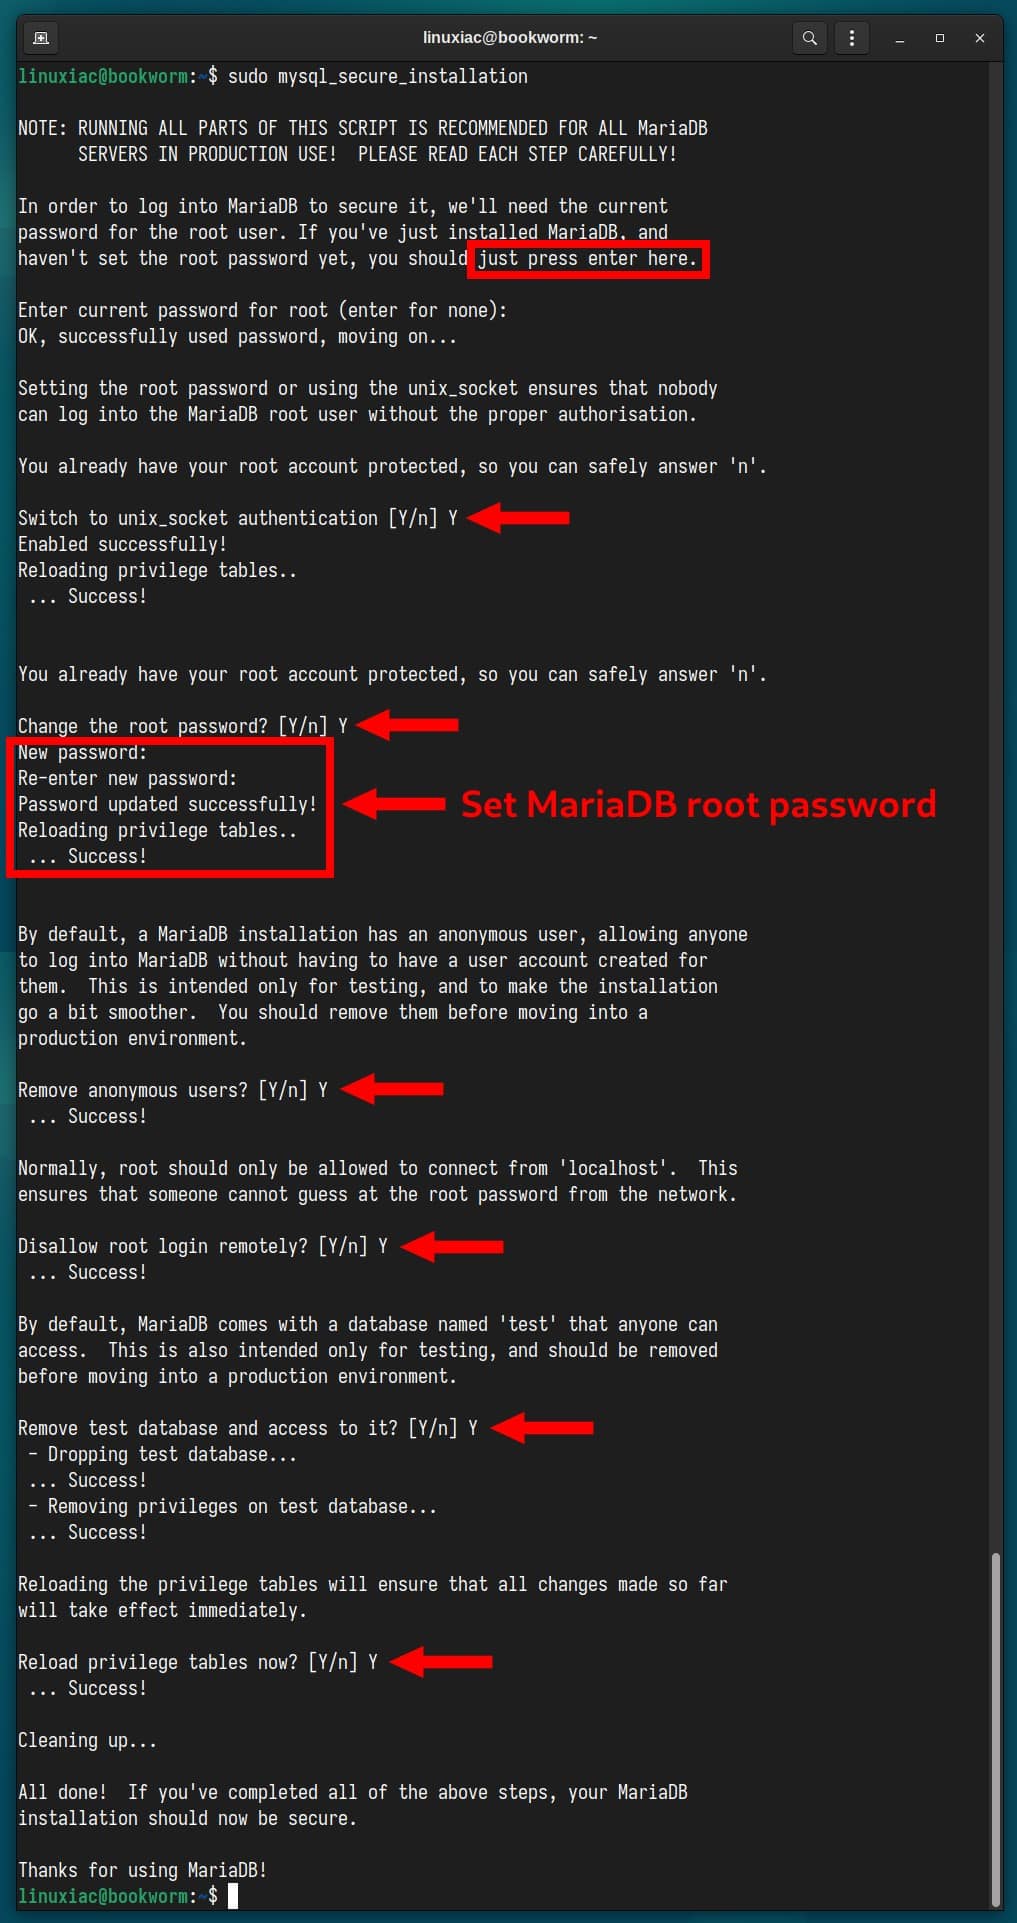
The password set above for the MariaDB root account is if you log into the server remotely.
To log in from the host we installed, you do not need to enter a password and will not be asked for one. Just type “sudo mysql” to access the MariaDB shell.
3.2 Testing MariaDB Installation
Let’s log into it and run a simple query to check if the database server functions as expected.
To log in, type the command shown below.
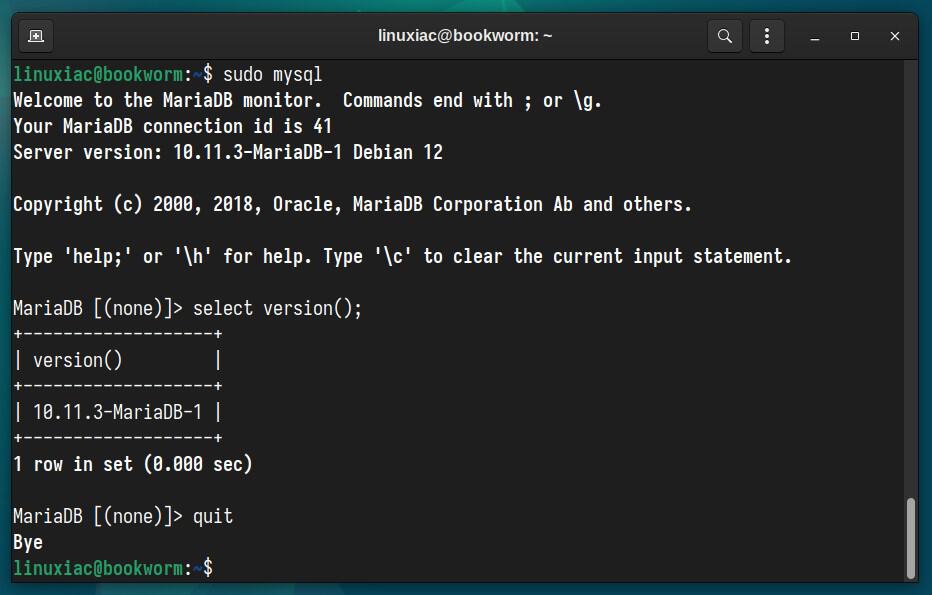
sudo mysqlCode language: Bash (bash)This will connect to the MariaDB server, and the MariaDB shell should appear. Then, run a simple query:
select version();Code language: Bash (bash)In response to your query, the MariaDB server should return its version. Finally, use the quit command to exit the MariaDB shell and return to the system terminal.
Step 5: Install PHP on Debian 12
The last step to have a complete LEMP stack installed on our Debian 12 “Bookworm” system is to install the PHP Scripting Language. To add PHP support to Nginx, you must install and use PHP-FPM to execute PHP files.
So, to install PHP-FPM and several of the most widely used PHP modules, type the command below, and when prompted, enter “Y” to confirm that you want to install it.
sudo apt install php-fpm php-mysql php-gd php-cli php-curl php-mbstring php-zip php-opcache php-xmlCode language: Bash (bash)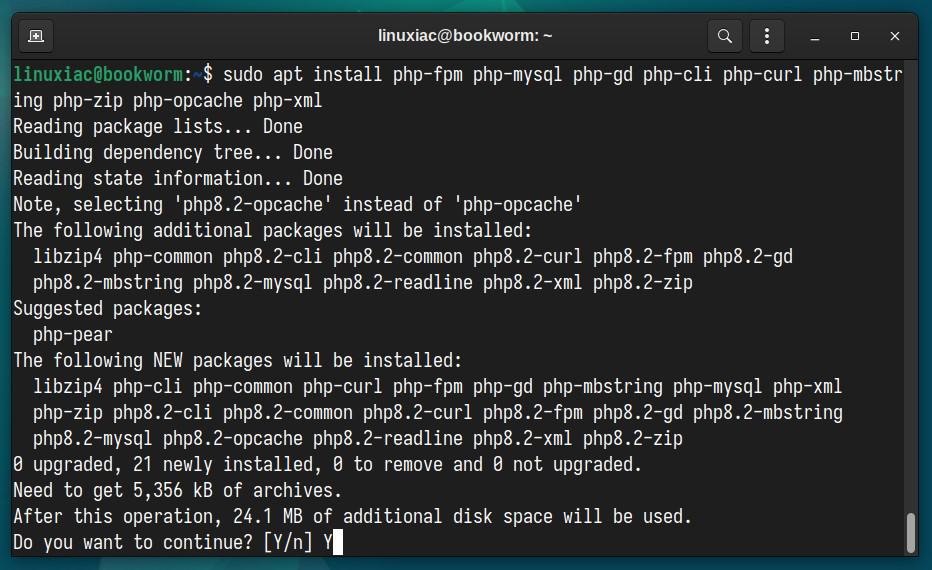
The command above will install PHP 8.2 support on your Debian 12 system.
Step 5: Configure Nginx to Execute PHP Files
Now that we’ve installed all of the LEMP components on our Debian 12 system, we need to edit the default Nginx virtual host configuration file.
sudo vim /etc/nginx/sites-enabled/defaultCode language: Bash (bash)Change the “location /” portion from this:
location / {
# First attempt to serve request as file, then
# as directory, then fall back to displaying a 404.
    try_files $uri $uri/ =404;
}Code language: Nginx (nginx)
To this:
location / {
    try_files $uri $uri/ /index.php?$args;
}Code language: Nginx (nginx)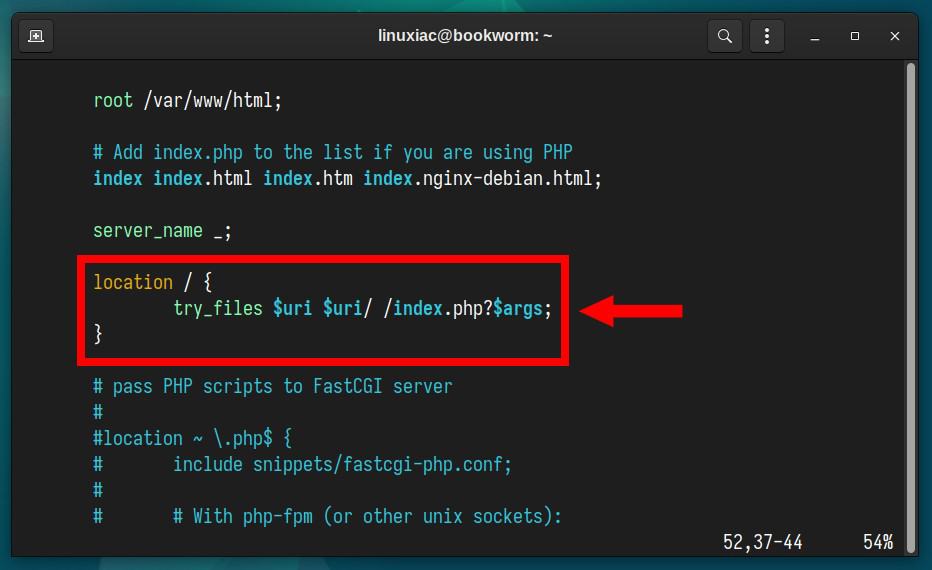
Next, add the following lines to the default “server” block to allow Nginx to process PHP files:
location ~ \.php$ {
     include snippets/fastcgi-php.conf;
     fastcgi_pass unix:/var/run/php/php-fpm.sock;
}Code language: Nginx (nginx)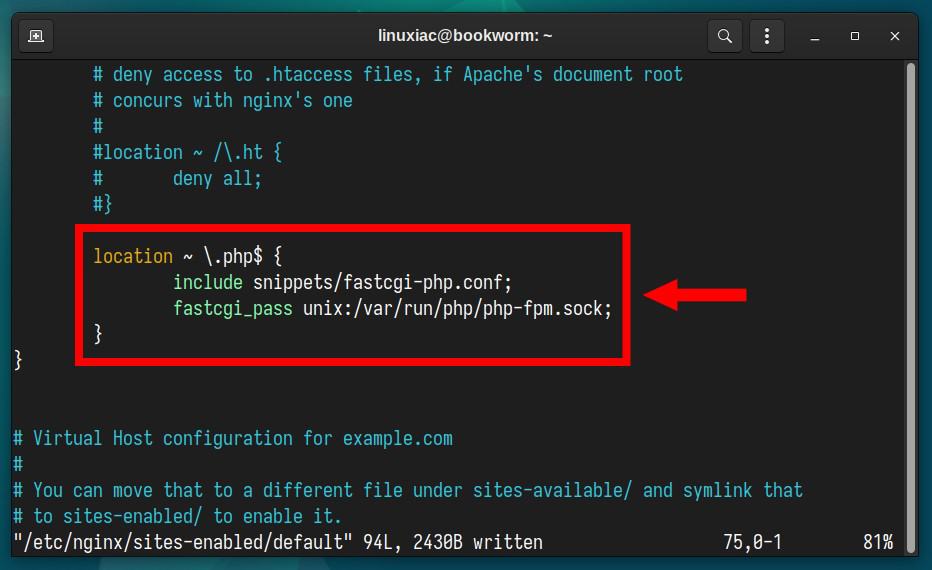
Test the modified Nginx configuration file for syntax errors by entering the following command:
sudo nginx -tCode language: Bash (bash)
If you get the above output, all is well, and we only have one final step left. However, if any errors are reported, recheck your file before continuing.
Finally, restart Nginx to make the changes take effect.
sudo systemctl restart nginxCode language: Bash (bash)If you want to learn how to create and edit Nginx server blocks for your virtual hosts, we recommend our excellent guide on “How to Create Nginx Virtual Host (Server Block).”
Step 6: Test Your Debian 12 LEMP Installation
You have completed the installation of Nginx, MariaDB, and PHP on Debian 12, so your LEMP stack should now be fully operational.
Finally, let’s create a test PHP file to verify that PHP-FPM works and is integrated with Nginx. In the default server block above, our site is being served from “/var/www/html,” so we’ll create a test file there:
echo "<?php phpinfo(); ?>" | sudo tee /var/www/html/test.phpCode language: Bash (bash)Now, you can access “test.php” from a web browser using your site’s domain or server’s IP address followed by “/test.php.”
A web page with complete information about your PHP installation will appear.
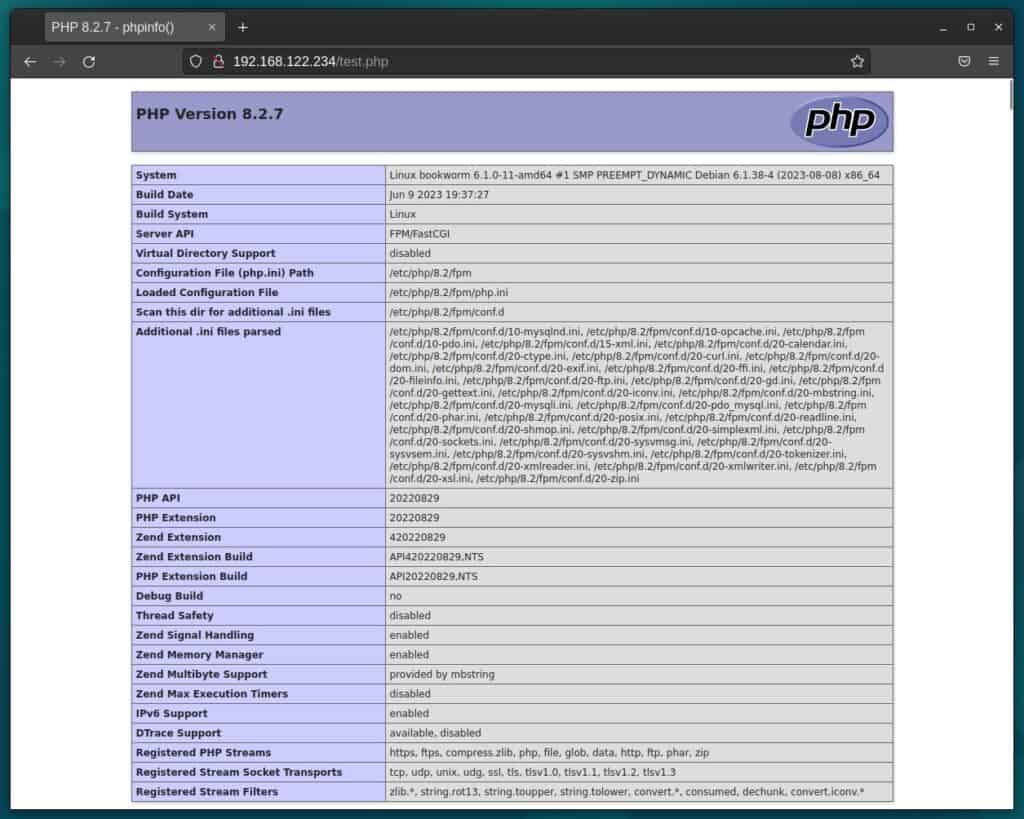
Congratulations! You successfully installed a fully functional LEMP stack on Debian 12.
Conclusion
As we bring this journey to a close, you now stand equipped with the expertise to install, configure, and harness the potential of the LEMP stack. Moreover, with Debian 12 “Bookworm” as the server platform, you’ve capitalized on a rock-solid foundation known for its stability, security, and user-friendliness.
There are several next steps you could take from here. For example, read our guide on setting SSL certificates on the Nginx server to ensure your website provides content over a secure SSL (HTTPS) connection.
Thanks for your time! I hope this guide has been helpful to you. Your feedback and comments are most welcome.

For the future comers you have to start phpx.x-fpm. In my case it was php8.2 so you should run sudo systemctl enable php8.2-fpm
The php8.2-fpm service is automatically enabled by default on Debian (after installing the php-fpm package), so it's odd you needed to enable it manually.
Followed steps exactly. All workeed fine until the last step for displaying test.php. nginx issues “502 Bad Gateway” display page.
I followed the instruction, working like a charm!