
Before we get into the technicalities, we need to state clearly the following. The procedure described in this guide has been tried and proved; nevertheless, the official recommendation is that upgrading from Rocky Linux 8 to 9 is not encouraged and that a clean install of Rocky 9 is preferable.
The Rocky Linux team does not recommend upgrades from one major version to the next (in this case 8.6 to 9.0). While it is technically possible to upgrade between major versions, we instead recommend a fresh install of the desired latest major version.
We must clarify this to inform you of the possible risks and consequences. With these clarifications, let us proceed to the main topic.
Step 1: Backing Up Your Rocky Linux 8 System
Before we begin upgrading to Rocky Linux 9 from 8, we strongly recommend that you back up your system. This ensures you can restore all vital data to its previous state if something goes wrong.
We recommend you use software that takes a snapshot of your whole operating system. However, you may find our “3 Best Free Hard Disk Imaging Software” guide helpful if you’re unsure exactly which one to use.
Additionally, you can always use a command like the one below to archive all the more important directories and their contents in a single tar.gz archive file.
sudo tar czf /rocky8.tar.gz \
     --exclude=/rocky8.tar.gz \
     --exclude=/dev \
     --exclude=/mnt \
     --exclude=/proc \
     --exclude=/sys \
     --exclude=/run \
     --exclude=/tmp \
     --exclude=/media \
     --exclude=/lost+found \
     /Code language: JavaScript (javascript)
Of course, add more --exclude= parameters if you need to. Finally, the command creates a backup of all the files and directories by placing them in the rocky8.tar.gz archive in the root partition (/). Then, this file must be transferred to another computer or drive, for example, using the SCP command.
Step 2: Update All Currently Installed Packages
Before upgrading, ensure your currently installed Rocky 8 system is up to date and upgraded to the latest Rocky’s 8.x series release. At the time of writing, this is Rocky Linux 8.9.
In the terminal, type the following DNF command:
sudo dnf update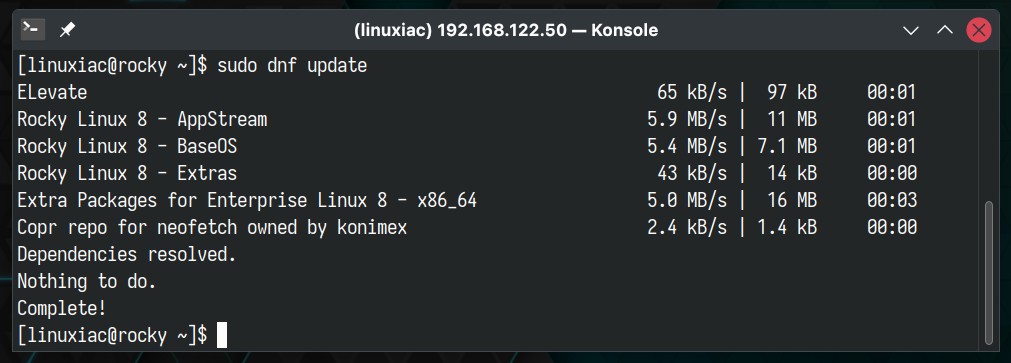
If there are any pending updates, install them and, if necessary, reboot the system.
Step 3: Verify the Currently Installed Rocky Version
We’ll start by ensuring we’re running the most recent Rocky Linux 8.x point release. The most straightforward approach to determine what Rocky Linux version you are running is to use commands like the ones shown below.
neofetch
cat /etc/redhat-release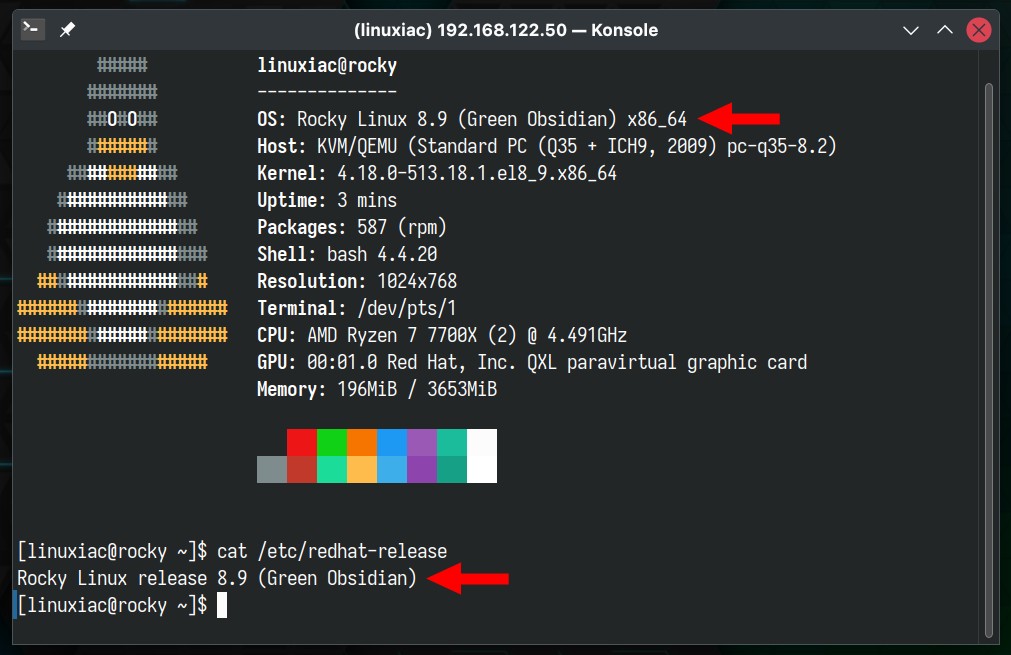
Step 4: Prepare the System for Migration to Rocky 9
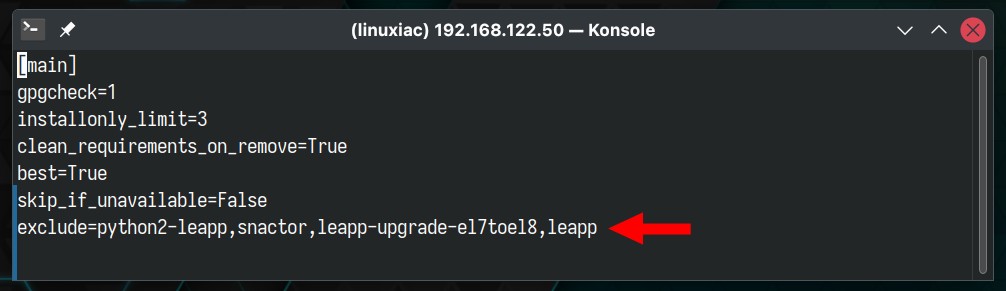
Important! If your current Rocky 8 system results from the previous migration from CentOS 7, as described here, the following step is necessary. Open the “/etc/yum.conf” file and remove the “exclude” line entirely. After doing so, save the changes and close the file.
Now, we will need to export several packages (“rocky-release,” “rocky-repos,” and “rocky-gpg-keys“) as environment variables required for the Rocky 8 to 9 upgrade process.
We will use these variables by passing them to the DNF command in a moment to install the specified packages.
In the meantime, however, these packages have probably been updated. Therefore, before executing the commands below, please check this link to confirm the current versions and update them accordingly in the command.
REPO_URL="https://download.rockylinux.org/pub/rocky/9/BaseOS/x86_64/os/Packages/r"
RELEASE_PKG="rocky-release-9.3-1.2.el9.noarch.rpm"
REPOS_PKG="rocky-repos-9.3-1.2.el9.noarch.rpm"
GPG_KEYS_PKG="rocky-gpg-keys-9.3-1.2.el9.noarch.rpm"Code language: JavaScript (javascript)
Finally, let’s install the packages themselves.
sudo dnf install $REPO_URL/$RELEASE_PKG $REPO_URL/$REPOS_PKG $REPO_URL/$GPG_KEYS_PKGCode language: PHP (php)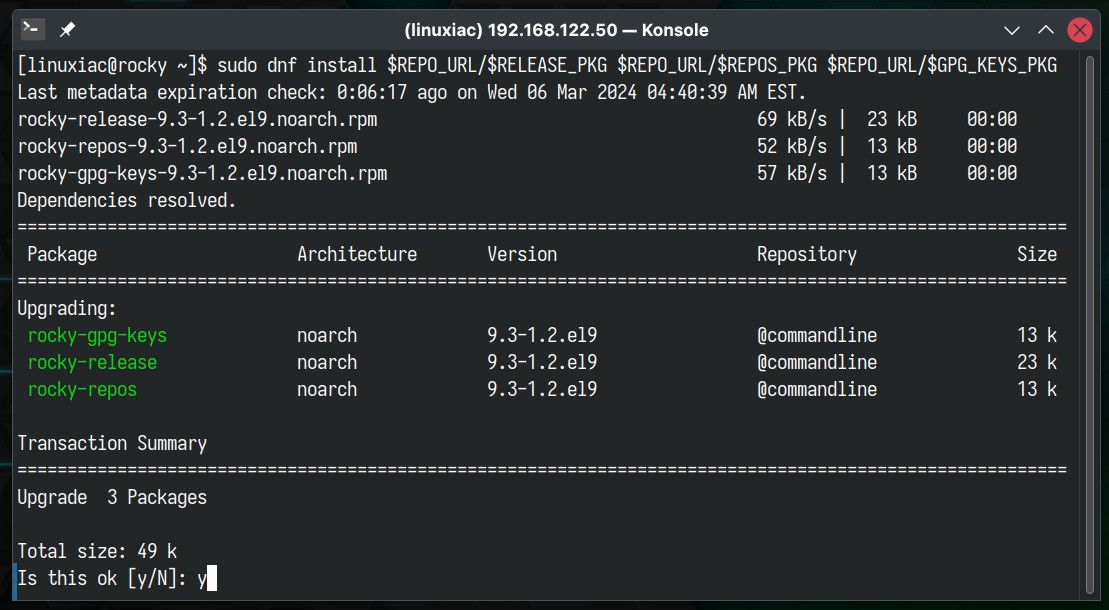
Step 5: Upgrade from Rocky Linux 8 to Rocky Linux 9
However, we must manually remove the “/usr/share/redhat-logos” directory before upgrading. Otherwise, the upgrade procedure will fail.
sudo rm -rf /usr/share/redhat-logosEverything is now in place to upgrade from Rocky Linux 8 to 9. Run the command below:
sudo dnf -y --releasever=9 --allowerasing --setopt=deltarpm=false distro-syncCode language: JavaScript (javascript)It will begin downloading and installing many packages, which will take some time. So be patient and wait for the process to complete.
The command may sometimes conclude with errors, but there’s no cause for concern. Simply review the output to identify which packages are responsible for the error. As shown оn the image below, in our case, the culprits are “iptables-ebtables” and “make-devel.”
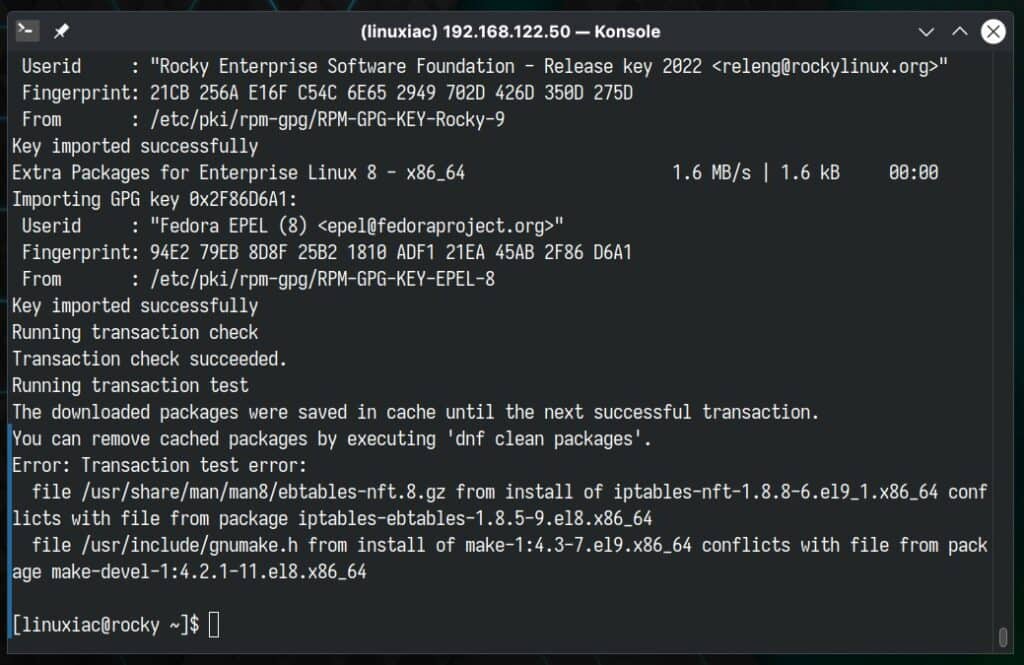
To resolve this, we proceed by removing them by executing:
sudo yum remove iptables-ebtables make-develRepeat the previous command, and everything should go smoothly this time.
sudo dnf -y --releasever=9 --allowerasing --setopt=deltarpm=false distro-syncCode language: JavaScript (javascript)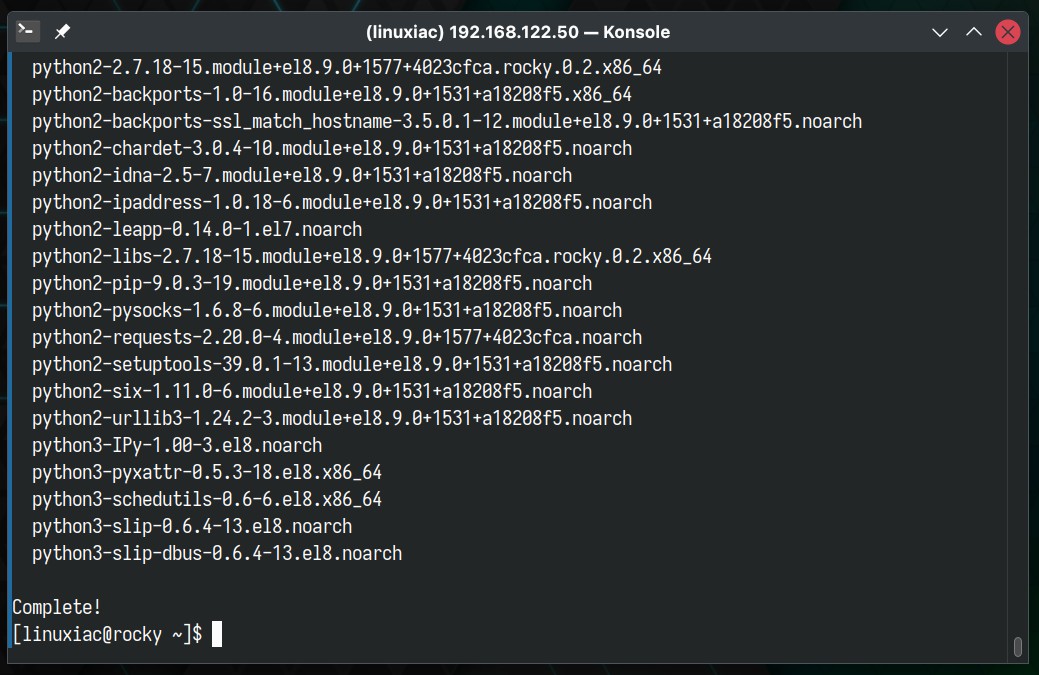
Step 6: Rebuild the RPM Database
The Berkeley DB drives the RPM backend in Rocky Linux 8. However, in Rocky Linux 9, this has been changed, and the used backend is SQLite. This is why we need to rebuild the RPM database.
Fortunately, this is simple to accomplish by using the command below.
sudo rpm --rebuilddb
We’re finally ready to boot into our new Rocky Linux 9 system. Okay, the moment of truth!
sudo rebootThe GRUB bootloader will greet you, and its list should now include the Linux kernel 5.14 used by Rocky Linux 9 (Blue Onyx).
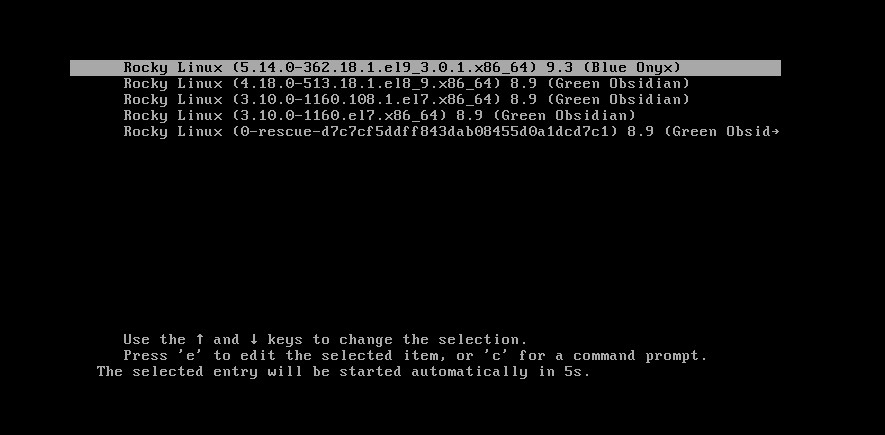
Once the system has successfully booted, you can log in.

Step 7: Post-installation Steps
The first thing we will do, of course, is to confirm the version of our operating system by running the commands we already know:
neofetch
cat /etc/redhat-release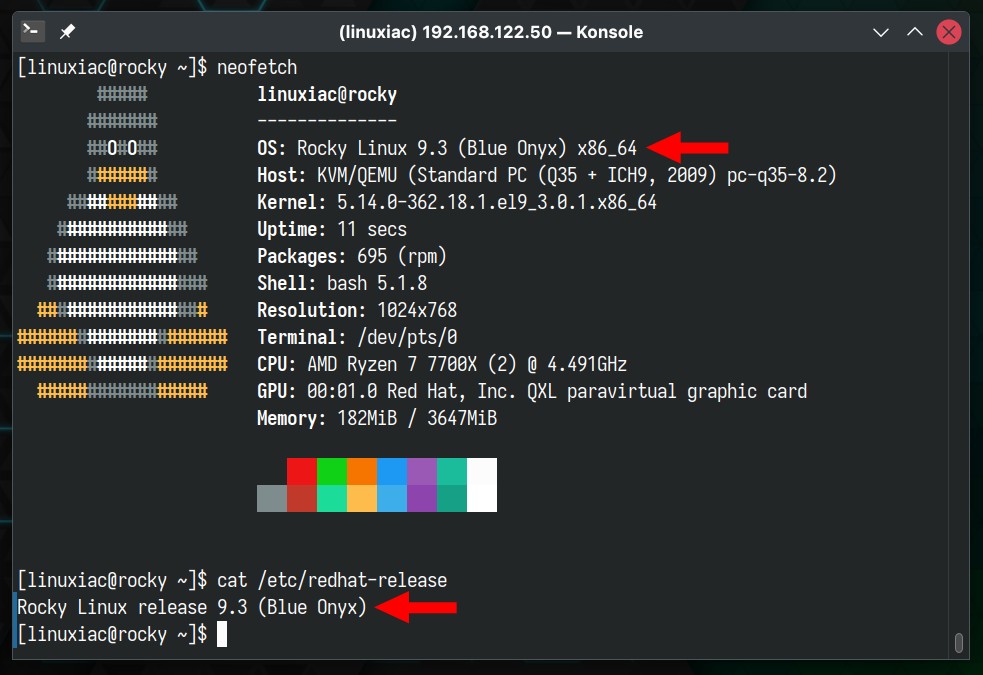
Congratulations! As can be seen, the upgrade from Rocky Linux 8 to 9 is successful.
However, specific modules may give an error message, “Modular dependency problems,” when we try to update our new Rocky 9 system. So, we choose “N” here and address this issue first.
sudo dnf update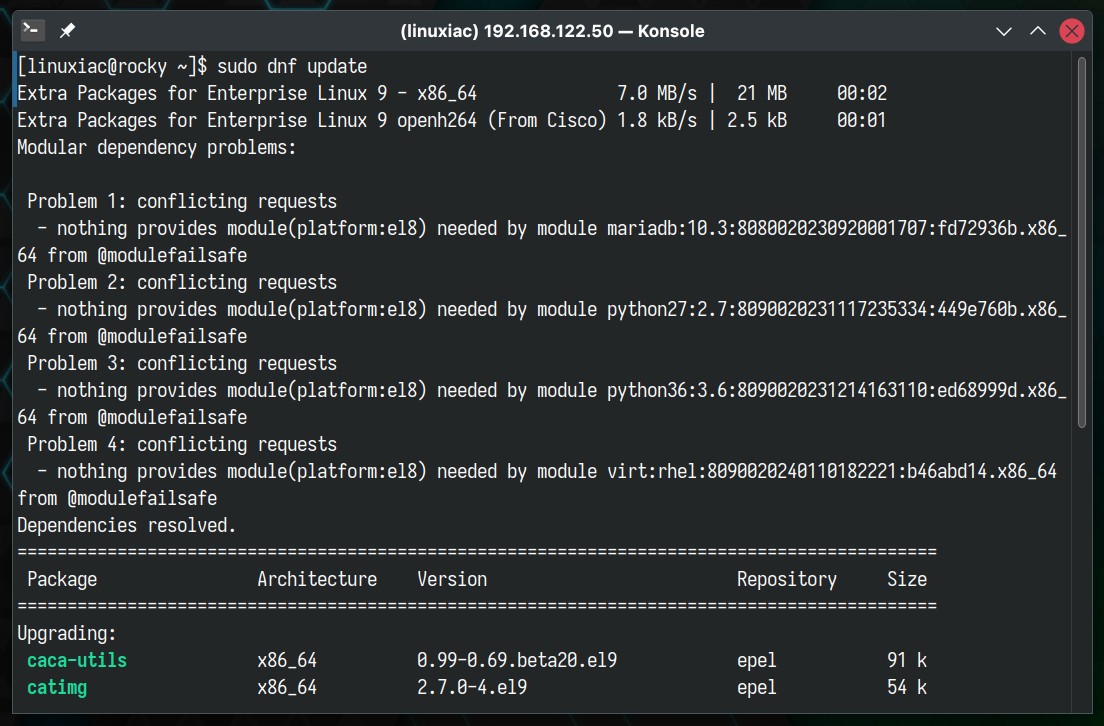
Using the command below, we output a list of available DNF modules to see those incompatible with our Rocky 9 system.
sudo dnf module listCode language: JavaScript (javascript)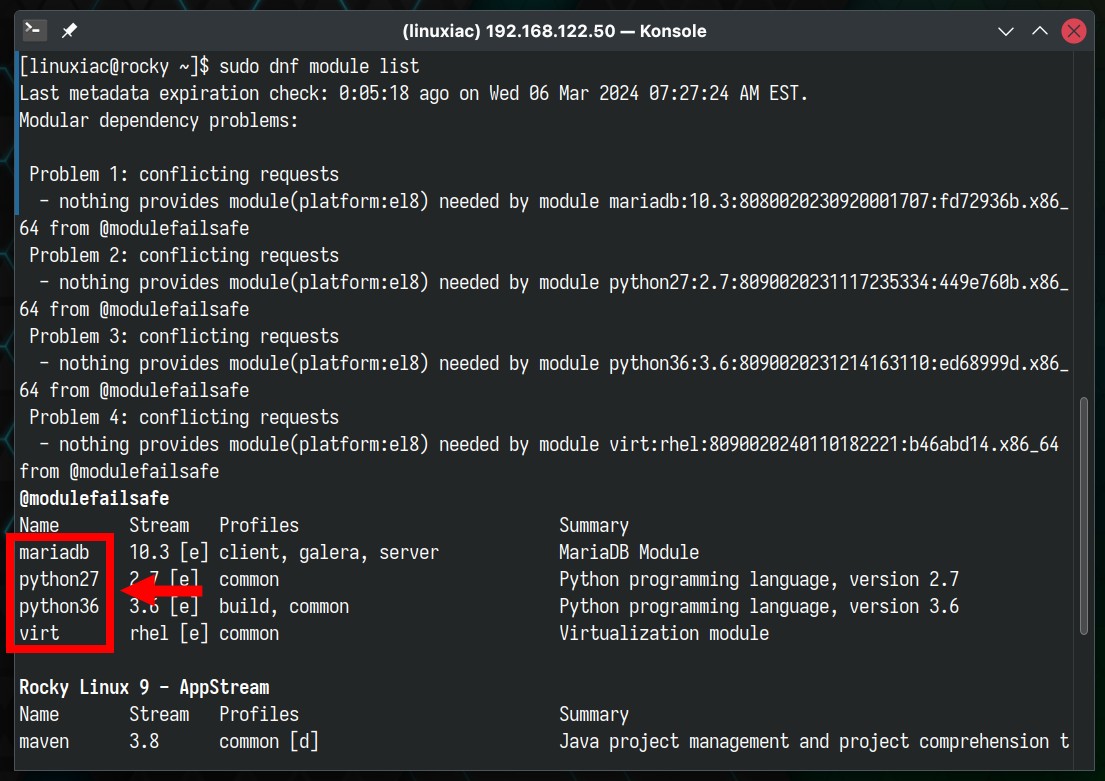
Then we disable them:
sudo dnf module disable mariadb python27 python36 virtCode language: JavaScript (javascript)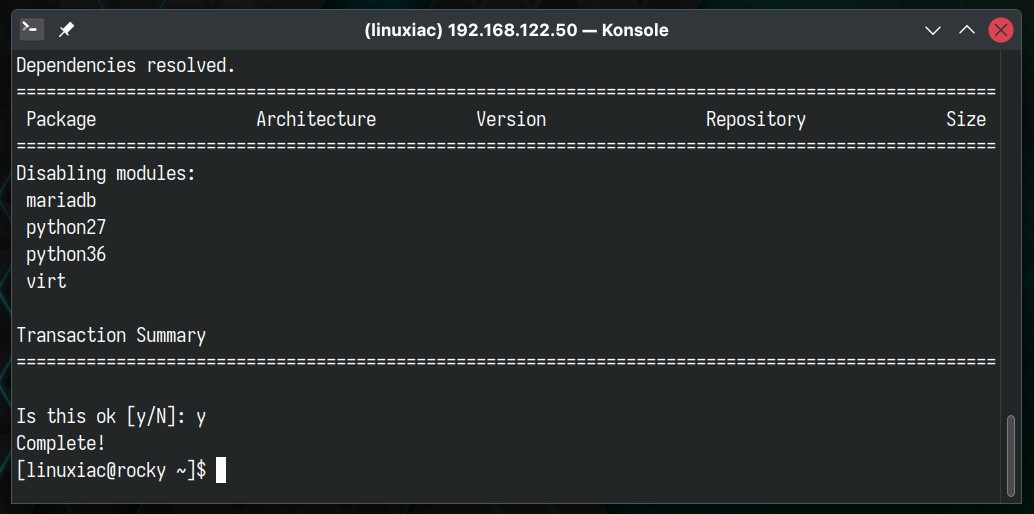
Of course, these modules will likely be different in your case, so approach disabling the modules relative to your case.
Finally, everything should go well if we try to update our Rocky 9 system again.
sudo dnf update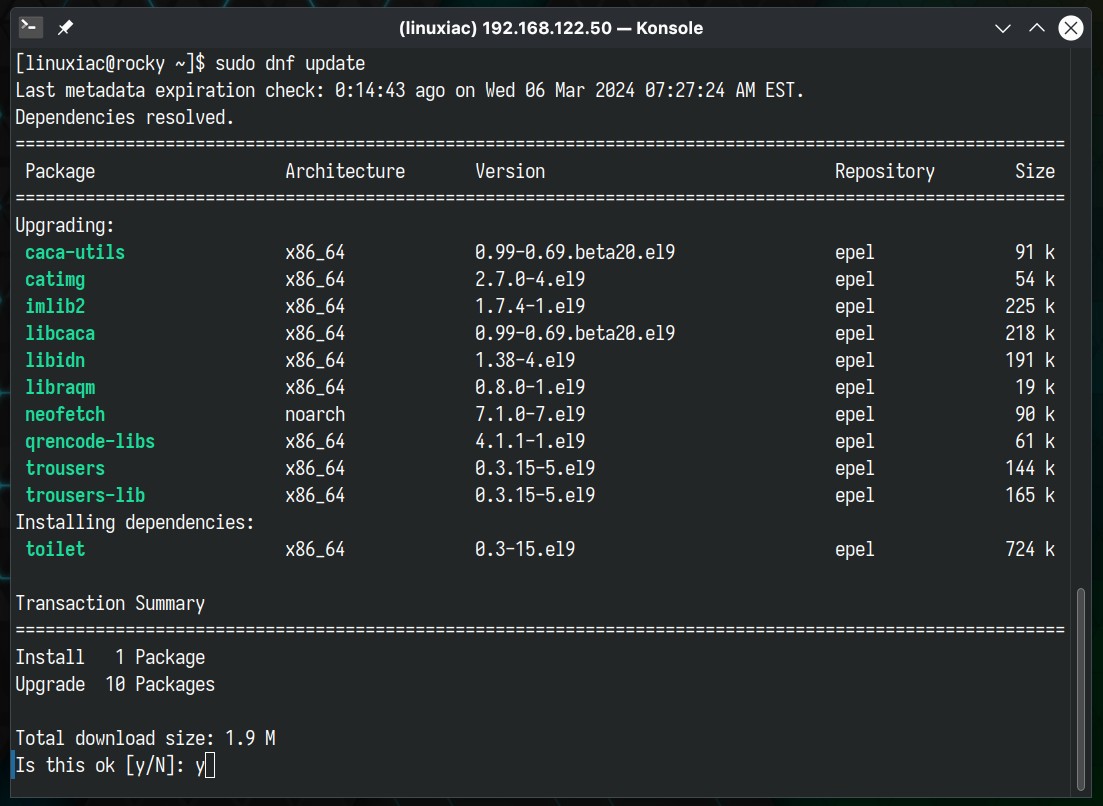
Conclusion
This guide showed how to upgrade your system from Rocky Linux 8 to 9. I hope we have been helpful.
Lastly, we’d love it if you could share your upgrading experience in the comments below.


Late to the party and upgraded to 9.7. A couple of the upgrade script-lets hung and I had to interrupt them with ctrl-C for it to continue. Great and well written, thanks.
Followed the guide for in-place upgrade from Rocky 8 to 9. It went relatively smoothly. The only thing I ran in that was not listed here was after the upgrade and reboot, when I ran ‘dnf update’, it displayed: “warning: Signature not supported. Hash algorithm SHA1 not available.”
Command “rpm -e `rpm -qa | grep gpg-pubkey | xargs`” fixed it.
Thank you.
After installation and reboot, boot procedure failed and went into rescue system: What i could do then successfully: booted from latest minimal ISO Rocky9 (worked with vmware fusion on a MacOS system), then rebuilt the initramfs: chroot /mnt/sysimage (depends obviously on where rescue system mounted your existing devices, so a df -k before helps); cd /boot; dracut -f initramfs-5.14.0-427.26.1.el9_4.x86_64.img 5.14.0-427.26.1.el9_4.x86_64 (was the actual kernel when i worked on this, obviously might be a newer now!); exit; reboot; Another reboot was performed automatically, then i finally was booting into Rocky9 and could do the final cleaning. I don't know whether this is a special VMWare Fusion thing, but just in case, be prepared for the above procedure to safe your installation. Additional note: I also had in my 1st trial issue with my devices which were "SCSI", i "converted" to SATA first, which is more or less just changing some lines in the .vmx file, just Google for this, you'll find good articles for this.
Thank you! Worked well for me, and I came from the upgrade CentOS7 to Rocky 8.
I did everything by the book and cannot login. I rebooted and get the login prompt: login as: and my username and user root are not able to login, as the session is terminated immediately. Help. Thanks.
Hi Rick,
Try setting a new password for the root user as described here: “How to Reset a Forgotten Root Password in Linux”
Best,
Bobby
I tried following this but it refuses to upgrade. Is there no simpler way?…(and no I’m not a noob, I’m wondering because we were thinking of going with Ricky for the 6 server we have onsite. IF there’s any way this can be done with an automated bash script or something it would be great if someone could post it here.
I would also note that RHEL 9 disabled some non recommended algorithms. After the upgrade I was unable to ssh in. Ref: https://github.com/openssl/openssl/issues/18420#issuecomment-1140295016
Looks like I need to regenerate some ssh keys 🙂
You could automate some of the repo variables using the following.
REPO=”http://download.rockylinux.org/pub/rocky/9/BaseOS/x86_64/os/Packages/r/”
REPO_URL=${REPO::len-1}
RELEASE_PKG=$(curl -s $REPO | grep -oP “(?)(.*(?:rocky-release).*)(?=<)")
REPOS_PKG=$(curl -s $REPO | grep -oP "(?)(.*(?:rocky-repos).*)(?=<)")
GPG_KEYS_PKG=$(curl -s $REPO | grep -oP "(?)(.*(?:rocky-gpg-keys).*)(?=<)")
echo $REPO_URL
echo $RELEASE_PKG
echo $REPOS_PKG
echo $GPG_KEYS_PKG
You require the trailing slash on the REPO in order for CURL to not his a 301. Then we are removing the trailing / for REPO_URL because in your DNF command you are adding a / between the two variables.
Added the echo's as a sanity check, but could be removed.
Worked like a charm. Thank you so much for posting this!
Impressive.
I upgraded from Rocky Linux 8.7 to 9.1 in my dedicated Hetzner server.
Thanks for the tutorial.
Thanks for this. Worked perfectly.