One of the great things about Docker is how you can quickly use it to try out applications without installing it directly on your machine. For example, you can use Docker to run a database in a container as a remote server and test how your application interacts with it.
Running MySQL with Docker containers is a widely used mechanism. MySQL is one of the most popular databases used with Docker containers.
Of course, the host machine should have Docker installed for creating MySQL as a Docker container. So, if you haven’t installed it, here are some guides that will be very helpful:
- How to Install Docker Engine on Ubuntu: A Step-by-Step Guide
- How to Install Docker on AlmaLinux / Rocky Linux
1. Pull the MySQL Docker Image
The first thing you have to do to create and test the MySQL server in Docker is to pull a MySQL official image from the Docker Hub.
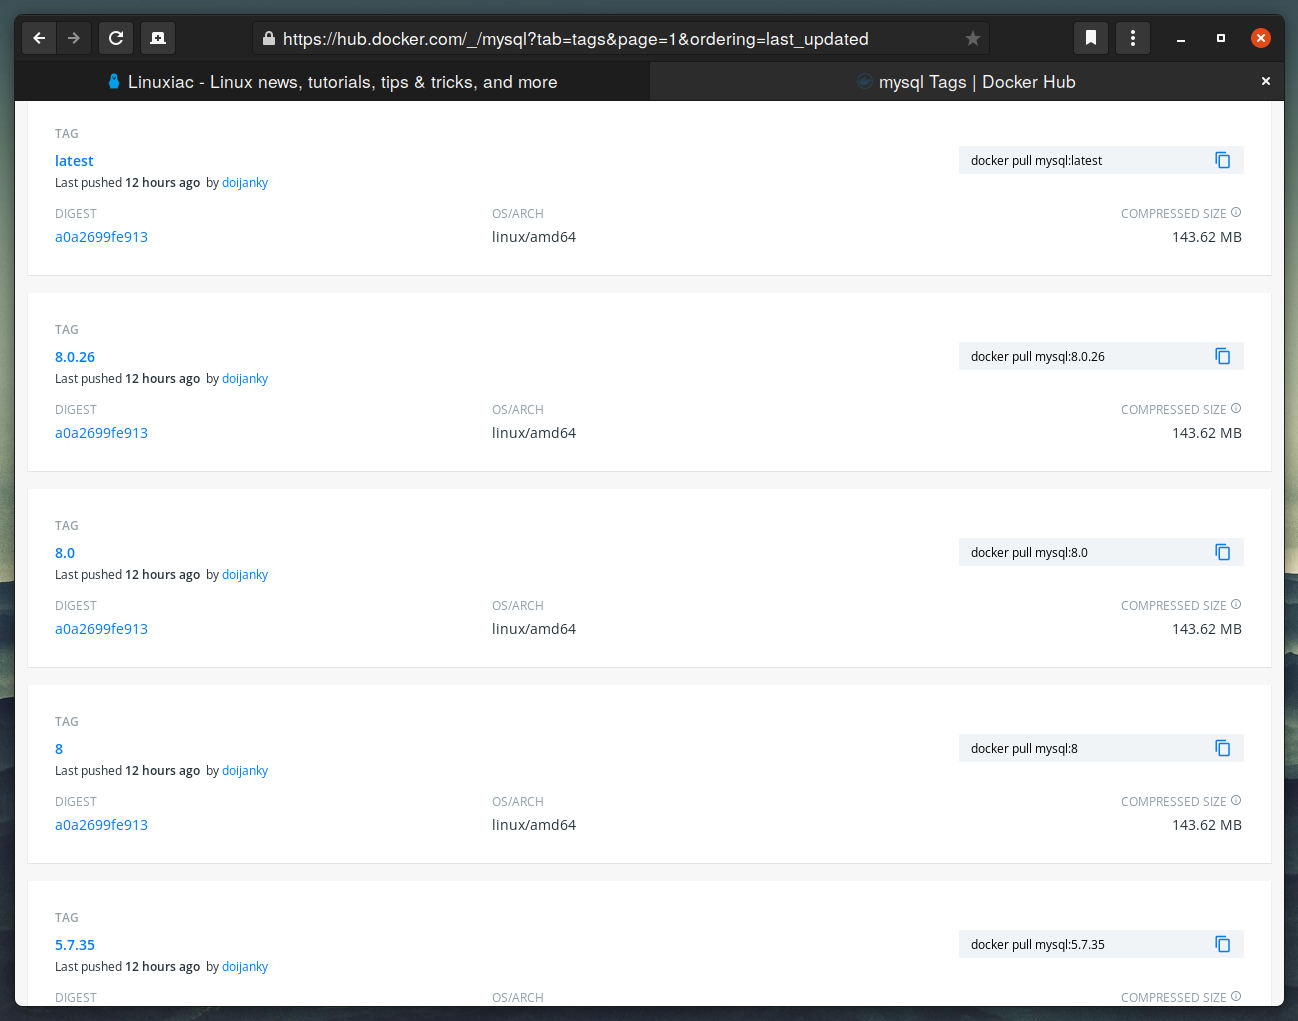
You can download a specific version, such as 8.0, 5.7, or 5.6, or opt for the latest release as seen in the following command:
sudo docker pull mysql:latestCode language: CSS (css)If you want a particular version of MySQL, replace the latest with the version number.
You can run the docker images command to see a list of Docker images you have pulled from the Docker Hub.
sudo docker imagesREPOSITORY TAG IMAGE ID CREATED SIZE
mysql latest 2fe463762680 13 hours ago 514MBAs you can see, the MySQL image is now available to our locally installed Docker.
2. Setting Up a Docker Volume
As you know, Docker containers are, in principle, temporary, and any data or configuration are expected to be lost if the container is deleted.
Docker volumes, however, provide a mechanism to persist data created inside a Docker container. Therefore, they are Docker’s preferred mechanism for storing persistent data of Docker containers.
MySQL stores its data files in the /var/lib/mysql directory. So before deploying, you’ll need to set up a Docker volume to persist your database. Otherwise, your data will be lost when the container restarts.
Let’s create a new volume and name it mysql-data. It will be used to store all your database information.
sudo docker volume create mysql-dataYou can list all the volumes known to Docker by issuing the command below:
sudo docker volume lsDRIVER VOLUME NAME
local mysql-dataAs you can see, our newly created Docker volume named mysql-data is here and ready to serve data. It can then be attached to a freshly spun MySQL container.
3. Run a MySQL Docker Container
Now that you have a MySQL Docker image on your machine and a volume to persist the data, you can deploy a container. You must also set a password for the MySQL root user by using the MYSQL_ROOT_PASSWORD environment variable.
Now, let’s run the container:
sudo docker run -d --name=mysql-server -p 3306:3306 -v mysql-data:/var/lib/mysql -e MYSQL_ROOT_PASSWORD=your_password mysqlCode language: JavaScript (javascript)That’s it. This will start the latest version of the MySQL instance, which can be remotely accessible from anywhere with the specified root password.
To make things more transparent, let’s break down this syntax. First, here is what each parameter in that command means:
-dwill run this container in a detached mode in the background.--nameassigns the namemysql-serverto your container instance. If you don’t specify this, Docker will generate a random name.-pwill bind the MySQL container port3306to the same port on your host machine. You’ll be able to connect to127.0.0.1on port3306using MySQL clients (mysql) running on your host.-voption bind that data folder inside the container volume (/var/lib/mysql) to the local Docker volume (mysql-data) you created in the previous step.-esets an environment variable. In this case, the MySQL root password.mysqlis the name of the image we use to create the container.
You can check whether the container is running by listing the running containers:
sudo docker psCONTAINER ID IMAGE COMMAND CREATED STATUS PORTS NAMES
0fc229e3df77 mysql "docker-entrypoint.s…" 37 minutes ago Up 34 minutes 0.0.0.0:3306->3306/tcp, :::3306->3306/tcp, 33060/tcp mysql-serverCode language: JavaScript (javascript)Related: MySQL: How to Backup (Dump) and Restore Database Using mysqldump
4. Connecting to the MySQL Container
You can gain an interactive MySQL shell by attaching it to the container and running the mysql command. This provides the full MySQL command-line interface to use all the familiar commands and flags.
sudo docker exec -it mysql-server mysql -u root -p
Related: How to Create a Database in MySQL Using the Command Line
You can also connect with the MySQL Docker instance using the mysql client if you have it pre-installed on your host.
Beware that by default, the mysql client tries to connect using a UNIX socket when you tell it to connect to localhost. So do use 127.0.0.1 and not localhost.
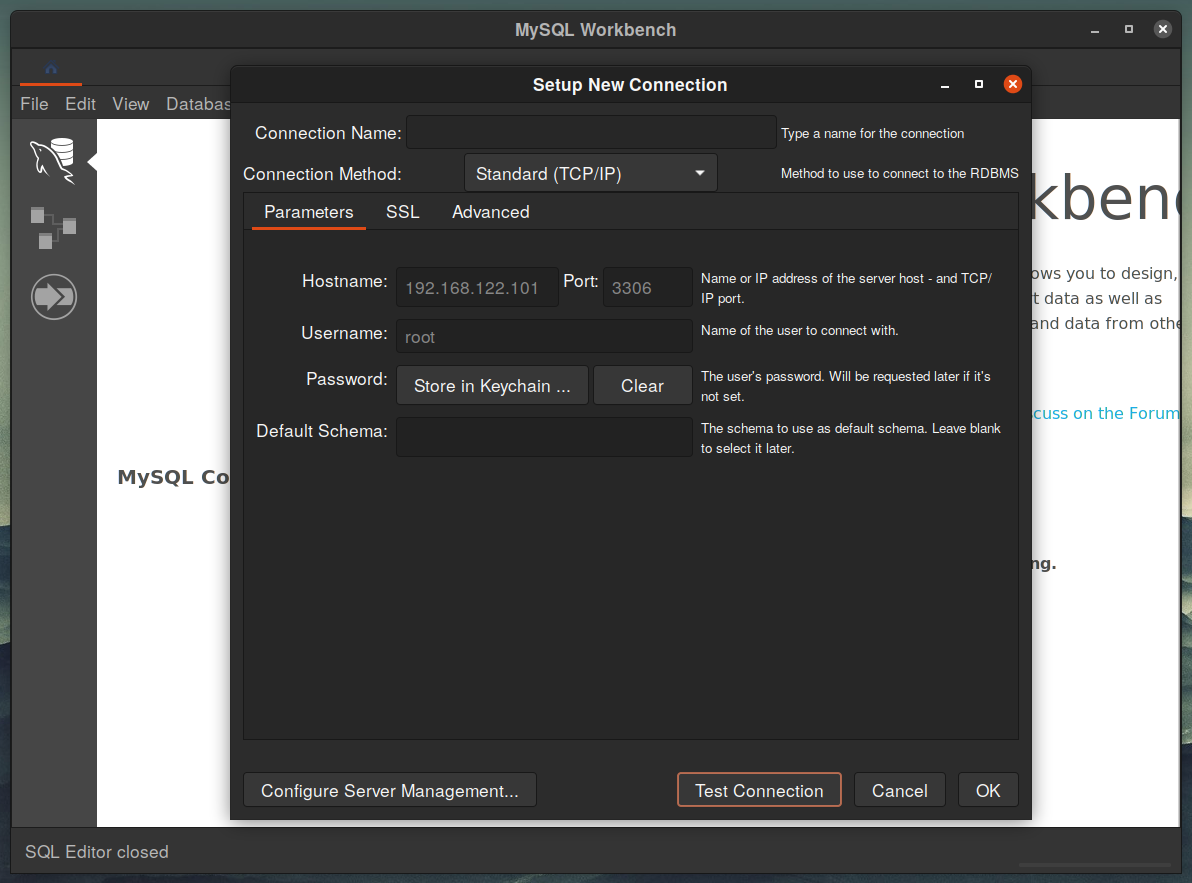
mysql -u root -h 127.0.0.1 -pCode language: CSS (css)Of course, you can also use a GUI-based client such as MySQL Workbench to connect to the database. For example, in your MySQL Workbench for “Hostname,” specify the machine’s IP address on which you started the Docker Container.

Related: How to Create a Database in MySQL with MySQL Workbench
Of course, in the examples shown above for a hostname, you can use the machine’s IP address on which the MySQL docker container works instead of 127.0.0.1.
You can find this address by running the ifconfig command without any arguments. The machine’s IP address allows you to access the MySQL server remotely.
5. Stop, Start, and Restart MySQL Container
This command will temporarily stop the running MySQL container (and can be resumed/restarted later):
sudo docker stop mysql-serverTo start the MySQL container, run:
sudo docker start mysql-serverThe command below is used to restart the running MySQL container:
sudo docker restart mysql-serverConclusion
As you can see, running MySQL within Docker is much quicker and easier than installing MySQL Server locally. However, many more things to consider if you use MySQL on Docker for anything beyond testing.
For more information, you can check the MySQL page on Docker Hub and the official MySQL manual on the subject.
Let me know if you have any questions or suggestions. I’ll be happy to follow up with you.