With the release of Zorin 17, many of you might be keen to jump from the previous version, Zorin 16. And why not? It brings many improvements, such as a revamped menu, the Spatial Desktop, tiling capabilities, enhanced apps, etc.
Furthermore, staying current also means improved security and more pleasing overall performance.
So, in this step-by-step guide, we will walk you easily through the process of upgrading to Zorin 17 from Zorin 16, covering key points and essential steps to navigate this major version transition successfully.
Perform a System Backup
It is highly recommended that you back up your essential files and configurations. We recommend making a full system backup so that if something goes wrong, you can restore your system with all the vital data to its previous state.
In addition, you can always use a command like the one shown below, which will archive all of the more critical directories and their contents in a tar.gz archive.
sudo tar czf /zorin16.tar.gz \
     --exclude=/zorin16.tar.gz \
     --exclude=/dev \
     --exclude=/mnt \
     --exclude=/proc \
     --exclude=/sys \
     --exclude=/tmp \
     --exclude=/media \
     --exclude=/lost+found \
     /Code language: JavaScript (javascript)
Feel free to add more “–exclude=” parameters if needed. Finally, the command creates a backup of all files in “zorin16.tar.gz” located on the root partition (/), which you should ideally transfer to another computer or drive, for example, using the SCP command.
Update All Software
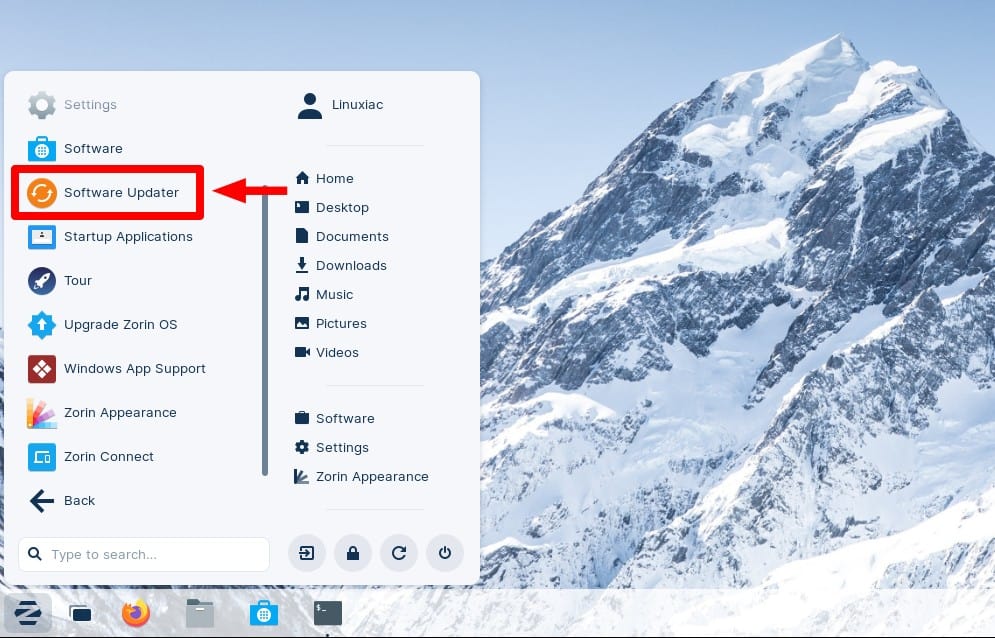
Ensure your current Zorin 16 system is fully upgraded and has no packages waiting to be updated. Open from the “Zorin Menu” > “System Tools” > “Software Updater,” and make sure there are no pending updates.
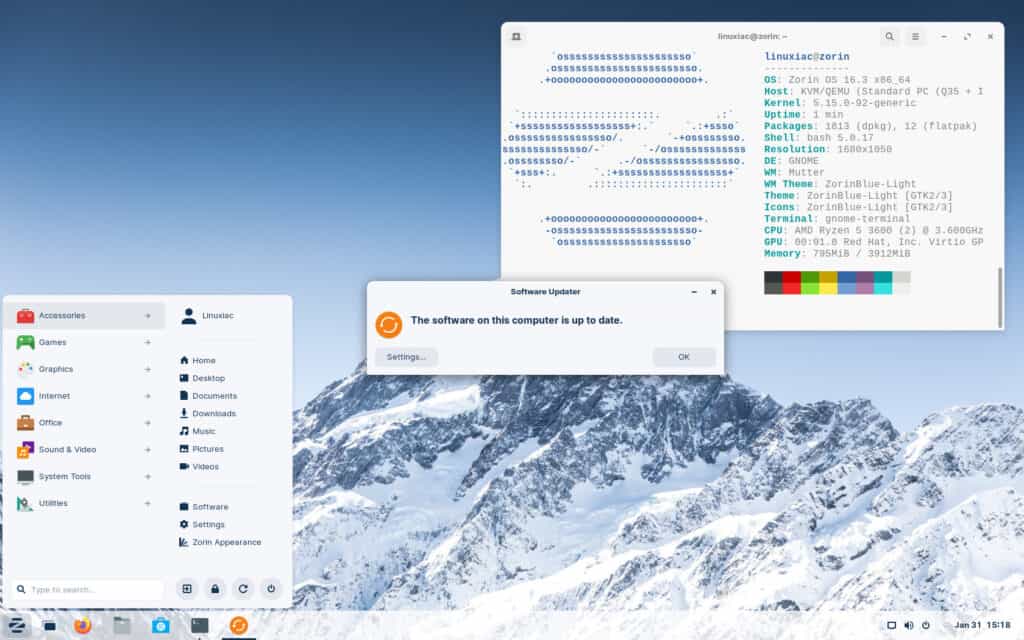
If any updates are available, install them and, if necessary, reboot the system. After the system boots, log in. Below is our current fully updated Zorin 16.3 system before we start the upgrade to Zorin 17.
Upgrade to Zorin 17 from 16
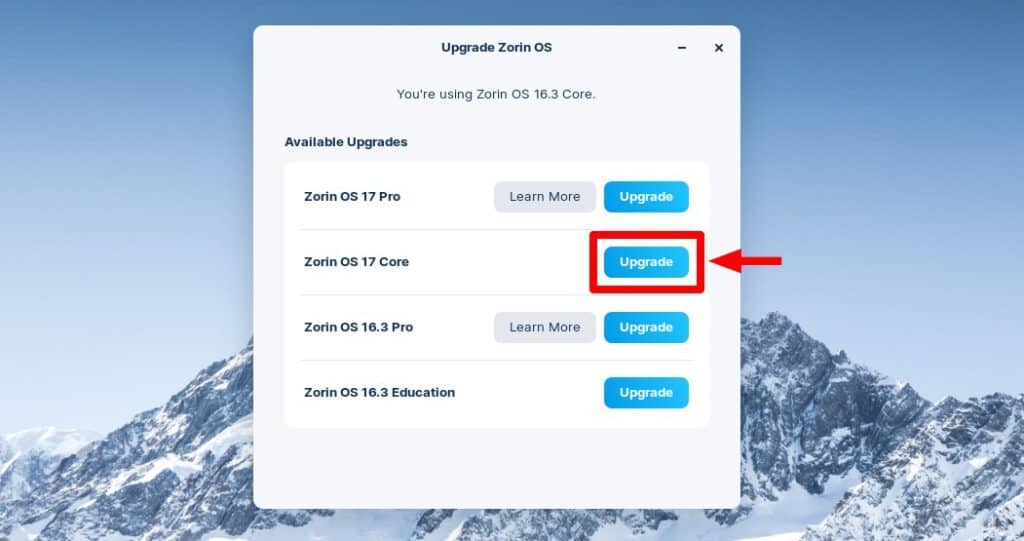
Everything is now in place to begin the upgrade to Zorin 17. Launch the Update Manager app by navigating to “Zorin Menu” > “System Tools” > “Upgrade Zorin OS.”
Since we’re using the distribution’s Core version, we’ll click the “Upgrade” button for Zorin OS 17 Core. Please be aware that if you’re considering switching to the Pro version, it is a paid upgrade and requires a pre-purchased license for access.
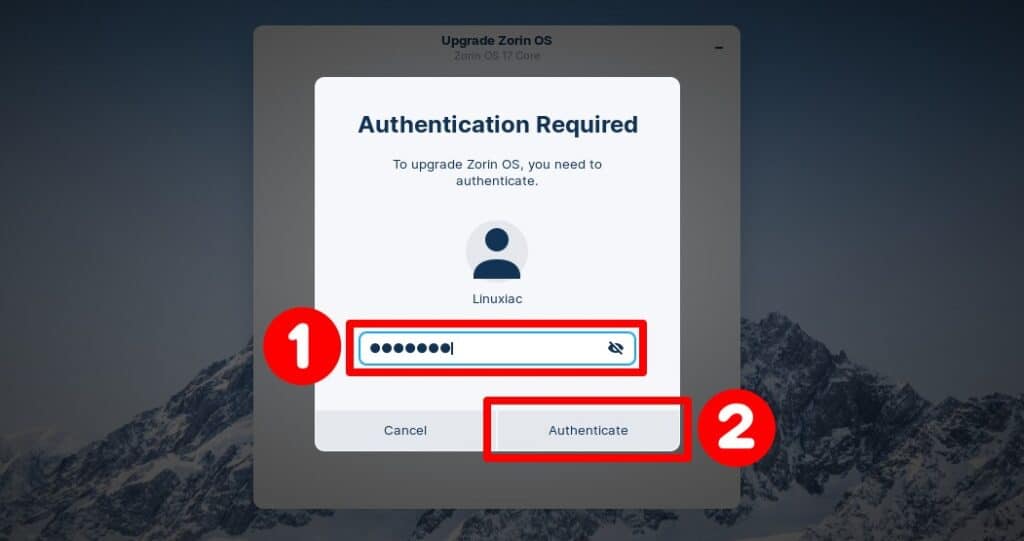
You will be prompted for the user password needed to execute processes with sudo privileges during the upgrade. Enter it and hit “Authenticate.”
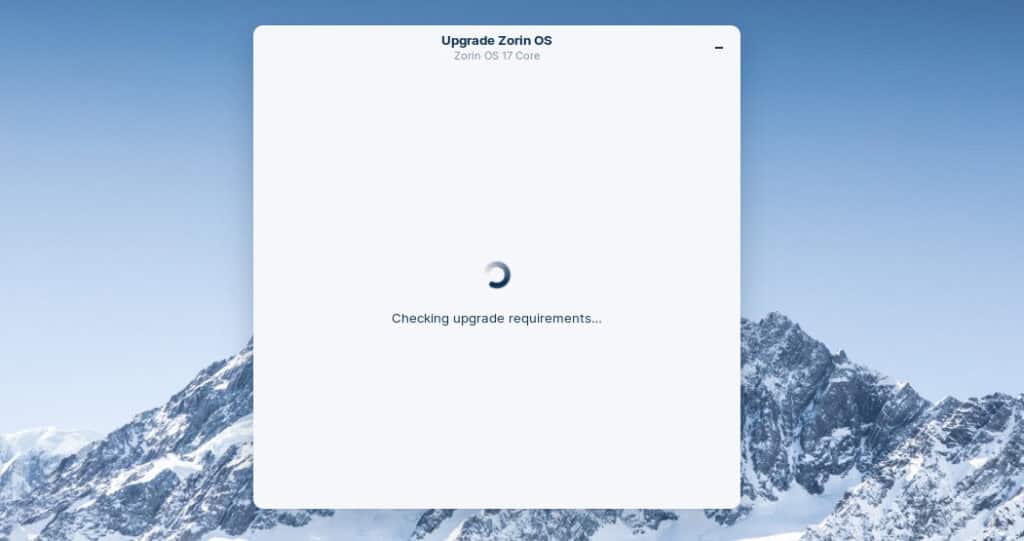
The system will start performing preliminary checks that will take a few minutes, so wait for them to finish.
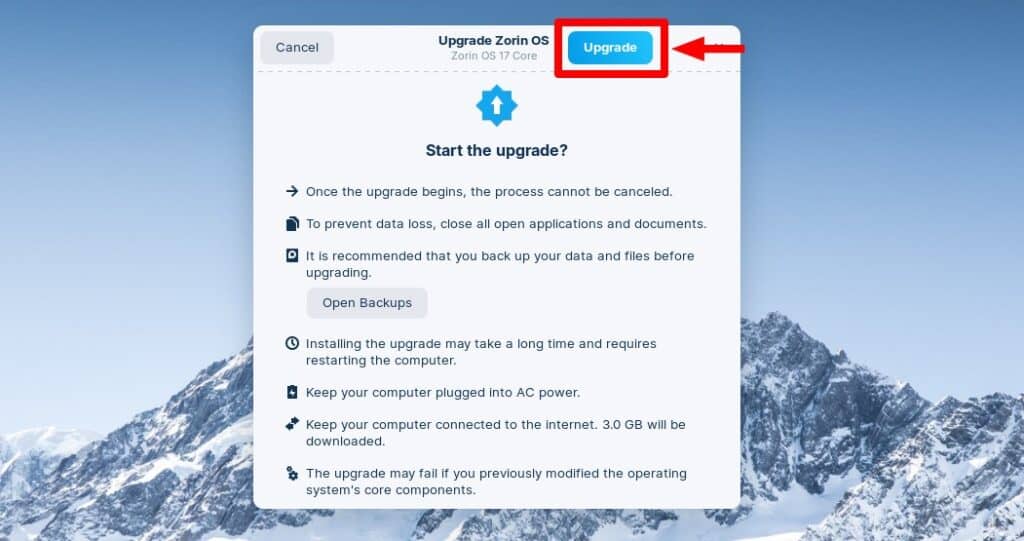
After completing the checks, you can upgrade to Zorin 17. To initiate the process, click on the “Upgrade” button.
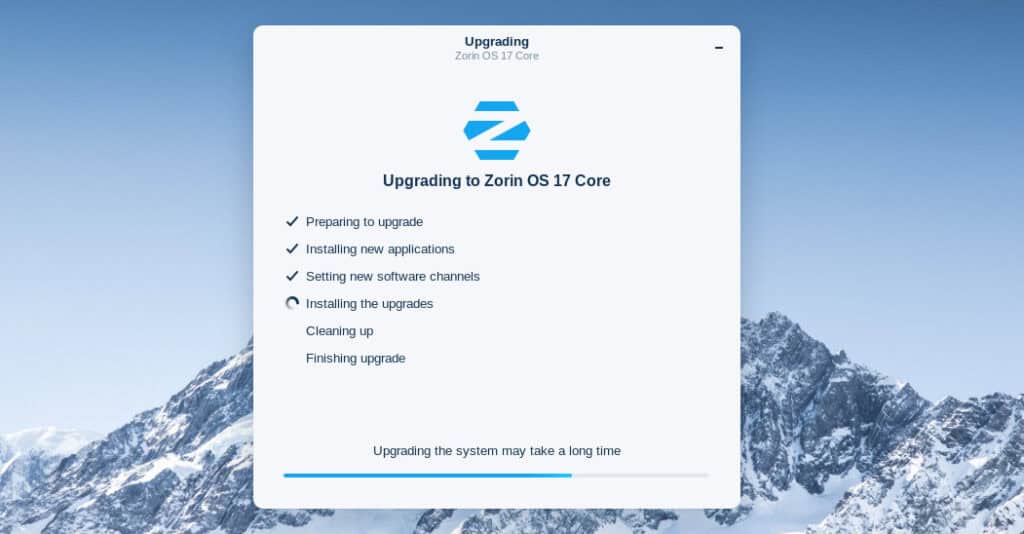
The actual upgrade process to Zorin 17 will start. Downloading and installing the updates will take some time; be patient and wait for the process to complete.
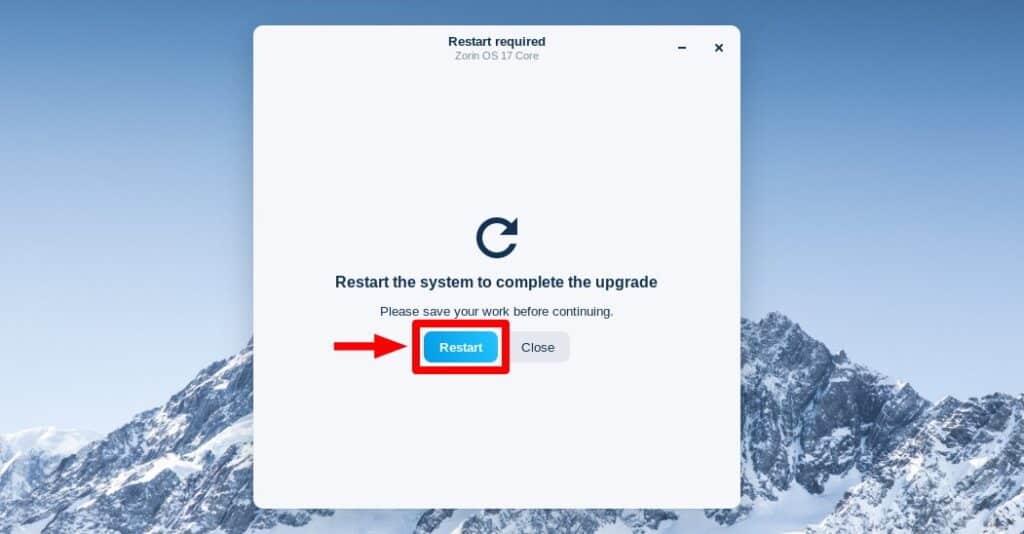
When it’s finished, you’ll be notified that the upgrade has succeeded and a reboot is required. Hit the “Restart” button.
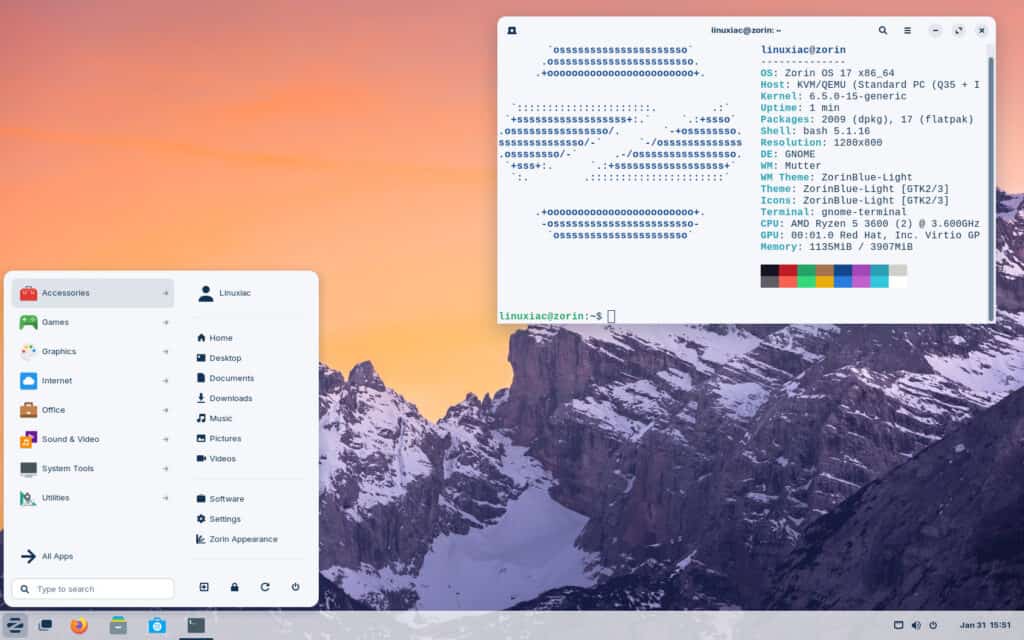
That’s all. After the reboot, log in and enjoy your newly upgraded Zorin 17 system.
Conclusion
Upgrading to Zorin 17 from Zorin 16 is a straightforward process that allows you to enjoy the latest features, security updates, and performance enhancements. Furthermore, we recommend you also check the official manual for additional help or valuable information.
Thanks for your time! Your feedback and comments are most welcome.
