If you’re looking to explore the virtualization world and harness the power of running multiple operating systems on a single machine, you’ve come to the right place.
VirtualBox is versatile and widely used open-source virtualization software that allows you to simultaneously run various operating systems, such as Windows, Linux, and macOS, on a single host machine.
In this article, we’ll walk you through installing VirtualBox on Debian 12 (Bookworm), setting up virtual environments, and effortlessly managing virtual machines.
Install VirtualBox on Debian 12 (Bookworm)
Although VirtualBox is primarily aimed at home users, it is also commonly utilized in professional environments. Unfortunately, it is unavailable for installation from the official Debian repositories.
But this should not bother you. We will now show you an effortless way to install VirtualBox on your Debian 12 system. So, let’s get started!
Step 1: Download and Import VirtualBox’s GPG Keys
Firstly, to ensure that the packages we receive to install VirtualBox are genuine, we should download and import the VirtualBox-signed GPG keys on our Debian 12 system.
To do so, type the following wget command and pipe the output to the gpg tool:
wget -O- -q https://www.virtualbox.org/download/oracle_vbox_2016.asc | sudo gpg --dearmour -o /usr/share/keyrings/oracle_vbox_2016.gpgCode language: Bash (bash)
Notice that the command produces no output.
Step 2: Add VirtualBox Repository for Debian 12
After importing the GPG keys, we’ll add the official VirtualBox repository to our Debian 12 system. So, if a new version is released, the update package will be available with the rest of your system’s regular updates.
To accomplish it, type the command shown below.
echo "deb [arch=amd64 signed-by=/usr/share/keyrings/oracle_vbox_2016.gpg] http://download.virtualbox.org/virtualbox/debian bookworm contrib" | sudo tee /etc/apt/sources.list.d/virtualbox.listCode language: Bash (bash)
Step 3: Run System Update
Before installing VirtualBox on our Debian 12 system, we should update the list of available packages. So, run the below command to update the APT repositories index.
sudo apt updateCode language: Bash (bash)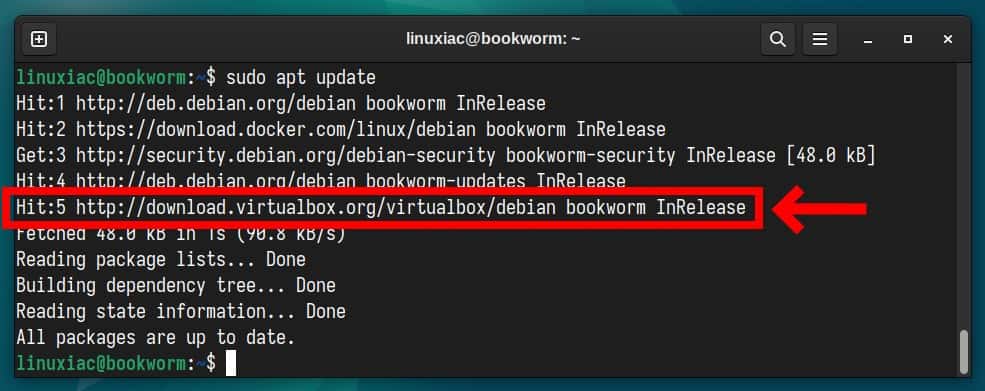
As you can see, our new VirtualBox repository is now available and ready to be used.
Step 4: Install VirtualBox on Debian 12 (Bookworm)
Everything is already prepared for the actual installation. Now, to install VirtualBox on Debian 12, run the following commands:
sudo apt install virtualbox-7.1Code language: Bash (bash)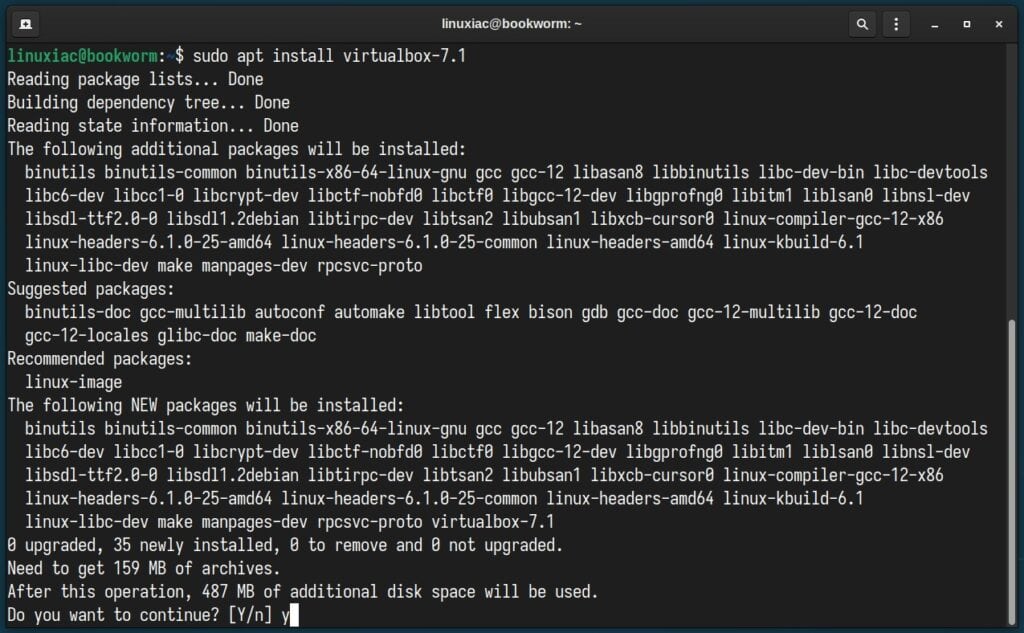
That’s all. The VirtualBox is installed and ready for use on your Debian 12 Linux system.
Step 5: Install VirtualBox Extension Pack (Optional)
This is an optional step, but I strongly encourage it because it will make working with VirtualBox on your Debian system more straightforward and convenient.
VirtualBox Extension Pack unlocks many great features, such as:
- USB 2 and USB 3 support
- VirtualBox Remote Desktop Protocol (VRDP)
- Host webcam passthrough
- Disk image encryption with AES algorithm
- Intel PXE boot ROM
However, one peculiarity should be highlighted here. The VirtualBox Extension Pack’s version is recommended to match the version of VirtualBox installed on your Debian 12 system.
So, to verify the exact one of the installed locally VirtualBox, you can use vboxmanage, a build-in VirtualBox’s command:
vboxmanage -v | cut -dr -f1Code language: Bash (bash)
As you can see, the installed VirtualBox version is 7.1.0. Therefore, it is recommended that the Extension Pack with the same version be downloaded.
However, if your installation is different, replace both places containing “7.1.0” in the command below with the current version. You can also go straight to the downloads page and look at the available versions.
wget https://download.virtualbox.org/virtualbox/7.1.0/Oracle_VirtualBox_Extension_Pack-7.1.0.vbox-extpackCode language: Bash (bash)Next, to install the VirtualBox Extension pack, run the vboxmanage command as follows:
sudo vboxmanage extpack install Oracle_VirtualBox_Extension_Pack-7.1.0.vbox-extpackCode language: Bash (bash)When prompted to agree to Oracle’s license terms and conditions, type “y” to confirm and press “Enter.”
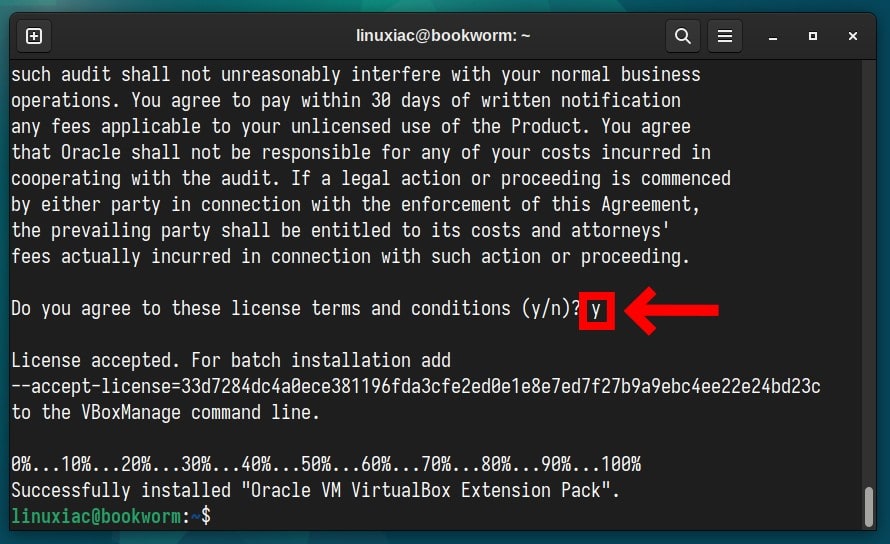
You can verify that the extension pack was installed correctly by running the following:
vboxmanage list extpacksCode language: PHP (php)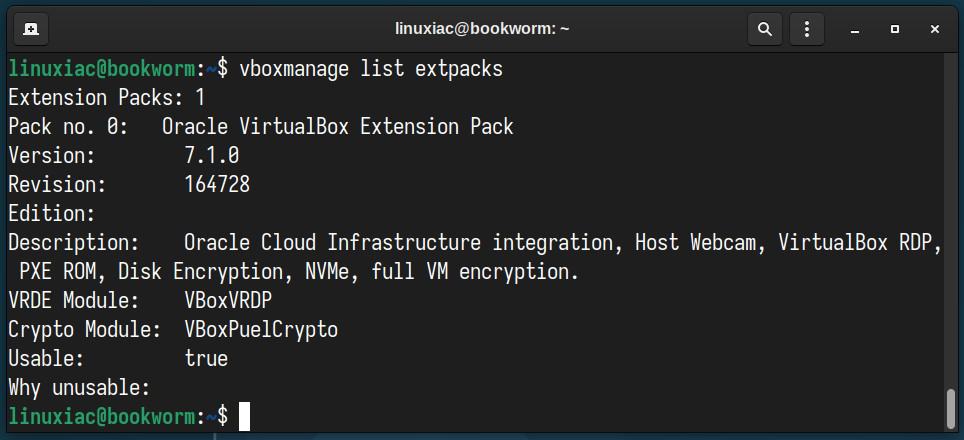
Step 6: Add User to the vboxusers Group
Before using VirtualBox, add your user account to the vboxusers group. This is quick and simple to accomplish by running:
sudo usermod -a -G vboxusers $USERCode language: Bash (bash)Now, perform a reboot. After login, check that you are in the vboxusers group with this command:
groups $USERCode language: Bash (bash)
Running VirtualBox on Debian 12
You can start using VirtualBox by launching it from the desktop environment’s application menu.

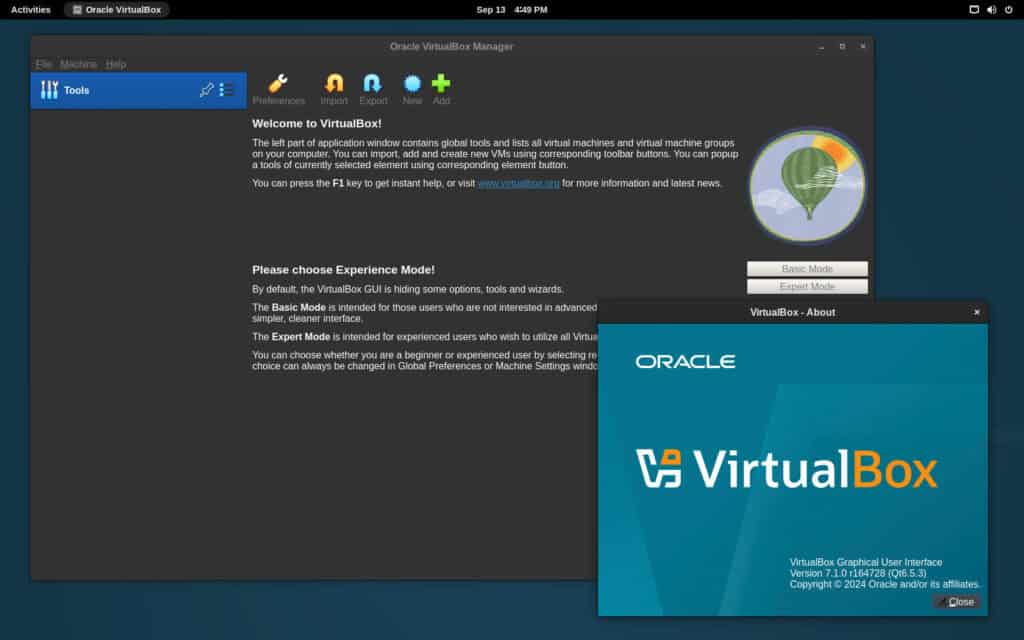
Hit the “New” button and start virtualizing your ideas!
How to Uninstall VirtualBox
If you want to uninstall VirtualBox from your Debian 12 box for any reason, you can easily do so by running the command below.
sudo apt purge virtualbox-7.1Code language: Bash (bash)Then, additionally, you can also “clean” your system from unnecessary package dependencies and finally remove the VirtualBox repository itself from the list of available ones:
sudo apt autoremove
sudo rm /etc/apt/sources.list.d/virtualbox.listCode language: Bash (bash)
Conclusion
VirtualBox provides an invaluable platform for developers, IT professionals, and enthusiasts to test applications and OSes in isolated environments. It safeguards the host system from potential conflicts and adverse effects.
Following our step-by-step guide, you can harness VirtualBox’s full potential, enabling it to run multiple operating systems on a single machine seamlessly.
However, VirtualBox isn’t the only player in the virtualization game—VMware Workstation is another excellent and reliable option. If you’re thinking about giving it a try, we’ve got you covered with a step-by-step guide on setting it up in Debian 12.
Lastly, I recommend checking the official documentation for individuals who want to learn more about VirtualBox’s features and how to use them effectively.
Thanks for your time! Your feedback and comments are most welcome.
Thank you very much for the good and correct instructions for installing Oracle VirtualBox under Debian 12 Bookworm. It worked right away without any error messages in Discover.
Thanks for posting this! Your documentation is perfect; it saved me a ton of aggravation!!! 😁
Thanks You very much for this guide
Thank you for the guide. straight forward and easy to use as I learn Linux and Debian.
what if I need to remove virtual box for some reason? how can i do it?
Thanks for your question, Brando! I've updated the guide to include the information you need to do this.
This is an excellent guide. Thorough and up-to-date.
Thank you for your excellent manual 🤩👍
Please, what if command "wget -O- -q https://www.virtualbox.org/download/oracle_vbox_2016.asc | sudo gpg –dearmour -o /usr/share/keyrings/oracle_vbox_2016.gpg" produce this output: Overwrite? (y/N)
root@MorningStar:~# wget -O- -q https://www.virtualbox.org/download/oracle_vbox_2016.asc | sudo gpg –dearmour -o /usr/share/keyrings/oracle_vbox_2016.gpgOverwrite? (y/N)
Excelent article. Easy to follow and hasn't given me a single problem, Thank you
in search of poper instructions to sign modules so i dont have to disable efi
Hi Walt
I had similar issues and I was surprised not to find solutions all over the www, but all I found was a post by someone else having problems. Anyhow, I answered stating I was having problems, then I poured a large Laphroaig and managed to fumble my way into getting it working: https://superuser.com/questions/1833610/installing-virtualbox-on-debian-12-testing
Thank you Bobby for all the cool tips and I now have it working (including the VirtualBox Extension pack) so the above was a massive help. 🙂
All the best,
Briain
Thanks you for the accurate instructions on installing VirtualBox 7.0. The install .deb file on the VirtualBox site doesn’t install correctly with dpkg. It must lack a dependencies list or something.
Thank you very much for this tutorial, it works perfectly.
Thanks, it did work exactly as describe !
Your tutorials are always useful, nicely layout, very precise and very easy to follow.
Hey Michel,
Thank you for your kind words! We try to keep it that way, and I’m glad we’re of help.
Best,
Bobby
when I do this I get that:
this:
root@maxi:~# apt install virtualbox-7.0
that:
Reading package lists… Done
Building dependency tree… Done
Reading state information… Done
Some packages could not be installed. This may mean that you have
requested an impossible situation or if you are using the unstable
distribution that some required packages have not yet been created
or been moved out of Incoming.
The following information may help to resolve the situation:
The following packages have unmet dependencies:
virtualbox-7.0 : Depends: libssl1.1 (>= 1.1.1) but it is not installable
Depends: libvpx6 (>= 1.6.0) but it is not installable
Recommends: libsdl-ttf2.0-0 but it is not going to be installed
Recommends: linux-image but it is not installable
E: Unable to correct problems, you have held broken packages.
The base machine is an Intel NCU9 with base OS as Debian Bookworm (12) more-or-less fresh out of the box.
I made the recommended changes from your article to the sources.list file.
Any Suggestions?
Rick
If you are trying this in a virtual Debian, it won’t work. It needs Hyper-v from the bios and can not pass through another virtual or at least I couldn’t get it to. Also installing Debian directly from a live usb to your main system hits a snag with a comms error for vitrualbox.xml which does not exist in this case. booting into the usb and running install Debian from Debian gets around this I think because you are part of the sudo group.