The article also shows you how to secure MariaDB, add an admin user, and connect to the database management system from the command line.
MariaDB is an open-source RDBMS (Relational Database Management System), backward compatible, binary drop-in replacement of MySQL. It is being developed by several of MySQL’s original developers and many community members.
Compared to MySQL, MariaDB provides improved performance with faster replication speeds, tighter security measures, and additional storage engines.
With MariaDB Server as the default in Debian, it’s included in the Stable repository for Debian 11 and available to all users. Being the default means that MariaDB Server is part of Debian’s Stable repository and built by the Debian build system on all possible platforms.
Step 1: Update System Packages
Ensure that you are running the latest system packages before installation to avoid possible inconveniences with dependencies.
sudo apt update
sudo apt upgrade
Step 2: Installing MariaDB Server on Debian 11
The most recommended method for installing MariaDB on Debian is to use the default package manager for Debian 11. The MariaDB packages are available under the official repositories. Therefore, you can directly install it without adding extra repositories to your system.
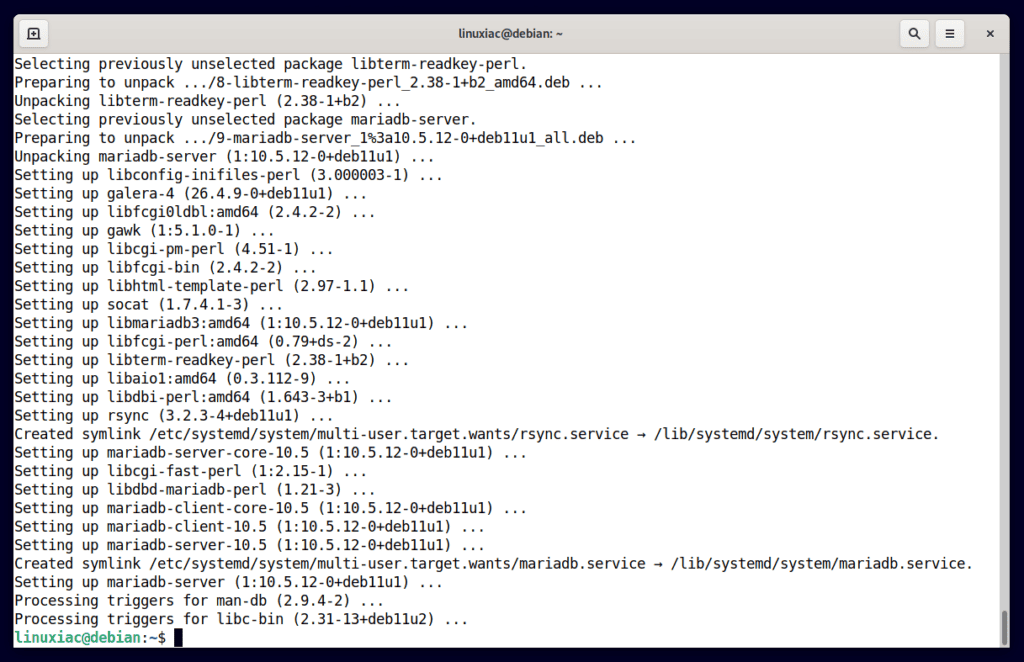
To install MariaDB on Debian 11, execute the below-mentioned command:
sudo apt install mariadb-server
Note that the command above will install MariaDB but will not ask you to create a password or modify any other settings.
Step 3: Testing MariaDB
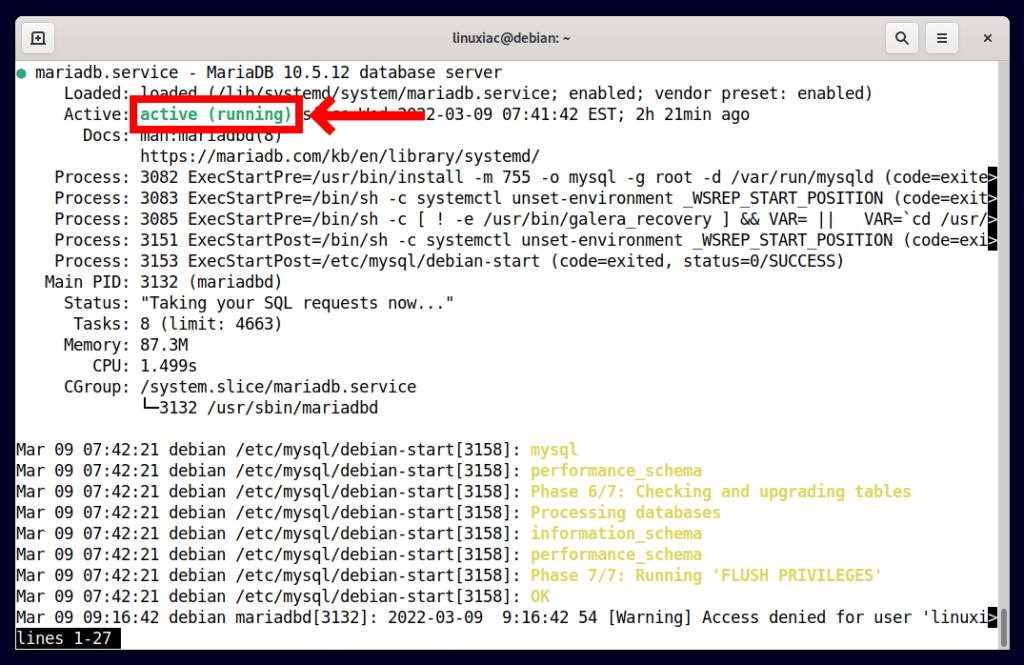
MariaDB should start automatically after being installed from the default repositories. To test this, check its status.
sudo systemctl status mariadb
Step 4: Securing the MariaDB Server
Next, we’ll use a script (mysql_secure_installation) provided by the mariadb-server package to restrict access to the server and remove unused accounts because the default setup makes your MariaDB installation unsafe.
sudo mysql_secure_installationAfter running the above command, you will be prompted to enter the MariaDB root password. Just leave the root password empty, and hit Enter. For the rest, enter “Y” and hit “Enter.”

Step 5: Create Privileged User with Authentication
The root MariaDB user on Debian is configured to authenticate using the unix_socket plugin rather than a password by default. Using unix_socket means that if you are the system root user, you can log in as root on localhost without a password.
It is based on the simple truth that asking for a password from the system root provides no additional protection because the root already has complete access to all data files and processes.
The Debian package maintainers recommend creating a separate administrative account for password-based access. So, we’ll create a new admin account with the same privileges as the root account, but with password authentication enabled.
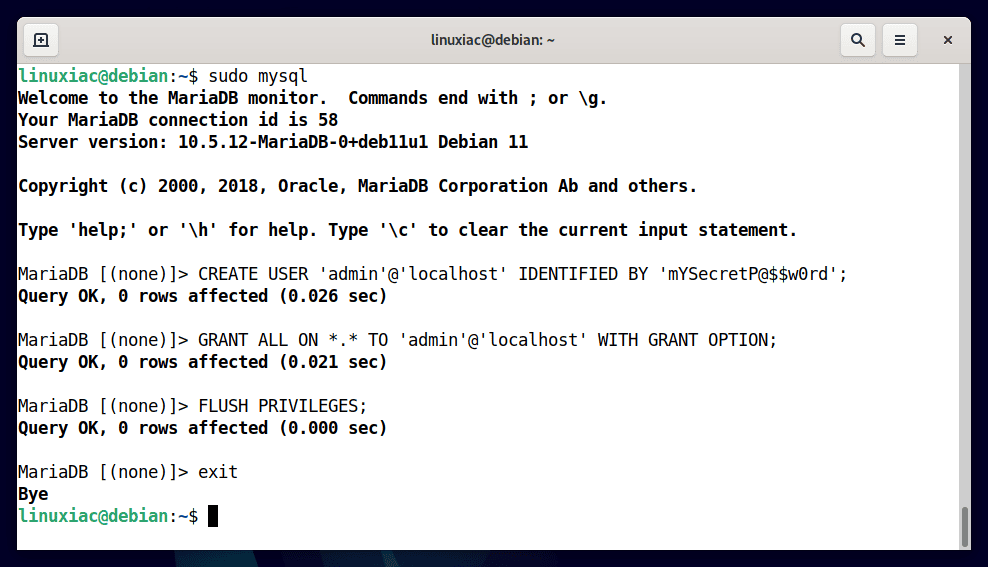
First, to create a new user, you need to login into MariaDB as a root user using the following command:
sudo mysqlNow that you have logged into the MariaDB shell go ahead and create a new administrative user called admin with a password in the MariaDB server.
CREATE USER 'admin'@'localhost' IDENTIFIED BY 'your_password_here';Code language: JavaScript (javascript)Next, to grant the newly created user the same privileges as the MariaDB root user, use the following command:
GRANT ALL ON *.* TO 'admin'@'localhost' WITH GRANT OPTION;Code language: JavaScript (javascript)Finally, reload the privileges to ensure they are saved and exit the MariaDB shell.
FLUSH PRIVILEGES;
exitCode language: PHP (php)
Step 6: Connecting to MariaDB Database Server
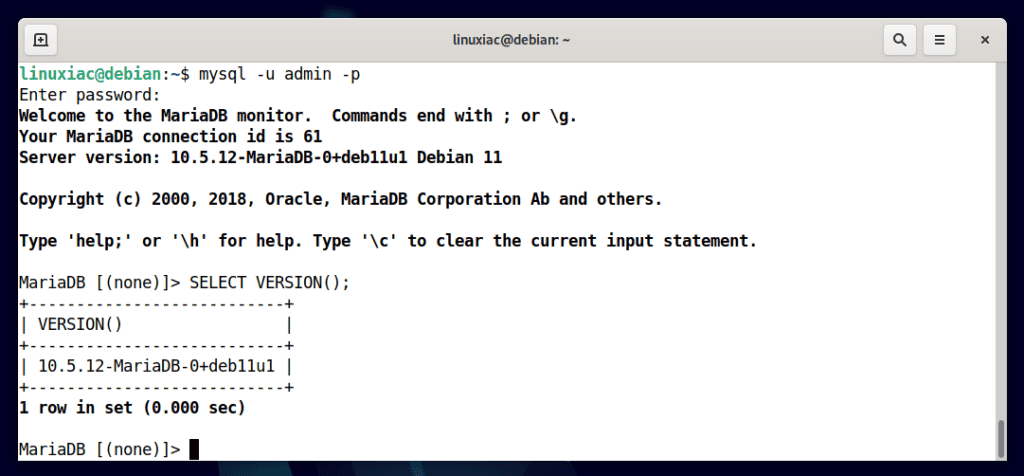
To access the MariaDB shell using the credentials you created in the previous step, you have to execute:
mysql -u admin -pYou will be prompted to enter the MariaDB admin user password, after which you can access your MariaDB server.

Conclusion
In this guide, you installed the MariaDB database server on Debian 11. Moreover, during the installation process, you secured the server through the mysql_secure_installation script and created a new administrative user.
Once you’ve completed the setup, you can begin managing and storing data. The concepts covered in this article should give you a solid start to learning more.
For more information about MySQL databases, see the official MariaDB documentation. If you have any questions or feedback, feel free to leave a comment.
