
The LEMP stack—consisting of Linux, Nginx, MySQL/MariaDB, and PHP—is powerful open-source software that is the backbone for many web applications.
Since you’re here, you’ve chosen Ubuntu 24.04 as your server platform—an excellent choice renowned for its security and reliability. But before proceeding further, let’s say a little more about the other three components.
- Nginx: Pronounced as “Engine-X,” it is a high-performance web server known for its stability, efficient handling of concurrent connections, and low resource usage.
- MariaDB: As a free and community-developed fork of MySQL, we’ll bet on MariaDB as the database management system in this variant of the LEMP stack. It often includes new features and enhancements not present in MySQL, focusing on performance and security.
- PHP: A popular general-purpose scripting language especially suited to web development. PHP creates dynamic content on web pages in the LEMP stack and is smoothly integrated with Nginx and MariaDB.
In the rows below, we’ll guide you through the installation process, configuration settings, and basic operational commands, ensuring you have a fully functional LEMP server on your Ubuntu 24.04 LTS (Noble Numbat) system by the end of this guide. Let’s get started!
Prerequisites:
- A server running Ubuntu 24.04 LTS.
- Root access to the server or a user with sudo privileges.
- Basic knowledge of Linux commands and the terminal.
Step 1: Update Your System
Before installing any new packages, it is always a good idea to update your package list using the well-known APT command and upgrade the existing ones to the latest version.
If any are waiting to be updated, I advise applying them before moving on. You can do this by running:
sudo apt update
sudo apt upgradeCode language: Bash (bash)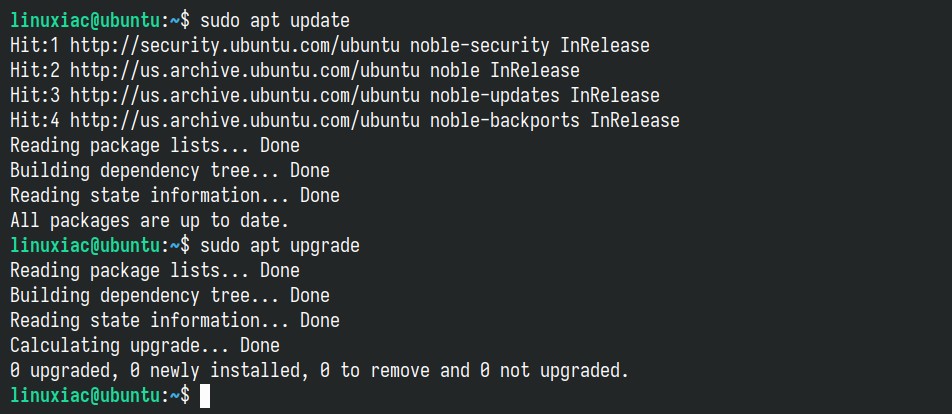
Step 2: Install the Nginx Web Server
The web server enables you to serve visitors’ content, such as web pages. Use the following commands to install the latest Nginx version on your Ubuntu 24.04 system. When prompted, enter “Y” to confirm.
sudo apt install nginxCode language: Bash (bash)
Remember, you don’t need to manually activate Nginx’s systemd service using common commands such as sudo systemctl enable nginx because, on Ubuntu 24.04, it comes preconfigured to start automatically after reboot by default.
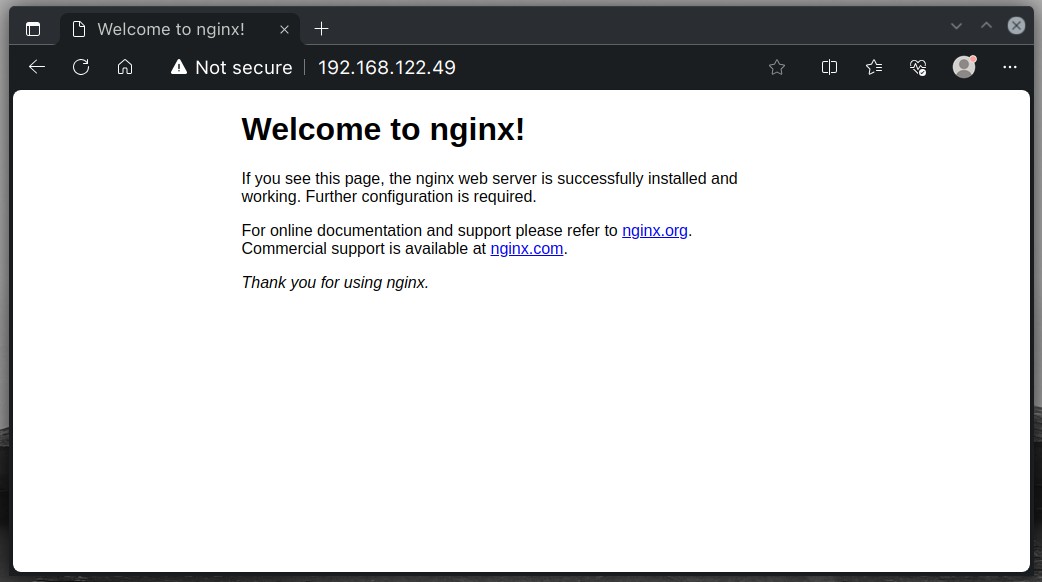
After installation, Nginx is set to be up and running. To ensure it’s functioning as expected, open a web browser and enter the server’s IP address in the address bar. If all is well, you should see Nginx’s default welcome page. This is a crucial step in verifying a successful installation.
However, if you cannot open the page, the UWF (Uncomplicated Firewall) is probably enabled, although this isn’t the default setting in Ubuntu 24.04. To verify if this is the case, you can run:
sudo ufw statusCode language: Bash (bash)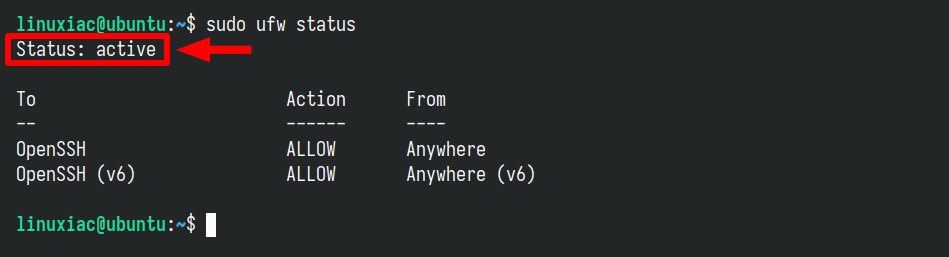
If the “Status” line shows “active,” the UFW firewall is enabled, and access is blocked. To allow client requests to reach Nginx on ports 80 (HTTP) and 443 (HTTPS), execute the following command:
sudo ufw allow "Nginx Full"Code language: Bash (bash)
In this case, “Nginx Full” refers to a configuration within UFW that allows access to both ports 80 and 443. Alternatively, you can specify “Nginx HTTP” to access only port 80 or “Nginx HTTPS” to access only port 443.
To view all the currently installed applications on your Ubuntu 24.04 system that can be managed with UFW, you can run the following command:
sudo ufw app listCode language: Bash (bash)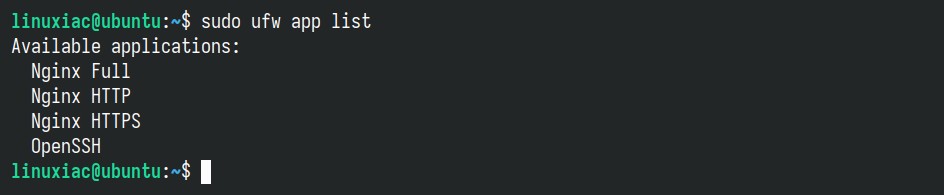
Step 3: Install MariaDB Database Server
MariaDB is a community-developed fork of MySQL and serves as the database server in the LEMP stack. To install it, run the commands below, and when prompted, confirm installation by typing “Y” and hitting “Enter.”
sudo apt install mariadb-serverCode language: Bash (bash)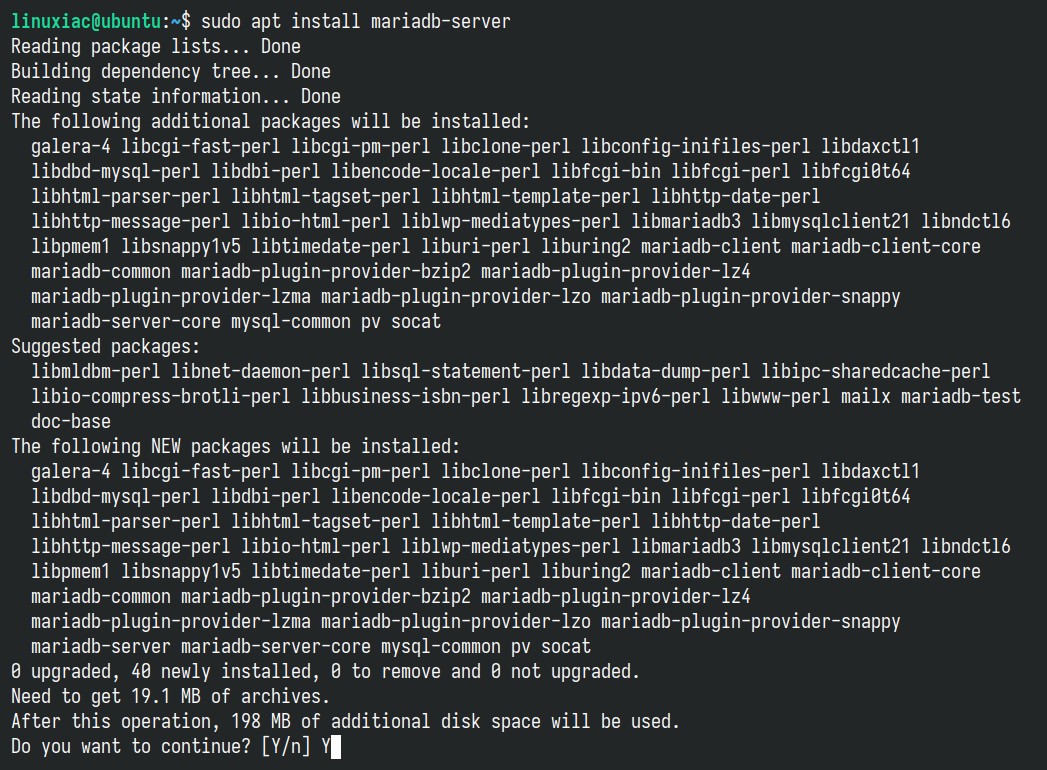
As in the case with Nginx, you don’t need to manually activate MariaDB’s systemd service using commands such as sudo systemctl enable mariadb because, on Ubuntu 24.04, it comes preconfigured to start automatically after reboot by default.
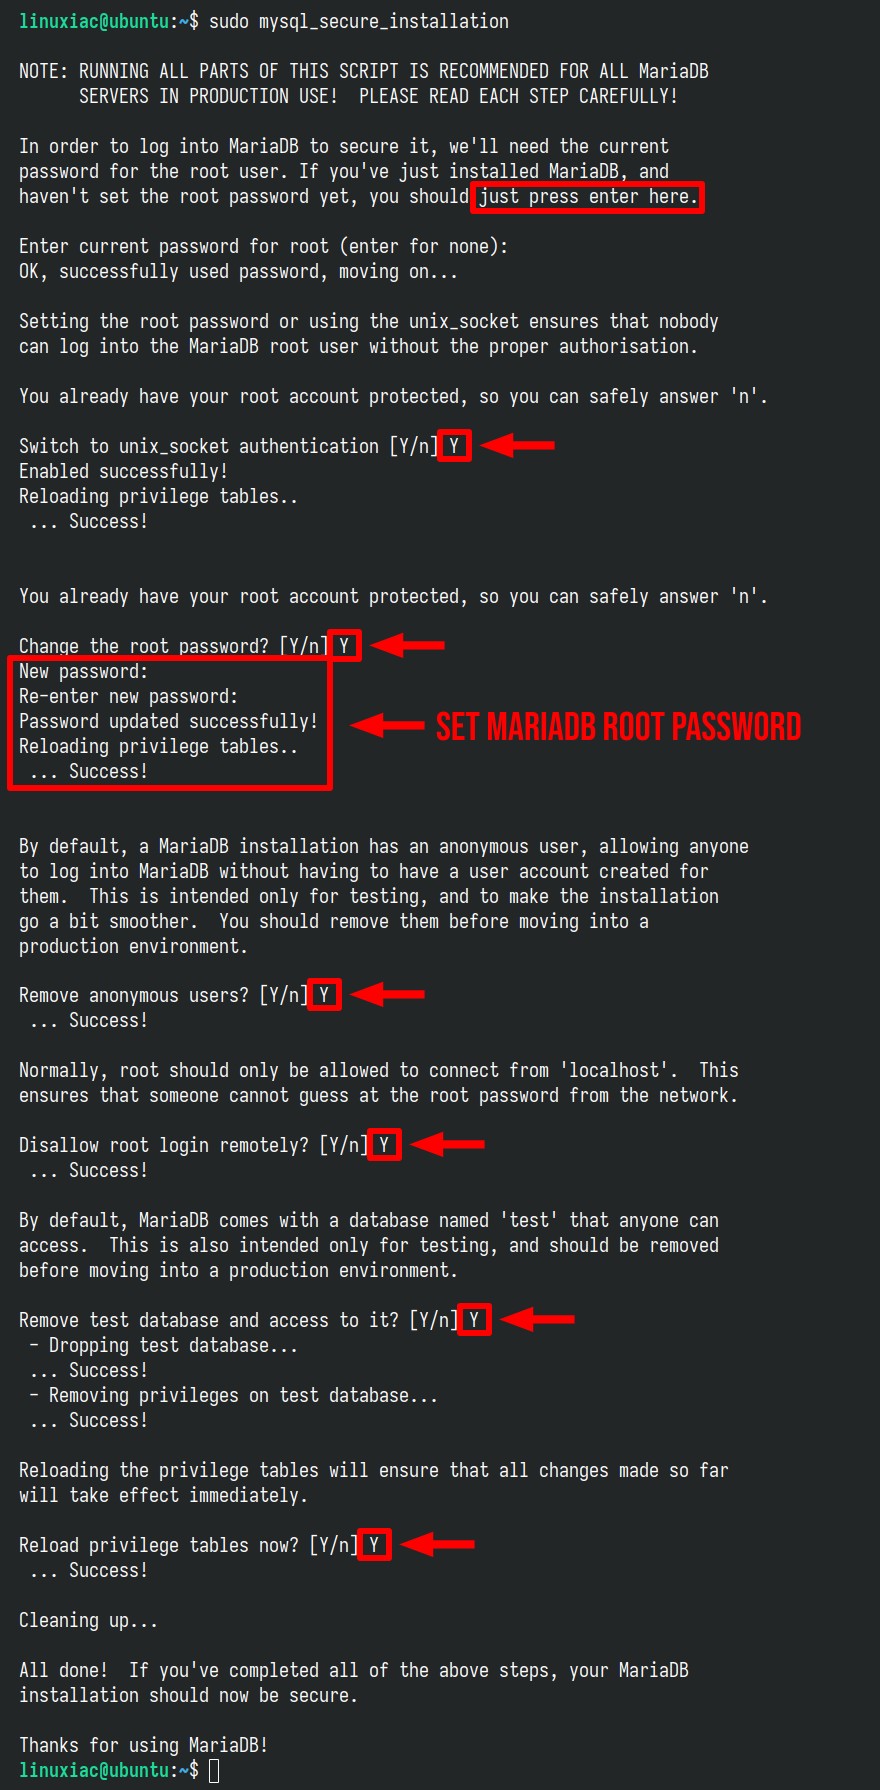
After installation, it’s highly recommended to run the security script that comes with MariaDB to set some initial settings and secure the instance:
sudo mysql_secure_installationCode language: Bash (bash)After running the above command, you will be prompted to enter the MariaDB root password. Leave the root password empty and press the “Enter” key. Then, follow the prompts and keep typing “Y” and hitting “Enter” to remove anonymous users, disallow root login remotely, and remove the test database.
The key step is setting the root password for the MariaDB server. When setting it, please select a secure one and re-enter it for confirmation. The password will not be visible on the screen as you type.
Now, let’s verify that the MariaDB server is functioning correctly. We’ll log in and run a basic query to confirm. Use the command below, and when asked for a password, enter the one you just created.
mysql -u root -pCode language: Bash (bash)Then, run a simple SQL query. MariaDB should return information about the installed version.
select version();Code language: SQL (Structured Query Language) (sql)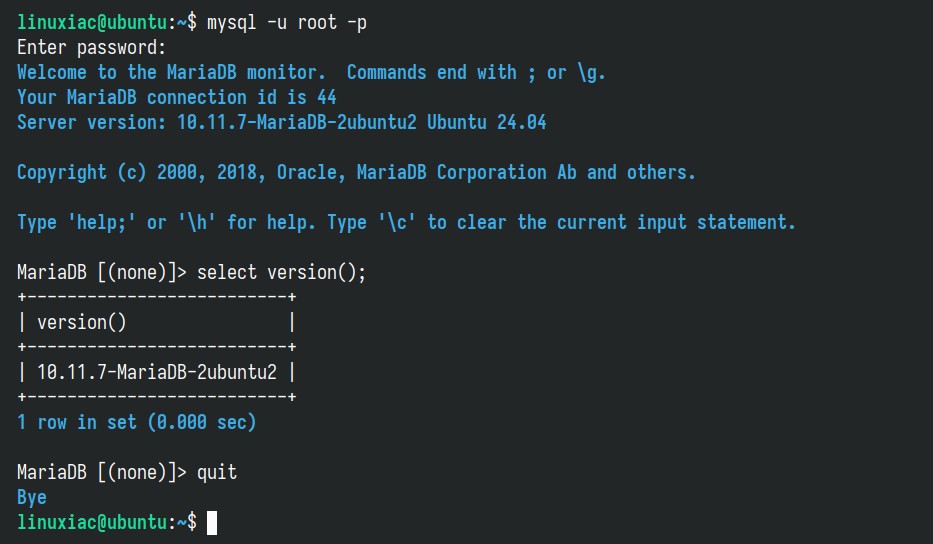
Finally, use the quit command to exit the MariaDB shell and return to the system terminal.
Step 4: Install PHP
Installing the PHP scripting language is the last step to have a LEMP stack up and running on your Ubuntu 24.04 system. To enable the Nginx web server to execute PHP files, you must also install PHP-FPM (PHP FastCGI Process Manager). For a detailed introduction, refer to our comprehensive article on the subject.
Ubuntu 24.04 LTS offers PHP 8.3 in its repos. So, let’s install it and add some common extensions that are often required and used. When prompted, type “Y” and hit “Enter” to confirm:
sudo apt install php8.3-fpm php8.3-mysql php8.3-gd php8.3-bcmath php8.3-cli php8.3-curl php8.3-mbstring php8.3-mcrypt php8.3-zip php8.3-opcache php8.3-xmlCode language: Bash (bash)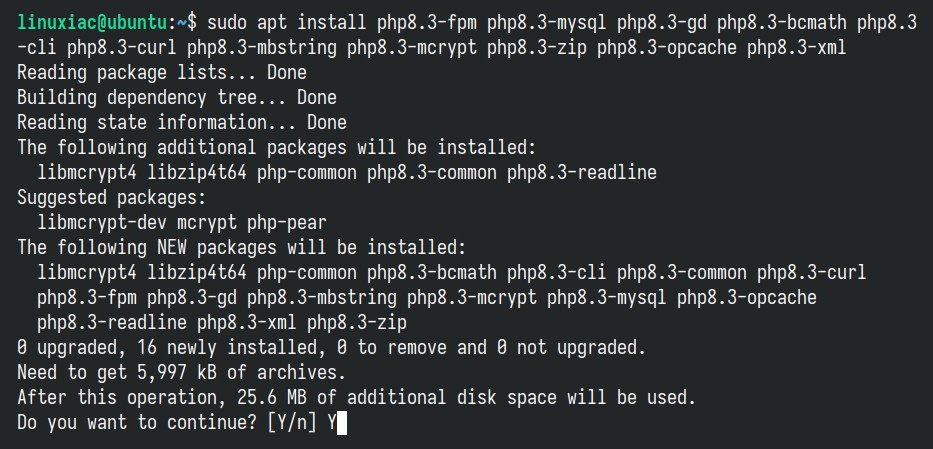
The “php8.3-fpm” service will start automatically in the background. You can check its status by running:
sudo systemctl status php8.3-fpm.serviceCode language: Bash (bash)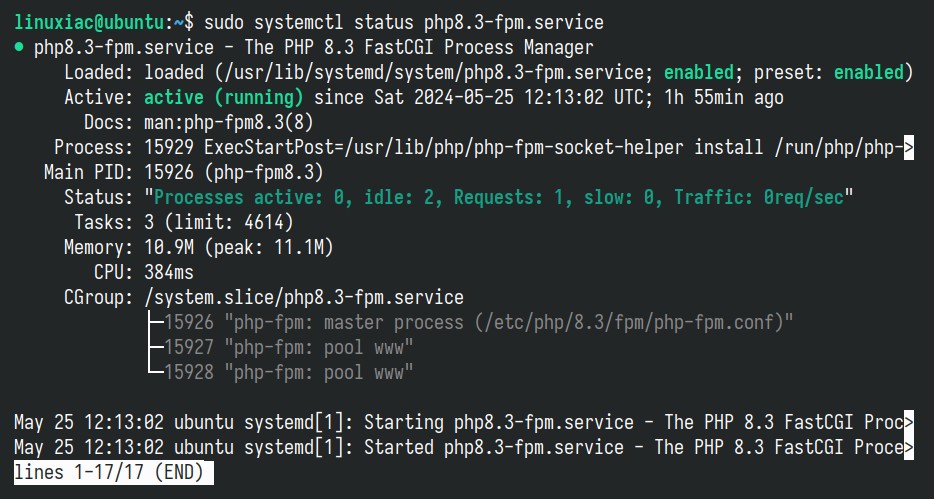
Step 5: Configure Nginx to Execute PHP Files
Now that we’ve installed all of the LEMP components on our Ubuntu 24.04 system, we need to edit the default Nginx virtual host configuration file.
sudo nano /etc/nginx/sites-enabled/defaultCode language: Bash (bash)Find and change the “location /” portion from this:
location / {
        # First attempt to serve request as file, then
        # as directory, then fall back to displaying a 404.
        try_files $uri $uri/ =404;
 }Code language: Nginx (nginx)
To this:
location / {
        try_files $uri $uri/ /index.php?$args;
}Code language: Nginx (nginx)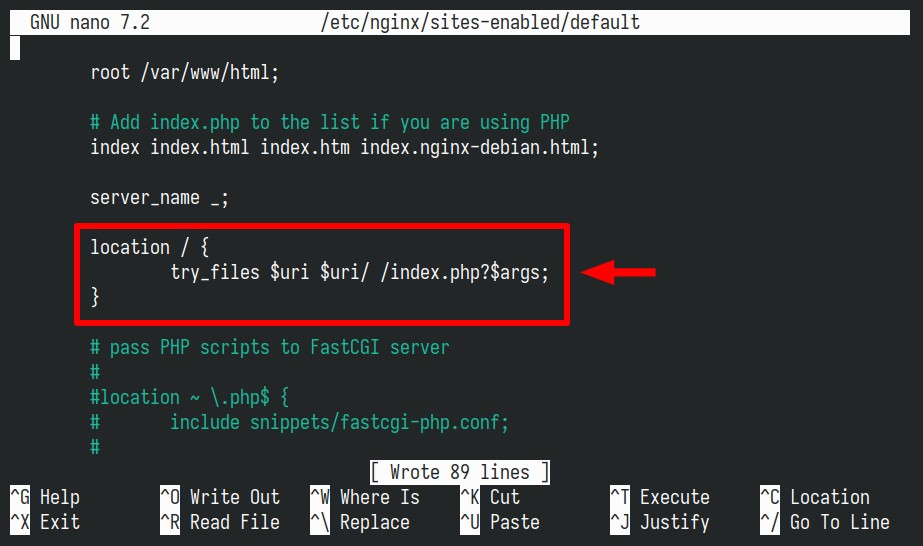
Next, add the following snippet to the default “server” block to allow Nginx to process PHP files:
location ~ \.php$ {
       include snippets/fastcgi-php.conf;
       fastcgi_pass unix:/var/run/php/php8.3-fpm.sock;
}Code language: Nginx (nginx)
Save the file and exit. Then, test the modified Nginx configuration file for syntax errors by entering the following command:
sudo nginx -tCode language: Bash (bash)
If you get the above output, we are good and almost done. However, if any errors are reported, recheck your file before continuing.
Restart the Nginx service to make the changes take effect.
sudo systemctl restart nginxCode language: Bash (bash)If you want to learn how to create and edit Nginx server blocks for your virtual hosts, we highly recommend our dedicated guide on “How to Create Nginx Virtual Host (Server Block).”
Step 6: Test Your Ubuntu 24.04 LEMP Installation
You have completed the installation of Nginx, MariaDB, and PHP on Ubuntu 24.04 LTS, so your LEMP stack should now be fully operational. Let’s test it.
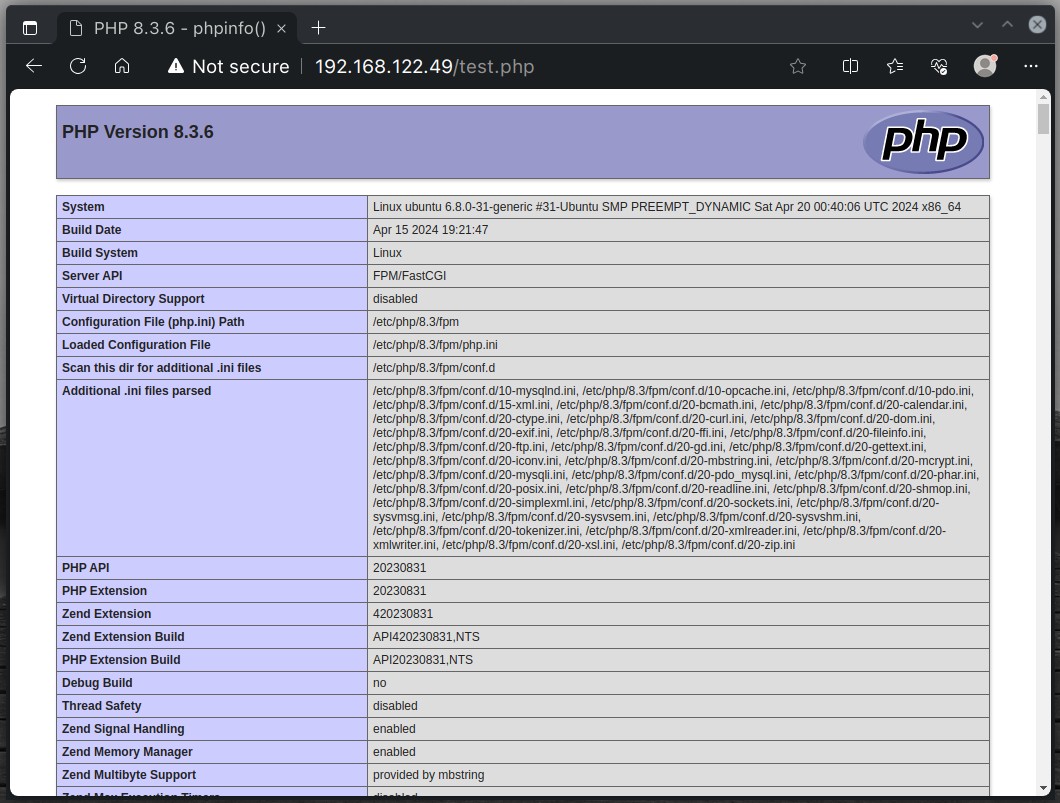
By default, Nginx servers its web content from the “/var/www/html” directory, so we’ll create a test file (“test.php“) inside that.
echo "<?php phpinfo(); ?>" | sudo tee /var/www/html/test.phpCode language: Bash (bash)Finally, try to access it from a web browser using your server’s IP address followed by “/test.php.” If all is well, you must be welcomed by a web page containing detailed information about your PHP installation.
Congratulations! You have successfully installed and configured the LEMP stack on Ubuntu 24.04 LTS. You can now host your PHP applications and use MariaDB as your database server. Make sure to secure and configure your server further according to your needs.
Conclusion
You could take several next steps from here. For example, you can enhance the security of your Nginx setup by integrating free SSL certificates for HTTPS support. Unsure how to proceed? We’re here to help.
Choose from our step-by-step Let’s Encrypt or ZeroSSL guides and quickly secure your web resources.
Thanks for your time! I hope this guide has been informative and helpful in getting you started with the LEMP stack on Ubuntu 24.04 LTS. Your feedback and comments are most welcome.


