
If you’re using openSUSE Leap 15.5 and considering upgrading to the latest and greatest version, Leap 15.6, you’re in the right place. With openSUSE’s robust platform, the process is straightforward and a breeze.
This article is designed to guide you through the seamless upgrade process from Leap 15.5 to Leap 15.6. We’ll walk you through every step, from preparation to execution, ensuring you can make the transition smoothly and confidently.
Step 1: Take System Backup
First, let’s ensure all your important data is safe. Before doing anything else, we strongly recommend a full system backup of your openSUSE system. Thus, if something goes wrong, you can restore it with all the vital data to its previous state.
However, if you do not feel like taking the above approach, you can instead use a command like the one shown below, which will archive all of the more critical directories and their contents in a tar.gz archive.
sudo tar czf /leap-data.tar.gz \
     --exclude=/leap-data.tar.gz \
     --exclude=/dev \
     --exclude=/mnt \
     --exclude=/proc \
     --exclude=/sys \
     --exclude=/tmp \
     --exclude=/media \
     --exclude=/lost+found \
     /Code language: Bash (bash)
Feel free to add more “–exclude=” parameters if needed. Finally, the command creates a backup of all files in the “leap-data.tar.gz” file located on the root partition (/), which you should ideally transfer to another computer or drive, for example, using the SCP command.
Step 2: Check Repositories
The next step is to ensure that the following three update repositories already exist on your openSUSE Leap 15.4 system and are enabled:
- repo-backports-update
- repo-sle-update
- repo-update
You can do it by performing the following:
zypper repos -u
If, for any reason, the “Enabled” column is set to “No,” run the command below, where “repo-name” is the name of the repository to enable it.
sudo zypper modifyrepo --enable repo-nameCode language: Bash (bash)Step 3: Update All Software
Ensure you have a fully updated Leap 15.5 system. In the terminal app, type the following command:
sudo zypper refresh
sudo zypper updateCode language: Bash (bash)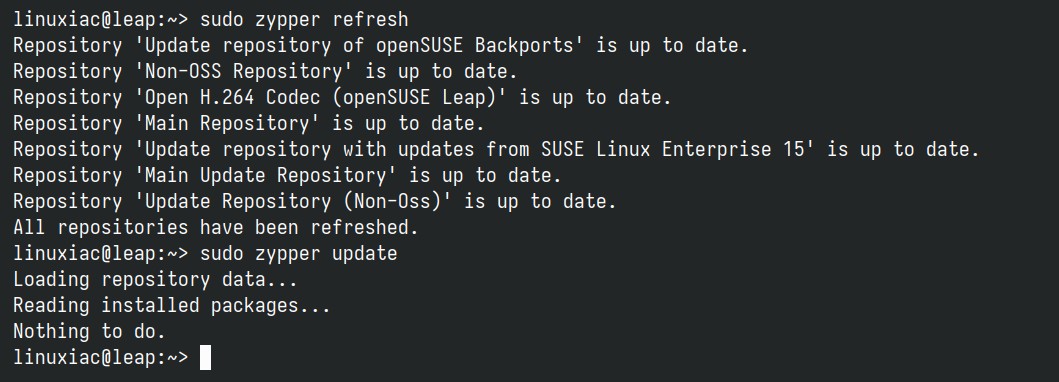
If any updates are available, install them, then reboot. The result should be a fully up-to-date system with no packages waiting to be updated. Here is our openSUSE Leap 15.5 box before migrating to Leap 15.6.
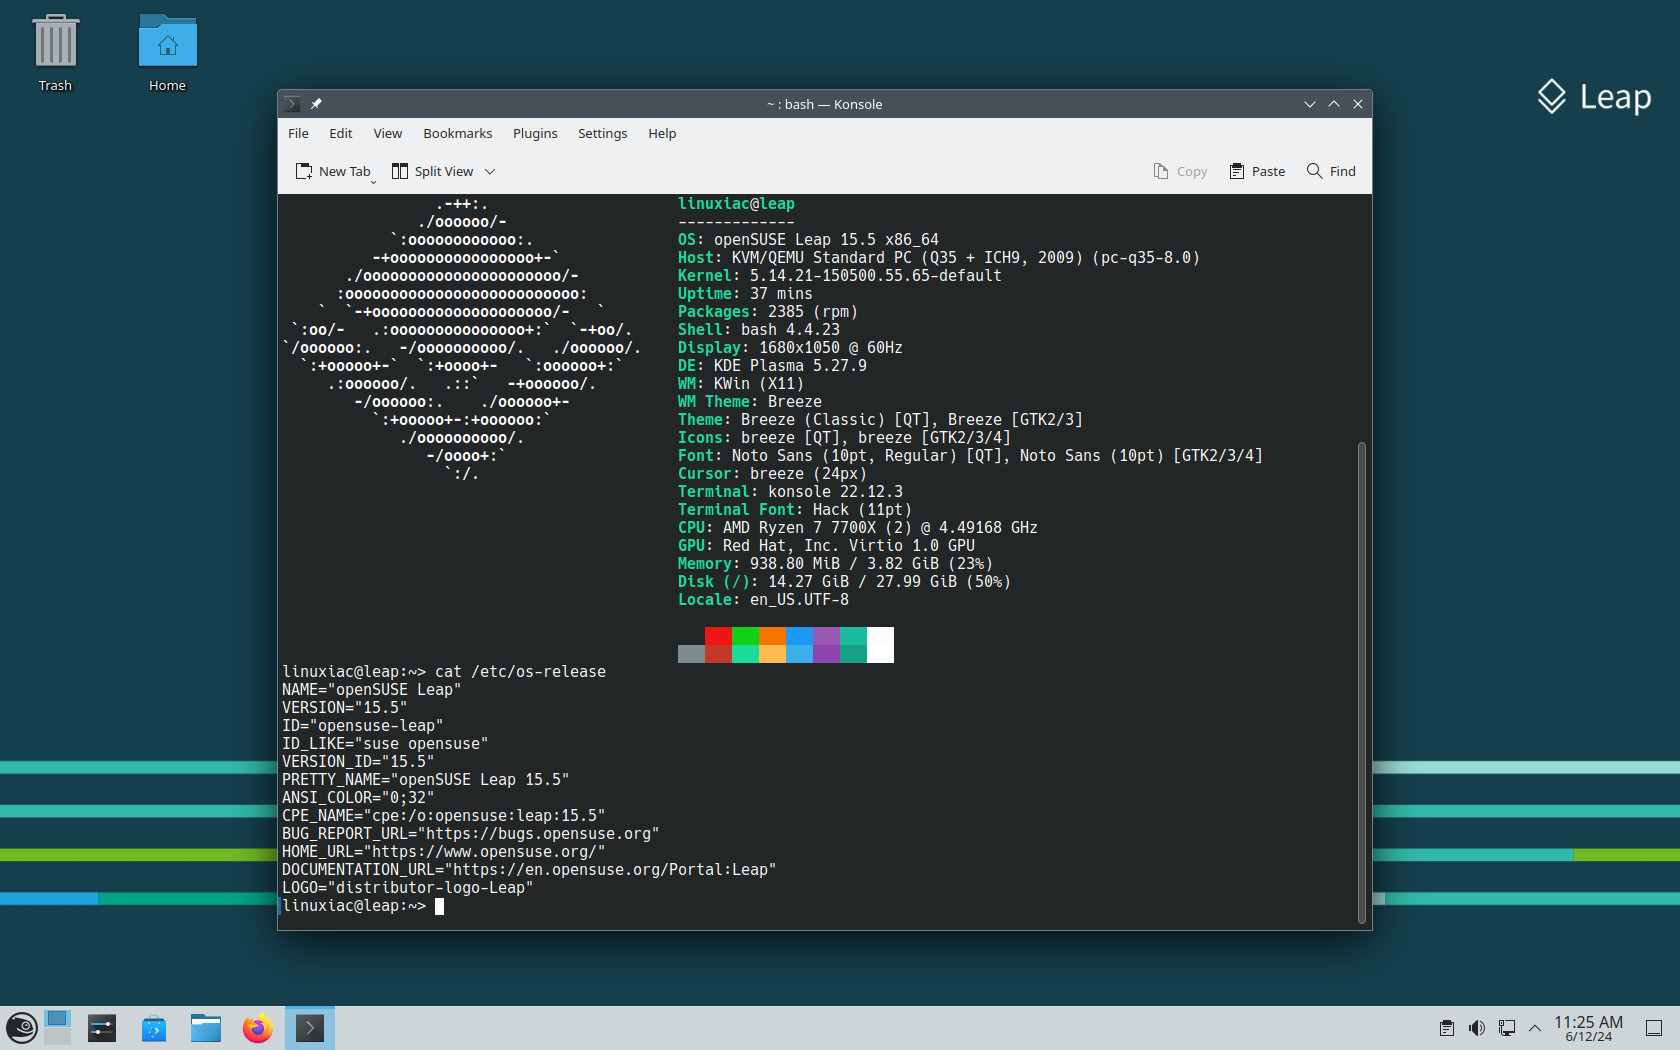
You can check the current OS version by running:
cat /etc/os-releaseCode language: Bash (bash)Step 4: Refresh Repositories to Leap 15.6
First, check if your Leap repos defined in “/etc/zypp/repos.d/” are using the “$releasever” (i.e., are not hard-coded with a particular Leap version number, for example, “15.5“) variable already in the URIs.
grep baseurl /etc/zypp/repos.d/*.repoCode language: Bash (bash)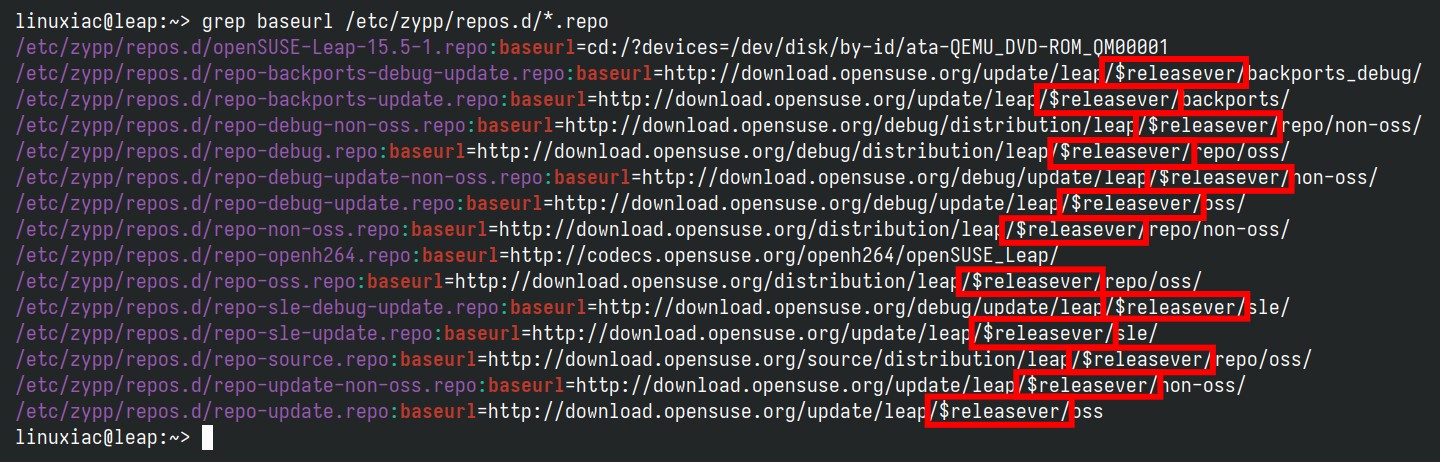
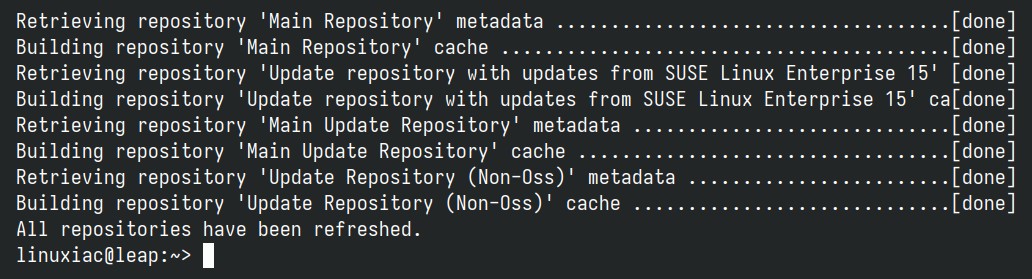
Then, refresh all repositories to the new Leap’s 15.6 ones.
sudo zypper --releasever=15.6 refreshYou should get a message that all repositories have been successfully refreshed.
Step 5: Upgrade to openSUSE Leap 15.6 from Leap 15.5
It is time to start the upgrade, which will migrate our system from openSUSE Leap 15.5 to Leap 15.6. However, one very crucial clarification is required beforehand.
It is strongly recommended that you run the upgrade outside the X-window graphical mode. Why? It is simple—if your X session crashes during the update, causing the upgrade to fail, you will end up with a broken system.
In light of this, we advise switching to the virtual terminal using the “Ctrl+Alt+F3” keyboard shortcut, logging in, and running the bellow command, which will start the upgrade process.
sudo zypper --releasever=15.6 dup --download-in-advanceCode language: Bash (bash)Accept typing “y” on the message informing you of the packages to be installed.
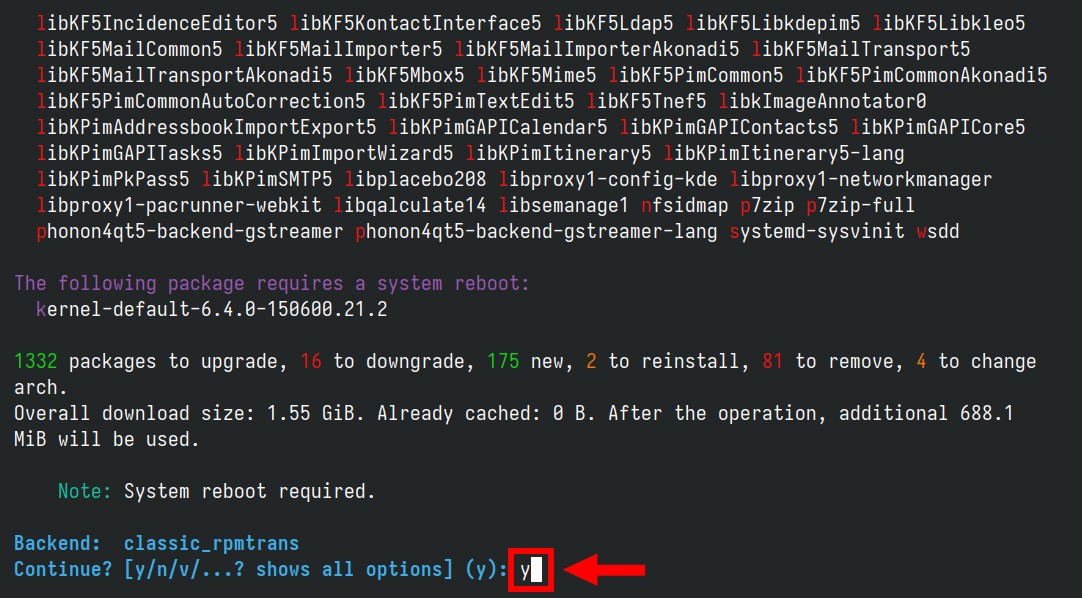
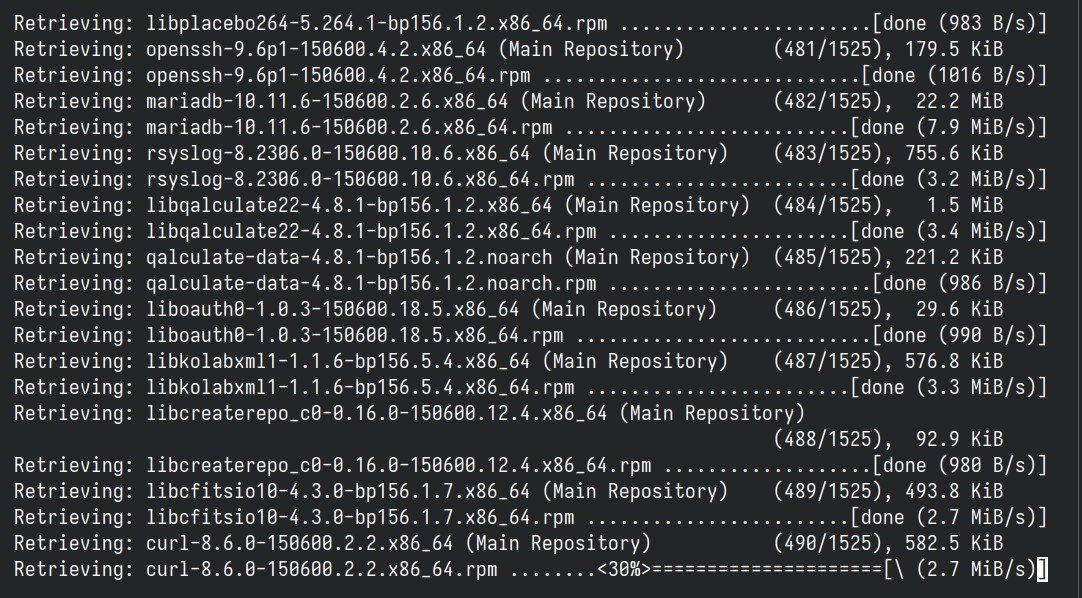
The upgrade to openSUSE Leap 15.6 will start with downloading and applying the updates. Now is the perfect time to grab a coffee and settle in because the process will take some time, depending on your internet connection speed, hardware capabilities, and the number of updated packages.
Once the process is completed, you’ll be offered to reboot the system. Okay, the moment of truth!
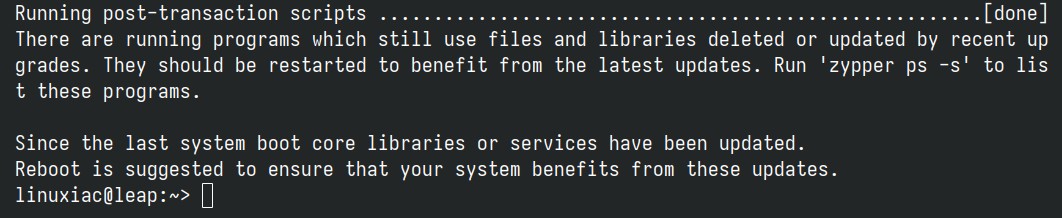
sudo rebootCode language: Bash (bash)Wait for the system to reboot. It will take a bit longer than usual. Finally, the bootloader will greet you, indicating you are now running openSUSE Leap 15.6.

At this point, it’s time to give yourself a big pat on the back because, just like that, you’ve successfully transitioned your system from openSUSE Leap 15.5 to 15.6. I’m sending you big congratulations, too. Login and enjoy!

Conclusion
Upgrading from openSUSE Leap 15.5 to 15.6 is straightforward. By following our detailed guide, you can ensure a smooth transition. So, congratulations! Your system is now more robust and secure, ready to meet current and future demands.
For additional help or useful information, we recommend checking the official openSUSE documentation. Thanks for using our guide! Feel free to share your thoughts in the comments section below.


This worked for me, step-by-step. Thanks!
By far the most time-consuming step for me was "backing up" the current installation. I eventually realised that it was backing up two enormous directories on external media, ie. my Windows mount and my Dropbox cloud storage. I had to add these to the "exclude", ie. "–exclude=/windows/" and "–exclude=/home/stephen/Dropbox". Diagnosed by inspecting the .tar.gz file (which was also a time-consuming step!).
After that, it all went smoothly.
re:
"It is strongly recommended that you run the upgrade outside the X-window graphical mode. Why? It is simple—if your X session crashes during the update, causing the upgrade to fail, you will end up with a broken system."
I was running this remotely, with Teamviewer, and didn't want to get off my butt and move to the physical device, and took my chances. Count me irresponsible, but lucky.
Hello! Not bad but maybe is a good option to run this upgrade in "screen" which is a terminal multiplexer?Like before you start the upgrade process you could say screen -S upgrade_session ?
Excellent article, congratulations.
Worked great – thanks! One note on the terminal – I used ssh the first time which was a mistake as the network connection drops at one point during the process but fortunately I was able to restart using Konsole without an issue as it figured out what had been cached and what still needed to be done.
thanks for this great step-by-step explanation.
Can’t one upgrade using discover already??e.g.: using only GUI without touching CLI (like in fedora, neon, kubuntu…)?
A somewhat-GUI method of upgrade is always available on openSUSE if you download the ISO to a USB stick or disc, boot to it and choose 'Upgrade' from the menu. I've been doing this on multiple machines since SuSE Pro 8.2 in 2003! A mostly smooth and reliable experience, even if I recall one or two niggles over the years.
The advantage of this method over zypper and the CLI is that you can fine-tune a number of options presented in the upgrade categories, make adjustments to software selections and so on. And perhaps recover better in case the Internet connection is interrupted.
I only do a fresh install on new machines or when I feel there's been enough successive upgrades for some accumulated cruft clearance to be required.
Hi!
thank you for your reply!
yes, i used that a few times as well when i used openSUSE many years ago.
But i argue that that implies the user downloads the iso and burn it fo a USBDrive. This requires some tech knowledge.If you are an unexperienced user that had a friend installing linux for you, that won't work. You either get that friend back in every new release or you're stuck in a release!!!
Upgrading it from Discover, for exemple, would work great as it's an easy-to-do process! Just put in the password and off you go.
(yeah… that can break the system if things go south… but many things can, so…)
that's why, presently, i install fedora or neon on new users… its gives them a fresh and updated system that keeps itself updated!
suse is being left behind on this subjects
opensuse has an explanation to do the upgrade in the GUI but they comment ist “as your own risk – and I guess there is no reasonable argument to not open a a terminal