
Linux Mint 22 “Wilma” is now out, and I’m sure many of you are eager to upgrade from Mint 21.3 “Virginia” to the new version. I’ll just say this – you’ve come to the right place!
We understand that an operating system upgrade can seem daunting. That’s why we’ve tailored this guide to be as user-friendly and comprehensive as possible.
We thoroughly tested each step, ensuring that the guidance we offer is not only practical but also proven to be successful. And most of all, as always, we want to ensure we give you only the best!
So, let’s do it together, ensuring that your transition to Linux Mint 22 from 21.3 is successful and enriches your computing experience.
Step 1: Take System Backup
Let’s clarify this from the beginning: you must do this step! If upgrading from Linux Mint 21.3 to 22, you must take a system snapshot beforehand. This way, if something goes wrong, you can restore your system to its previous state.
However, if you skip taking the snapshot now, you’ll have to do it at the start of the upgrade, making things more complicated as the mint upgrade tool checks for an available snapshot made. So, it’s best to take care of it right away. It’s easy; here’s how.
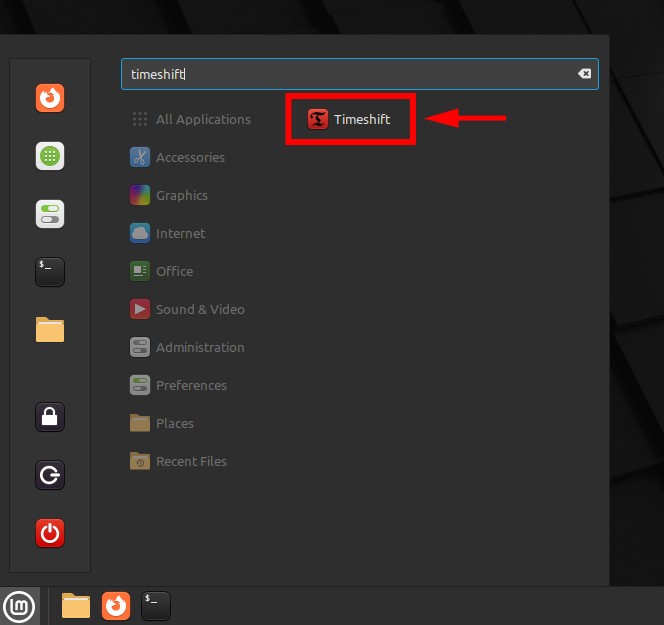
Open the “timeshift” app by searching for it in the start menu. When prompted, enter your user password.
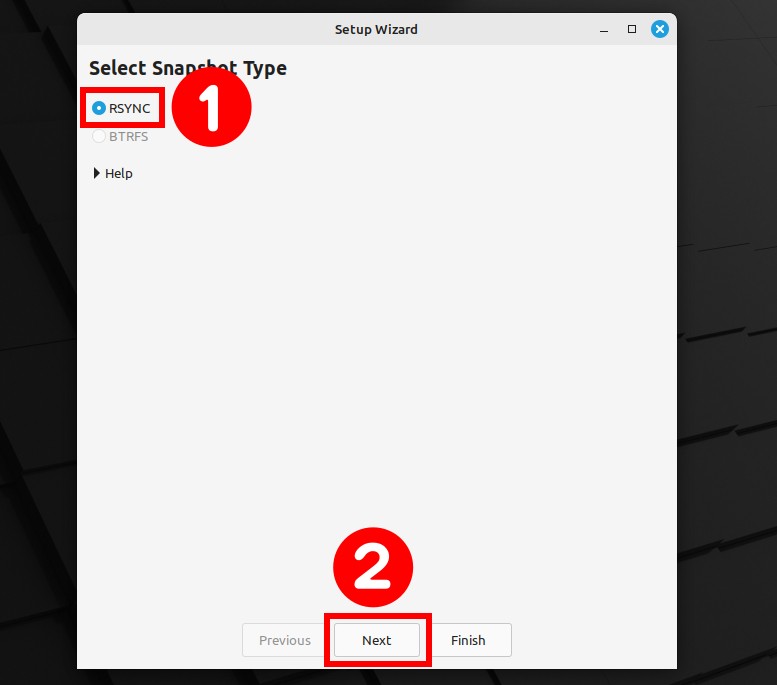
You must complete a quick setup process if this is your first use. Select “RSYNC” and continue with “Next.”
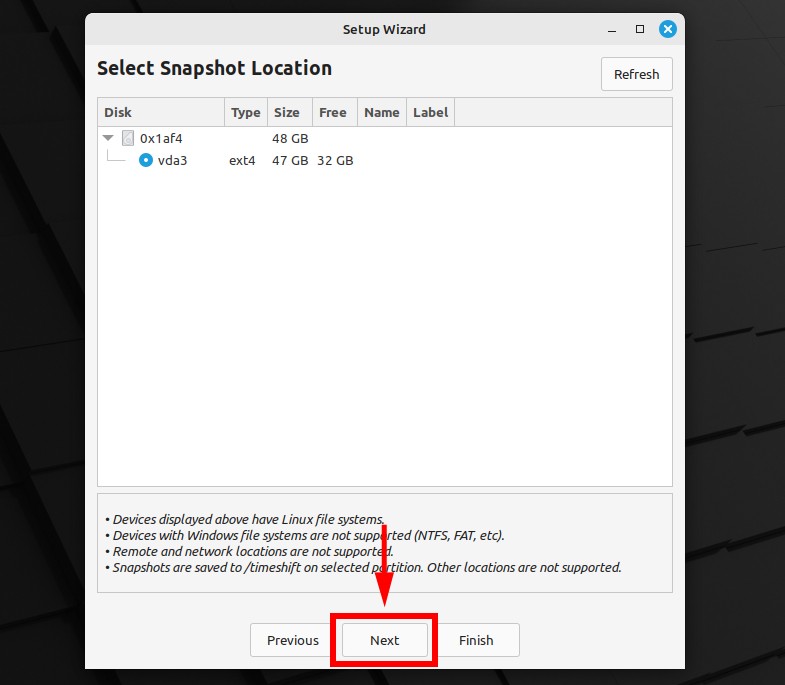
The following screen details your dock and its available space. You don’t need to do anything on this page—simply click the “Next” button to proceed.
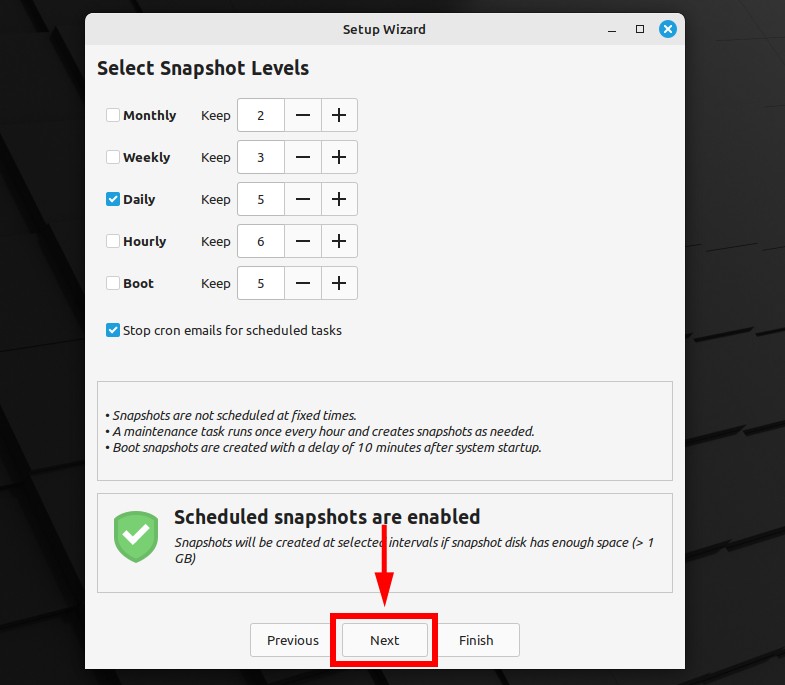
Keep the default settings and click “Next” to continue. We’re almost finished.
On the next screen, you’ll see an option to back up the files in your user directory, which is not selected by default. We strongly suggest you choose the “Include All Files” option. Hit “Next” for the last time.
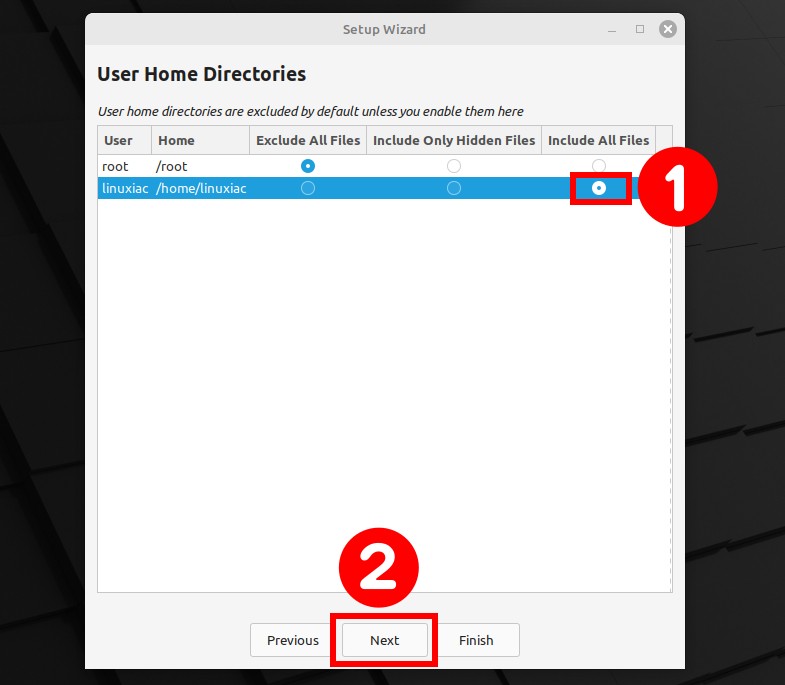
Alright, we’re all set. Click the “Finish” button.
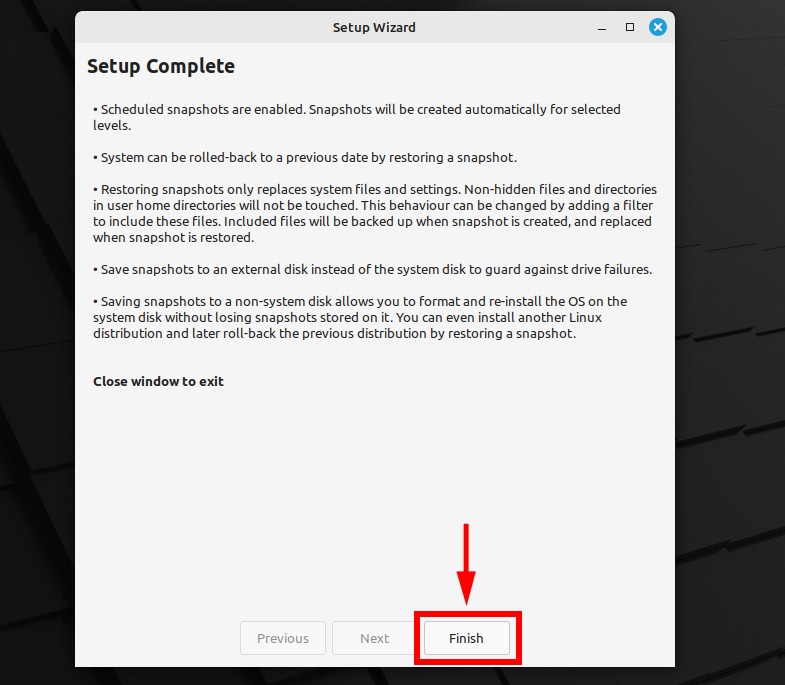
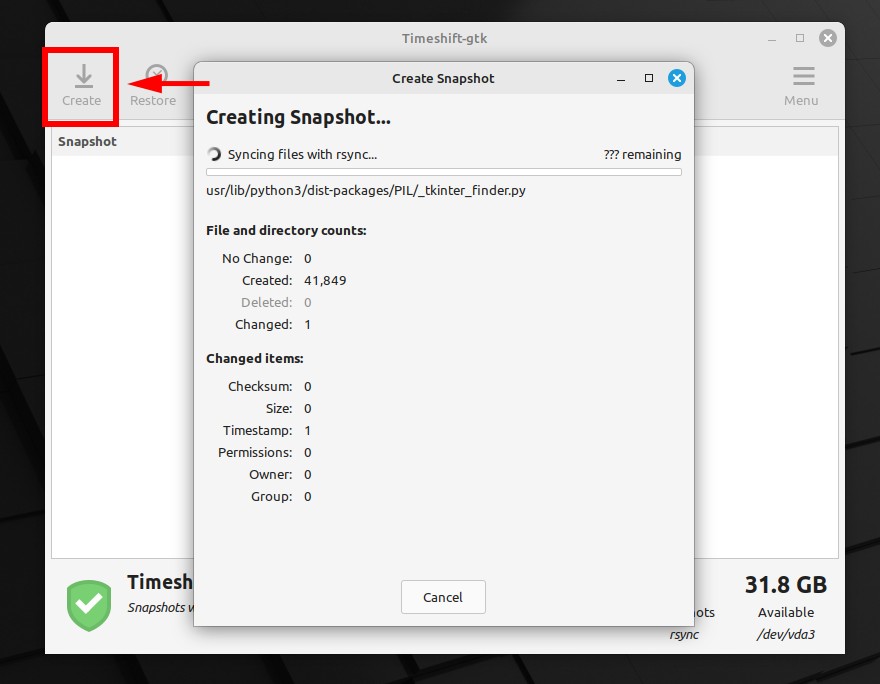
Click the “Create” button to start creating a snapshot of your Mint 21.3 system and wait for the process to complete.
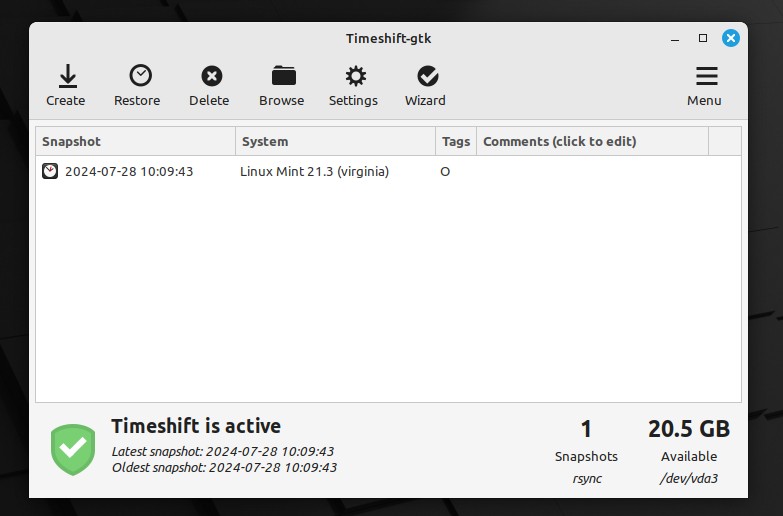
At the end, you should see a screen similar to the one below. We are done with the snapshot. You can now close the Timeshift application and move on to the next step.
Step 2: Update All Software
Ensure your current Linux Mint 21.3 system is fully upgraded and has no packages waiting to be updated.
Run the two commands below to ensure no packages are waiting to be updated. If there are, however, apply them before moving on.
sudo apt update
sudo apt upgradeCode language: Bash (bash)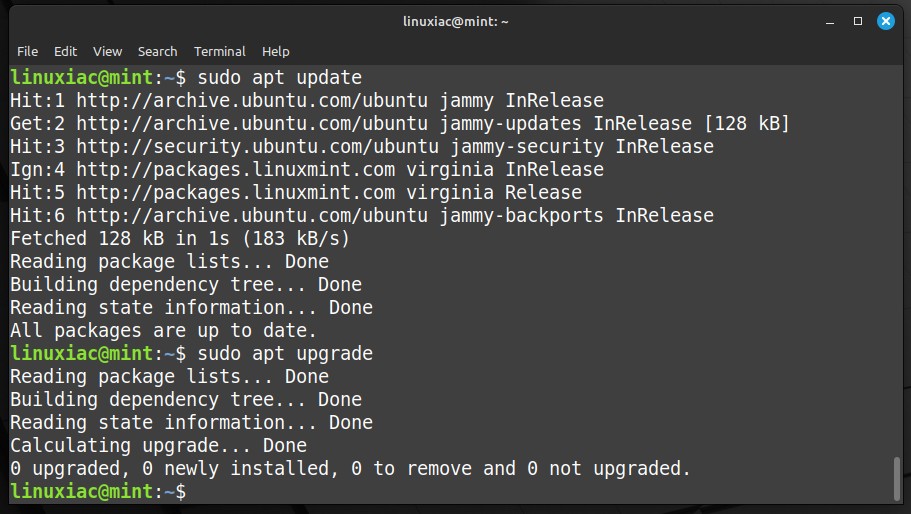
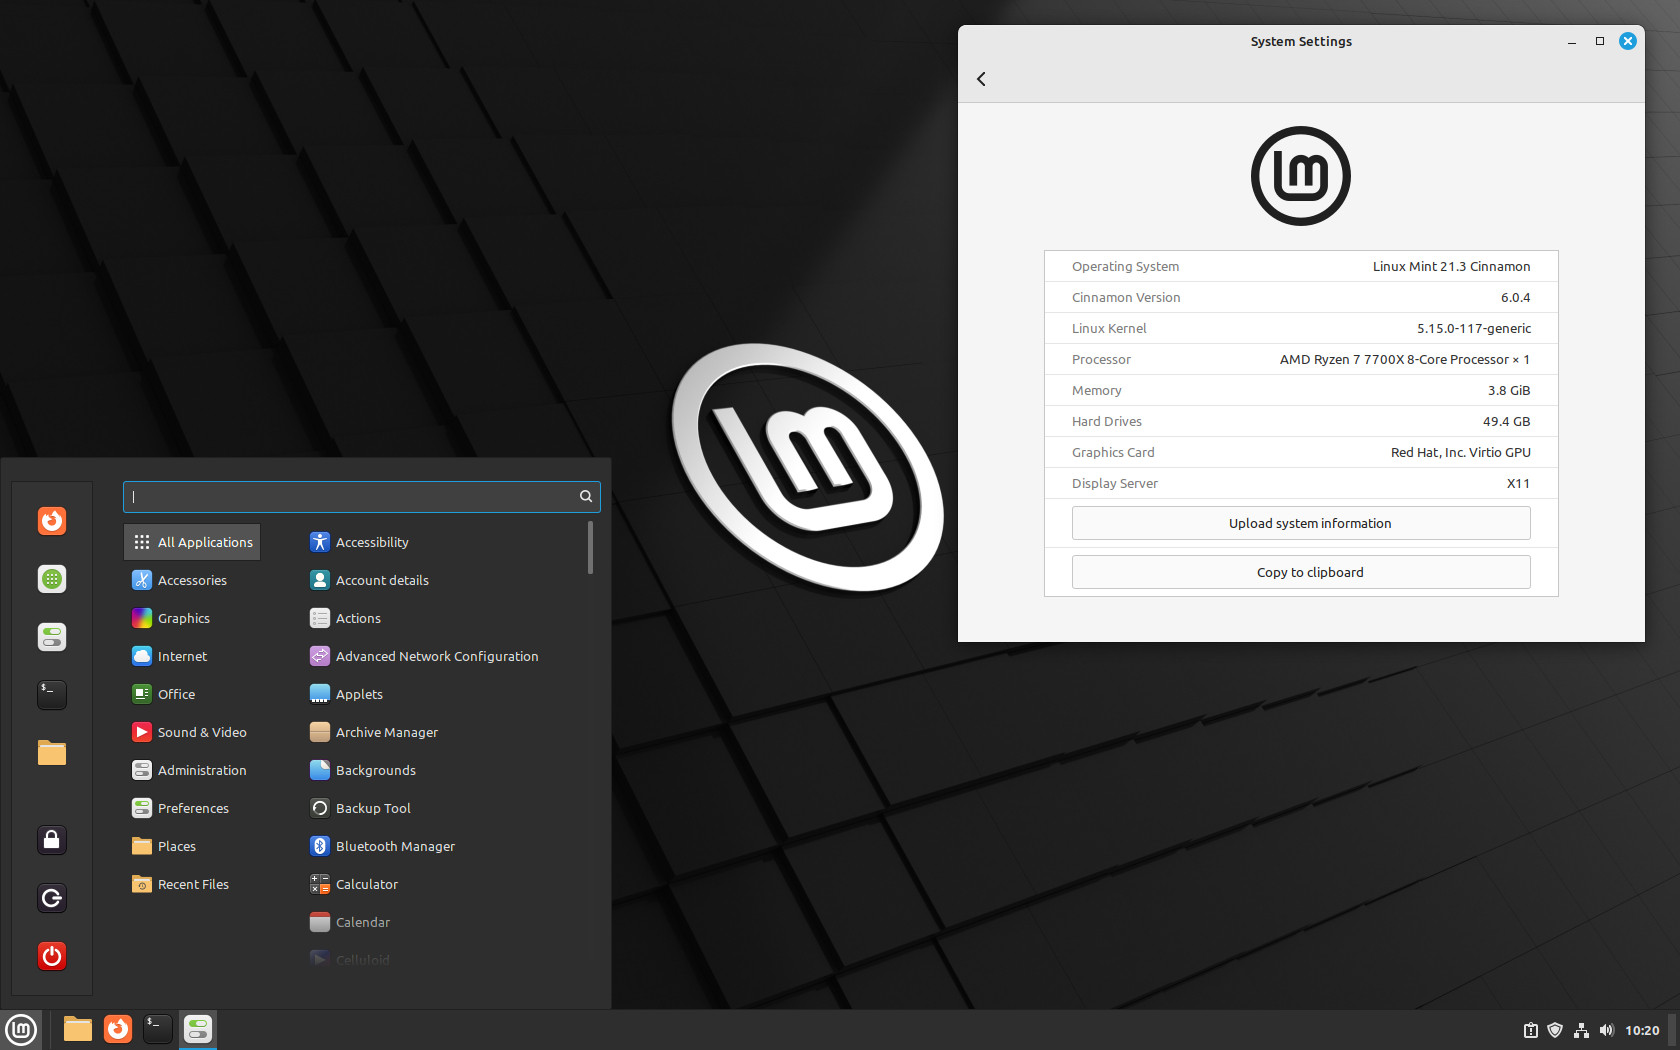
In addition, disable your screensaver, and if you installed some additional Cinnamon spices such as applets, desklets, extensions, or themes, upgrade them from the System Settings.
Step 3: Upgrade to Linux Mint 22 from 21.3
Everything is now in place to begin the upgrade to Linux Mint 22. Here’s our Linux Mint 21.3 “Virginia” system before upgrading to Mint 22 “Wilma.”
Open the terminal and run the command below to install the mintupgrade tool.
sudo apt install mintupgradeCode language: Bash (bash)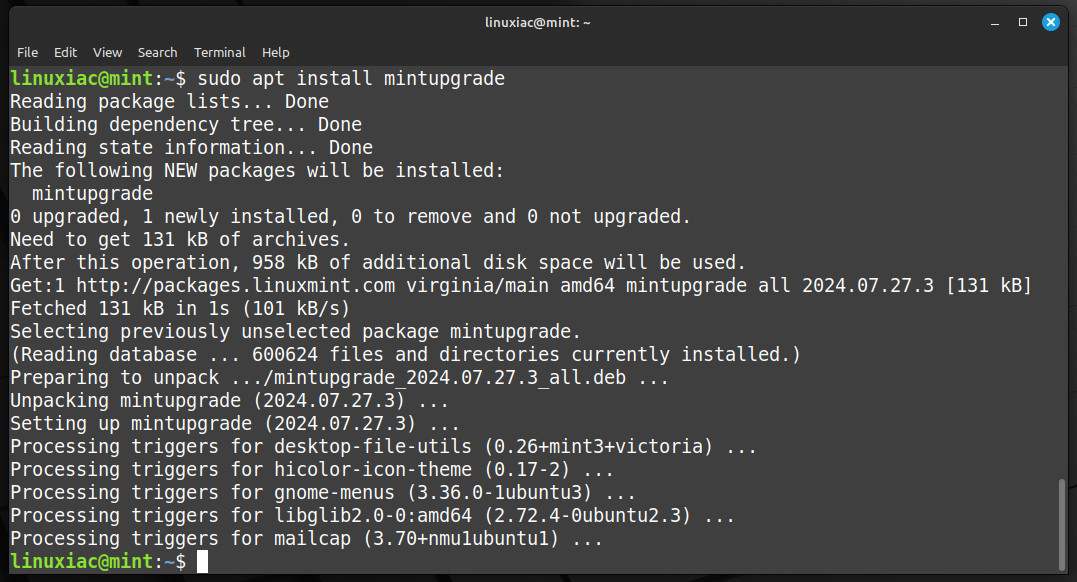
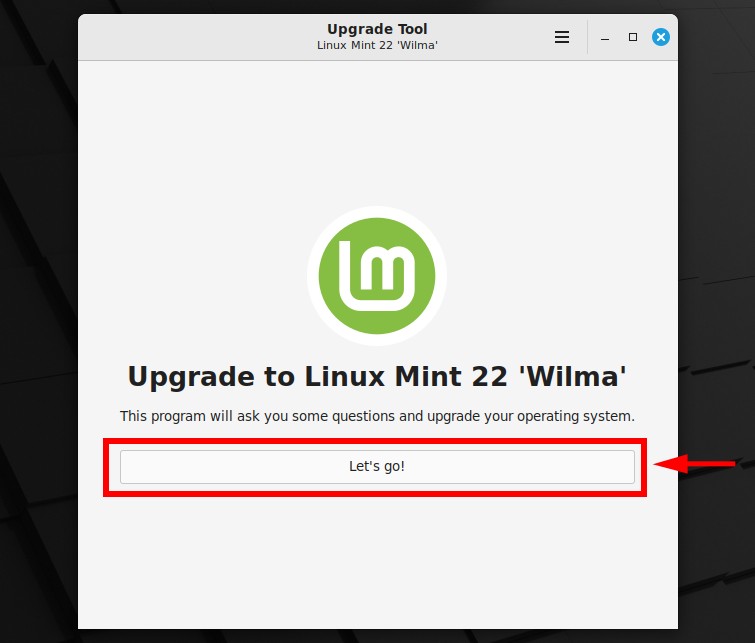
Open the terminal app and execute the command below:
sudo mintupgradeCode language: Bash (bash)This will start the mintupgrade tool, which guides you through updating from Linux Mint 21.3 to Mint 22. Click on the “Let’s go!” button.
Remember, it’s crucial not to close the terminal window. Closing it will stop the upgrade process. My advice is just to minimize it. In addition, if you want to see what the tool is doing under the hood, you can watch its processes in the terminal.
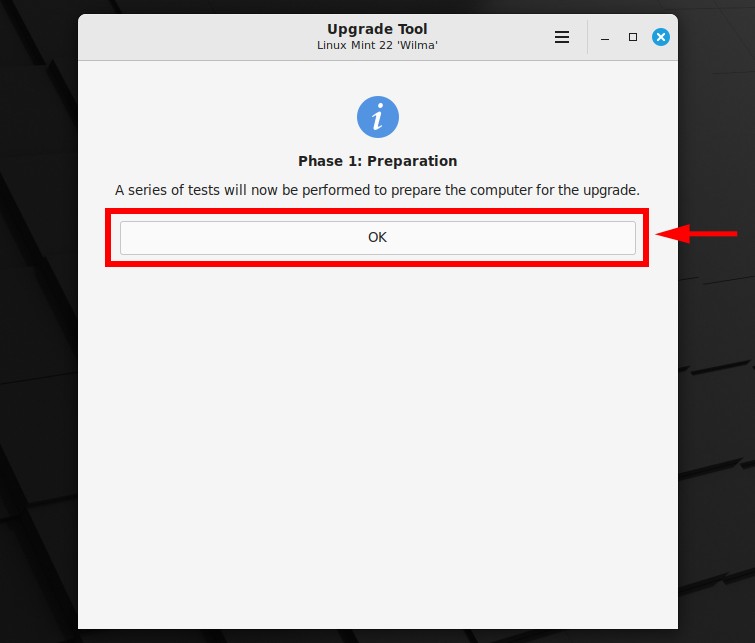
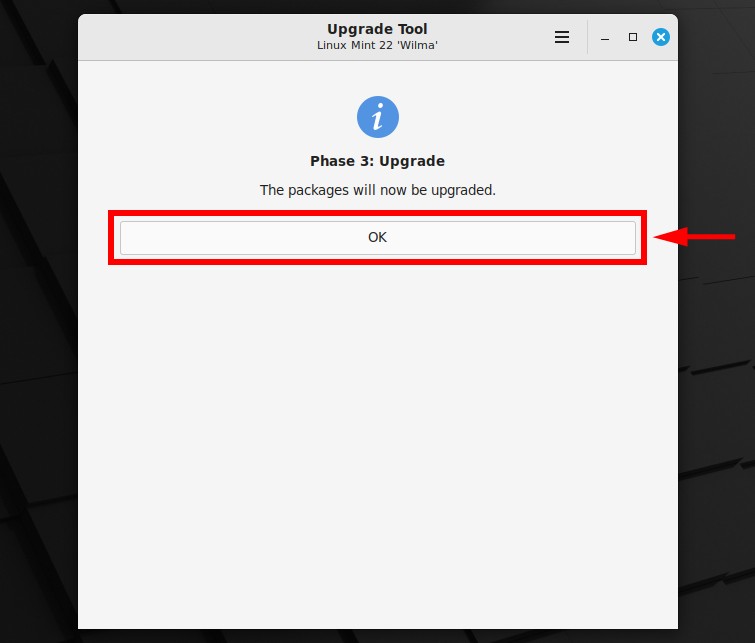
The next screen informs you that preparations for the upgrade will start. Confirm with “OK.”
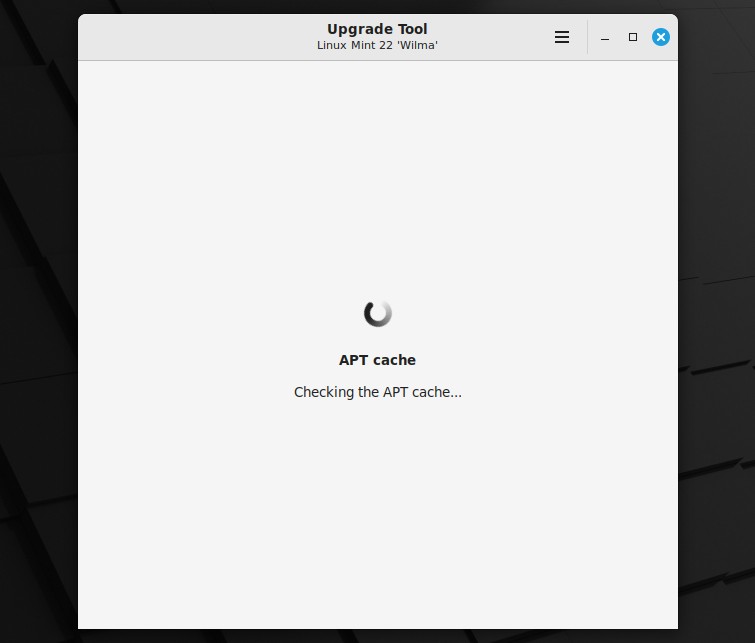
Wait for the process to complete. It will take up to 1-2 minutes.
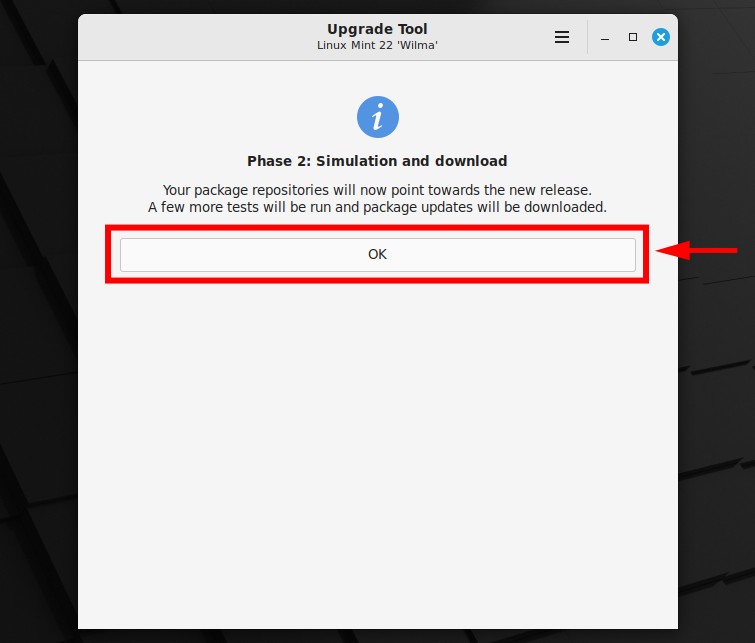
Upgrading to Linux Mint 22 requires some extra checks. Just click “OK” to be done.
Once the check is finished, the tool will tell you how many packages need upgrading and how much software will be downloaded. Click “OK” to confirm.
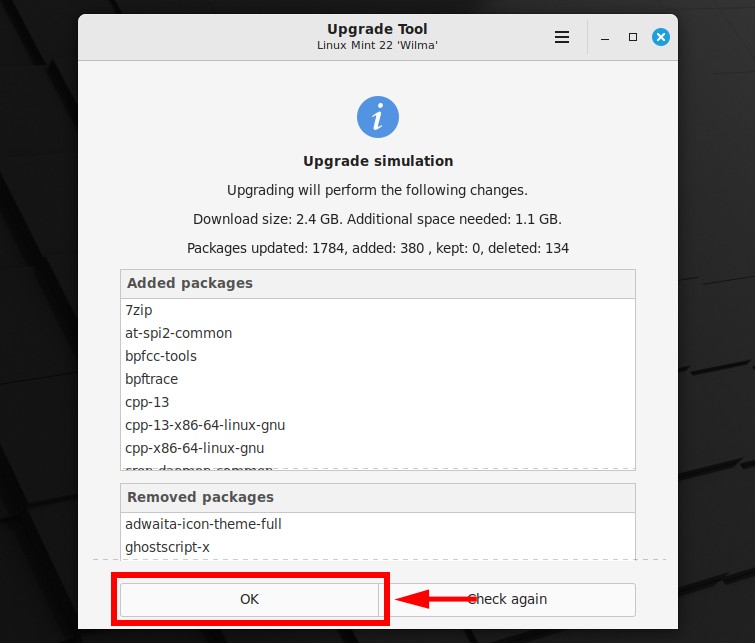
You’ll need more patience here, as the downloaded packages total between 2 and 3 GB. Depending on your internet speed, this might take a while. So, why not grab a cup of coffee, relax, and let the downloads finish?

Once the download is completed, you can begin the upgrade. Click the “OK” button to start.
Again, be a little more patient. The time it takes to update can differ depending on your hardware, but it usually ranges from 15 to 30 minutes.

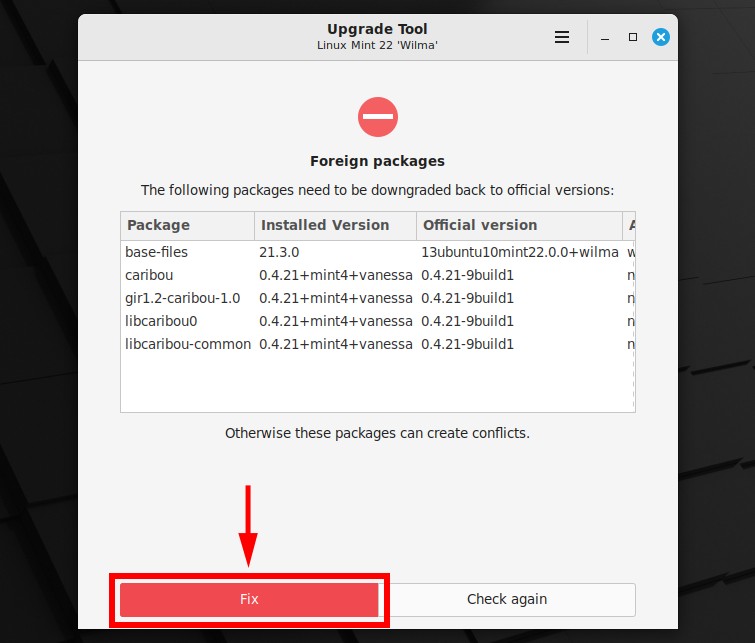
If the tool finds any package conflicts, it will alert you. Simply click the “Fix” button to resolve them.
Here’s what you’ve been waiting for—the tool will notify you that the upgrade from Linux Mint 21.3 to Linux Mint 22 has been completed, rewarding your efforts and patience.
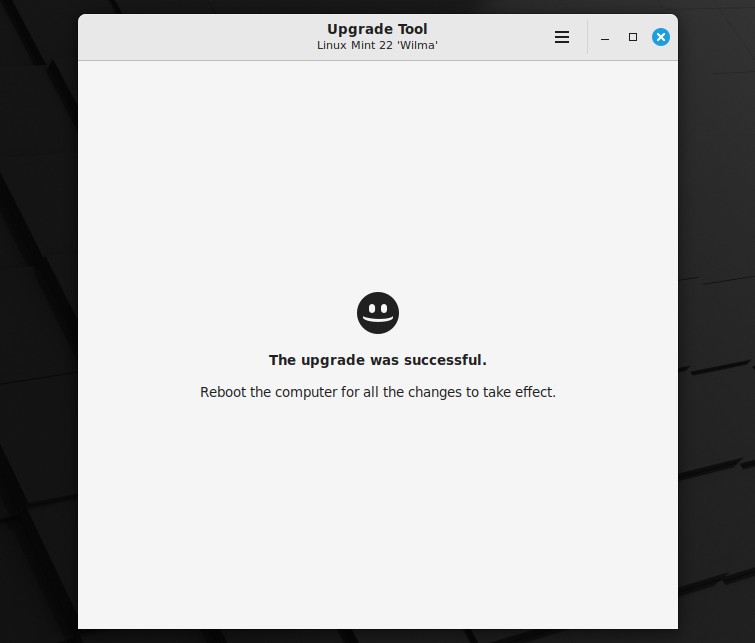
Now, you can safely close the window. Reboot, log in, and enjoy your newly upgraded Linux Mint 22 “Wilma” system.
Finally, you can safely remove the mintupgrade tool:
sudo apt remove mintupgradeCode language: Bash (bash)Conclusion
With our guide, upgrading to Linux Mint 22 “Wilma” from Mint 21.3 “Virginia” is easy. It lets you enjoy the latest features, security updates, and performance enhancements the new release brings.
Although the process can vary widely depending on your internet connection speed and the power of the hardware you’re using, you should be done in about an hour.
Additionally, we recommend that you consider setting up automatic updates; however, if you don’t know how, we’ve covered it in our comprehensive and easy-to-follow “How to Configure Linux Mint Automatic Updates” guide.
Lastly, you can check also the official Mint’s upgrade manual for additional help or valuable information.
Thanks for your time! Your feedback and comments are most welcome.


First time I installed this I had same issue as these other people. Third try I downloaded ISO file from inside another mirror. I did all the integrity checks and burned CD. It then loaded perfectly but of course it asked me to create dual boot as it could not save my internal pictures or docs. I did so. Only problem is at sometime in near future I need to remove 21.3 and afraid something may go wrong there. I think Gparted may work well I hope.
I got "Error 100," whatever that means. Could not get any further. I believe I will wait awhile before I try again.
Cannot get past the package repositories error https://ppa.launchpadcontent.net/appimagelauncher-team/stable/ubuntu does not support noble
I did not work for me, there is no FIX option. So I cannot fix the package conflicts"Simply click the “Fix” button to resolve them" resolves in the same outcome. Also at that time the system has no network so cannot reach the internet. After restarting ( the only solution I could think of ) the system is broken and no desktop is launged. I gues the best option now is do a fresch install. the same as the other two computers in mij home. Upgrading takes a very long time and resolves in problems
My upgrade ended with this message:Fixing check 'Package repositories'mintupgrade-inhibit-power: no process foundThen I had to close the terminal as it would proceed no further.
this is why i do not use ppas. flatpaks cover most things i need. i also switched back to ubuntu to have snaps for more software choices without ppas. both snaps and flatpaks do not care what version of a os they are running on unlike debs and ppa stuff.
Hi,I think that's what comes up if any package is causing problems. In my case, it was an installation of skype from a PPA. Read the preceding lines in the terminal to figure out what the issue really is.
Thanks, Hyvor, I'm not sure what my problem was but your answer gave me the wherewithall to sort it out. Clearing the software sources seemed to do it.
Hi!I followed the same steps and the installation was successful, but after restarting the machine, the NVIDIA driver, despite being installed, was not configured for the new kernel. It was necessary to remove and reinstall the driver to get it working again. Bluetooth also did not work after installation. I tried to remove and reinstall it and the problem continued. I noticed that the file in bluetooth.service, the line ExecStart=/usr/lib/bluetooth/bluetoothd does not work and I changed it to ExecStart=/usr/sbin/bluetoothd. Now everything is 100%.
Mine worked but, I did have to uninstall quite a few apps as the ‘Fix’ button did not work. I also had a little difficulty reinstalling Libre Office. (Had to use the deb file.) But, all is well now. Thanks for the instructions.
i just upgraded my system to another linux os instead
For me, all of this worked perfectly fine. I had some conflicts with applications that I needed to resolve, but once that was done, this was all finished up in about 40 minutes.
Although the upgrade was fairly easy (although slow) once it was “successfully” completed, and the system re-booted, nothing (and I do mean nothing) worked correctly. Fortunately Timeshift was able to restore my system to its pre-upgrade useful condition. Perhaps this release should be downgraded to beta status so more testing can be done before re-releasing upon the unsuspecting public.
Same happened to me – Failed to work correctly! Clearly it is not ready for launch in my opinion.