
After Red Hat rolled out RHEL 10, and AlmaLinux 10 quickly followed, it’s no surprise that many AlmaLinux users are now looking for a way to upgrade their version 9 systems to the latest release.
The good news? Thanks to the ELevate project, an open-source initiative designed to streamline in-place upgrades between major versions of RHEL‑based distributions, AlmaLinux has made the upgrade process straightforward and fully supported.
In this guide, I’ll walk you through every upgrade process step from Alma 9 to Alma 10, ensuring you can make the transition smoothly and hassle-free.
Step 1: Take System Backup
First, let’s ensure all your important data is safe. Before doing anything else, I strongly recommend fully backing up your Alma installation using one of the system snapshot tools you’re familiar with. If you’re not sure which one to go with, check out my recommendations on the topic.
Thus, if something goes wrong, you can restore it with all the vital data to its previous state.
However, if you do not feel like taking the above approach, you can instead use a command like the one shown below, which will archive all of the more critical directories and their contents in a tar.gz archive.
sudo tar czf /alma9.tar.gz \
     --exclude=/alma9.tar.gz \
     --exclude=/dev \
     --exclude=/run \
     --exclude=/mnt \
     --exclude=/proc \
     --exclude=/sys \
     --exclude=/tmp \
     --exclude=/media \
     --exclude=/lost+found \
     /Code language: Bash (bash)
Feel free to add more “–exclude=” parameters if needed. Finally, the command creates a backup of all files in the “alma9.tar.gz” file located on the root partition (/), which you should ideally transfer to another computer or drive, for example, using the SCP command.
Step 2: Update All Software
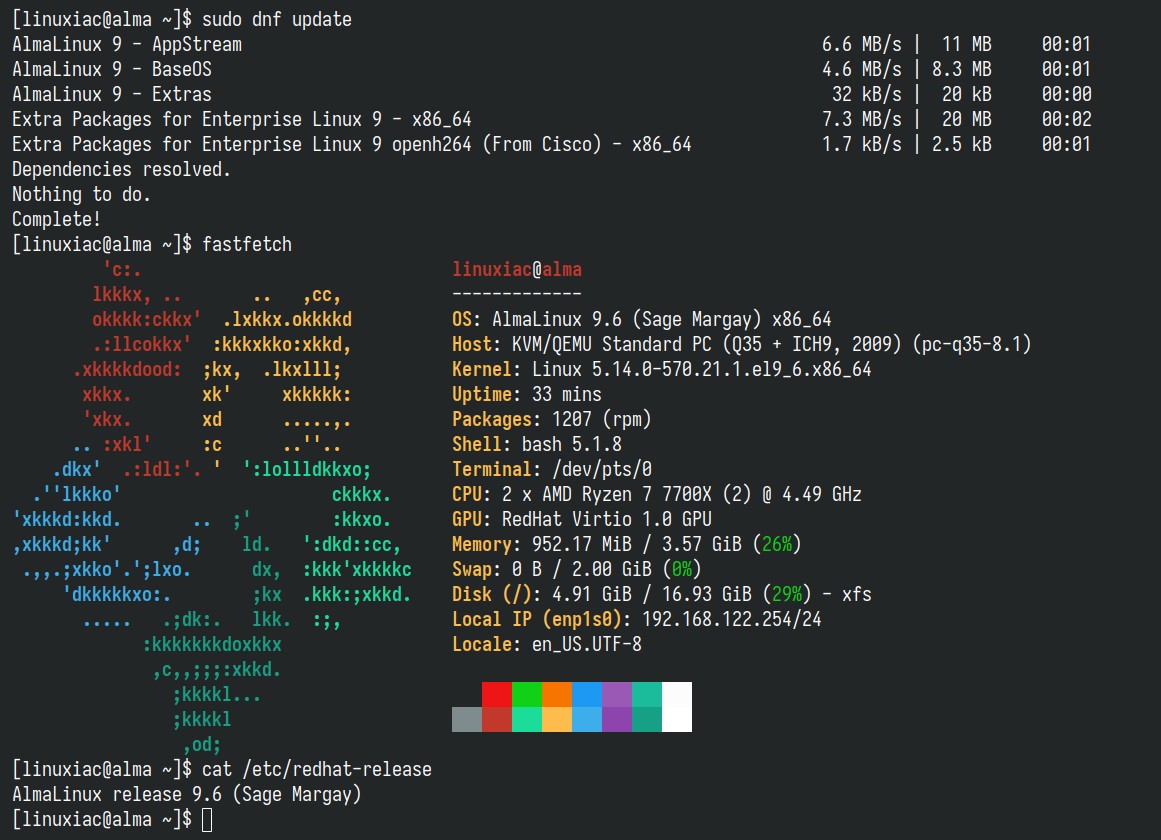
Ensure you have a fully updated Alma 9 system. Run the two commands below to ensure no packages are waiting to be updated. If there are, apply them (and reboot if necessary) before moving on.
sudo dnf updateCode language: Bash (bash)Here is our fully updated AlmaLinux 9 system before upgrading to AlmaLinux 10.
Step 3: Migrate AlmaLinux 9 to AlmaLinux 10
Before we start, let’s say a few words about the tool that will help us with the migration: ELevate.
Developed by AlmaLinux, it supports migrations between major versions of Red Hat Enterprise Linux forks (Alma, Rocky, Oracle), allowing users to migrate from CentOS 7.x to 8.x versions of the RHEL derivative or upgrade from 8.x to 9.x within the same.
Support for upgrading from AlmaLinux 9 to 10 was recently added, and this guide explicitly uses that feature.
Step 3.1: Install the ELevate Tool
The first step in the upgrade process is installing the “elevate-release” package on your current Alma 9 system.
sudo dnf -y install http://repo.almalinux.org/elevate/elevate-release-latest-el$(rpm --eval %rhel).noarch.rpmCode language: Bash (bash)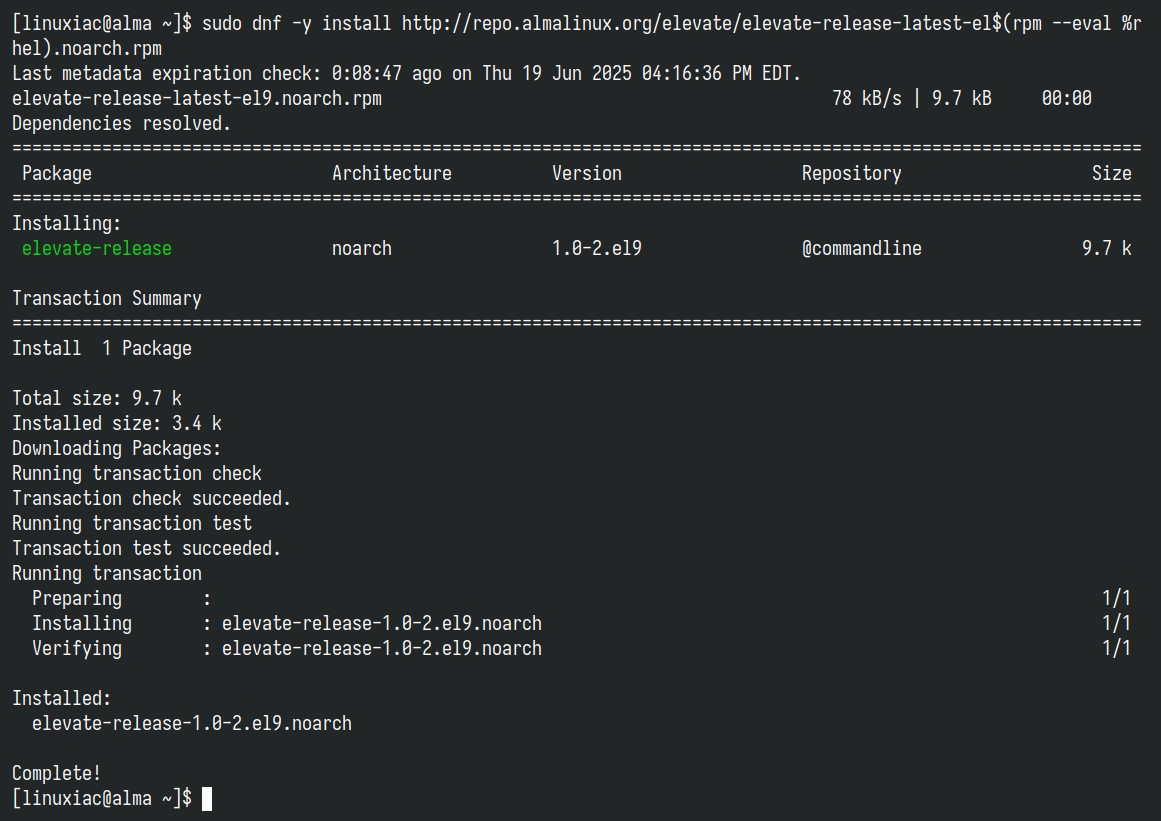
Step 3.2: Install Leapp and Migration Data
The migration process is based on a combination of Red Hat’s Leapp, a framework designed to facilitate in-place upgrades of RHEL systems from one major version to another, plus the distro-specific data package “leapp-data-almalinux” that contains the rules, configurations, upgrade actors, and metadata tailored specifically for AlmaLinux.
So, let’s install them:
sudo dnf install -y leapp-upgrade leapp-data-almalinuxCode language: Bash (bash)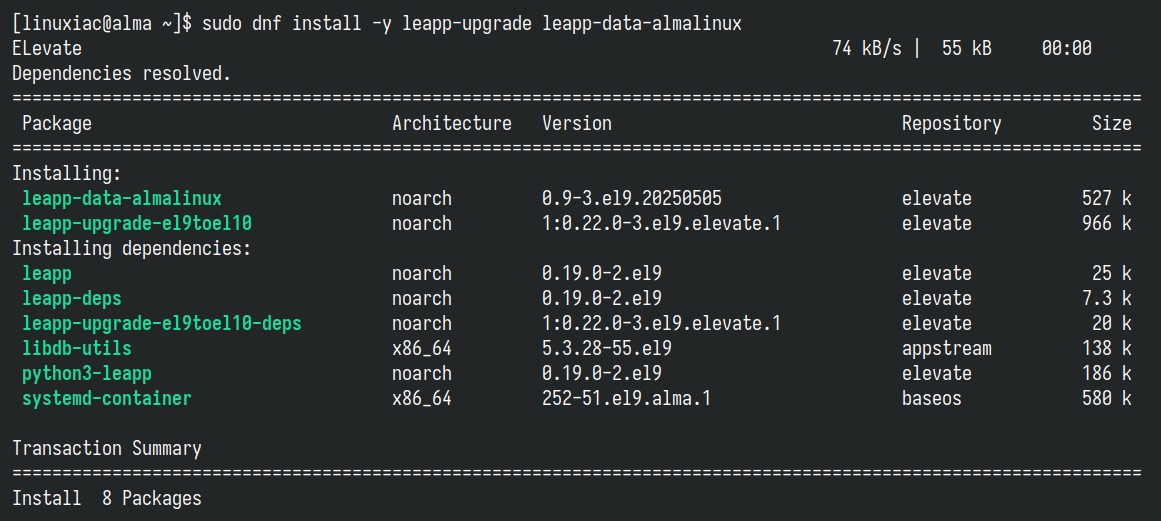
Step 3.4: Start Pre-Upgrade Checks
The next step in the Leapp in-place upgrade process is to start a pre-upgrade check. It performs a non-intrusive, pre-upgrade assessment of your current system and generates a detailed report ( “/var/log/leapp/leapp-report.txt”) on whether your system can be safely upgraded to the next major version, AlmaLinux 10, in this case.
It’s important to understand that the below command is completely non-destructive—i.e., it has not upgraded anything yet. Instead, it gives you a preview of what will happen and whether you’re ready to proceed.
sudo leapp preupgradeCode language: Bash (bash)Once the command is complete, you will see an output similar to the one below.
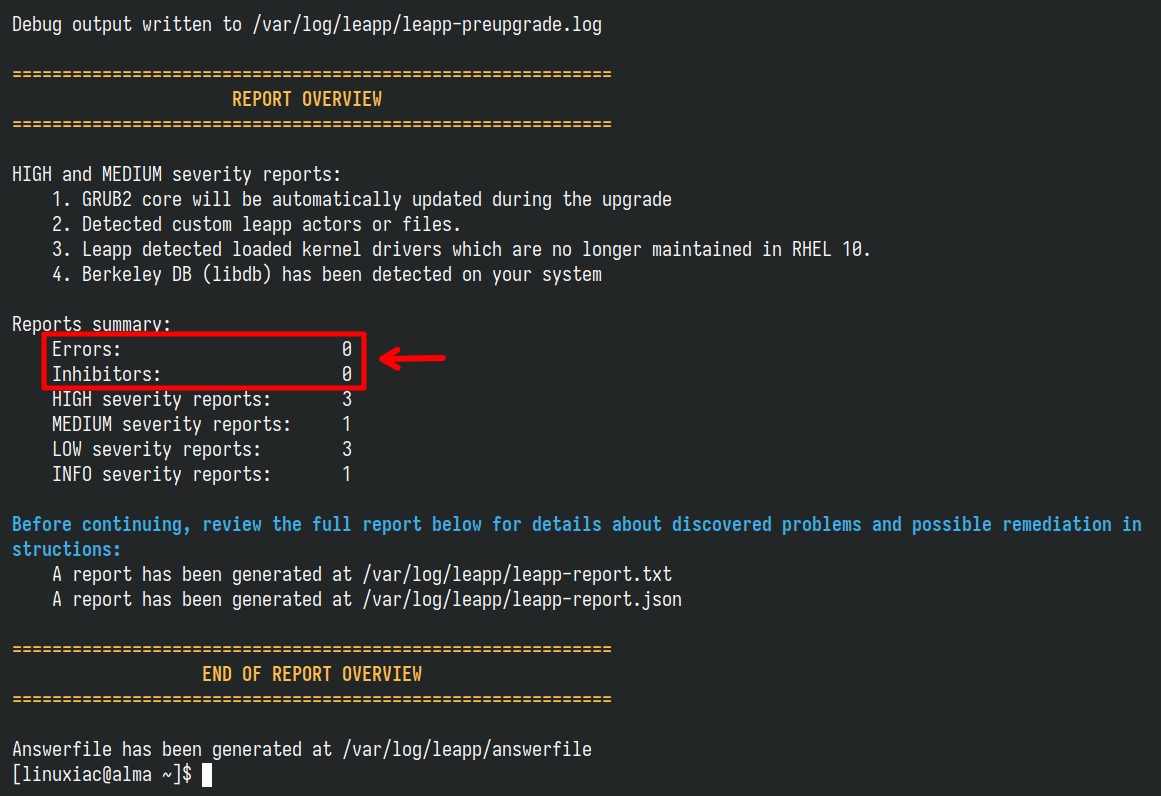
The most important thing is to make sure that both the “Errors” (no internal Leapp errors occurred during execution) and “Inhibitors” (no critical issues that would block the upgrade) lines show a value of 0.
If this number is greater than 0, the upgrade will not proceed. Since it’s zero, you’re good to go.
The “HIGH severity reports” are serious warnings—they won’t stop the upgrade, but they indicate potential problems post-upgrade. In situations like this, I highly recommend checking the “/var/log/leapp/leapp-report.txt” file to get a clear picture of any potential issues that might come up.
sudo less /var/log/leapp/leapp-report.txtCode language: Bash (bash)Step 3.5: Start the Actual Migration from AlmaLinux 9 to 10
Run the following command to initiate the actual in-place upgrade process. It’s the second major step after running leapp preupgrade, and it transforms your AlmaLinux system from one major version to the next (e.g., AlmaLinux 9 > 10).
sudo leapp upgradeCode language: Bash (bash)The command downloads and stores the necessary packages needed for the upgrade in a temporary folder, but the upgrade hasn’t been started yet. That will happen after the reboot.
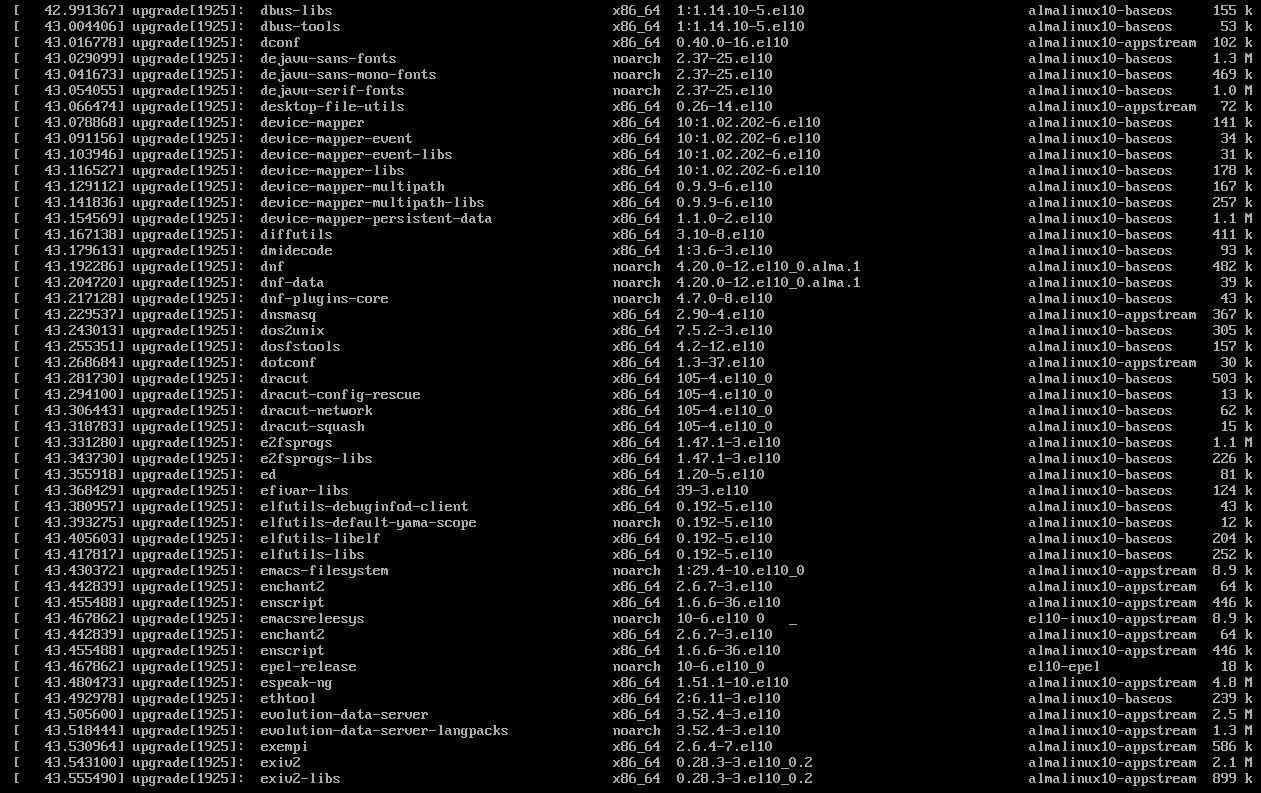
This step involves downloading many packages (at least 1–2 gigabytes), so depending on your internet speed, it might take a little while. So, hang tight and let it finish. Then, you’ll be offered to reboot the system, so do it.

sudo rebootCode language: Bash (bash)Since the package upgrades involve a lot of background activity, the process will take a while. Please be patient if you cannot access the terminal to track these changes.
Depending on your hardware’s capabilities and the number of updated packages, it could take anywhere from a few minutes to half an hour.
The system will automatically reboot in the final loop, and the GRUB bootloader will greet you. The list should now include the Linux kernel 6.12 used by AlmaLinux 10 (Purple Lion).
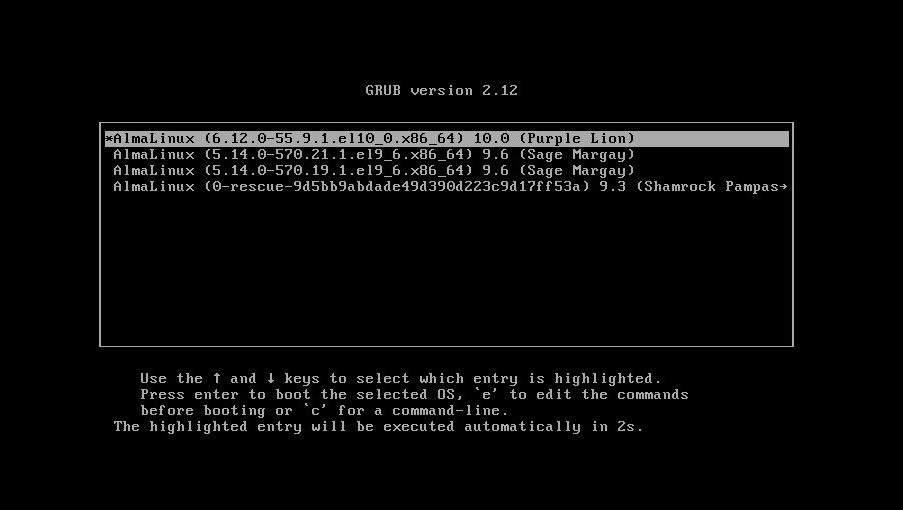
It’s time to congratulate yourselves—you’ve successfully transitioned your system from AlmaLinux 9 to 10.
Step 4: Check the OS Version (Optional)
Quickly peek at the OS version to ensure everything went according to plan.
cat /etc/redhat-releaseCode language: Bash (bash)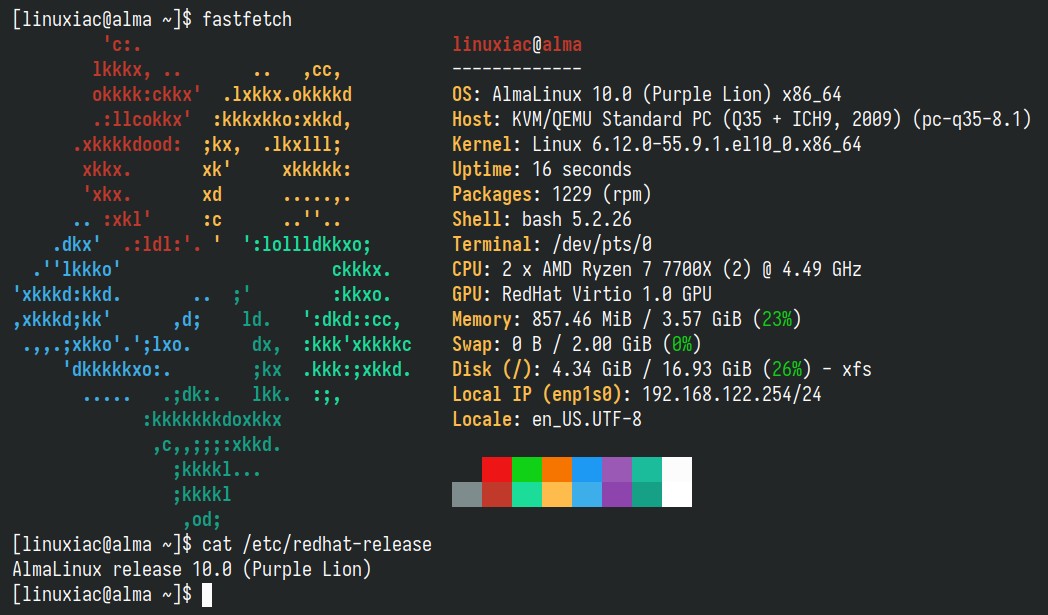
As you can see, everything went smoothly, and our system has been upgraded to AlmaLinux 10.0, the most current version available at the time of this writing.
Post-Installation Steps
Now’s a good time to clean up the leftover packages from AlmaLinux 9 since we don’t need them anymore. To see what’s still hanging around, run:
rpm -qa | grep el9Code language: Bash (bash)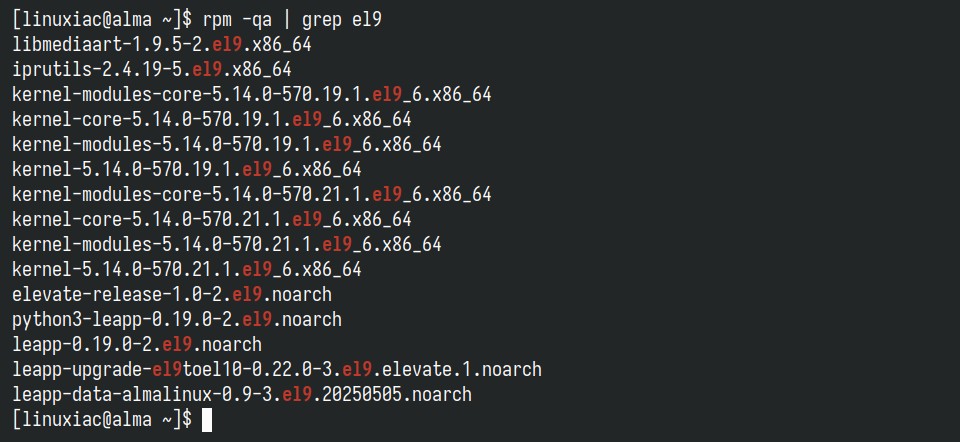
You can remove them one by one using the familiar DNF command: dnf remove [package_name]. But if you’ve got a long list of packages, that can get pretty tedious. So here’s a quicker way to take care of everything in one go.
sudo dnf --disableexcludes=all remove $(rpm -qa | grep el9)Code language: Bash (bash)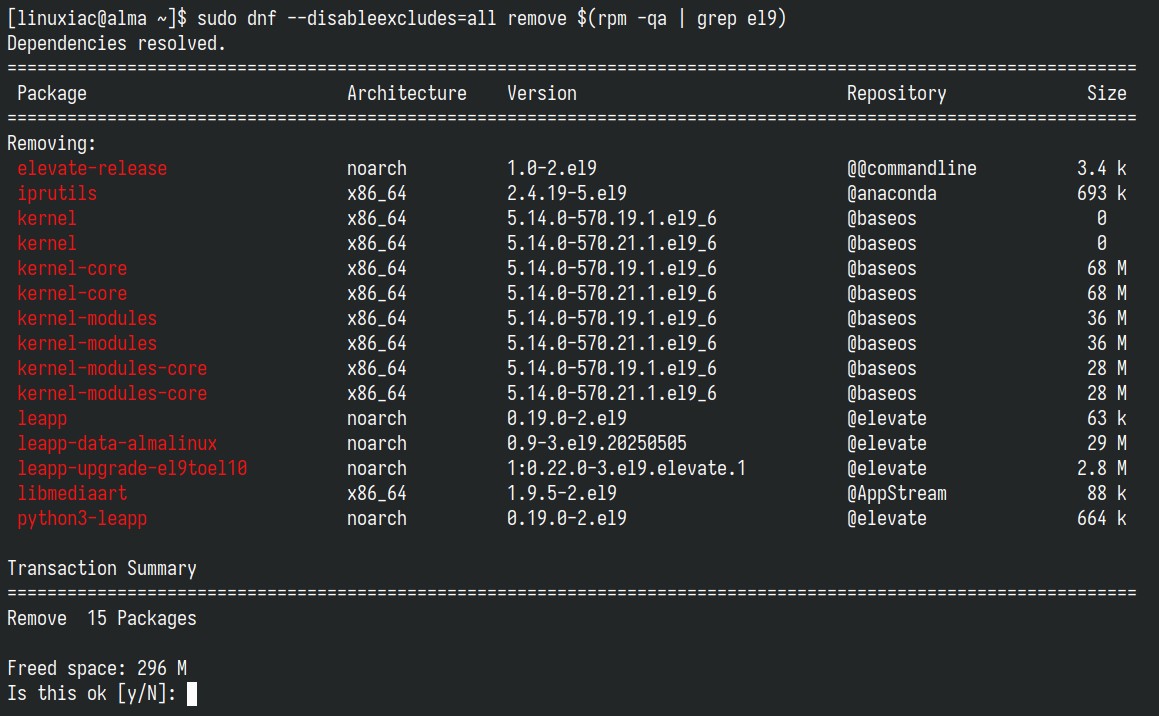
Conclusion
As you can see, upgrading from AlmaLinux 9 to AlmaLinux 10 is straightforward when you follow the right steps. Once the upgrade is complete, verify that all services are running correctly and that your applications are functioning as expected.
I try to make this guide as simple as possible. Thanks for using it, and as always, your comments are welcome.
For more information, visit Alma’s official documentation.


I have problems with Pre-Upgrade Inhibitors. I can’t get past two of them. Even if I try to ignore them, I can’t get through.
I’ve been trying to upgrade my DirectAdmin server from AlmaLinux 9.6 (Sage Margay) to AlmaLinux 10 using the ELevate / Leapp tool, but the process became very complicated and eventually failed.
Here’s a summary of what happened:
I started the upgrade with the usual leapp preupgrade and leapp upgrade steps.
The first problem appeared with duplicate YUM/DNF repositories and unsupported upgrade warnings.
I manually disabled several Imunify360 rollout repos and created custom .repo files for AlmaLinux 10 BaseOS and AppStream.
DNS resolution failed multiple times during the process (Curl error 6 – couldn’t resolve host repo.almalinux.org), so I had to manually add Google DNS entries to /etc/resolv.conf.
Later, the RPM database got corrupted and I had to rebuild it manually using:
systemctl stop packagekit
rm -f /var/lib/rpm/__db*
rpm –rebuilddb -v
After that, dnf started working again, but the Leapp upgrade stopped several times with messages like:
“Upgrade is unsupported”
“Unable to install RHEL 10 userspace packages”
“A YUM/DNF repository defined multiple times”
“Actor rpm_scanner unexpectedly terminated with exit code 1”
Even after running with:
LEAPP_UNSUPPORTED=1 LEAPP_UNSUPPORTED_INHIBITOR=1 LEAPP_DEVEL_SKIP_RHSM=1 leapp upgrade –reboot
…the system never actually created the leapp-upgrade initramfs, and the GRUB menu didn’t show any upgrade option.
After several attempts, the system became a hybrid between EL9 and EL10 packages — some updated (rpm, python3, systemd) but others still from EL9.
Network and repository configurations were partially broken, and dnf metadata conflicted.
At this point, I decided to stop the upgrade and restore from my AlmaLinux 9 snapshot, because it’s no longer safe or stable to continue.
The server technically works, but it’s not a clean upgrade environment anymore.
Has anyone here successfully upgraded DirectAdmin + Imunify360 servers from AlmaLinux 9 → 10?
If yes, what was your exact step-by-step process?
Did you have to manually create AlmaLinux 10 repos, or did ELevate handle that automatically?
Any guidance or working example would be appreciated — I’d rather prepare a clean 9.6 → 10 migration path than risk breaking production again.
Thanks in advance!