We often use our web browser’s built-in bookmark feature, which works well for the most part. However, there are some situations where it might not be as helpful:
- The content of a bookmarked page has been updated and is now different.
- The webpage’s URL has been changed.
- The website has shut down, and the page is no longer available.
Say hello to Linkwarden, which is designed to eliminate those hassles. It is an open-source, self-hosted collaborative bookmark manager designed to help users collect, organize, and preserve web pages.
Yes, exactly. Its main selling point is the ability to preserve. Linkwarden provides features like automatically saving the entire bookmarked page locally in HTML, screenshots, and PDF format to prevent link rot, organizing links into collections and tags, and enabling collaboration by sharing bookmarks with others.
This guide will show you how to install Linkwarden quickly and easily with Docker Compose. With this setup, you’ll have an efficient bookmark manager at your fingertips, ensuring that all your saved links are easily and always accessible regardless of the status of their sources.
Prerequisites
Before proceeding with the installation, ensure you have Docker installed on your system. But if you don’t have it – fear not; any of the following guides will help you get it quickly.
- How to Install Docker on Ubuntu 24.04
- How to Install Docker on Debian 12 (Bookworm)
- How to Install Docker on Arch Linux
- How to Install Docker on AlmaLinux / Rocky Linux
- How to Install Docker on Fedora
- How to Install Docker on Linux Mint 22
- How to Install Docker on Raspberry Pi
The other essential component is Docker Compose. Recent Docker versions now include Docker Compose by installing the “docker-compose-plugin” package. Make sure to install it if it’s not already in your setup.
However, if you prefer, you can install it separately using both commands below. Remember, when running the tool, type “docker-compose” instead of “docker compose.”
sudo curl -L "https://github.com/docker/compose/releases/latest/download/docker-compose-linux-$(uname -m)" -o /usr/local/bin/docker-compose
sudo chmod +x /usr/local/bin/docker-composeCode language: Bash (bash)
Install Linkwarden with Docker Compose
The first step is to create the project directory in which our Docker Compose deployment file will be placed. Then switch to it; from here on, you need to execute all commands further down in this guide from that location.
mkdir linkwarden
cd linkwardenCode language: Bash (bash)
Next, we must create a “docker-compose.yaml” file, like a blueprint for our Docker setup. This file will define the services, volumes, ports, etc., telling Docker Compose what to do and how to set up our Linkwarden instance.
Open your favorite text editor and paste the following content into it:
nano docker-compose.yamlCode language: CSS (css)services:
postgres:
image: postgres:16-alpine
env_file: .env
restart: always
volumes:
- pgdata:/var/lib/postgresql/data
linkwarden:
env_file: .env
environment:
- DATABASE_URL=postgresql://postgres:${POSTGRES_PASSWORD}@postgres:5432/postgres
restart: always
image: ghcr.io/linkwarden/linkwarden:latest
ports:
- 3000:3000
volumes:
- data:/data/data
depends_on:
- postgres
volumes:
pgdata:
data:Code language: YAML (yaml)As you can see, the deployment is straightforward. It involves running two containers: one for a PostgreSQL server to manage the data and another for the Linkwarden application itself. However, you can simplify and lighten things even more if you already have a dockerized PostgreSQL instance.
If so, you can remove the “postgres” service part from the deployment. Of course, in the “linkwarden” section, “DATABASE_URL” properties, remember to update the connection string to point to your existing PostgreSQL container.
Additionally, you have a host of other environment variables available for the Linkwarden container, which you can check out here and include in your deployment if you need them.
Next, in the same directory, create a file named “.env,” open it, and paste the following content inside it:
nano .envCode language: Bash (bash)NEXTAUTH_SECRET=SENSITIVE_SECRET
NEXTAUTH_URL=http://localhost:3000/api/v1/auth
POSTGRES_PASSWORD=YOUR_POSTGRES_PASSWORDCode language: JavaScript (javascript)Change the “SENSITIVE_SECRET” and “YOUR_POSTGRES_PASSWORD” strings, as they both should be different secret phrases. The “NEXTAUTH_URL” should only be changed if you are going to host the service on a specific domain/subdomain name, in which case you are probably using some reverse proxy in front of it.
Finally, execute the following command to start and run the container in the background:
docker compose up -dCode language: Bash (bash)The Docker image will start downloading. At the end, you should see a screen similar to the one below, informing you that your Linkwarden installation has been successfully deployed and the containers are up and running.

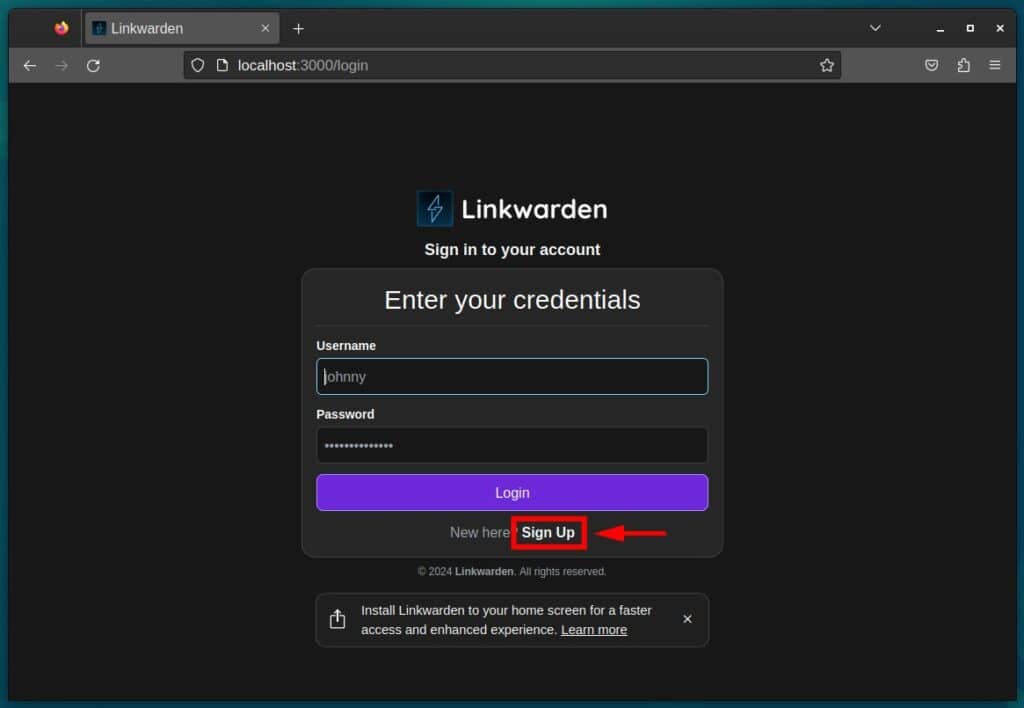
Now, you can access it by navigating to “http://localhost:3000” in your web browser. The login screen will greet you. Click on the “Sign Up” link to create a user.
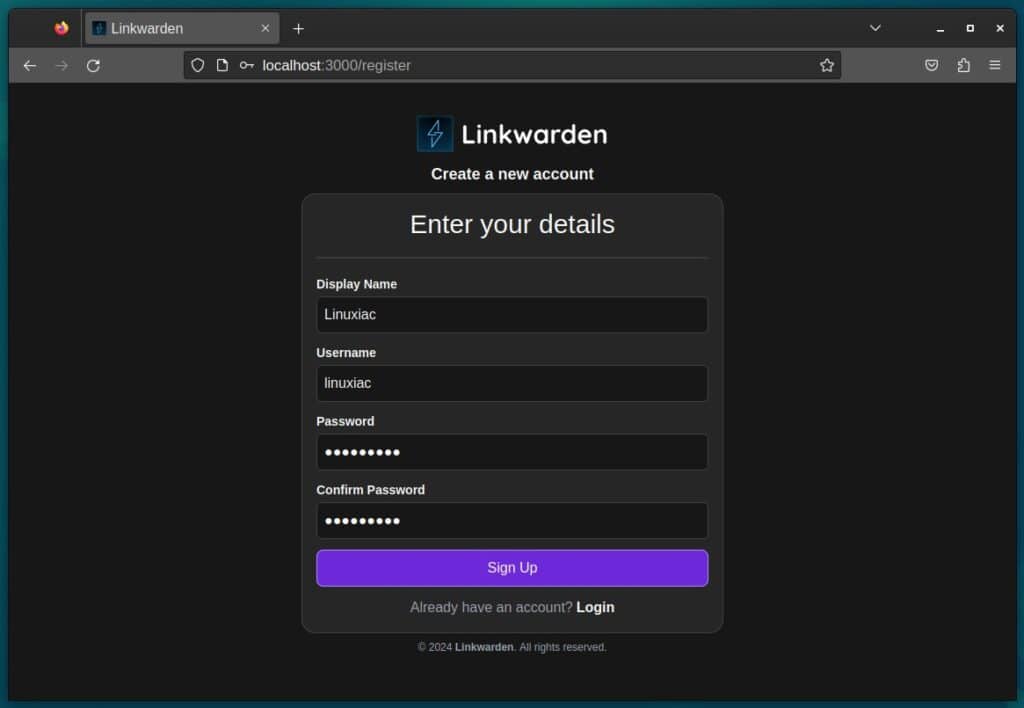
Enter the necessary details, ensure your password is at least eight characters long, and click the “Sign Up” button to complete your registration.
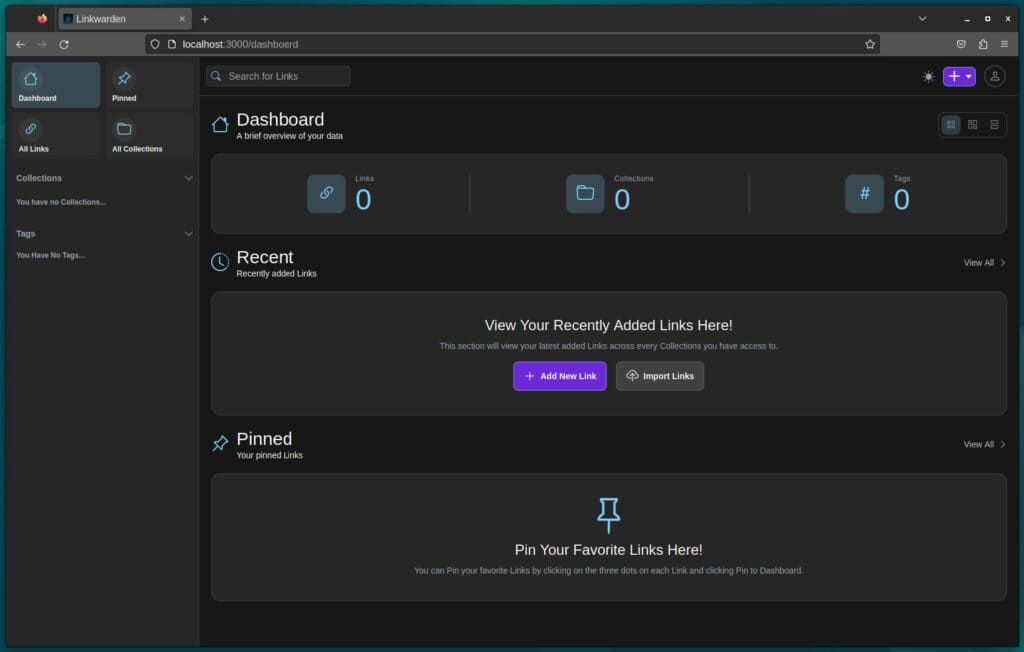
You will be taken back to the login screen. Log in with the new user details you just set up. Once in, Linkwarden will be all set to organize your bookmarks. Feel free to start adding information (and explore its features) by clicking on the “+” icon in the top right corner of the app.
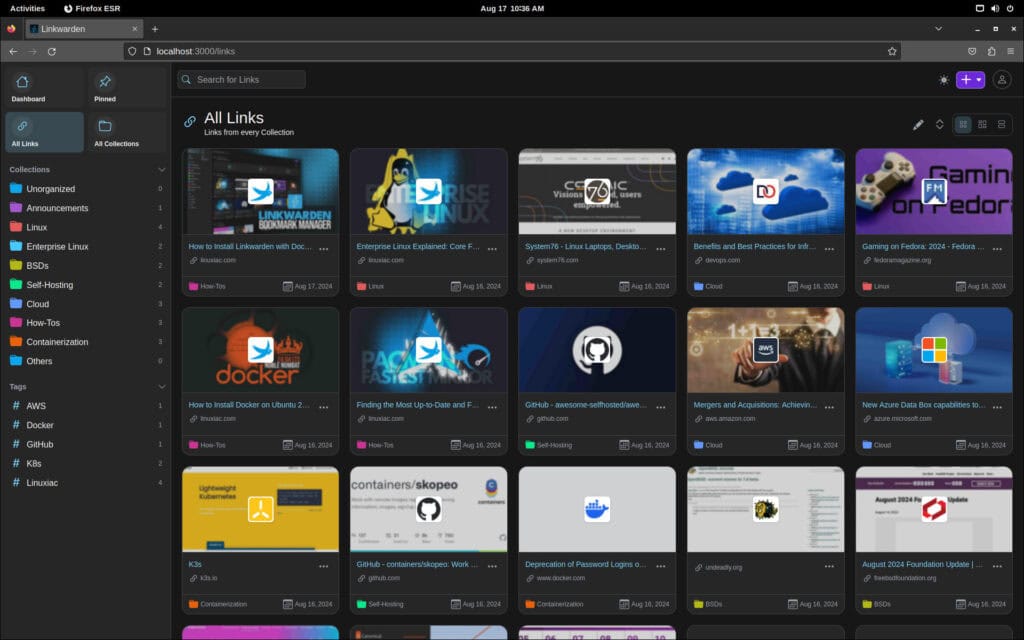
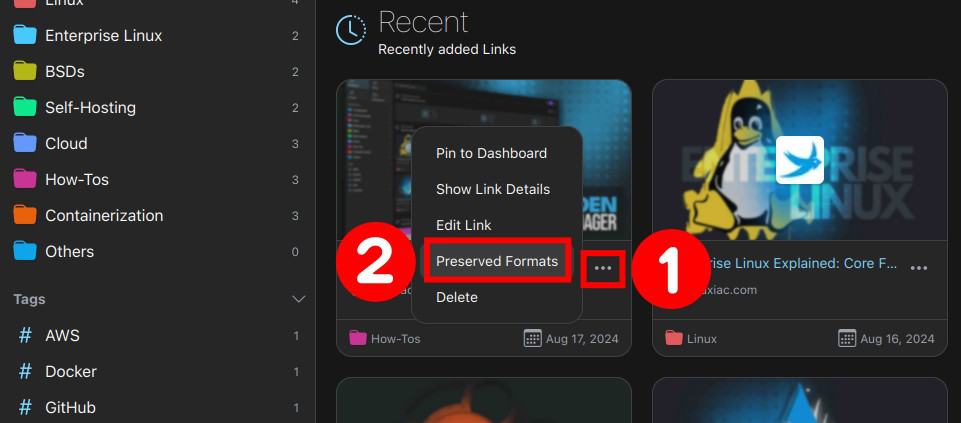
To view the saved versions of webpages you’ve bookmarked, click on the icon with three vertical dots and choose “Preserved Formats” from the context menu.
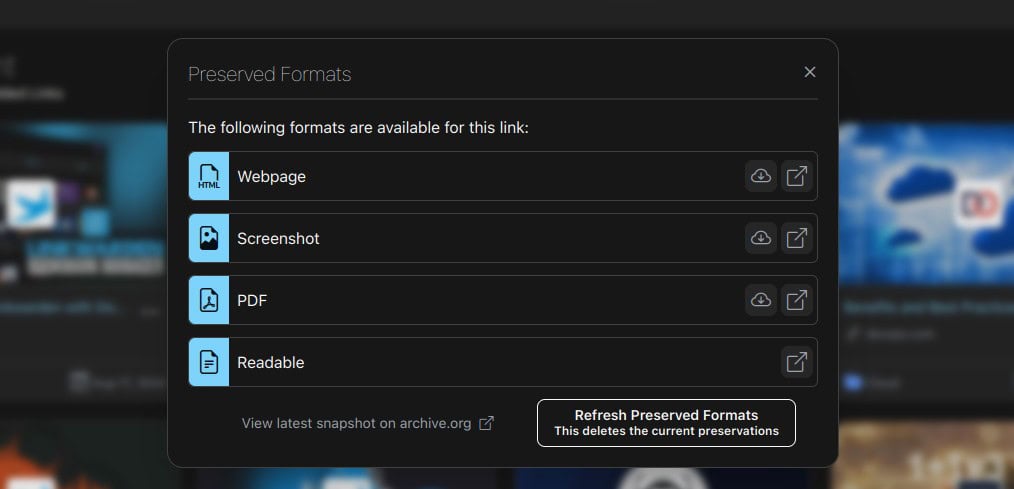
The available formats are webpage (HTML version of the page), screenshot (the page presented as a picture), and saved as a PDF file. The application settings allow you to turn each of these off and on.
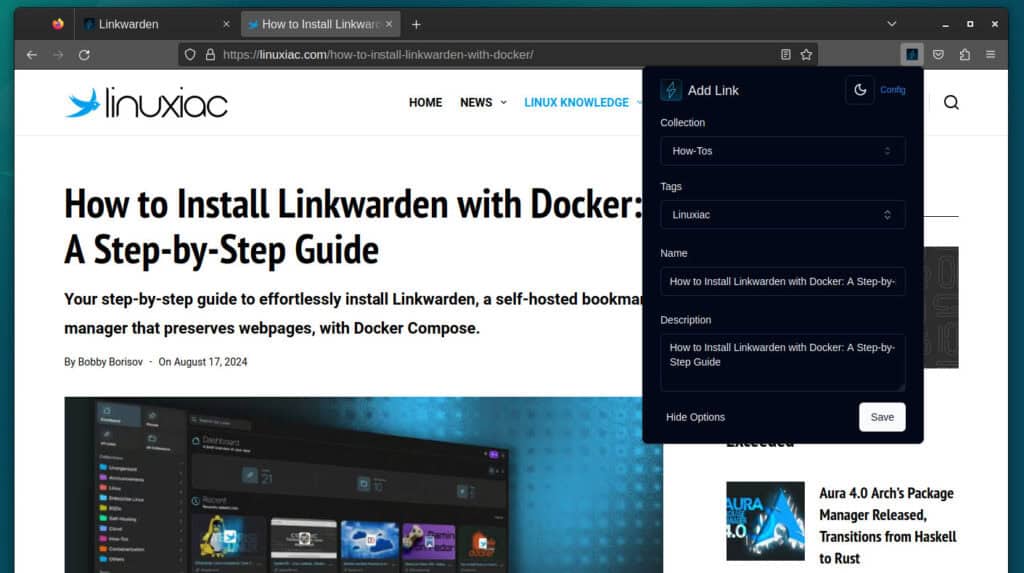
Lastly, here’s a cool feature I’m sure you like: You can add bookmarks to Linkwarden directly from your browser while you surf the web without having to open the app each time.
This is made possible through handy browser extensions. You can find and install the extension from the Chrome Web Store if you’re using Google Chrome, Brave, or any other Chromium-based browser. Firefox users can get it from the Mozilla Add-on Store. Happy bookmarking!
Conclusion
Linkwarden, a fresh addition to the open-source ecosystem since its debut in July 2023, quickly became popular due to its robust features, particularly its ability to preserve information from bookmarked links locally.
Fully deserved, it has attracted a significant following, as shown by the thousands of stars that the app received on its GitHub page.
For further details, check out the app’s website. We also strongly recommend reviewing its documentation before implementing it in your home lab.

Hello and thank you for this tutorial.It works wonderfully.However, the docker-compose does not want to work in Portainer (the installation of the DB fails.Do you have any idea?