Staying on top of the latest news, updates, and blog posts can feel overwhelming, especially when your favorite sources are scattered across the web. That’s where FreshRSS comes in. It allows you to have all your news, updates, and articles from various websites neatly organized in one centralized place.
FreshRSS is a lightweight, open-source RSS feed aggregator written in PHP. And the best part? You can host it yourself, keeping your data private and fully under your control.
That’s what exactly I show you in this article – how to install FreshRSS using Docker Compose. With just a few steps, you’ll have your own self-hosted RSS feed aggregator up and running, ready to centralize and streamline your news feed experience.
Prerequisites
Before proceeding with the installation, ensure you have Docker installed on your system.
But if you don’t have it, fear not; any of the following guides will help you get it quickly. Pick the distribution you are using in one of the following links: Ubuntu 24.04, Debian 12, Arch, Alma/Rocky, Fedora, Linux Mint 22, Pop!_OS 22.04, or Raspberry Pi OS.
The other essential component is Docker Compose. Recent Docker versions now include Docker Compose by installing the “docker-compose-plugin” package. So, install it if it’s not already in your setup.
As another option, you can also get it separately using both commands below. In that case, remember, when running the tool, to type docker-compose instead of docker compose.
sudo curl -L "https://github.com/docker/compose/releases/latest/download/docker-compose-linux-$(uname -m)" -o /usr/local/bin/docker-compose
sudo chmod +x /usr/local/bin/docker-composeCode language: Bash (bash)
Install FreshRSS with Docker Compose
The first step is to create the project directory in which our Docker Compose deployment file will be placed. Then switch to it; from here on, you need to execute all commands further down in this guide from that location.
mkdir freshrss
cd freshrssCode language: Bash (bash)
Next, create a “docker-compose.yml” file, like a blueprint for our Docker setup. This file will define the services, volumes, ports, etc., telling Docker Compose what to do and how to set up the FreshRSS container.
nano docker-compose.ymlCode language: Bash (bash)services:
freshrss:
image: freshrss/freshrss:latest
container_name: freshrss
environment:
TZ: America/New_York
CRON_MIN: '*/30'
ports:
- 8080:80
volumes:
- ./data:/var/www/FreshRSS/data
- ./extensions:/var/www/FreshRSS/extensions
restart: unless-stoppedCode language: Dockerfile (dockerfile)As you can see, it’s a simple deployment. We configure two main settings in the “environment” section. The first setting is for the time zone. Make sure to update it to match your local one. You can find a complete list of available time zones here.
The second option, “CRON_MIN,” is more interesting. With this, you can use Cron (minutes) syntax to set specific intervals for FreshRSS to update its RSS feeds automatically. For example, by using ‘*/30,’ you’re telling it to update every 30 minutes. Of course, you can customize this to suit your needs.
For instance, a value like ‘15,45‘ means the updates will happen twice an hour—once at 15 minutes past the hour and again at 45 minutes past. You get the idea. To learn more about Cron syntax, check out our detailed guide.
Finally, we create two subdirectories—”data” and “extensions“—in the current directory. These ensure data persistence for our FreshRSS container, including saved settings and any extensions we might install later.
Save the changes and run the container in the background (detached mode):
docker compose up -dCode language: Bash (bash)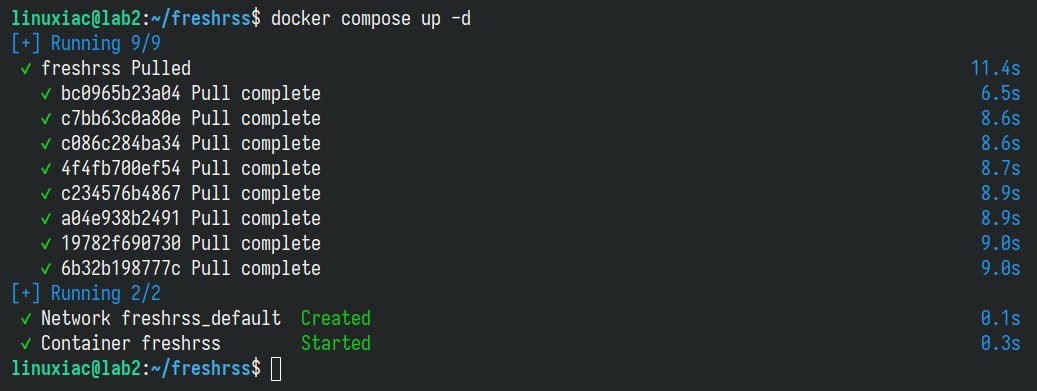
So far, so good. Now, let’s move to the most exciting part. Open your browser and navigate to “http://localhost:8080” (if you access FreshRSS from the same host) or “http://<server-ip-address>:8080“ (if you access it remotely). Of course, replace the “<server-ip-address>” part with your actual server’s IP address.
If, for some reason, something goes wrong, you can easily figure out what happened by checking the container log with this simple Docker command:
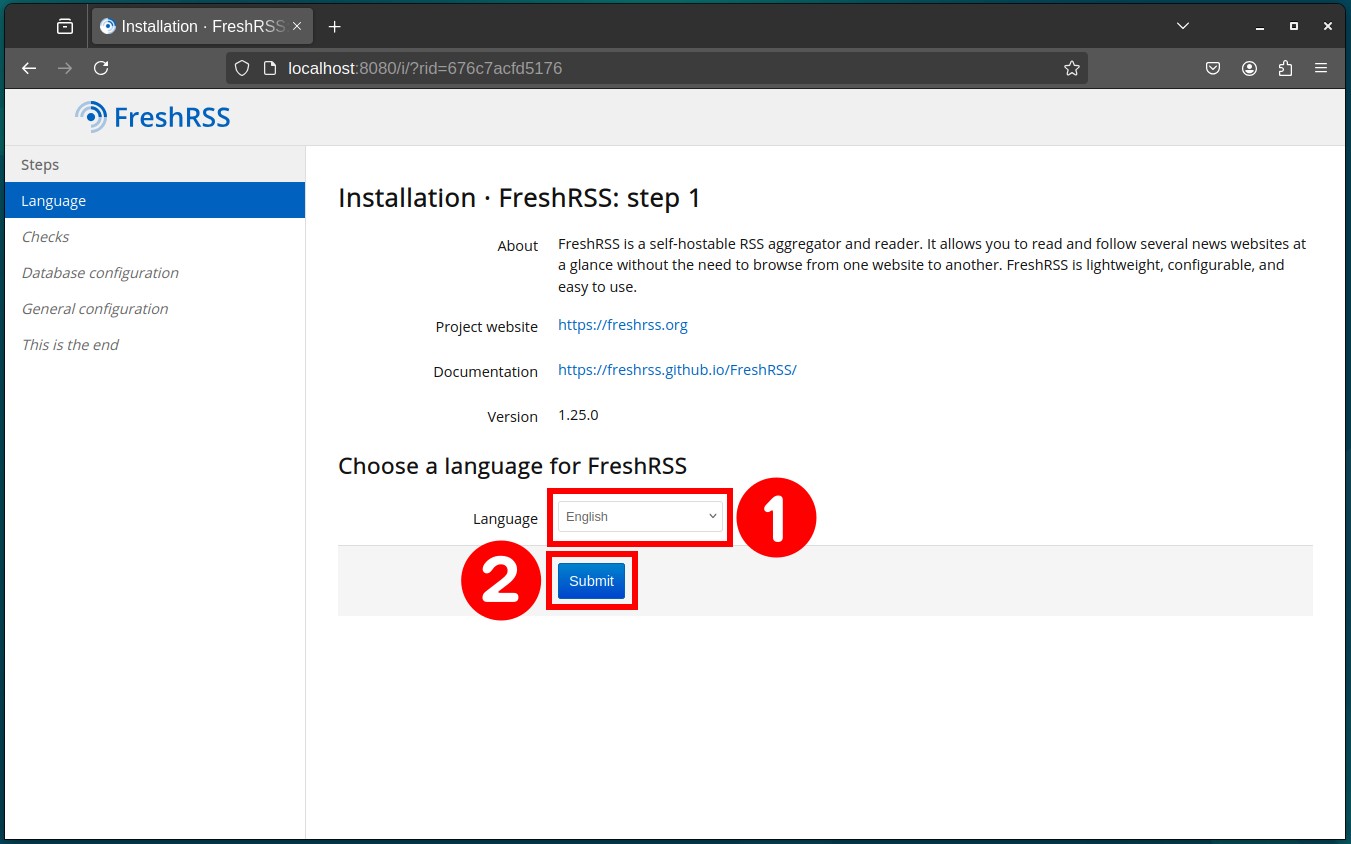
docker logs freshrssCode language: Bash (bash)When accessing FreshRSS for the first time, you’ll be prompted to do some initial configurations. Select the default language, then click the “Submit” button to confirm your choice.
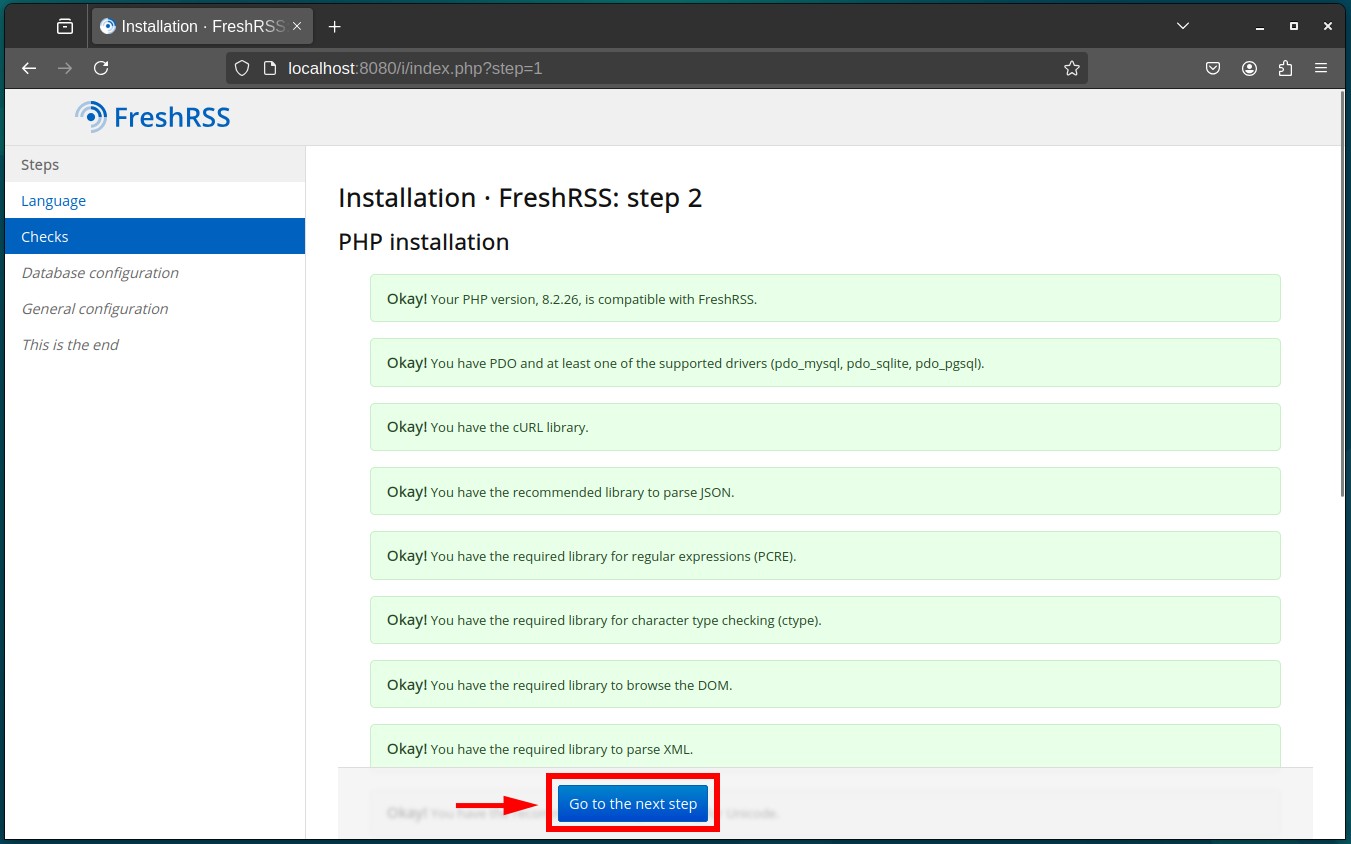
In the next step, “Checks,” everything should appear green. Once confirmed, click the “Go to the next step” button to proceed.
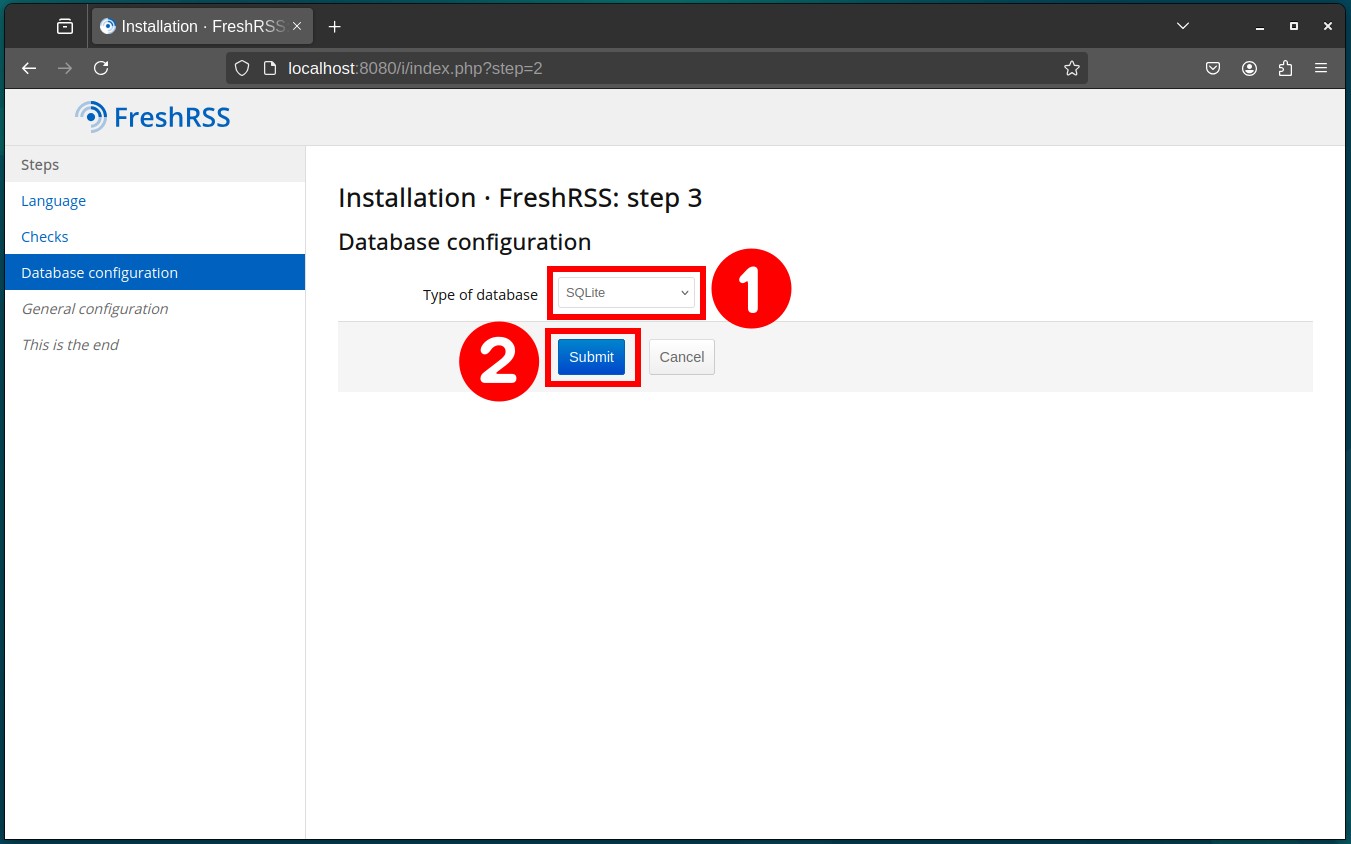
Set up the database that FreshRSS will use as its backend. While you can choose MySQL/MariaDB or PostgreSQL, I strongly recommend sticking with the default choice, SQLite. It’s more than capable and provides excellent performance, keeping the software running quickly.
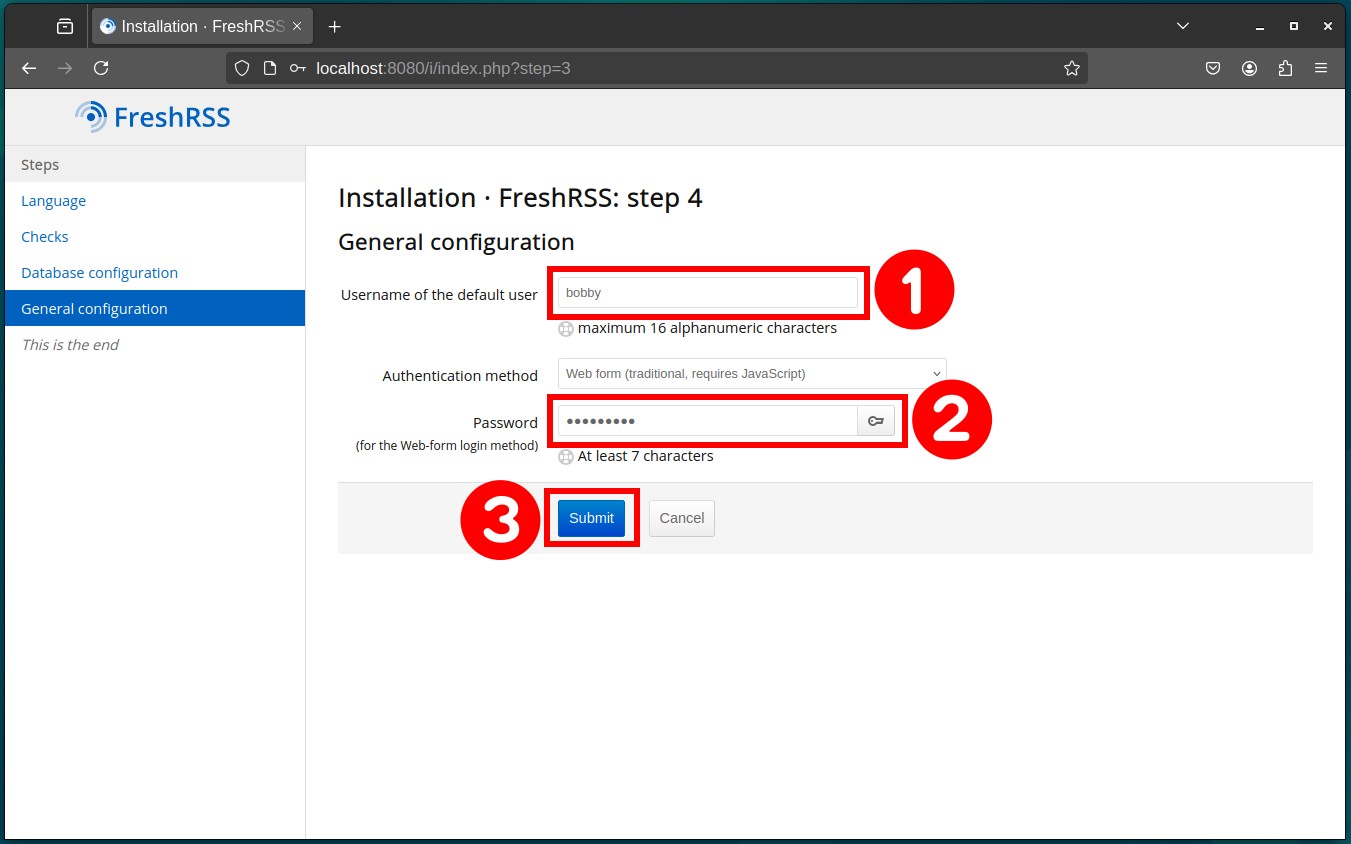
Finally, set up the default user by choosing a username and password. This user will automatically have administrative rights. Once done, click the “Submit” button to complete the process.
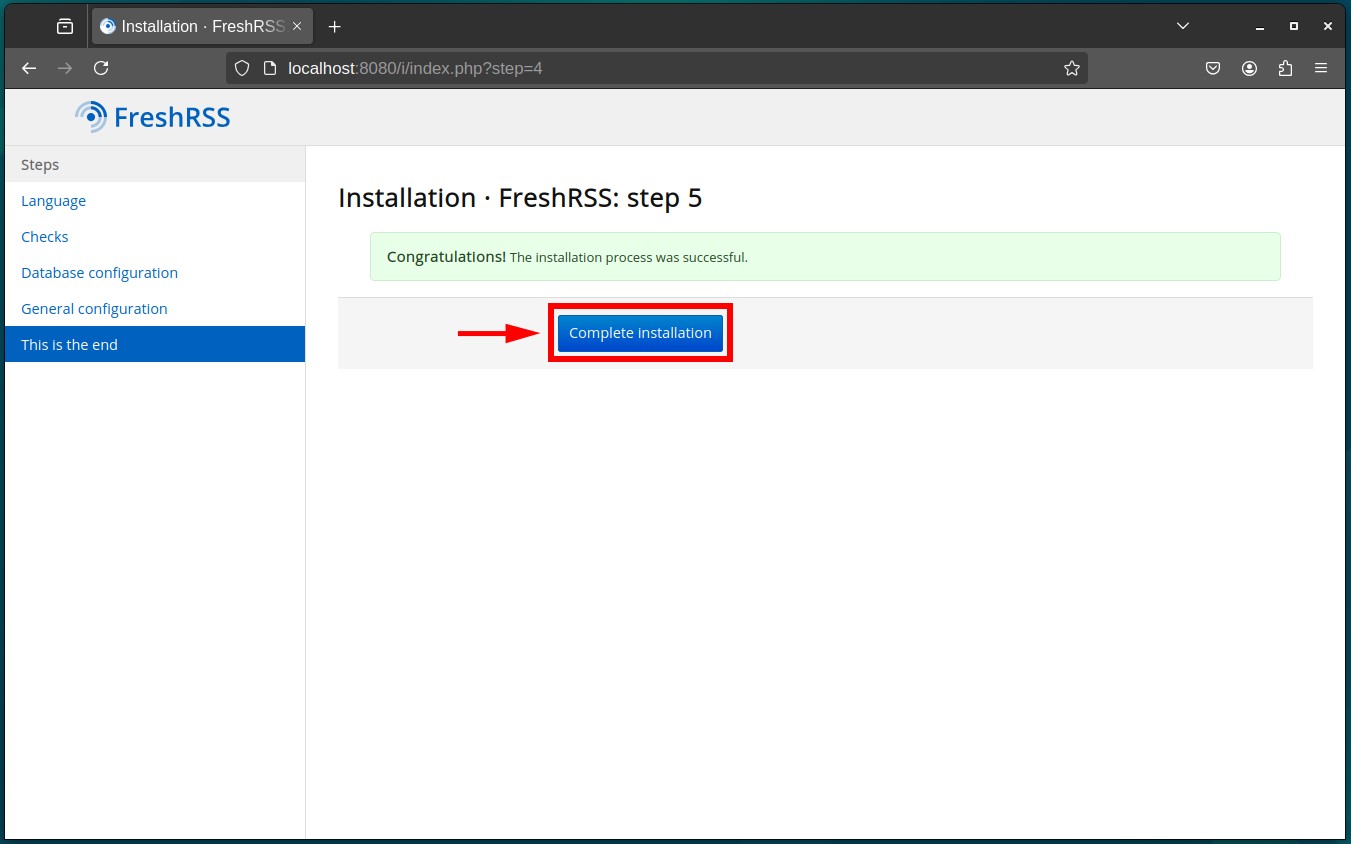
That’s it! Click “Complete installation“.
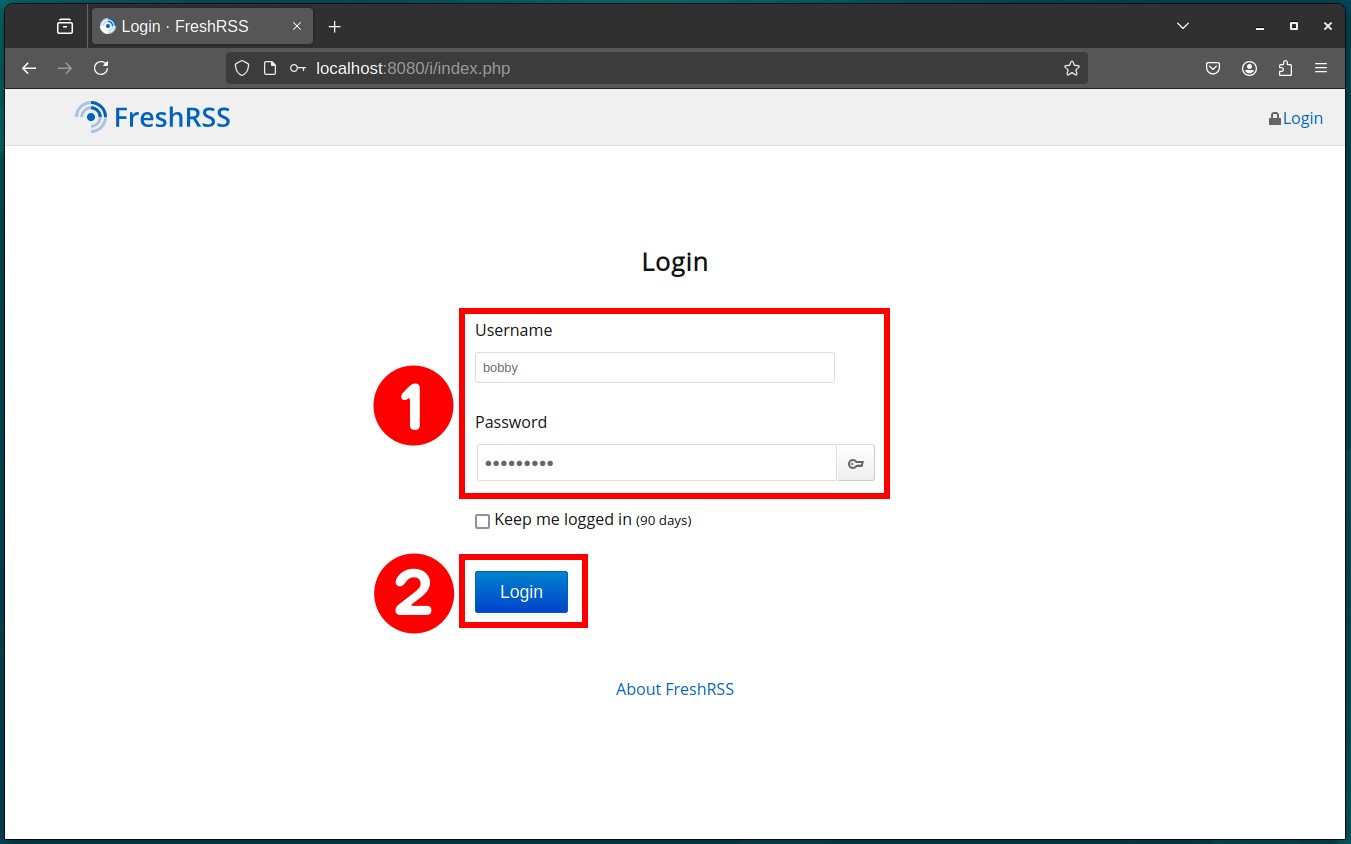
You’ll be automatically redirected to the login screen. Use the credentials for the user you just created, and once you log in successfully, you’ll be greeted by the default FreshRSS web UI.
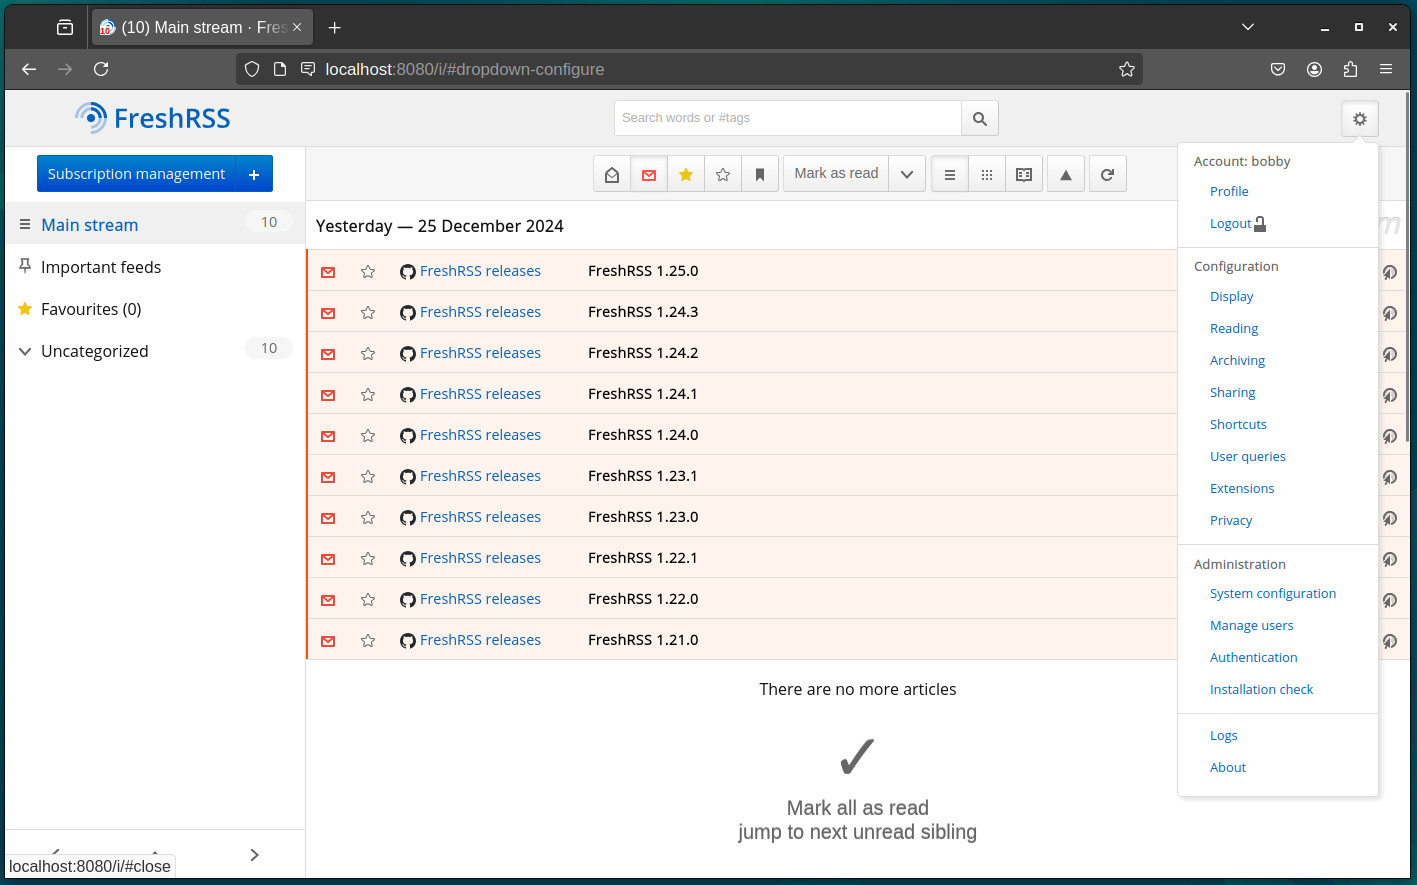
You can customize additional settings by clicking the gear icon in the top-right corner of FreshRSS.
Add News Source to FreshRSS
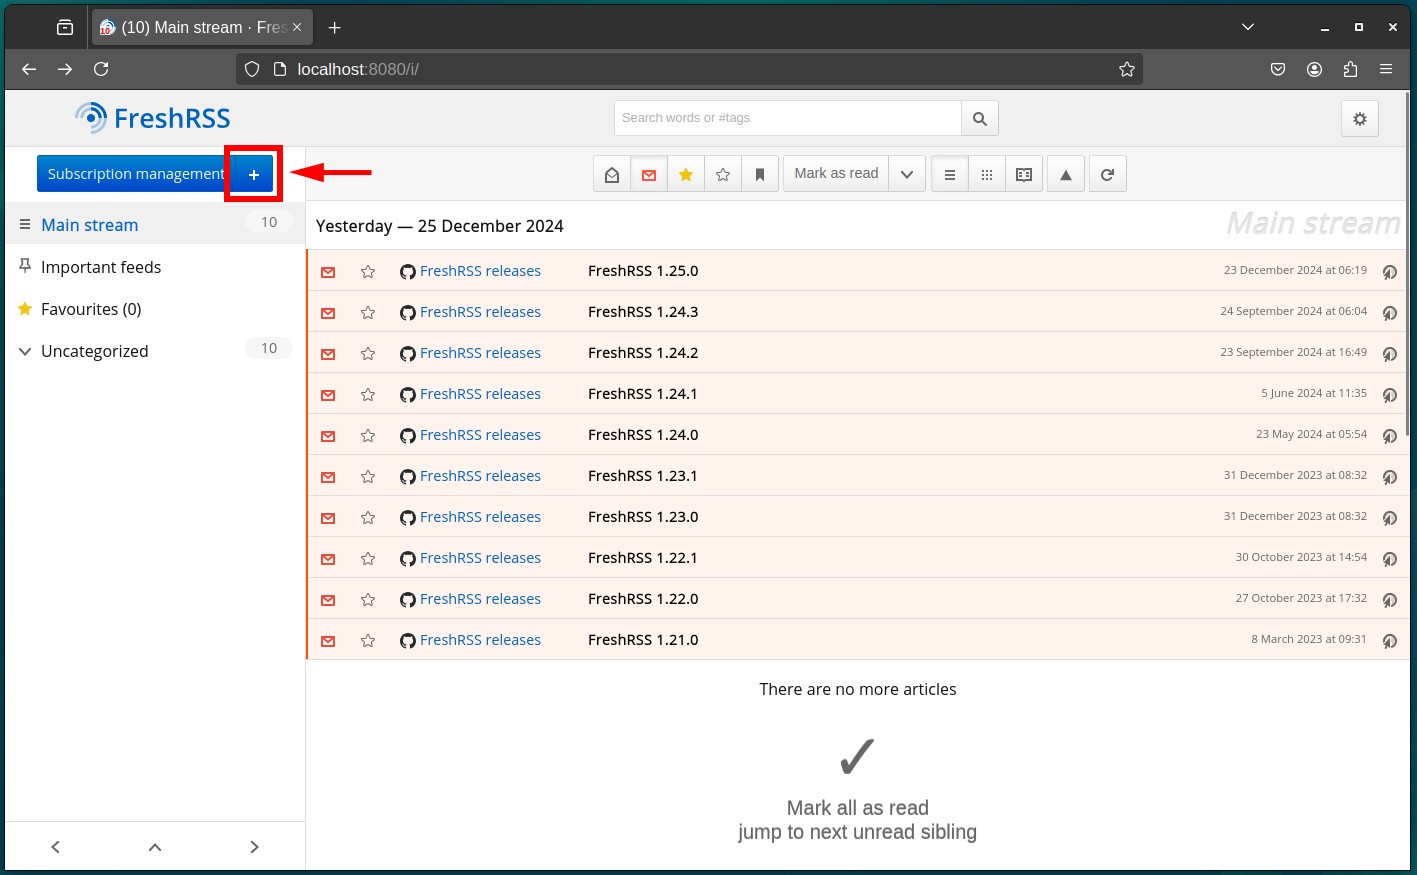
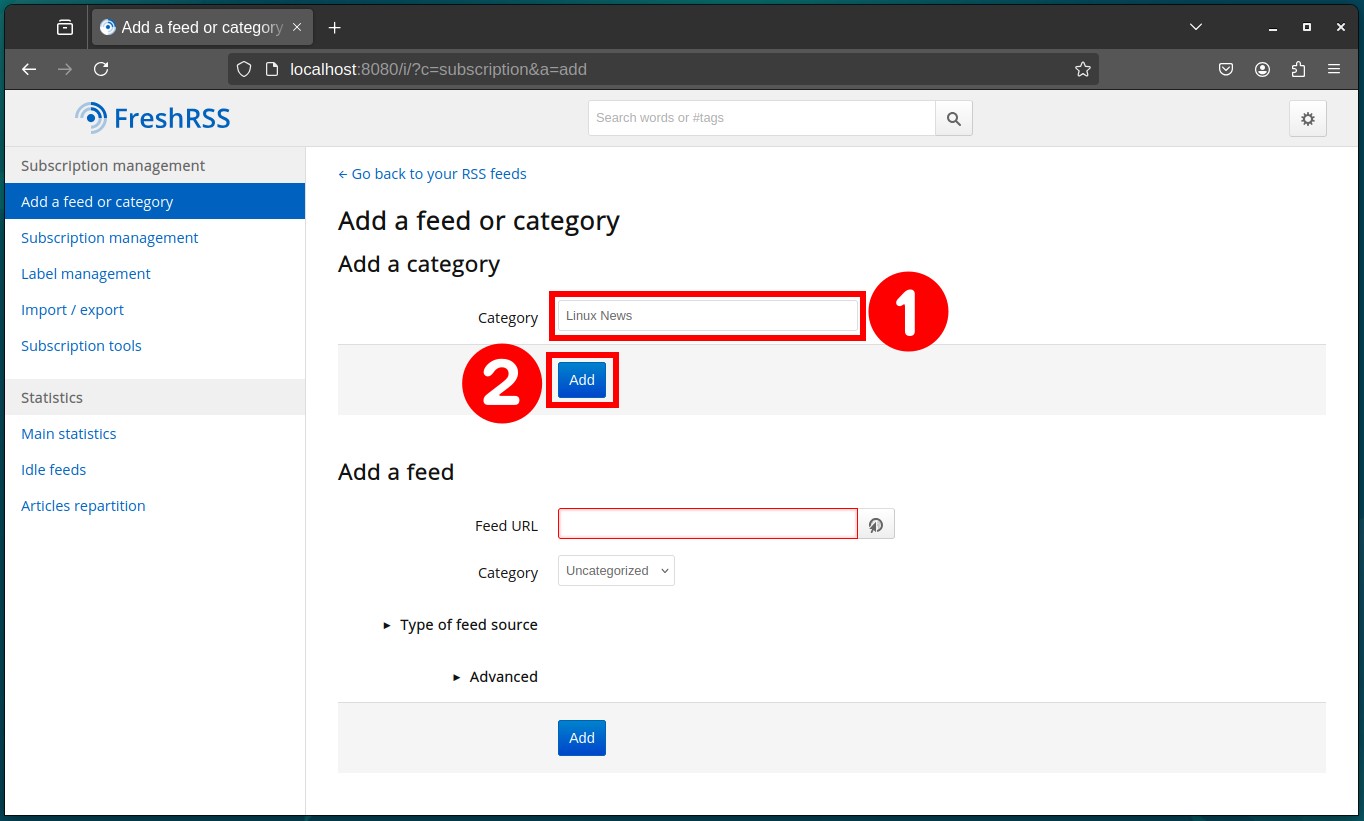
Here’s how to add your favorite news sources to the FreshRSS news aggregator. First, let’s create a category. Click the “+” icon next to the “Subscription Management” button. Then, in the “Add a Category” section, type in a name for your category—for example, “Linux News“—and click the “Add” button to confirm.
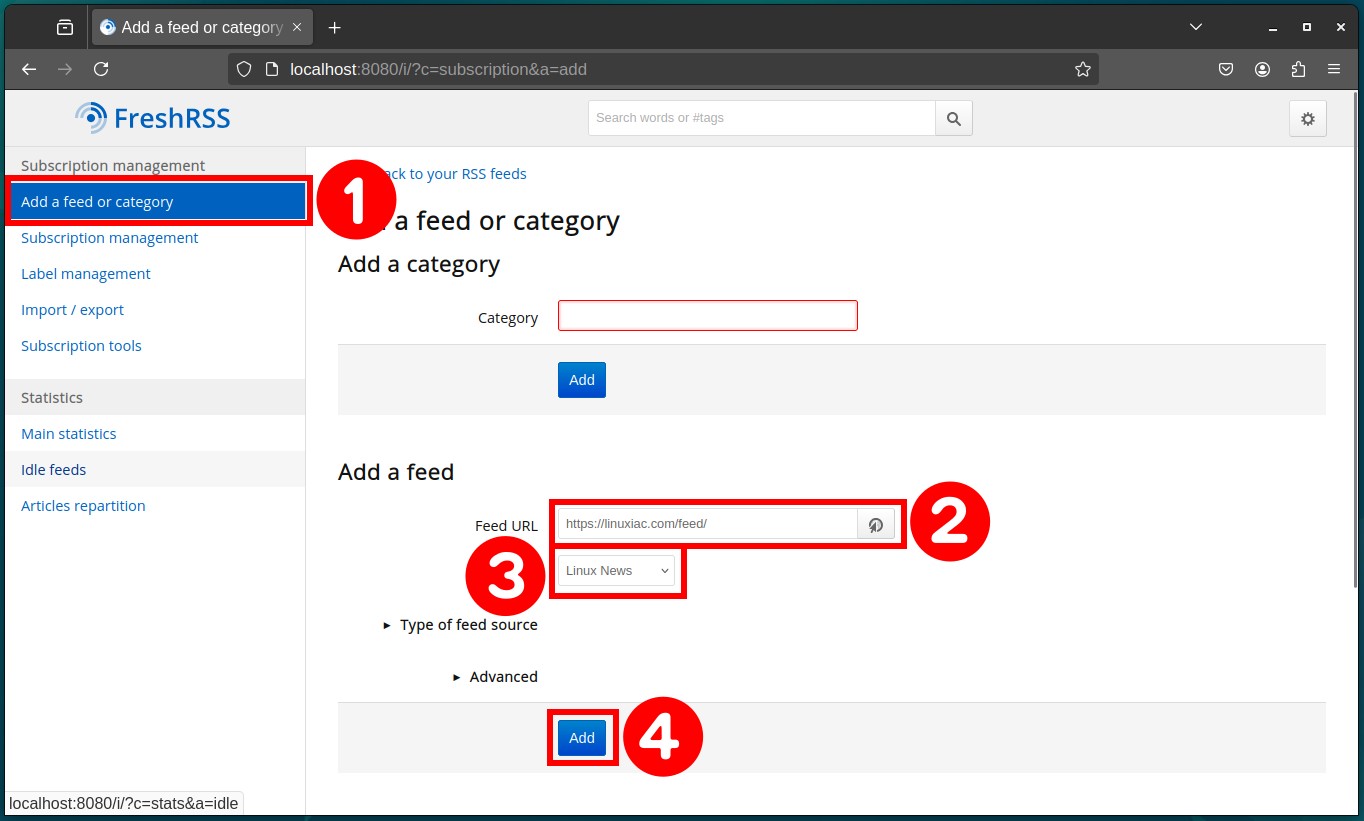
Now, let’s add our first news source! Go to the “Add a feed or category” menu. Under the “Add a feed” section, type the RSS feed URL (e.g., https://linuxiac.com/feed/) into the “Feed URL” field. Then, choose a category from the “Category” dropdown, and finally, click the “Add” button to confirm.
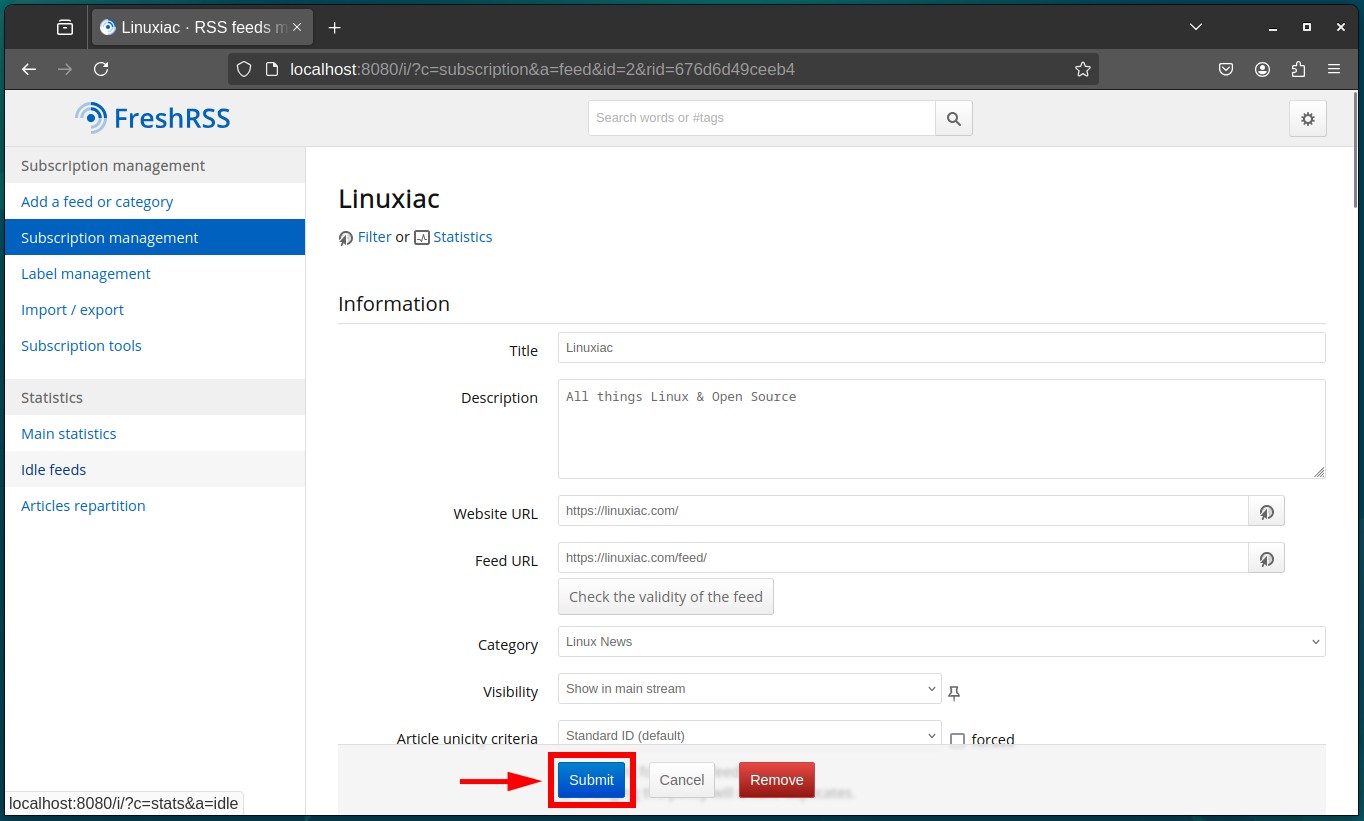
This next gives you a quick summary of the news source you’ve added. Just click “Submit” to confirm.
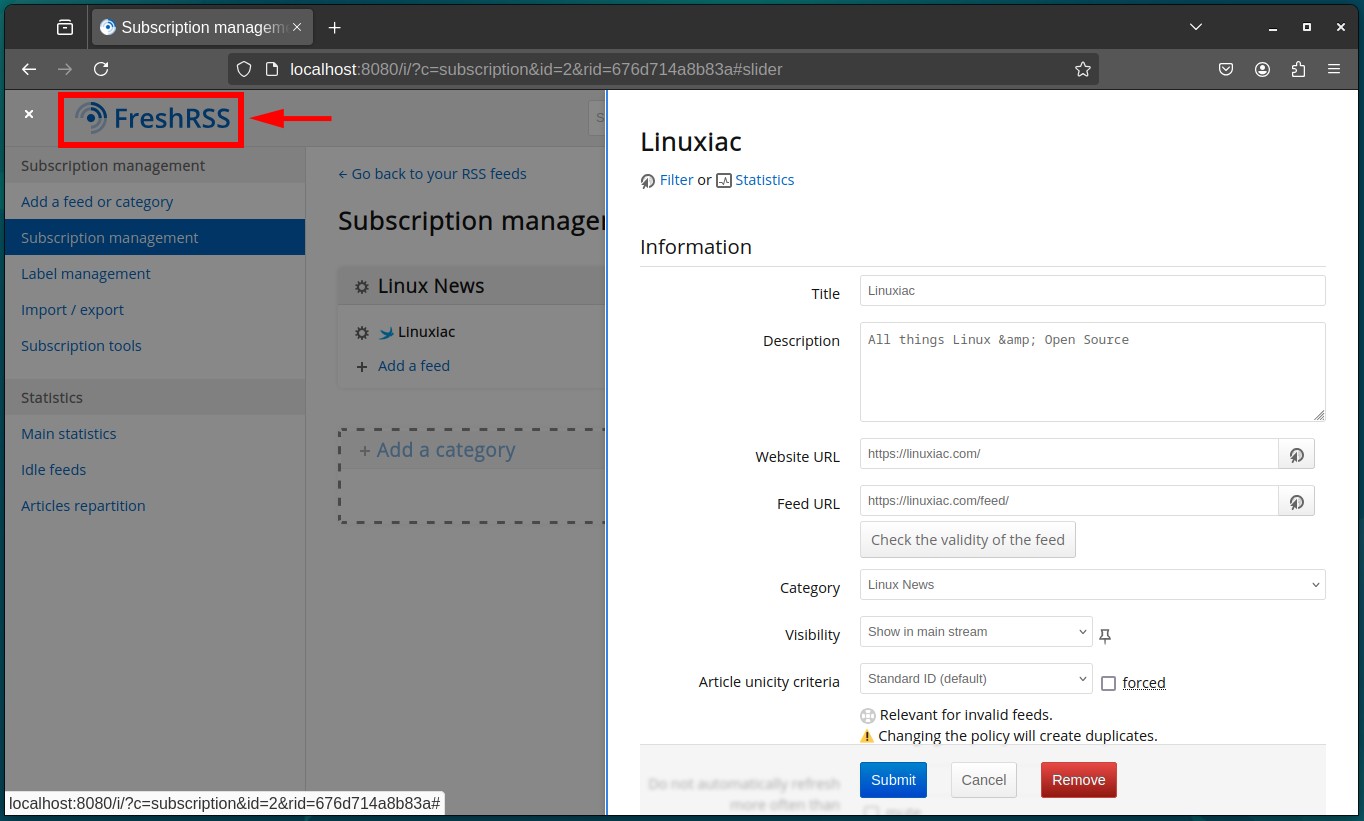
It’s annoying, but a new window will pop up with an updated settings overview where you can make additional fine-tuned adjustments. Feel free to ignore it and click on the FreshRSS logo in the top left corner to return to the home screen.
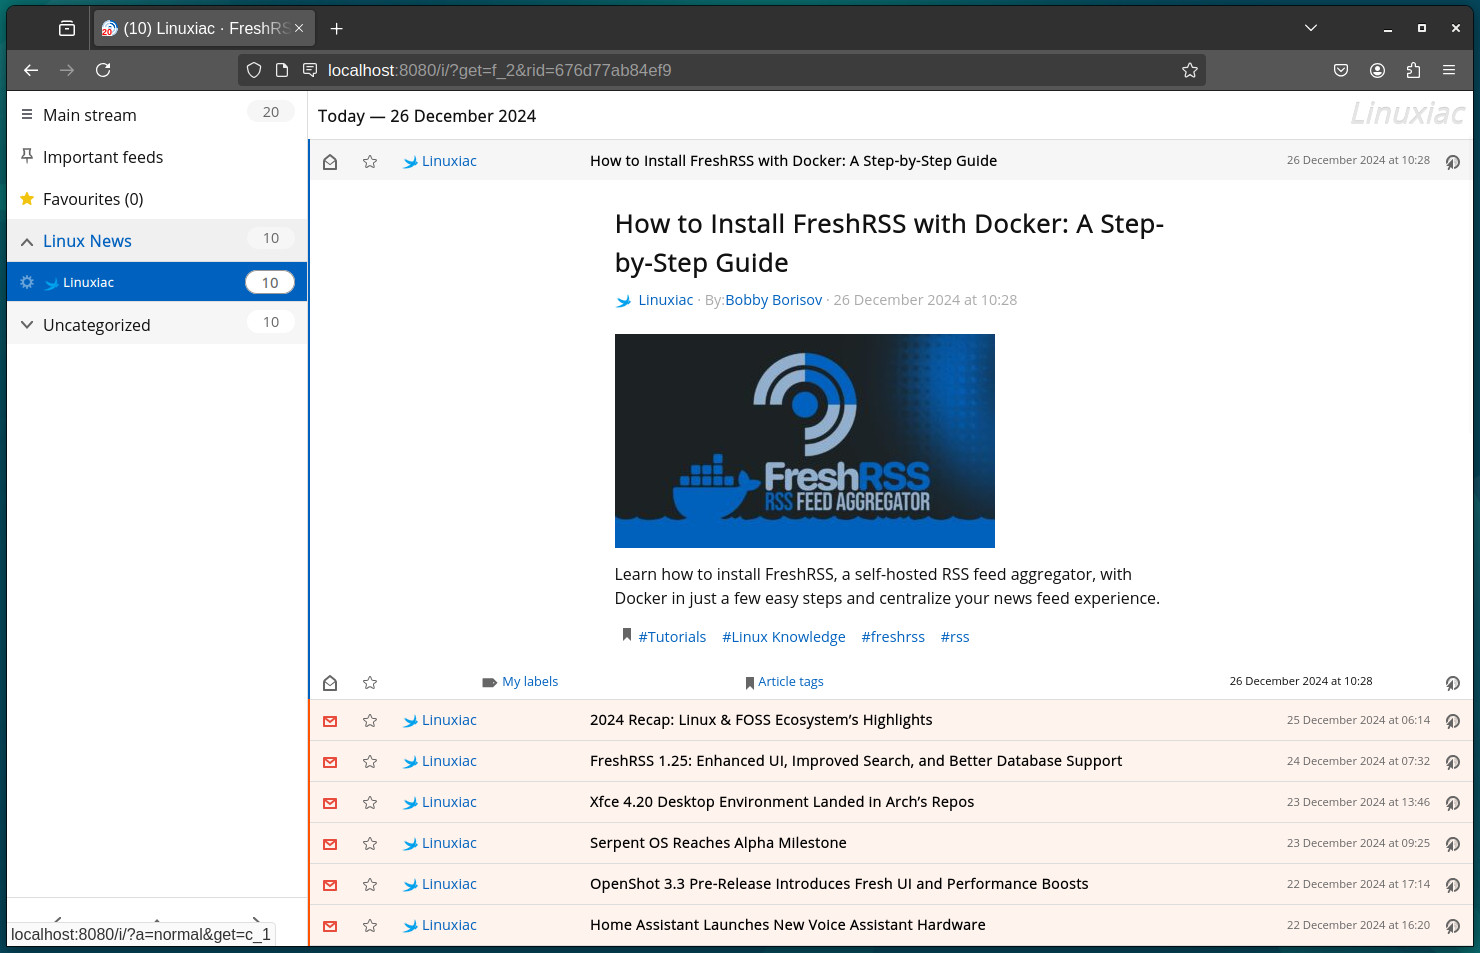
Your new news feed has been successfully added to the FreshRSS feed aggregator. You can follow the same steps to add any other news source you’d like to stay updated whenever new content is published.
Conclusion
That’s all friends! In this guide, I showed you how to install and set up FreshRSS with Docker, bringing you closer to a streamlined, self-hosted RSS feed experience.
By centralizing your favorite news sources, you can now enjoy staying informed in a way tailored to your preferences—right from the comfort of your own server.
For more detailed information about FreshRSS, visit the project’s website. In addition, I strongly recommend checking out the official documentation or visiting the project’s GitHub page.
I hope this guide was helpful and made the process straightforward for you. If you have any questions or feedback, feel free to reach out in the comment section below.


Just another way to clog up your entire computer. No thanks. I have just a few sites I trust. I'll look at them one at a time. Besides – what you think is easy and what I think is easy and functional are two different things. Thanks
Your computer, your rules! I'd be very happy if Linuxiac is one of the sites you trust. 🙂
Hi Bobby,
I'm unable to add your feed in FreshRSS with the below error:
TimestampLog Message2024-12-27 12:30:51 cURL error 22: The requested URL returned error: 403 [https://linuxiac.com/feed/%5D
Can you check and confirm ? Thank you.
That's really strange—no one else has reported an issue with this so far. Could you please double-check and confirm if accessing https://linuxiac.com/feed/ still results in a 403 error for you?
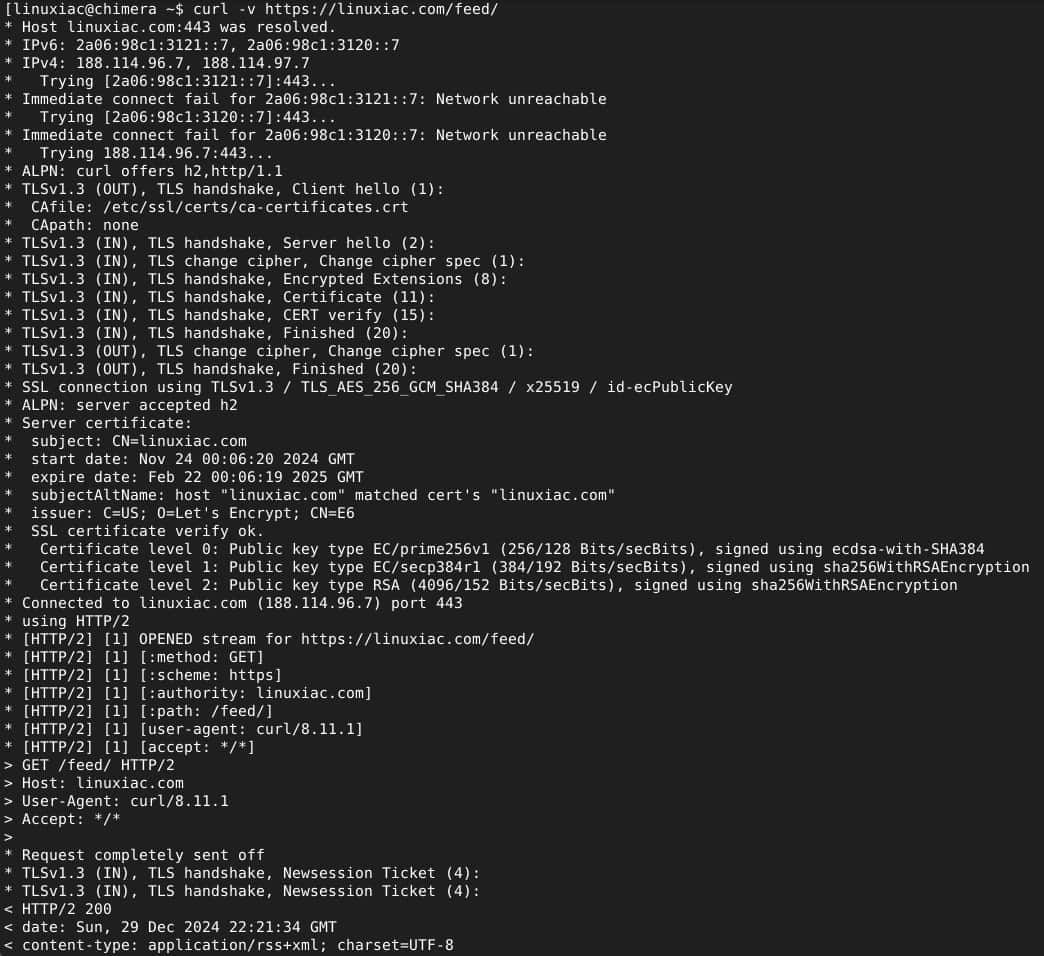
Still the same issue with FreshRSS – I get the 403 error. I am not sure what is the reason!
I have no issues whatsoever subscribing to the RSS using Vivaldi's Feed Reader!