Docker is a powerful tool for containerization and simplifying application deployment. At the same time, Raspberry Pi, a popular single-board computer, has become a favorite among developers for its low cost and versatility.
However, installing Docker on a Raspberry Pi can be daunting for those new to the process. But don’t worry – we’ve got you covered!
This article provides a step-by-step guide on installing Docker on a Raspberry Pi. Following these instructions, you can set up Docker and start quickly containerizing your applications.
Step 1: Update Raspberry Pi OS
Begin by updating the Raspberry Pi OS packages to recent versions. This way, we ensure we have a wholly up-to-date system. So, first, run the following two APT commands:
sudo apt update
sudo apt upgrade
As you can see, no updated packages are available, but if you have any, apply them before proceeding.
Step 2: Install Docker on Raspberry Pi OS
Setting up Docker on a Raspberry Pi is simple because Docker’s installation script automates the entire process. All you have to do is run the curl command below, which will download the script and pipe it to the command line for execution.
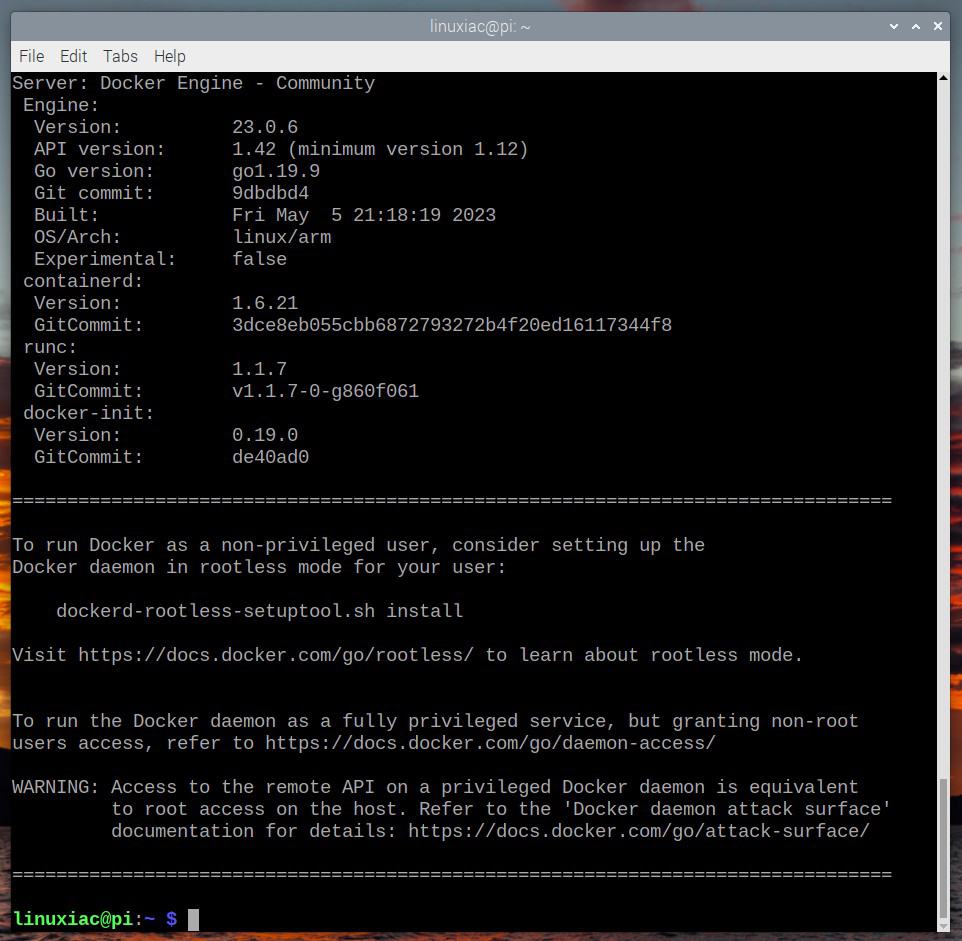
curl -sSL https://get.docker.com | sudo shCode language: JavaScript (javascript)Wait for the installation to complete; at the end, you should receive an output similar to the one shown in the image below.

That’s all. To confirm the running status of the Docker service, issue the following command:
sudo systemctl is-active docker
As you can see, Docker is up and running as expected.
Step 3: Allow Non-Root User to Execute Docker Commands
So far, we have successfully installed Docker on our Raspberry Pi OS system. However, only root and users with sudo privileges can execute Docker commands by default.
So, if you now attempt to run the docker command without prefixing it with sudo, you’ll get an output like this:

But don’t be concerned. There’s a simple solution. To run Docker commands as a non-root user, add your user to the “docker” group. To do that, type in the following:
sudo usermod -aG docker ${USER}In the above command, ${USER} is an environment variable that holds your username. First, reboot your Raspberry Pi OS system to apply for the new group membership.
Then, you can execute docker commands without prefixing them with sudo.

Step 4: Test the Docker Installation on Raspberry Pi
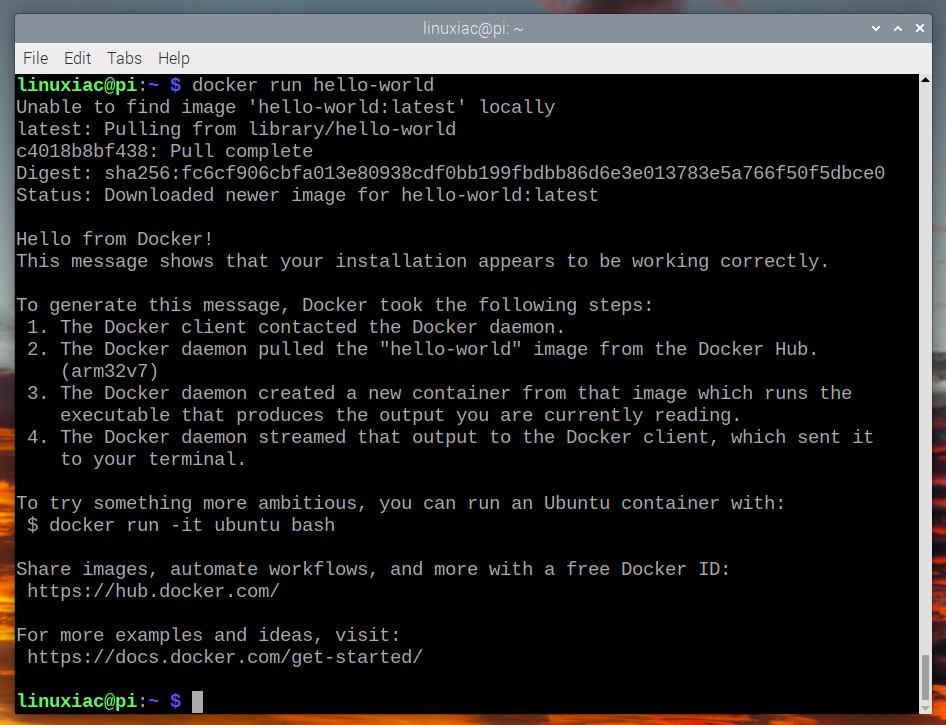
Now let’s check if everything with our new Docker installation works properly. For this purpose, we will pull and run a simple container called “hello-world.”
docker run hello-world
Congratulations! As we can see, everything works as expected!
Uninstall Docker on Your Raspberry Pi
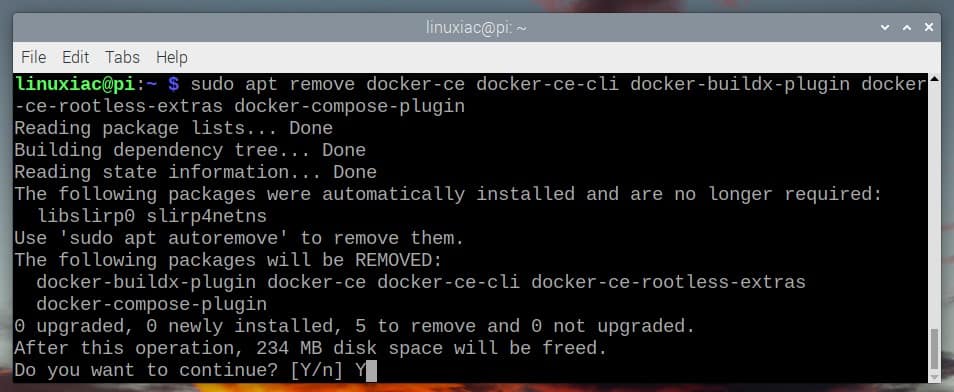
If you decide to uninstall Docker from your Raspberry Pi system for any reason, you can do it easily by running the command below.
sudo apt remove docker-ce docker-ce-cli docker-buildx-plugin docker-ce-rootless-extras docker-compose-plugin
Conclusion
Installing Docker on a Raspberry Pi can be a great way to take advantage of the Pi’s capabilities as a low-cost, energy-efficient server.
With Docker, you can easily set up and manage containers for various applications and services (check out the best ones) without worrying about compatibility issues or dependencies.
We hope that this guide has helped get you started with Docker on your Raspberry Pi and that you can now take advantage of the many benefits that Docker offers.
To learn more about Docker, check out the official Docker documentation. Additionally, we recommend our detailed guide to expand your skills with Docker and learn how to run and manage multi-container applications using Docker Compose. Happy dockering!
