For many users, the default font size in the GRUB (GRand Unified Bootloader) menu can strain their eyes, especially on high-resolution displays or for those with visual impairments.
This guide is designed to walk you through the process of enlarging the font size in your GRUB bootloader, enhancing not just the aesthetics of your boot menu but also its accessibility and usability.
This change caters to your personal preferences and ensures you can comfortably navigate your boot options, a crucial aspect of troubleshooting and system management. So, without further ado, let’s dive in and give your Linux boot menu the facelift it deserves with larger, clearer fonts!
Step 1: Font Conversion to GRUB Readable Format
Given the limitations of the preboot environment, GRUB fonts are optimized for readability and simplicity. They do not have the same anti-aliasing or typographic refinement level found in fonts used within a fully loaded operating system.
In other words, you can’t just take a font in the familiar TTF, OTF, WOFF, and so on formats and use it in GRUB. Instead, it uses its one with the extension PF2. It’s designed explicitly for preboot environments where standard operating system services and drivers are unavailable.
Fortunately, users can convert almost any font into the GRUB-compatible format with the help of the grub-mkfont command. So, our first step is to create one.
DejaVu Sans is a great candidate for this, offering a full range of character support. So go to its official website, download it (“dejavu-fonts-ttf-2.37.zip“), and unzip the file. You will find many font varieties in the resulting “ttf” folder, but the file we are interested in is “DejaVuSansMono.ttf.”
First, ensure you have the “freetype2” package installed on your system. If you don’t have it, install it using the package manager for your distribution.
Next, run the command below to convert the font to PF2, with the last argument being the full path to our TTF file:
sudo grub-mkfont -s 24 -o /boot/grub/dejavu-sans-mono.pf2 ./Downloads/dejavu-fonts-ttf-2.37/ttf/DejaVuSansMono.ttfCode language: Bash (bash)- -s: Sets the size of the generated font
- -o: Sets the command’s output to a file, providing the full path to the directory we want to create.
Let’s now list the contents of “/boot/grub” to ensure that the newly generated font was successfully created there.
ls -l /boot/grub/Code language: Bash (bash)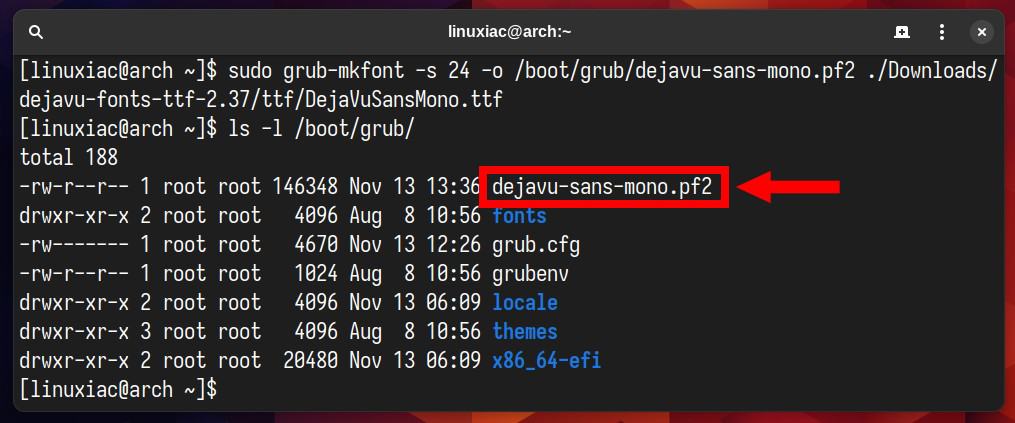
Step 2: Modify GRUB Config File
We must change the bootloader configuration to tell GRUB to use the newly generated “dejavu-sans-mono.pf2” font file.
GRUB’s default values are typically in the “/etc/default/grub” file. But before acting, I strongly recommend creating a backup of this file:
sudo cp /etc/default/grub /etc/default/grub.bakCode language: Bash (bash)Then open the file with your preferred terminal text editor:
sudo nano /etc/default/grubCode language: Bash (bash)Add the following line at the end specifying the absolute path to the PF2 font file:
GRUB_FONT=/boot/grub/dejavu-sans-mono.pf2Code language: Bash (bash)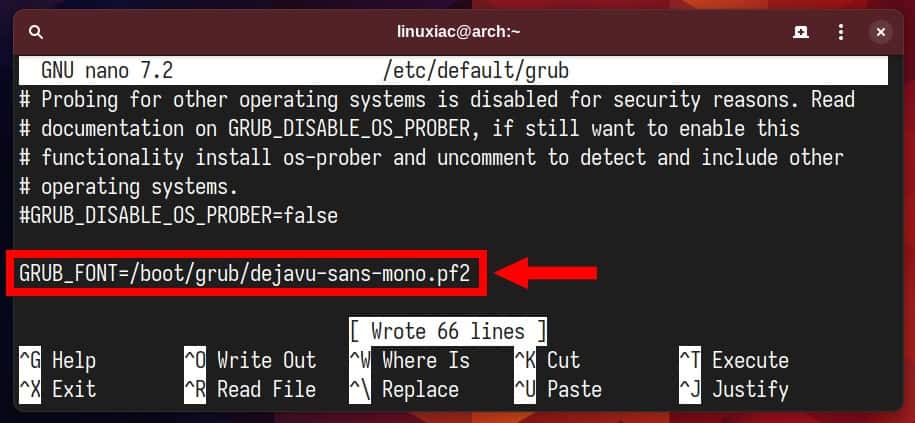
Furthermore, the resolution of GRUB can be adjusted for enhanced visual appeal, creating ample space for the menu display. We will opt for 1600x1200px, which can be set through the “GRUB_GFXMODE” parameter.
GRUB_GFXMODE=1600x1200Code language: Bash (bash)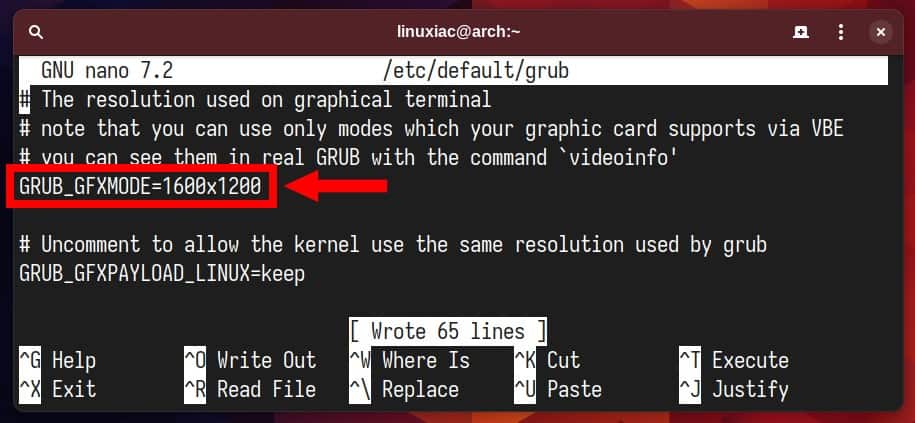
Save the file and exit.
Always keep something in mind, though – the font size in the GRUB menu will appear smaller when a higher resolution is chosen. So, it’s essential to recognize this relationship between resolution size and font appearance.
Step 3: Update the GRUB Configuration
As the last step, you need to update GRUB for the changes to take effect. This is typically done with the following command:
sudo grub-mkconfig -o /boot/grub/grub.cfgCode language: Bash (bash)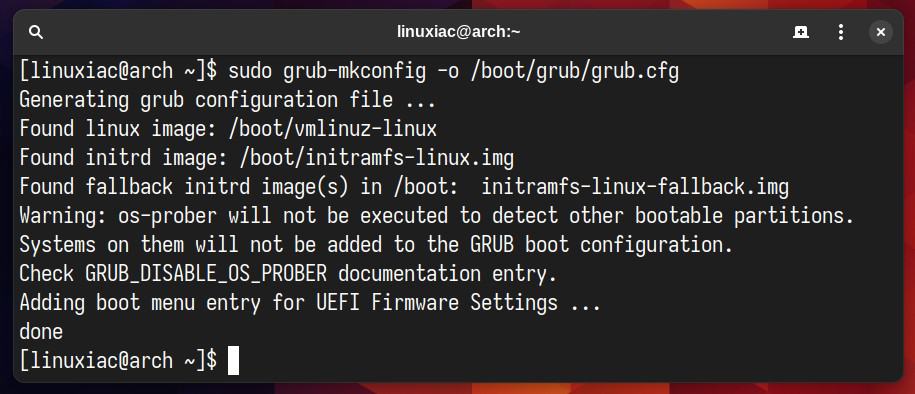
Finally, reboot your system to see the changes take effect.
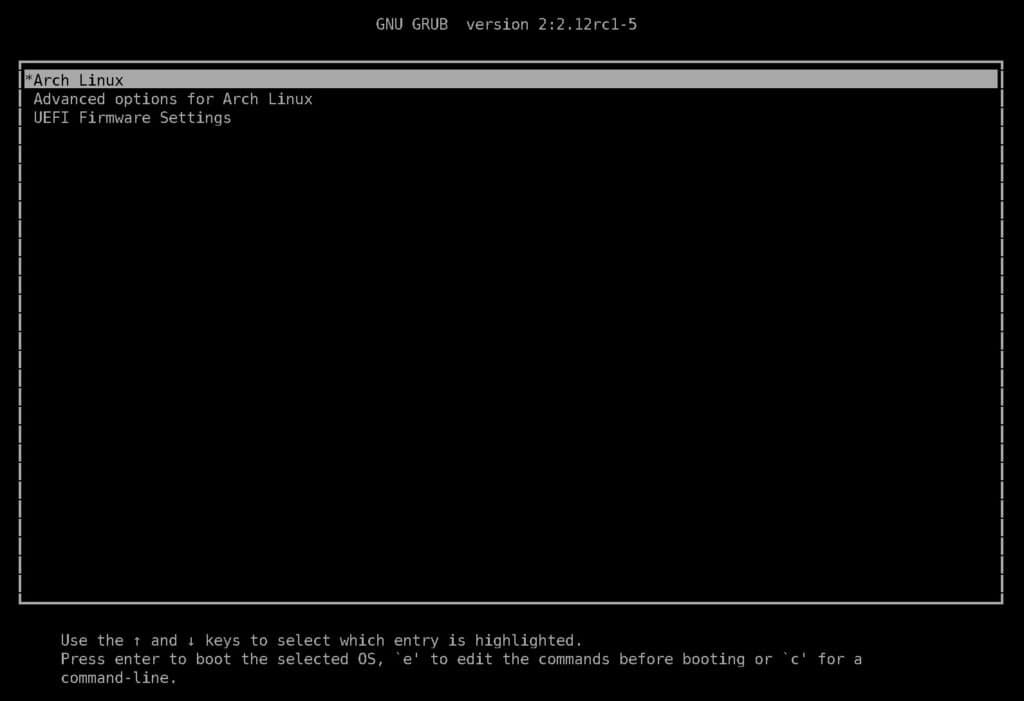
It’s time for some self-congratulations—you’ve successfully expanded the size of your GRUB menu, which now features a noticeably larger and more easily readable font.
Conclusion
Enhancing the appearance of your Linux boot menu by increasing the font size in the GRUB menu is a straightforward yet impactful modification.
This guide has walked you through the steps necessary to achieve a clearer, more readable startup display, adding an element of customization and improved usability to your system.
Thanks for your time! As always, your feedback and comments are most welcome.

Worked great for me, except I loaded the new font to /boot/grub/fonts and changed the location in the next command accordingly. Also, used 1920×1200 as a 16:10 resolution (as I have a 2880×1800 screen on my Lenovo T14s Gen4). Thanks!
I think a better place to put the new font would be /boot/grub/fonts since that is where the other fonts used by GRUB are. You still have to use the full path in /etc/default/grub so this is more a matter of preference than anything else. I agree with using the dejavu-sans-mono font for readability. I had to generate and use a smaller font due to some older graphics cards causing some of the GRUB menu to be cut off at the edge of the GRUB menu box. The dejavu-sans-mono font produced the most readable text in this situation and I have stuck with it ever since.
My Linux is boot from UEFI , and I verified your step,but no effect.
following is my step
step 1.conver to PF2
grub2-mkfont -s 24 -o /boot/grub2/dejavu-sans-mono.pf2 /root/tool/fonts/dejavu-fonts-ttf-2.37/ttf/DejaVuSansMono.ttf
step 2.modify GRUP config
vi /etc/default/grub, and add following lines:
GRUB_FONT=/boot/grub2/dejavu-sans-mono.pf2
GRUB_GFXMODE=1600×1200
step 3.update GRUB config
grub2-mkconfig -o /boot/efi/EFI/centos/grub.cfg
step 4. reboot server