
Visual Studio Code (VS Code) is a popular code editor developed by Microsoft that is available on multiple platforms, including Linux. It is highly customizable and has a wide range of features, making it an excellent choice for developers.
Its key features include syntax highlighting, built-in debugging support, embedded Git control, code completion, an integrated terminal, snippets, and code refactoring.
This guide will walk you through installing Visual Studio Code on Linux Mint from the official Microsoft VS Code repository. So, whether you’re a beginner or an experienced user, these instructions will help you get up and running with VS Code on your Linux Mint system in no time.
Install Visual Studio Code on Linux Mint
1. Install Prerequisites
Before we begin the installation, we must first install some packages that will be required to be available on our Linux Mint system for the next steps. To accomplish this, open the command prompt and type:
sudo apt install software-properties-common apt-transport-https wget gpg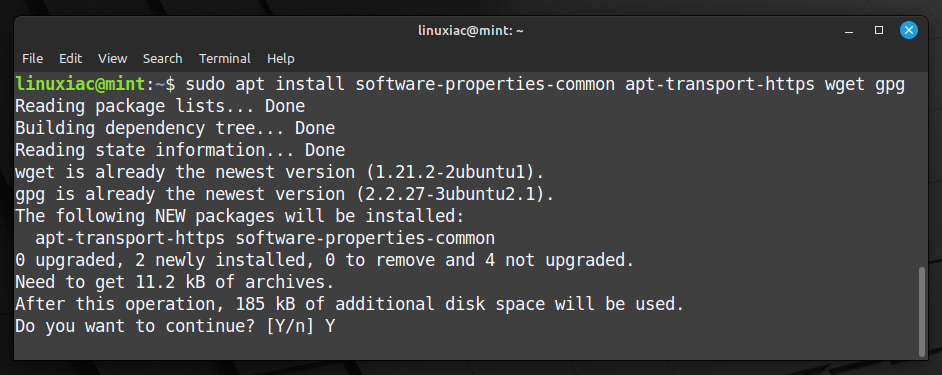
2. Import Microsoft’s GPG Key
To ensure that the packages we receive to install the Visual Studio Code are genuine, we should download and import the Microsoft signed GPG keys on your Linux Mint system.
To do so, type the following commands:
wget -qO- https://packages.microsoft.com/keys/microsoft.asc | gpg --dearmor > packages.microsoft.gpg
sudo install -D -o root -g root -m 644 packages.microsoft.gpg /etc/apt/keyrings/packages.microsoft.gpgCode language: JavaScript (javascript)
The commands will produce no output.
3. Add Microsoft’s Visual Studio Code Repository
After importing the GPG keys, you must add the official Microsoft Visual Studio Code repository to your Linux Mint system. This implies that the update package will be made available with the rest of our system’s regular updates if a new version is released.
To accomplish it, type the command shown below.
sudo sh -c 'echo "deb [arch=amd64,arm64,armhf signed-by=/etc/apt/keyrings/packages.microsoft.gpg] https://packages.microsoft.com/repos/code stable main" > /etc/apt/sources.list.d/vscode.list'Code language: JavaScript (javascript)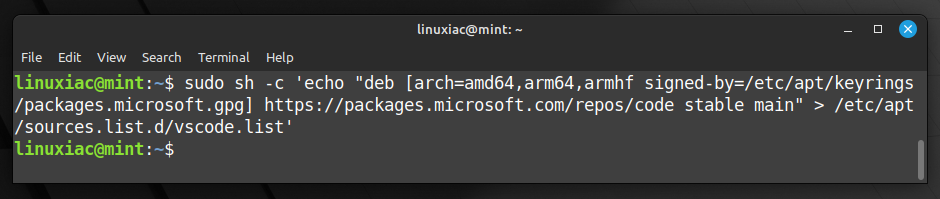
As you can see, the command will not produce any output.
4. Run System Update
Before installing VS Code on your Linux Mint system, you should update the packages list. So, run the below command to update the APT repositories index.
sudo apt update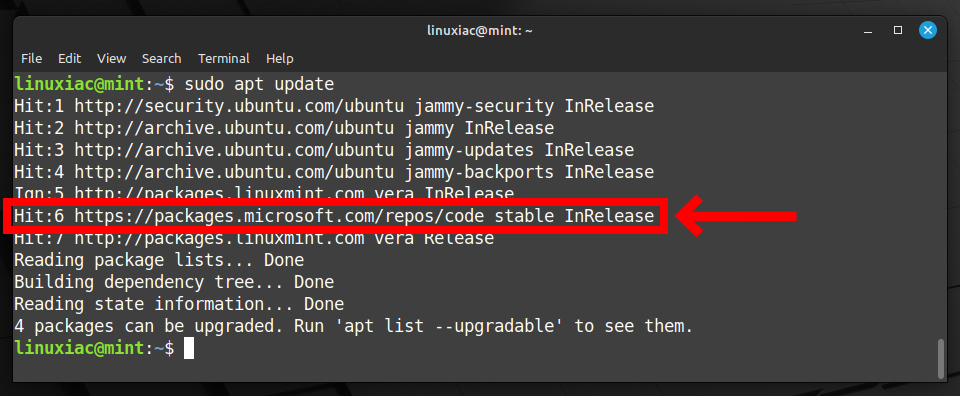
As you can see, your new Microsoft Visual Studio Code repository is now available and ready to be used.
5. Install VS Code on Linux Mint
Everything is already prepared for the actual installation. Now, to install VS Code on your Mint system, run the following commands:
sudo apt install code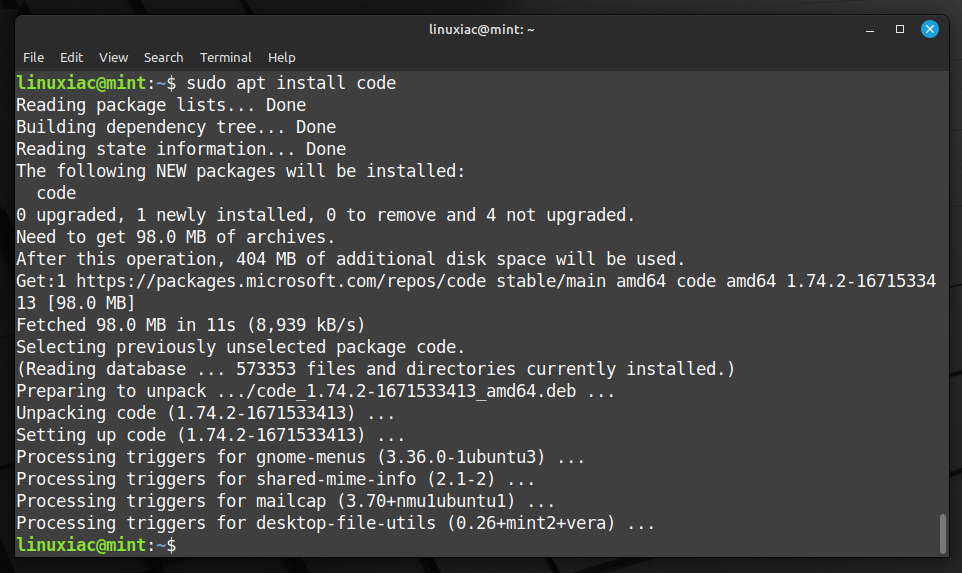
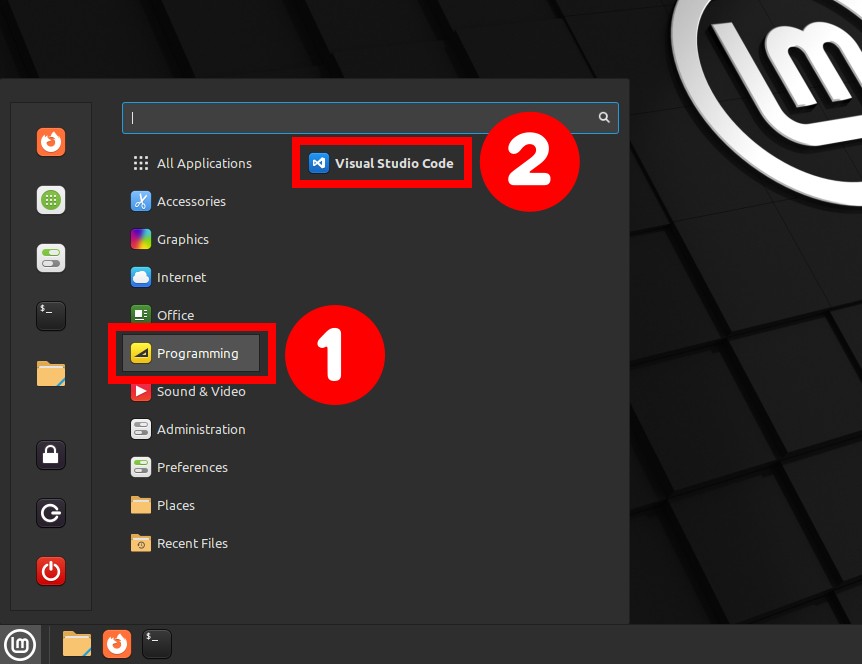
That’s all! You can start using VS Code by launching it from the “Start Menu,” “Programming,” and picking “Visual Studio Code.”
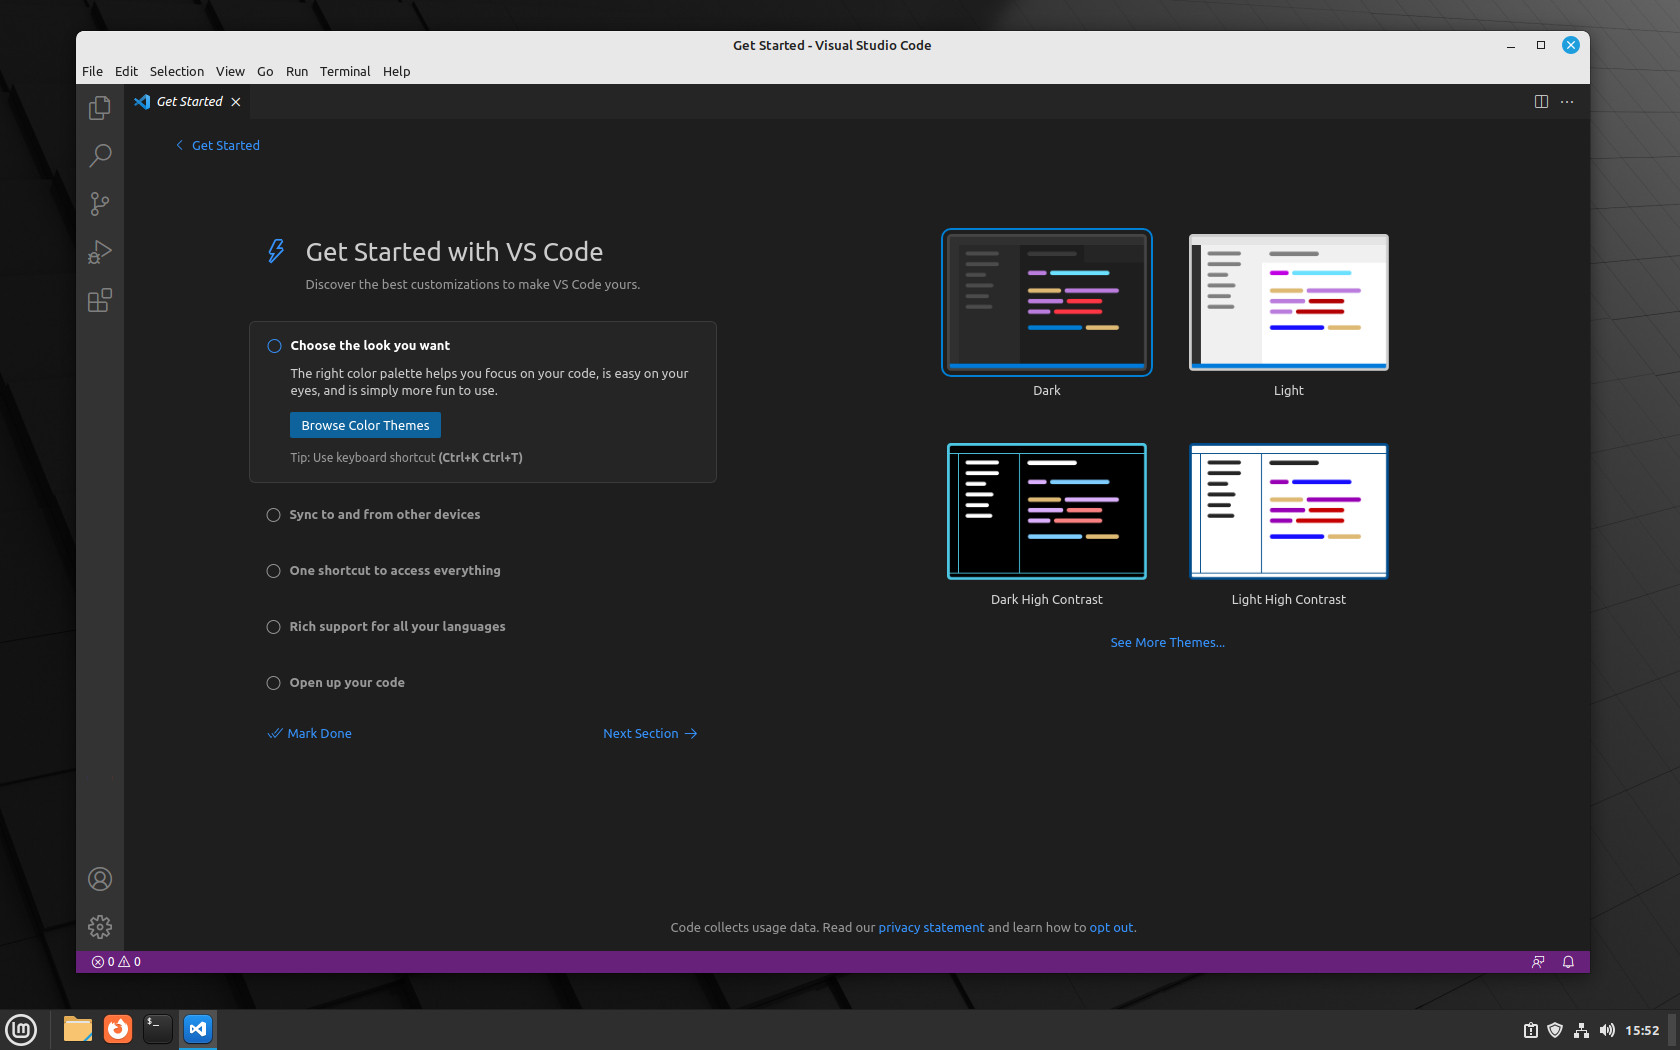
When you start VS Code for the first time, a window like the following will appear:
Conclusion
Installing VS Code on Linux Mint is a straightforward process that involves adding the Microsoft GPG key, adding the official VS Code repository, and updating the local package cache. Once these steps are completed, users can easily install VS Code using the APT command. Now, you can take advantage of the powerful features and functionality offered by VS Code to enhance your coding experience.
If you have any questions, please leave them in the comments section below. To learn more about Visual Studio Code, visit its official documentation page.


thanks a lot
works great
Thank you so much
Thanks a lot. Worked straight forward on Cinnamon as Virtualbox VM on a W10/64 host. No hidden pitfalls
Merci beaucoup pour cette aide précieuse 🙂
On windows I can run the compiler on the command line simply typing: clIs there a way to do this on linux too ?
I just figured out, that microsoft has just ported its IDE, not its compiler
SUPER! Thanks for the easy way to install
Big help!
The flatpak install was a pain.
Thank you!
Thanks! Although this is more copy and pasting and takes more time it’s the best most efficient way of getting the install right. Thanks again!
I struggled with snapd thinking it was my only option until I found this tutorial, it worked like magic.
OR, a much shorter path, easier and safer than giving anything unnecessary privileges:
flatpak install flathub com.visualstudio.code
and be done with it!
Flatpaks are too large.