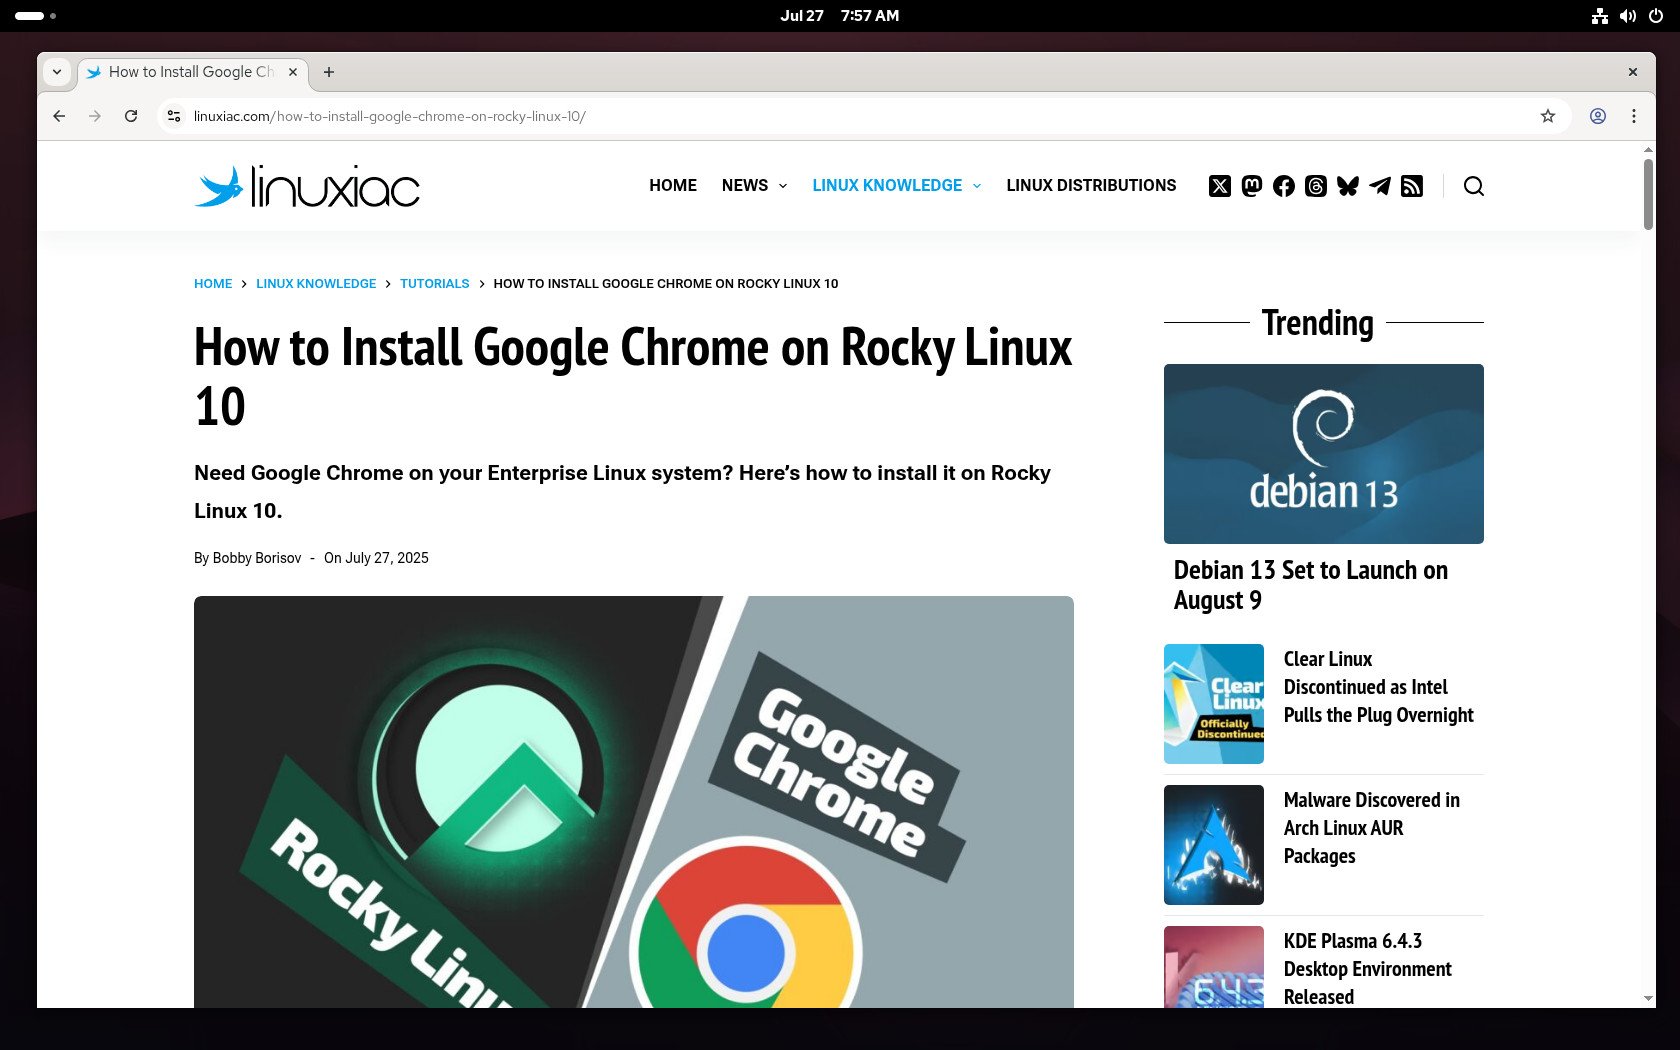
Rocky Linux is an enterprise-grade distribution that’s fully compatible with RHEL and often used as a drop-in replacement. It’s especially known for being rock-solid on servers. But even though it’s mainly geared toward server use, a lot of users choose it as a dependable desktop OS too.
As you can expect, no desktop setup feels complete without a reliable web browser. If you’re someone who prefers using Google Chrome, here’s a quick and easy step-by-step guide to get it up and running on your Rocky Linux 10 system in just a few minutes.
First, let’s clarify something – the browser isn’t available in Rocky’s software repositories for two straightforward reasons. First, it’s not open-source—and like other RHEL-based distros, Rocky only includes free and open-source software in its official repos.
Furthermore, redistributing proprietary software like Chrome would require special permission from Google, which would bring on legal and logistical headaches. Of course, there’s no issue installing it straight from Microsoft’s official repositories—and I’ll show you exactly how to do that in just a moment.
Install Google Chrome on Rocky Linux 10
This tutorial will utilize the sudo command and assume that your current user has the necessary permissions to execute commands as a privileged user.
To ensure that the packages we receive to install the Chrome browser are genuine, we should first download and import the Google-signed GPG key on our Rocky Linux 10 system. To do so, type the following two commands:
curl -O https://dl.google.com/linux/linux_signing_key.pub
sudo rpm --import --nodigest --nosignature linux_signing_key.pubCode language: Bash (bash)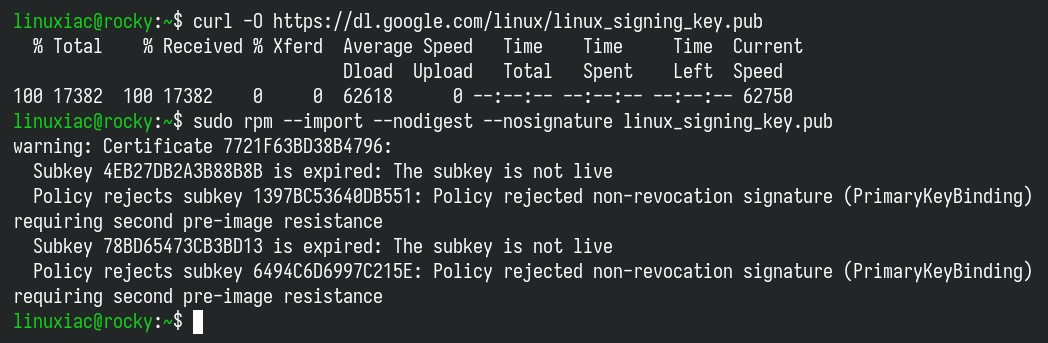
As you can see in the screenshot above, the second command returns a few messages, but don’t worry, they’re just warnings. Here’s the case.
The rpm command complains about a handful of expired or SHA-1-signed subkeys that are still bundled in Google’s keyring. However, Rocky 10 tracks CentOS Stream/RHEL 10, and in May 2024, Red Hat completely removed support for SHA-1.
At the same time, the current Google public key (“linux_signing_key.pub“) is still self-signed with SHA-1. This is why we use “–nodigest –nosignature” in the key import command. What I’m trying to say is that this is completely on Google’s end, so it’s out of our hands.
The good news is that the key you need is already in your RPM database, despite the warnings. And because the packages themselves are signed with RSA/SHA-512, when installing the browser, the transaction will pass the GPG check. In other words, we can proceed safely with installing Google Chrome on Rocky 10.
Step 2: Add Google’s Chrome Repository
After importing the key, you must add the official Google Chrome repository to your Rocky 10 system. This implies that the update package will be made available with the rest of your system’s regular updates when a new version is released.
sudo tee /etc/yum.repos.d/google-chrome.repo <<'EOF'
[google-chrome]
name=Google Chrome
baseurl=https://dl.google.com/linux/chrome/rpm/stable/$basearch
enabled=1
gpgcheck=1
gpgkey=https://dl.google.com/linux/linux_signing_key.pub
EOFCode language: Bash (bash)
Step 3: Refresh Package List
Before proceeding with the installation, you should update the package list. Run the below command to update the repository’s index.
sudo dnf updateCode language: Bash (bash)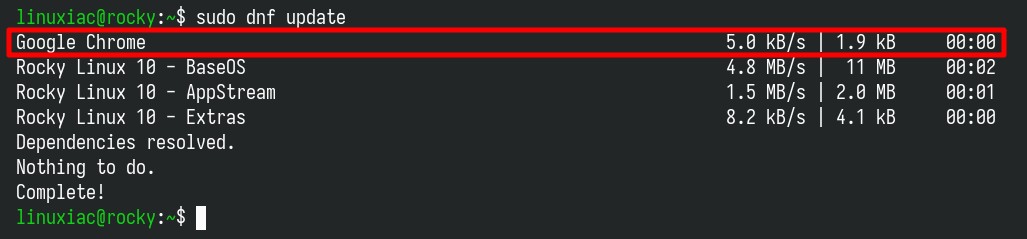
As you can see, your new Google Chrome repo is now available and ready for use.
Step 4: Install Google Chrome on Rocky Linux 10
We’re now all set. To install the Chrome browser on your Rocky 10 system, run the following command:
sudo dnf install google-chrome-stable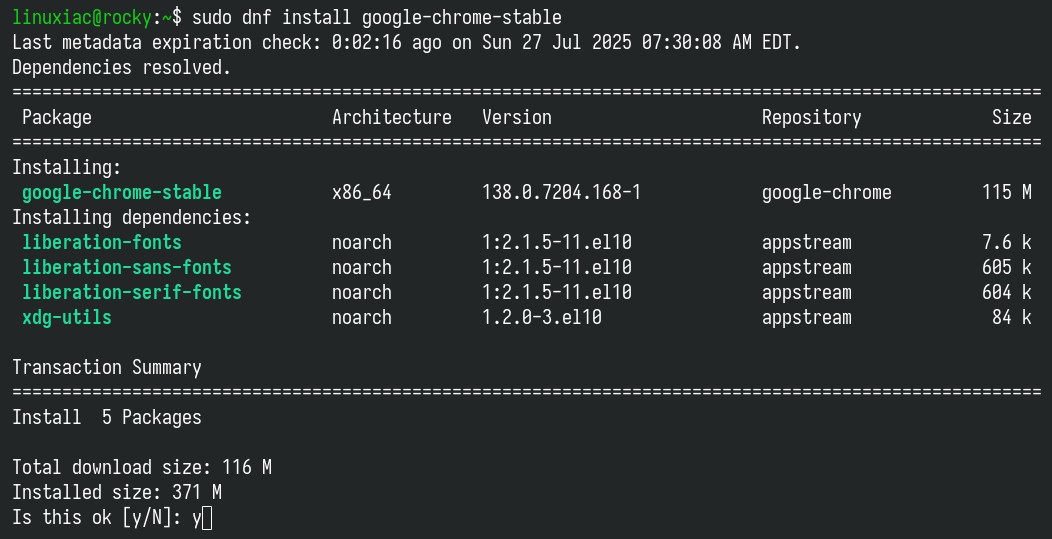
Wait for the installation to finish—it should only take a few seconds. But before you open the browser for the first time, let’s take care of something on the visual side. Here’s what to do.
Step 5: Fix the Missing Chrome Icon in the App Menu (Optional)
If you open the list of applications in the GNOME Dash, you might be a bit surprised to see that Google Chrome isn’t showing its usual icon. Instead, it’s using a generic placeholder—the default icon for apps without an assigned icon.
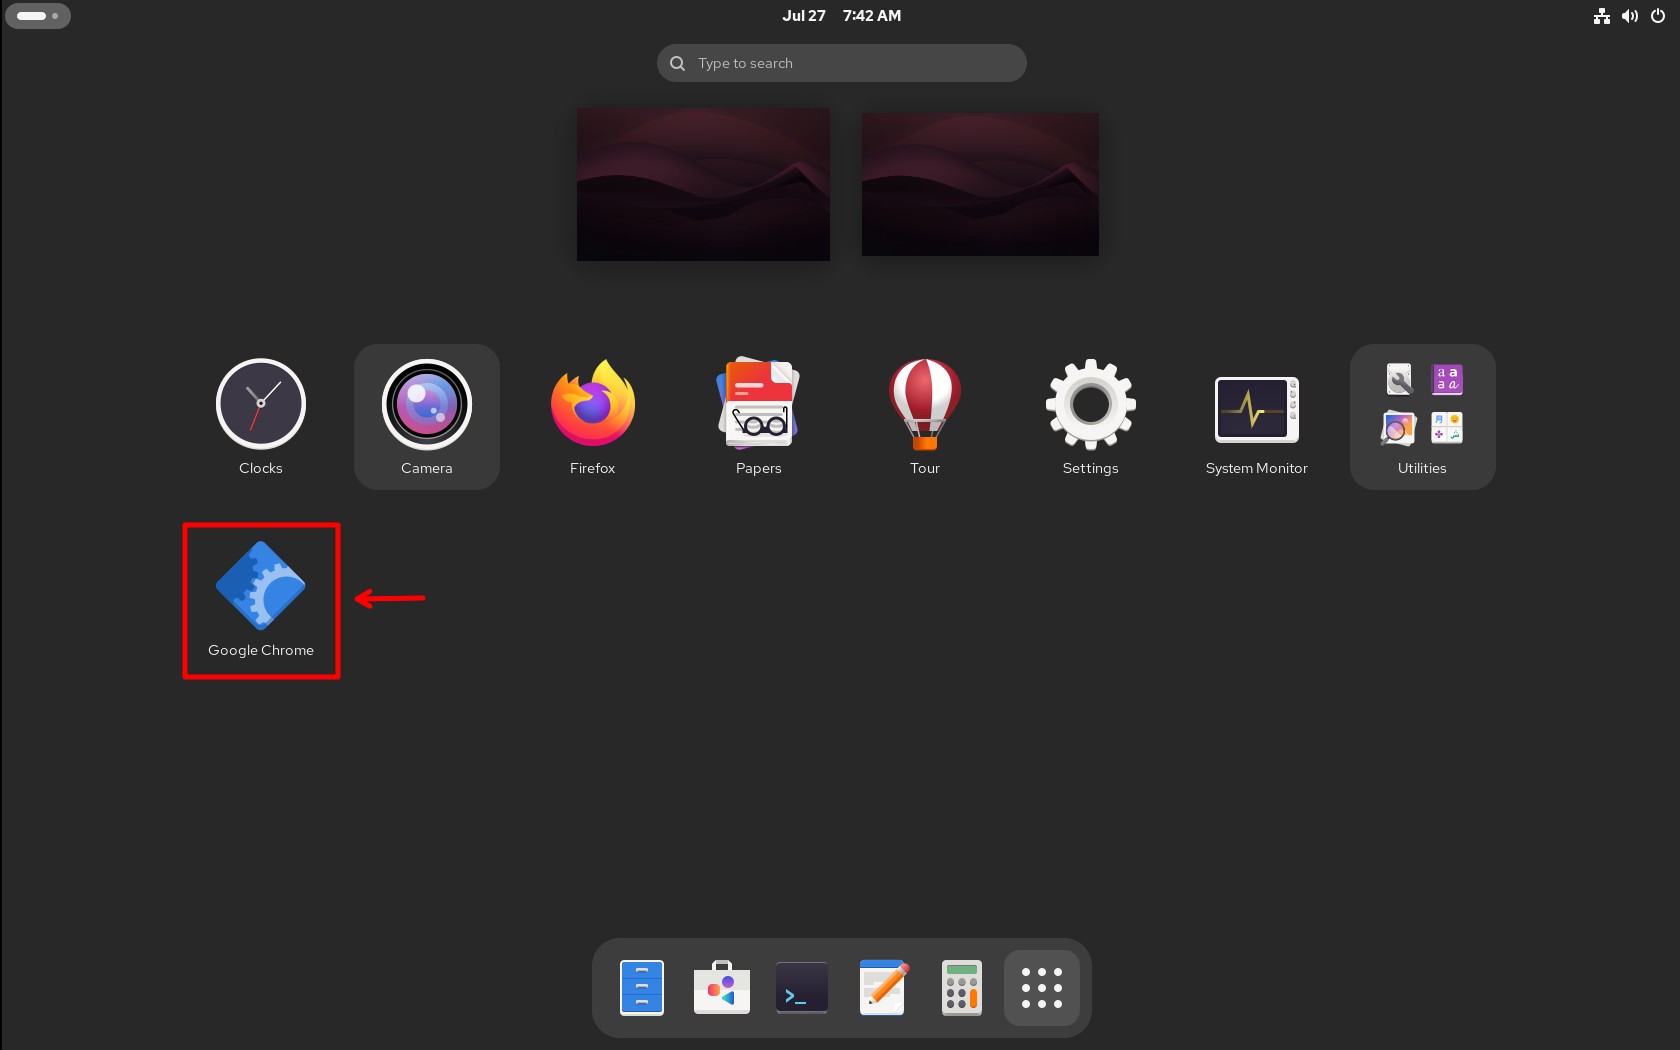
This only happens if you’re using the default icon theme that comes with Rocky Linux 10, which just doesn’t include an icon for Chrome. But no worries—we’ll have that fixed in no time. Run the two commands below.
sudo curl -L https://www.google.com/chrome/static/images/chrome-logo.svg -o /usr/share/icons/hicolor/scalable/apps/google-chrome.svg
sudo gtk-update-icon-cache /usr/share/icons/hicolorCode language: Bash (bash)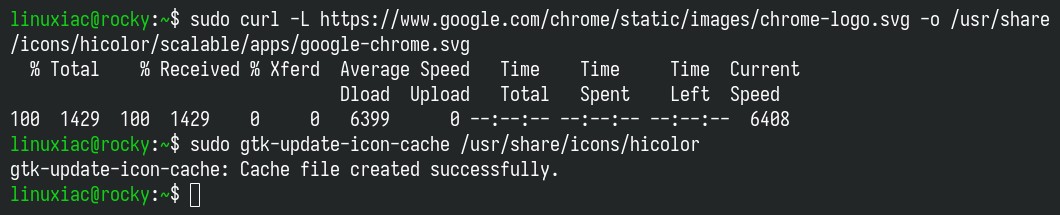
The first command uses Curl to download the official Chrome logo in SVG format directly from Google’s servers and saves it to the appropriate icon directory. The second refreshes the GTK icon cache for the hicolor icon theme.
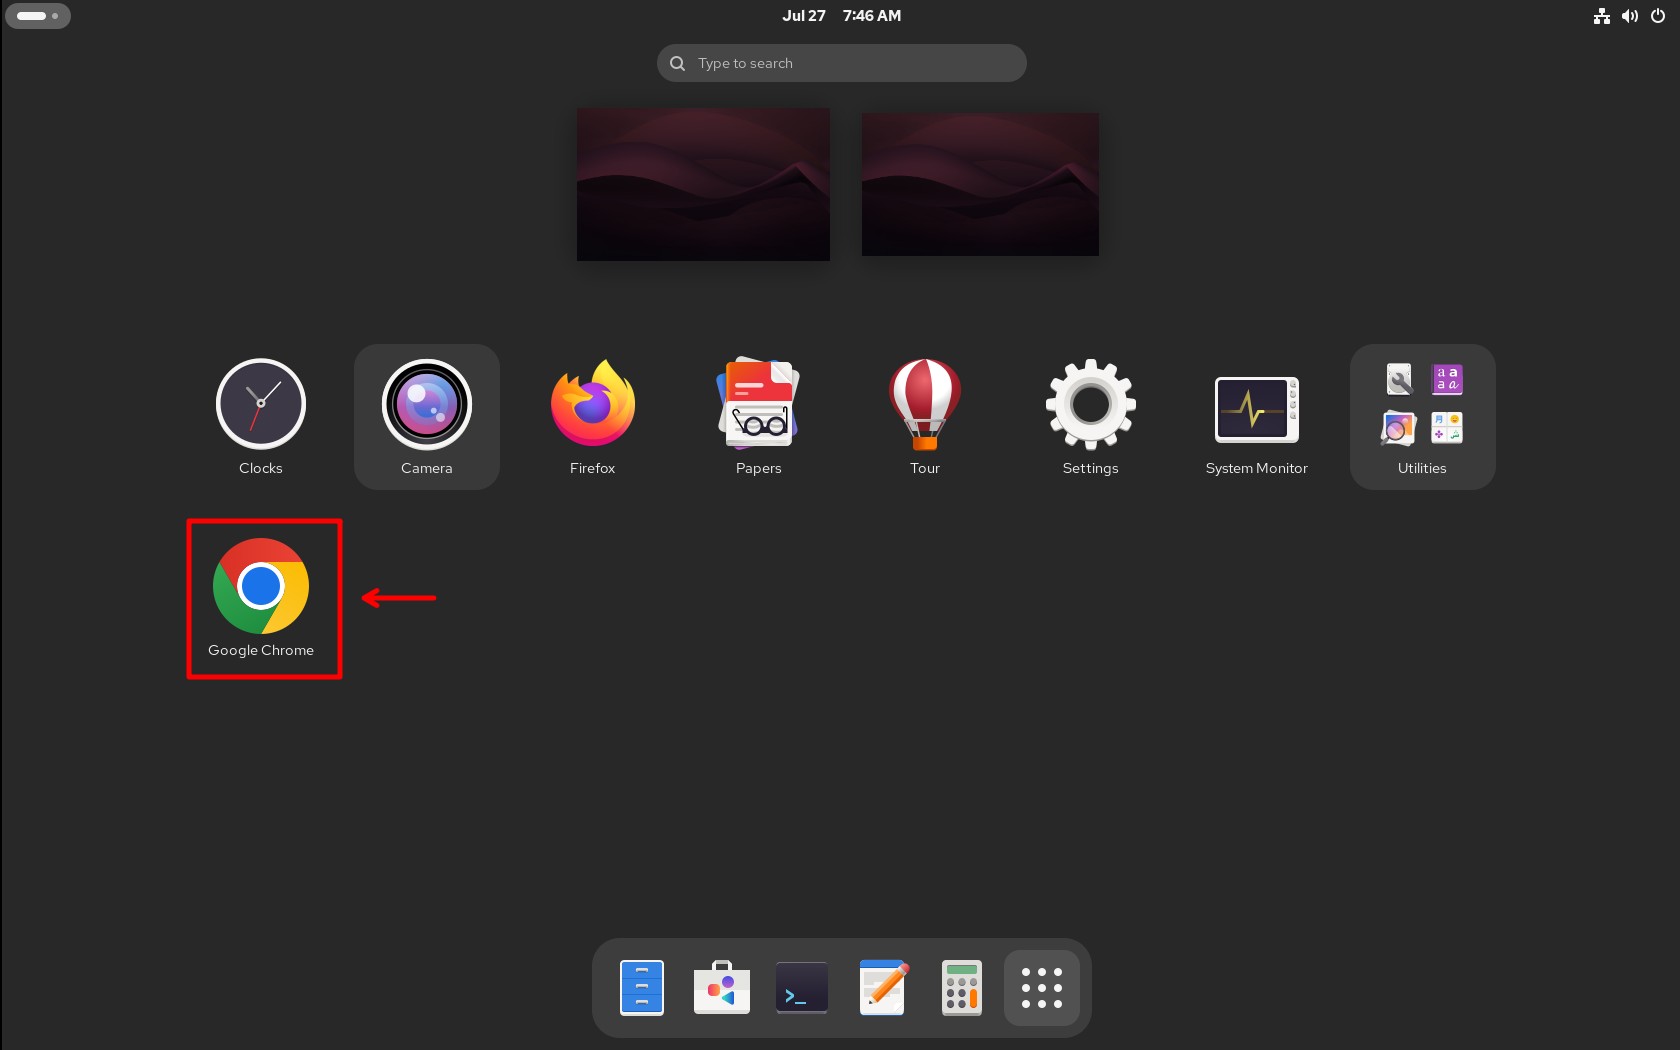
Then, log out of your Rocky 10 system and log back in. Chrome should now show up in your list of applications with its familiar icon—the one we all know and recognize.
Step 6: Run Google Chrome
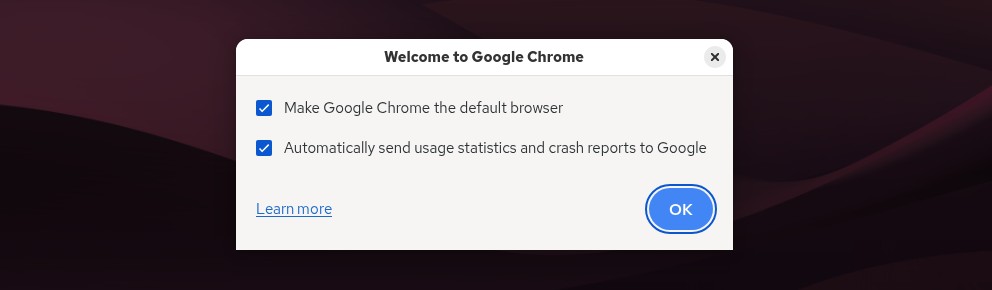
That’s all. Click on the icon to run Google Chrome. The first time you’ll have the chance to make it your default browser. You can also choose to “Automatically send usage statistics and crash reports to Google.” It is up to you whether you want to enable this or not. Make your choices, and then click the “OK” button.
Google Chrome will start. Happy browsing!
Uninstall Google Chrome
If you decide to remove the Google Chrome browser from your Rocky Linux 10 system for some reason, you can do it quickly and easily by typing the command shown below:
sudo dnf remove google-chrome-stableCode language: Bash (bash)Conclusion
And that’s it! Installing Google Chrome on an Enterprise Linux setup, such as Rocky Linux 10, is quick and straightforward once you know the right steps.
Keep in mind that the installation process shown in this guide adds Google’s official Chrome repository to your system, allowing the browser to receive the latest updates automatically whenever you update your system via the Software app or using the DNF command.
Thanks for your time! I hope you find this guide helpful. Thank you for using it, and as always, your comments are greatly appreciated. Happy browsing!


Thanks for the simple and easy to follow tutorial!
Got a question. Given that the Chromium browser–which is completely Free/Open Source Software–is already available in the Rocky Linux repositories, why would anyone want to install the proprietary Google Chrome version?
Chromium is missing a few features that come built into Google Chrome, like support for particular media codecs (AAC, H.264/AVC, MP3, HEVC) and sync capabilities—features some users expect by default.
Ah, I see. I happen to be running Debian Bookworm on my daily driver desktop, and it has both Firefox and Chromium. When viewing such content with Chromium (or Firefox), generally VLC comes up, thanks to MIME types. But I don’t know if the Rocky/Alma Linux distros come with VLC or its set of codecs (I hope they do!), so I see your point; your solution may be a good option for those folks if VLC isn’t an option.
Shame about software patents. We wouldn’t have this problem had the Bilski decision gone the other way.
just use brave to get all the features he mentions including sync and there are other chromium based browsers with those features also. You basically only use chrome if you prefer spyware and want to make it easier for others to track you online since I have never seen a feature on chrome that can not be found elsewhere.
brave is awesome and they are going to continue to support manifest v2 after chrome pulls the plug for these 4 extensions. Brave is way better with ublock origin and It is ok to use it with there other block features. Just paste brave://settings/extensions/v2 into the url to see the 4 extensions you can use without having to download them elsewhere. info on this https://brave.com/blog/brave-shields-manifest-v3/