VirtualBox is a fantastic piece of software and one of the leaders in its space, with a huge following—especially among home users. But even with all its strengths, there’s one area where it still feels a bit stuck in the past: the icons used to represent guest operating systems.
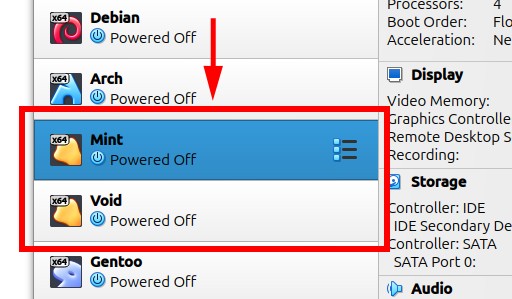
From a purely aesthetic standpoint, the icons look kind of outdated—but that’s not the only issue. If you’re running multiple types of virtual machines, for example, Linux distros beyond the mainstream ones, VirtualBox just uses the same generic icon for all of them.
And let’s be honest, that can get pretty confusing. It makes it harder to quickly tell things apart when you open up the VirtualBox UI. I mean this.
The good news is, this is super easy to fix—and I’m about to show you how.
Set Custom OS Icons for VirtualBox Guests
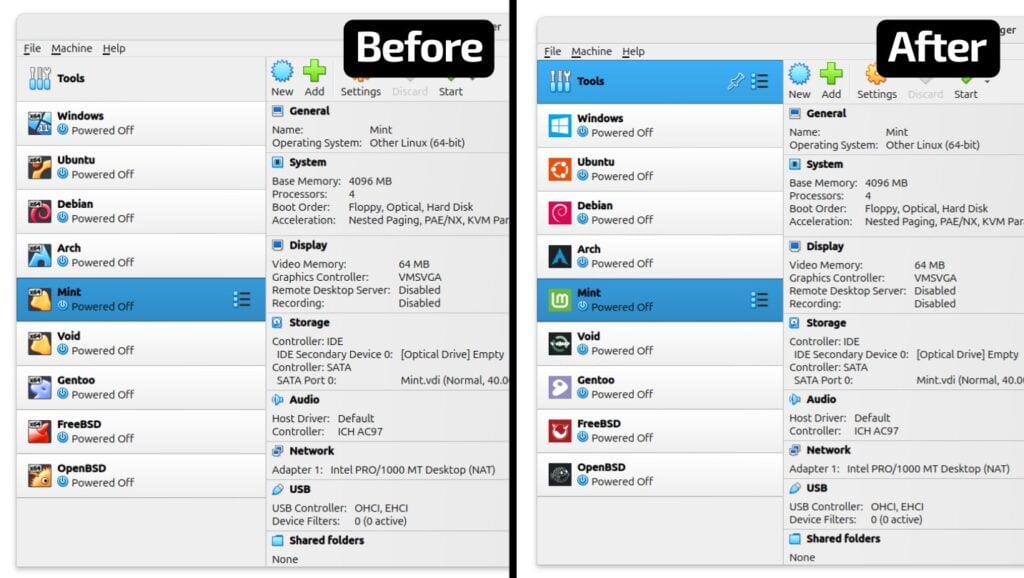
Staying true to the saying “a picture’s worth a thousand words,” here’s the goal we’re aiming for—just take a look at the image below.
The first thing you’ll want to do is get your image files ready—these are what we’ll use to replace the default icons for VirtualBox guest OSes. Below are a few examples I used myself for this guide’s purposes. As you’ll see, they’re nothing fancy—just simple, standard-looking icons.
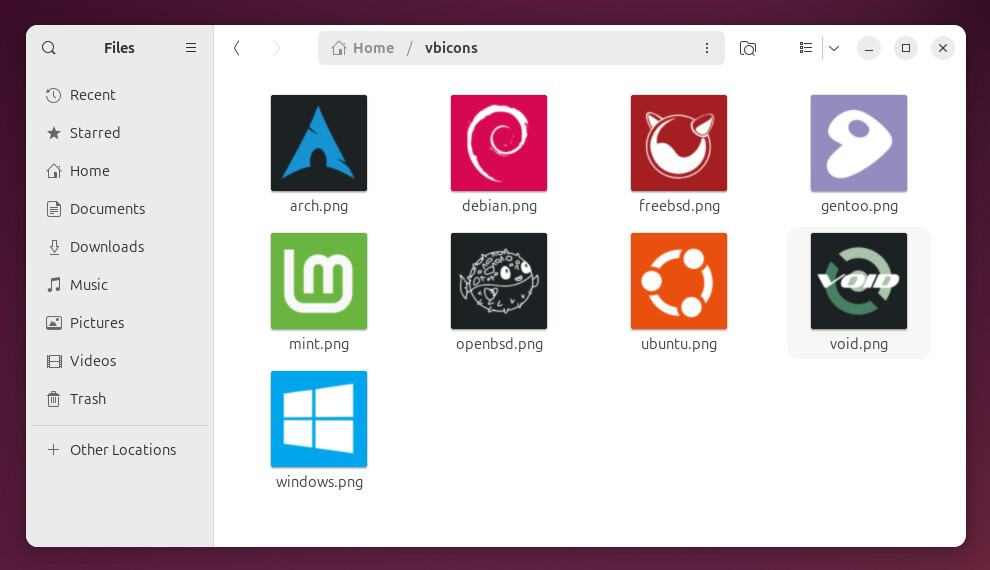
You can easily find tons of similar images online, or if you’re feeling creative, go ahead and design your own.
Use PNG files (SVG also works) and stick with square images for best results. A good size to aim for is 128×128 pixels, but it’s totally fine to go a bit bigger or smaller. VirtualBox will scale the image to the sizes it needs. The key is just to keep them square.
Once you’ve got your files ready, it’s time actually to swap out the icons—and guess what, it only takes one simple command. The syntax is as follows:
vboxmanage modifyvm "<vm-name>" --iconfile <full-path-to-the-image-file>Code language: Bash (bash)For example, to override the icon for the Mint virtual machine:
vboxmanage modifyvm "Mint" --iconfile ./vbicons/mint.pngCode language: Bash (bash)Even though you can see the names of your virtual machines in the VirtualBox UI, you can also list them from the command line by running:
vboxmanage list vms --sortedCode language: Bash (bash)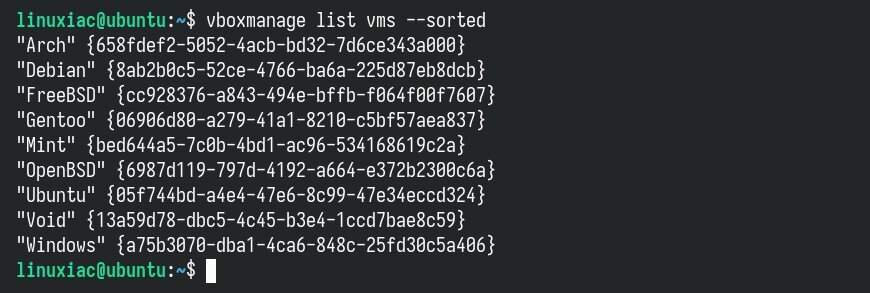
And that’s it, my friends. From here on out, it’s all up to you and your creativity.
Bottom Line
As you’ve seen, changing the default icons for your VirtualBox guest VMs is super easy—and it not only makes your VM list look better, but also makes it a lot easier to navigate. All you need is an image file and the vboxmanage command.
Speaking of which, there’s a lot more you can do with vboxmanage. It’s actually just one of several powerful tools VirtualBox offers—and with it, you can even run and manage a completely headless VirtualBox server. If you’re not convinced, go ahead and check out our guide on the topic.
Thank you for your time and for following our guide! I hope you find it helpful. As always, any feedback is much appreciated.
