Managing Docker containers from the command line can quickly become complex, especially as the number of them grows. Portainer simplifies this by providing a web-based interface that lets you deploy, monitor, and control containers, images, networks, and volumes with just a few clicks.
In this guide, I’ll show you how to install Portainer on a Docker host and walk through its basic usage to simplify container management. But before proceeding, some theory.
What’s Portainer?
Portainer is a container management tool that gives you a graphical interface (web-based dashboard) to easily deploy, manage, and monitor containers, images, networks, and volumes, allowing users to interact with Docker easily and perform container-related tasks without complex command-line operations.
Think of it like a control panel for your container infrastructure—especially handy for those who want the power of Docker without memorizing every command-line option.
Additionally, Portainer supports managing multiple Docker hosts, making it an excellent choice for organizations or individuals working with complex Docker deployments across different environments.
What makes it a very attractive option is also that Portainer can work alongside Docker Compose, allowing users to easily deploy and manage the entire application stack defined in the Compose file, view the status and logs of individual containers, and scale services as needed.
Finally, the application is not limited to Docker only. Portainer also supports Kubernetes and Docker Swarm, allowing admins to manage and secure the cluster quickly.
What’s the Portainer Agent?
Portainer offers a Remote Agent – a lightweight service that you deploy on the nodes (runs as a container on the remote host) you want Portainer to manage. Think of it as the middleman between your containers and the Portainer server, allowing the management of remote Docker resources.
Furthermore, the agent allows a single Portainer instance to connect to multiple Docker hosts, eliminating the need for direct access to the Dockerized remote host or complex networking configurations.
In simple terms, without the agent, Portainer can only directly manage environments where it has local access (like Docker socket on the same machine). But with the agent in place, you can manage multiple remote Docker or Kubernetes clusters securely from a single Portainer centralized server.
Portainer Editions
Portainer offers two different editions, each catering to different user requirements and environments.
Portainer Community Edition (CE)
Portainer CE is a free and open-source offering for individual users, small teams, and non-commercial use. It provides a user-friendly web interface for managing Docker containers, images, networks, and volumes, suitable for most Docker management needs. It offers a comprehensive set of tools and functionalities without any licensing fees.
Portainer Business Edition (BE)
Portainer BE is the commercial edition of Portainer, tailored for organizations and enterprise users. It builds upon the features of Portainer CE but includes additional advanced capabilities, support, and services designed to meet the needs of larger teams, complex deployments, and production environments.
For example, Portainer BE offers additional features like role-based access control (RBAC), LDAP/AD integration, enhanced security features, fine-grained access controls, container lifecycle management, and more.
The table below shows the differences between the two editions.
| Feature | Portainer CE | Portainer BE |
|---|---|---|
| Target Audience | Small teams, hobbyists, individual users | Enterprise teams and large organizations |
| User and Role Management | Basic RBAC, limited control | Advanced RBAC with granular control |
| Security Features | Basic authentication, TLS | SSO, advanced security policies, audit logging |
| Scalability | Suitable for small environments | Optimized for large-scale environments |
| Support | Community forums, no SLA | Professional support with SLAs |
| Audit Logging | No audit logging | Full audit logging for compliance |
| Kubernetes Management | Basic Kubernetes support | Advanced features like multi-cluster support |
| Automation | Basic container management | Advanced automation and orchestration |
| Registry Management | Basic registry support | Advanced registry control and multiple registries |
| Extensions & Plugins | Core functionality only | Additional enterprise plugins and integrations |
| Pricing | Free and open-source | Paid subscription based on node count |
Prerequisites
Having Docker installed is a must for installing Portainer. So, if you don’t already have it, here are a few guides to help you do it quickly in just minutes.
- How to Install Docker on Ubuntu 24.04
- How to Install Docker on Debian 13 (Trixie)
- How to Install Docker on Arch Linux
- How to Install Docker on Linux Mint 22
- How to Install Docker on AlmaLinux 10
- How to Install Docker on Fedora
- How to Install Docker on Void Linux
- How to Install Docker on Raspberry Pi
The other essential component is Docker Compose. It usually comes bundled with Docker when you install it. But if it’s missing on your system, no worries—you can add it with just the two commands below.
sudo curl -L "https://github.com/docker/compose/releases/latest/download/docker-compose-linux-$(uname -m)" -o /usr/local/bin/docker-compose
sudo chmod +x /usr/local/bin/docker-composeCode language: Bash (bash)
Finally, if your Linux system uses SELinux, it should be disabled before installing Portainer. However, if you require SELinux, you must pass the --privileged flag to Docker when deploying Portainer.
How to Install Portainer
Before we begin, it is important to note that Portainer can be installed on various platforms, including Linux, Windows, and macOS. This guide will focus on installing Portainer CE (Community Edition) as a free and open-source solution designed for individuals, home labs, and small setups.
Step 1: Create Docker Volume
First, we’ll create a Docker volume called “portainer_data” to persist Portainer’s configuration files.
docker volume create portainer_dataCode language: Bash (bash)
If the operation is successful, the command’s result will output the volume’s name.
Step 2: Install Portainer CE on Linux
We’ll use Docker Compose to install Portainer since it’s not only more convenient but also way more flexible than running a single Docker command. So, the first step is to create the project directory in which our Docker Compose deployment file will be placed. Then switch to it.
mkdir portainer
cd portainerCode language: Bash (bash)
Next, create a “docker-compose.yml” file, which serves as a blueprint for our Docker setup. This file will define the services, volumes, ports, etc., telling Docker Compose what to do and how to set up the Portainer container.
nano docker-compose.ymlCode language: CSS (css)services:
portainer:
image: portainer/portainer-ce:latest
container_name: portainer
restart: always
ports:
- "9443:9443" # Web UI
- "8000:8000" # Edge agent (optional)
volumes:
- /var/run/docker.sock:/var/run/docker.sock
- portainer_data:/data
volumes:
portainer_data:
external: true
name: portainer_dataCode language: YAML (yaml)As you can see, the Docker deployment is pretty simple. Now, with everything in place, let’s run our Portainer deployment:
docker compose up -dCode language: Bash (bash)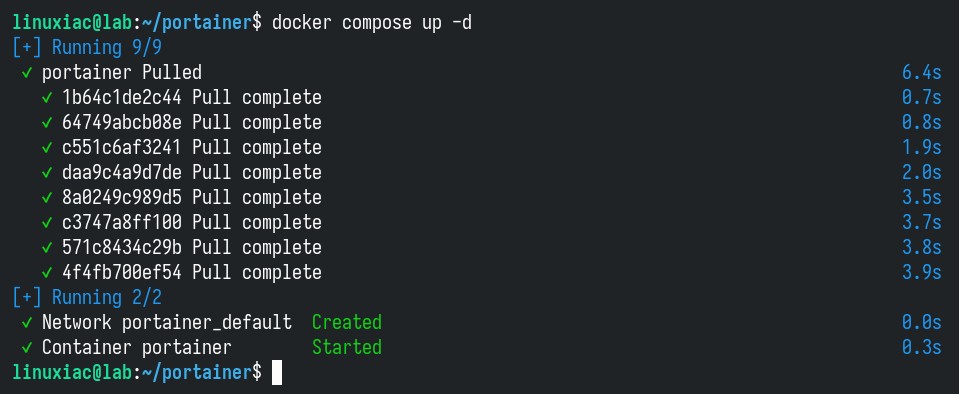
The command will pull the Portainer Docker image and start the container. We can check if Portainer is running by typing the command below, which lists our system’s currently running Docker containers.
docker psCode language: Bash (bash)
Access the Portainer Web UI
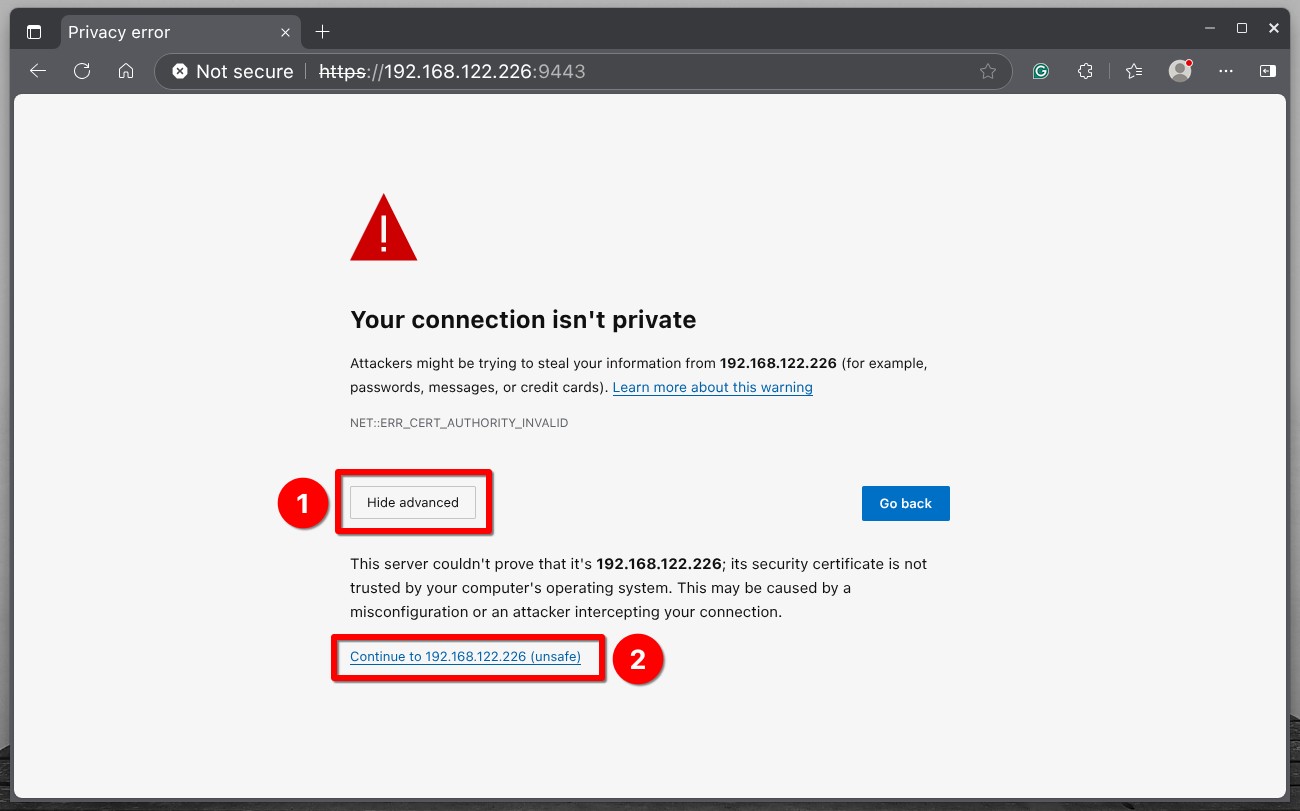
So far, so good. Now, let’s move to the most exciting part. Open your browser and navigate to “https://localhost:9443” (if you access Portainer from the same host) or “https://<server-ip-address>:9443“ (if you access it remotely). Of course, replace the “<server-ip-address>” part with your actual server’s IP address.
Because Portainer issues a self-signed SSL certificate, you are shown a potential security risk message. Accept it to proceed.
There’s one little catch worth mentioning. If you wait too long between screens during the initial setup, Portainer’s security feature will kick in, and you’ll end up seeing a page like the one below.
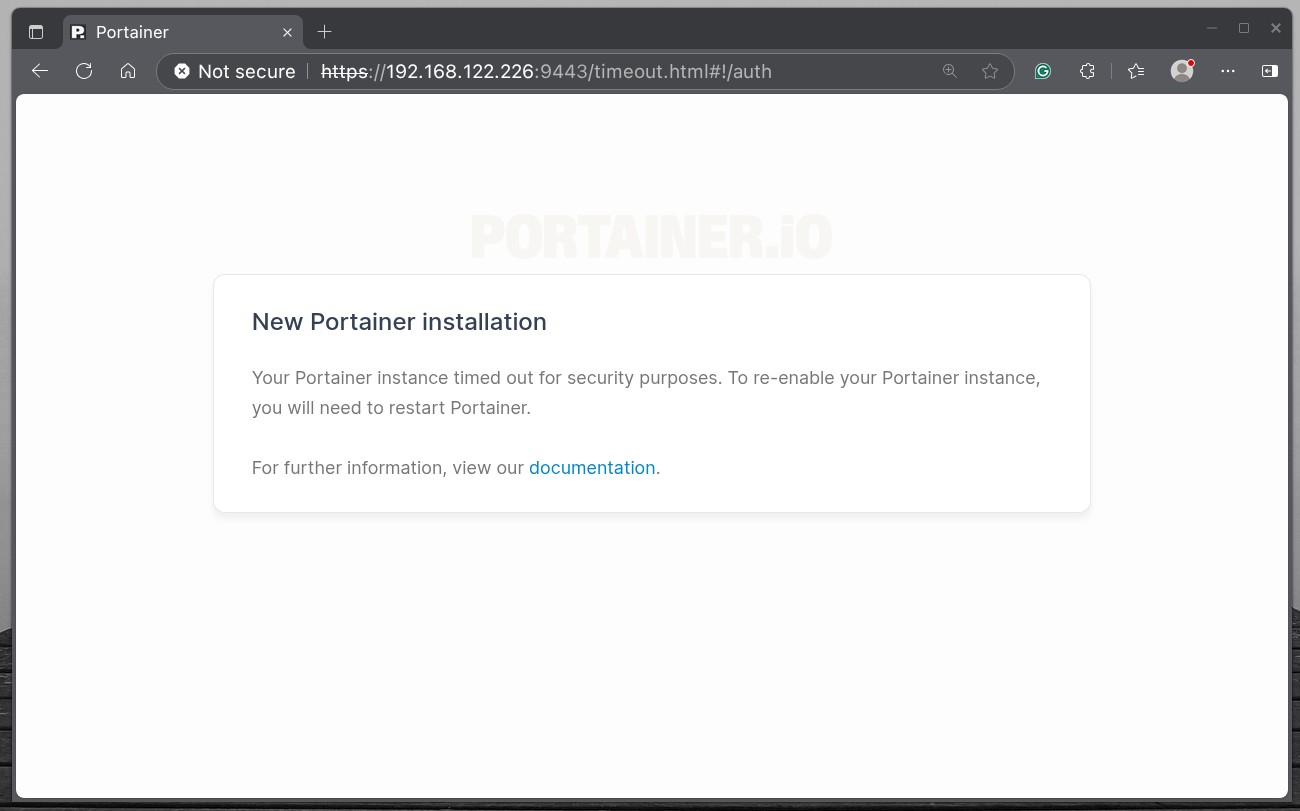
If this happens, restart the container. All you need to do is run:
docker compose down
docker compose up -dCode language: Bash (bash)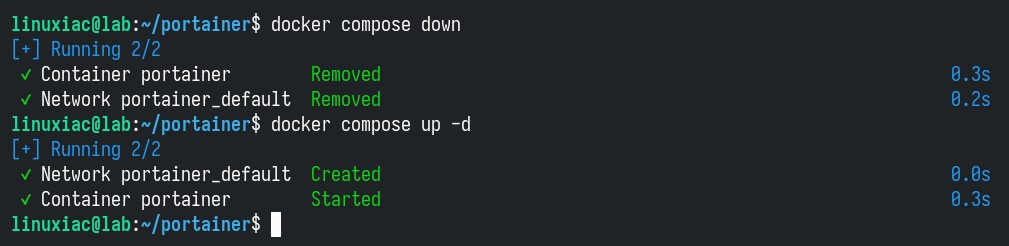
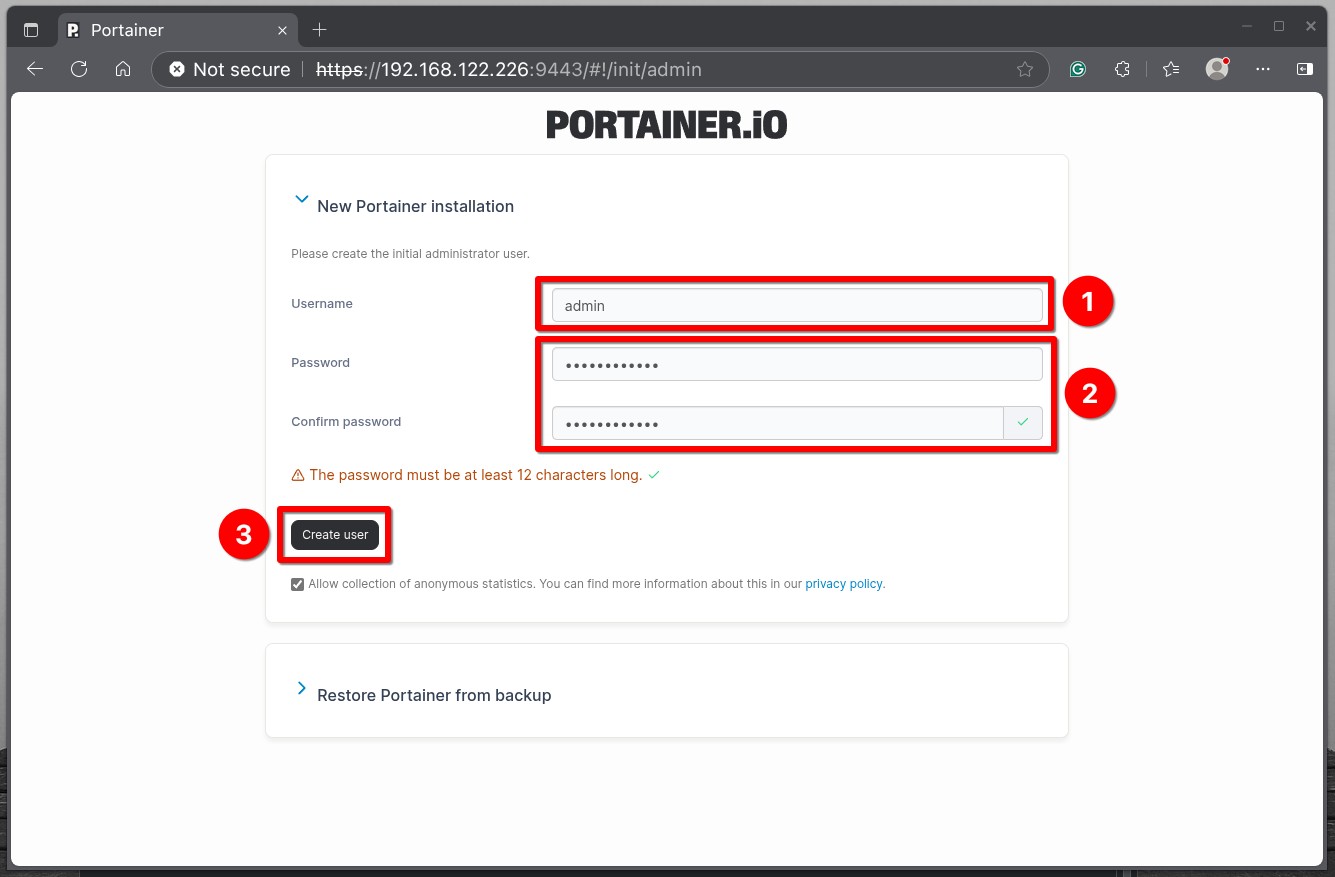
Now head back to your browser and give it a quick refresh. You’ll be taken to a page where you can create the administrative account for your Portainer instance. Enter a username (the default suggestion is “admin“) and a password of at least 12 characters, then click the “Create user” button.
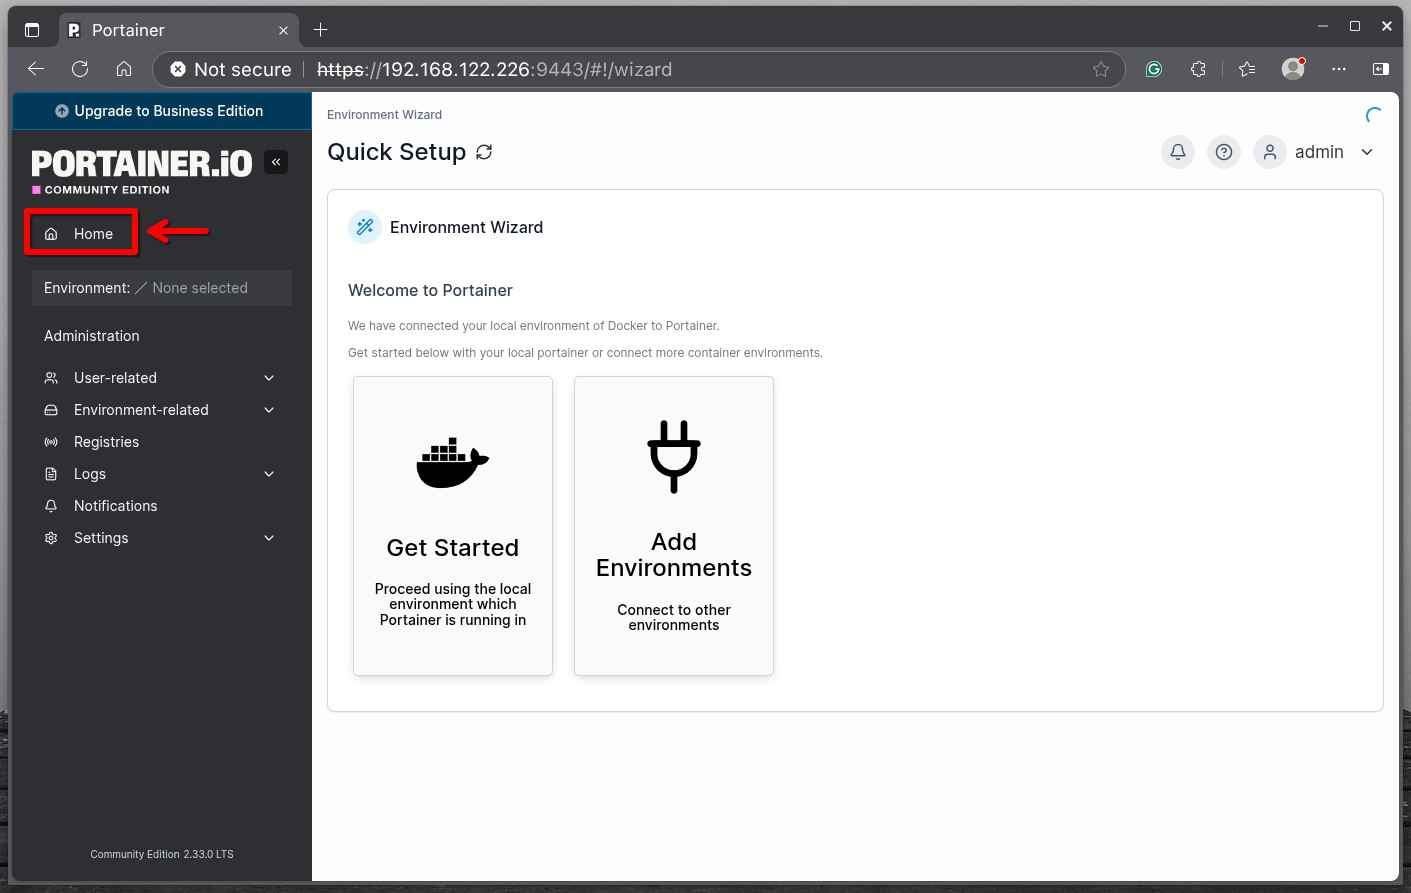
The “Quick Setup” page will appear. From here, you can add Docker environments to your Portainer server.
However, since we mounted the host’s Docker socket to the Portainer container when we started the container, it is already connected. So, click the “Home” button.
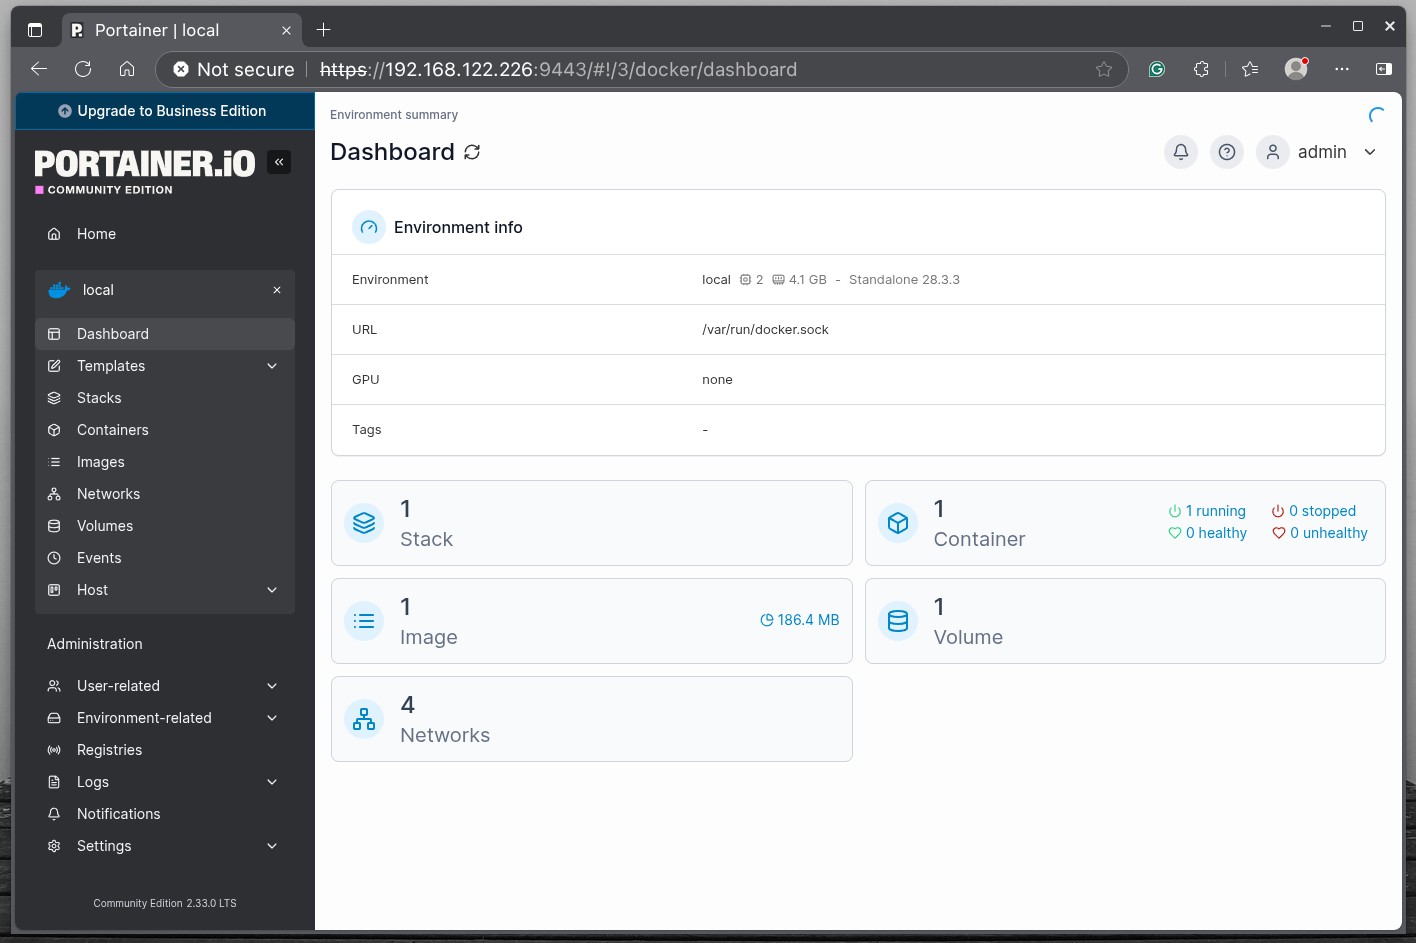
Portainer will show you it is connected to your local Docker environment, named “local.” Click on it.
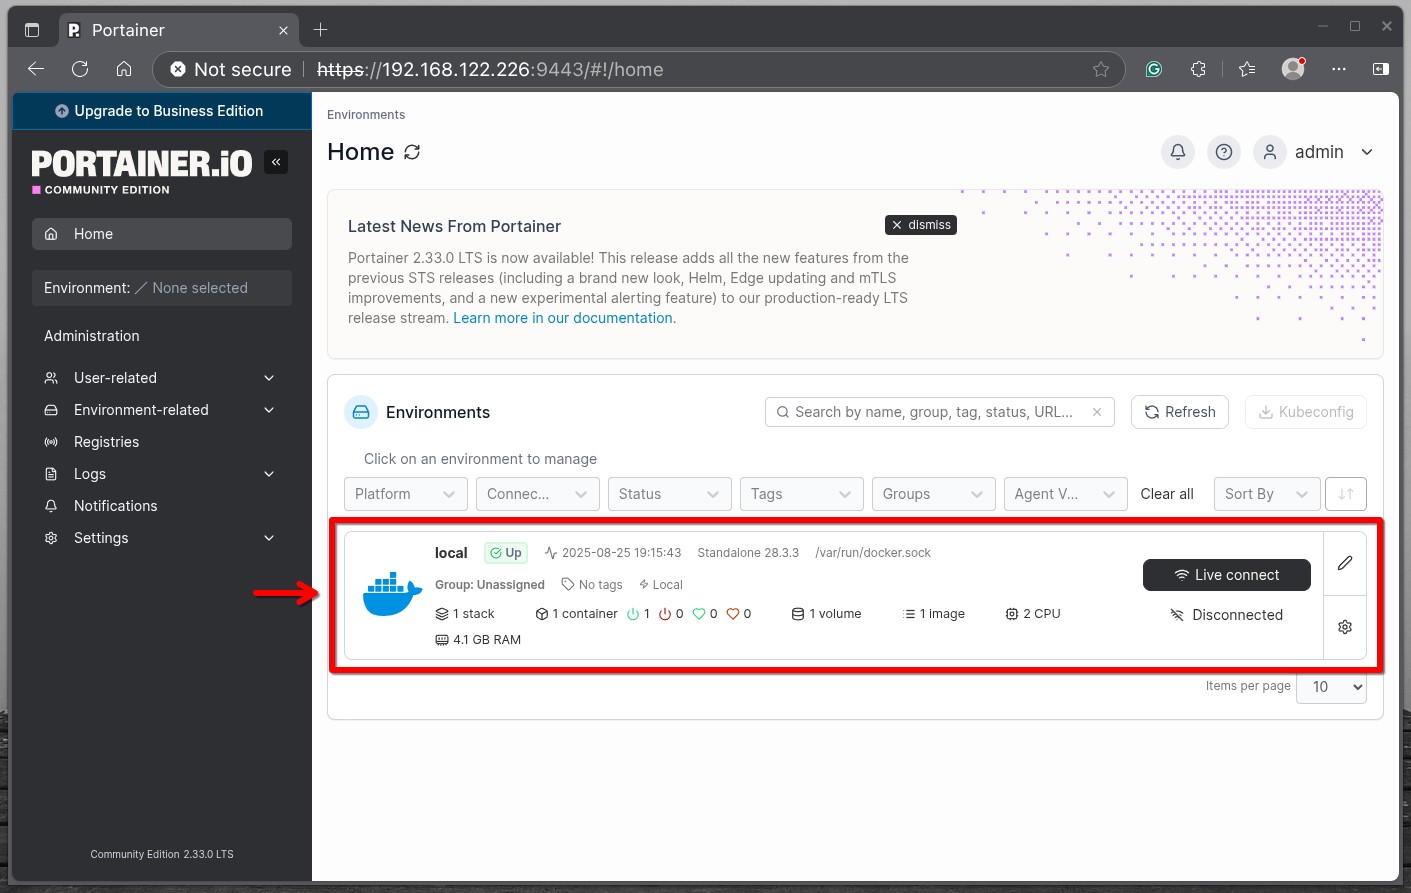
Congratulations! From here, using the menu on the left, you can now create and manage your Docker containers, networks, images, and volumes by using the convenient web-based Portainer UI.
Connect Portainer to Remote Docker Environment
First, you must install the Portainer Agent on the remote host to connect to and manage its Docker containers.
To do so, open an SSH connection to the remote server (which must already have Docker installed on it as a prerequisite). Create the project directory in which our agent’s deployment file will be placed. Then switch to it.
mkdir portainer_agent
cd portainer_agentCode language: Bash (bash)
Next, create the following “docker-compose.yml” file.
nano docker-compose.ymlCode language: Bash (bash)services:
portainer_agent:
image: portainer/agent:latest
container_name: portainer_agent
restart: always
ports:
- "9001:9001"
volumes:
- /var/run/docker.sock:/var/run/docker.sock
- /var/lib/docker/volumes:/var/lib/docker/volumesCode language: YAML (yaml)And finally, deploy it.
docker compose up -dCode language: Bash (bash)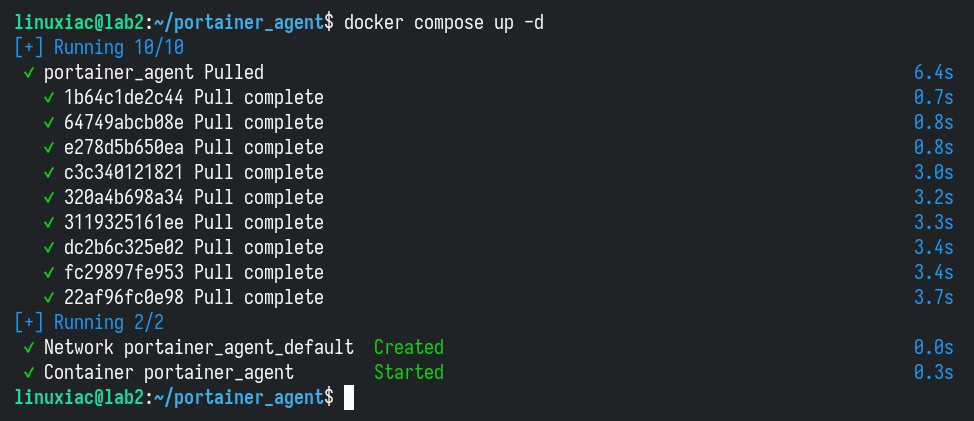
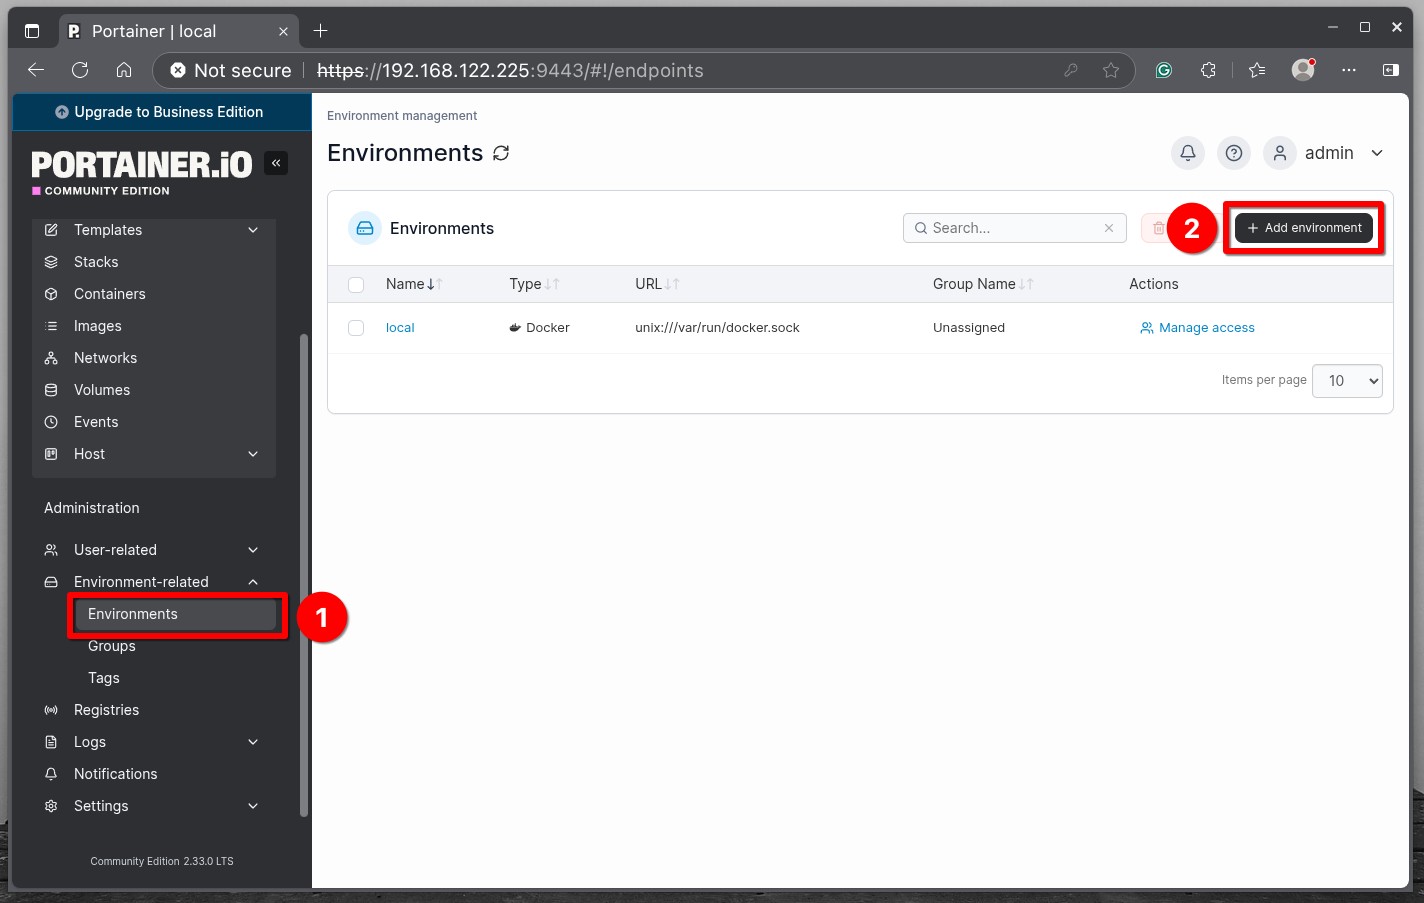
Make sure port 9001 is open and that the machine running Portainer can access it. Then, switch back to Portainer, and from the left menu, choose “Environment-related” -> “Environments,” then click on the “Add environment” button.
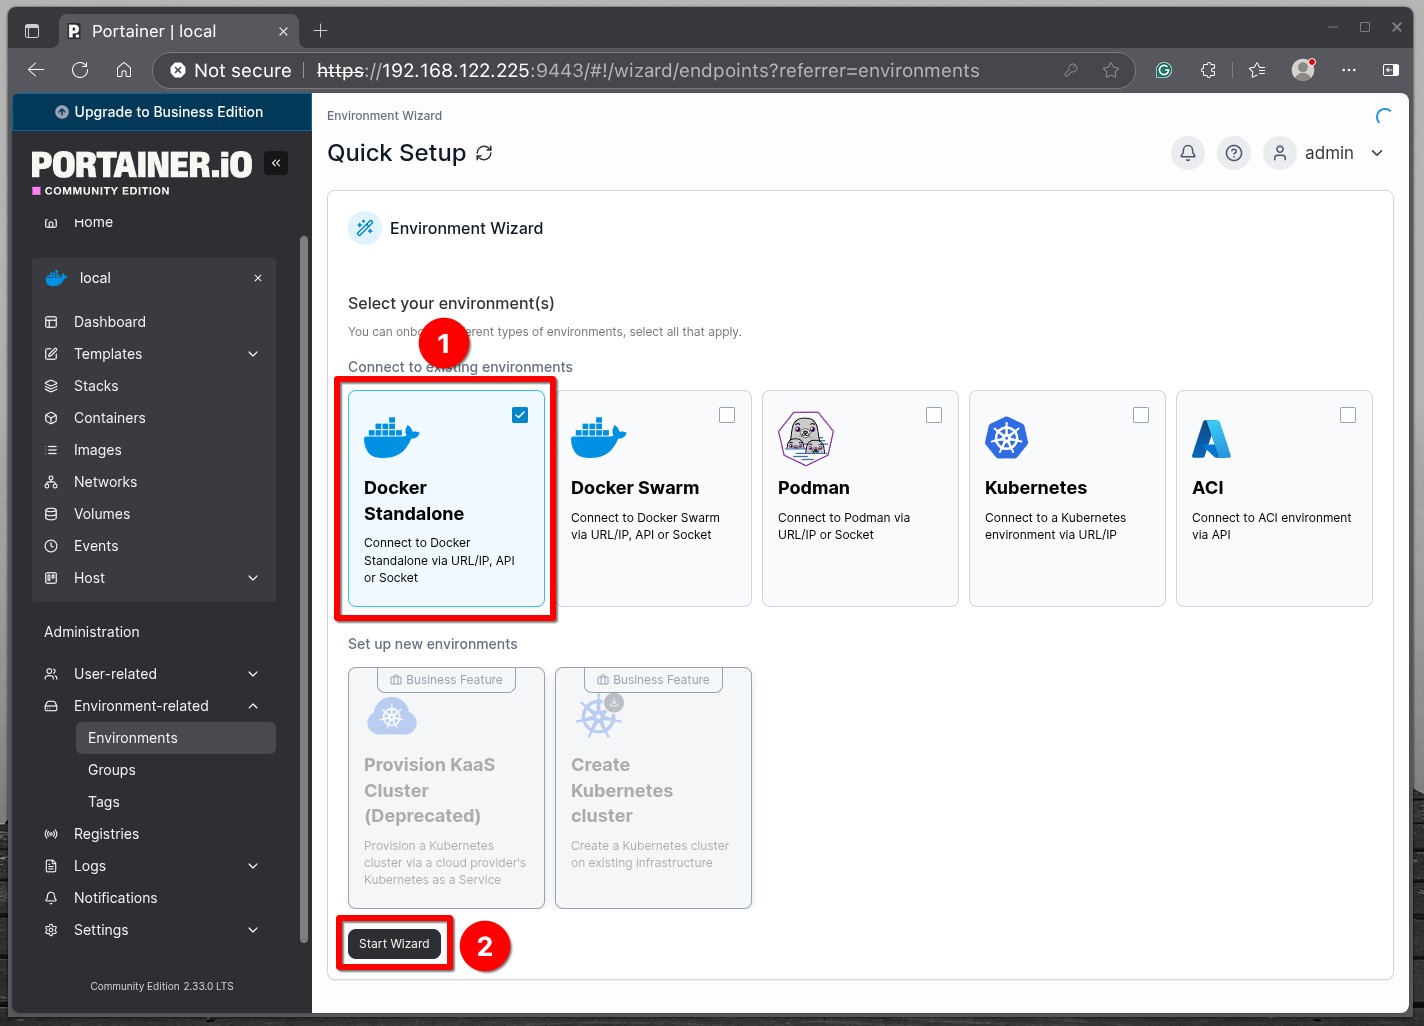
Choose “Docker Standalone” and hit “Start Wizard.”
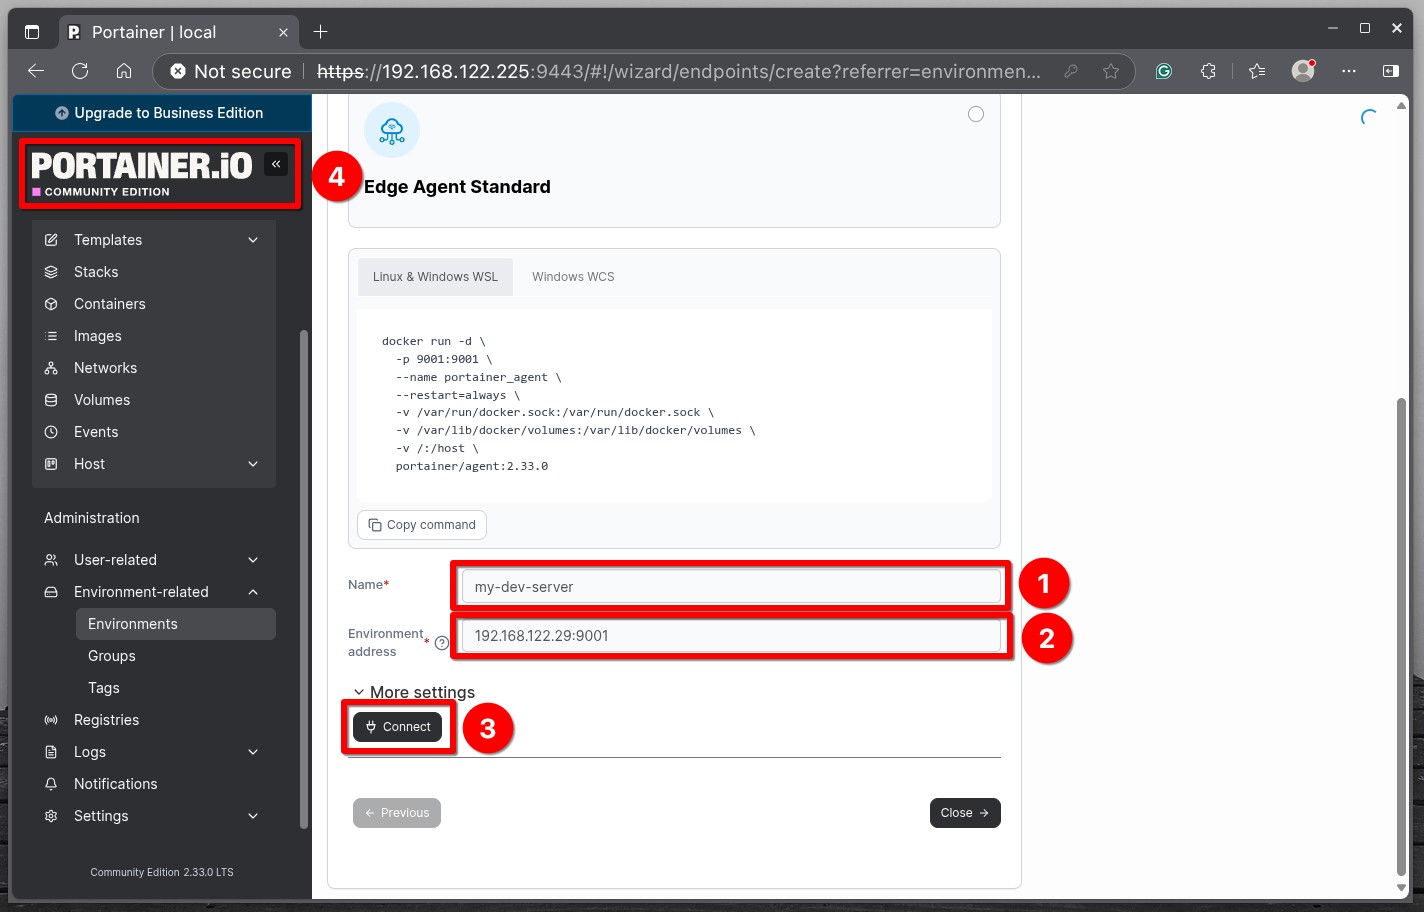
In the “Name” field, specify a name for the remote Docker environment. Next, enter the server’s IP address followed by “:9001” in the “Environment address” field. Finally, click the “Connect” button.
You should receive a message that the connection was successful. To return to the Portainer’s dashboard, click on the logo in the upper left corner.
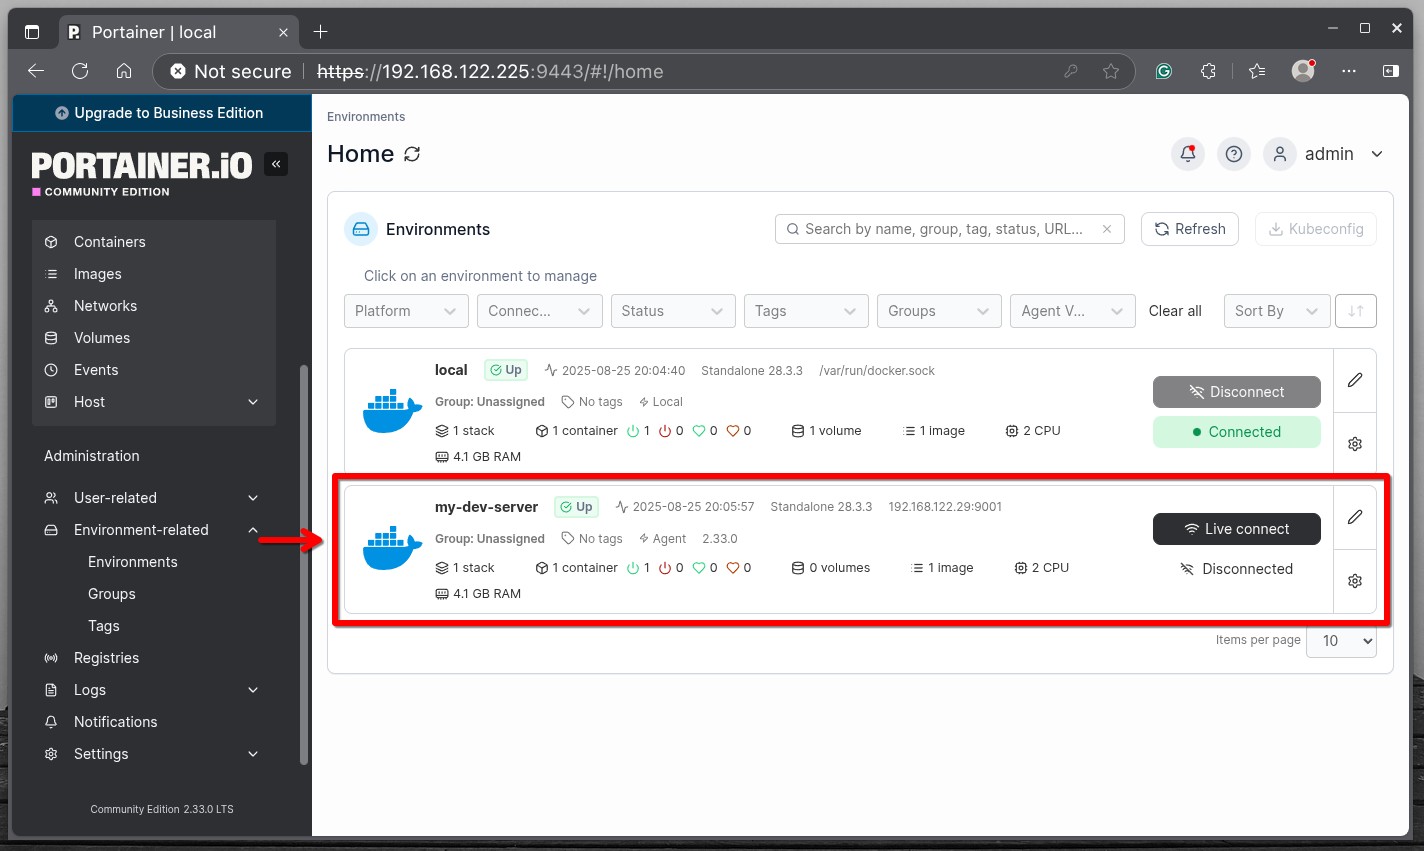
The newly added remote Docker environment is now on the list of available ones. Click on it.
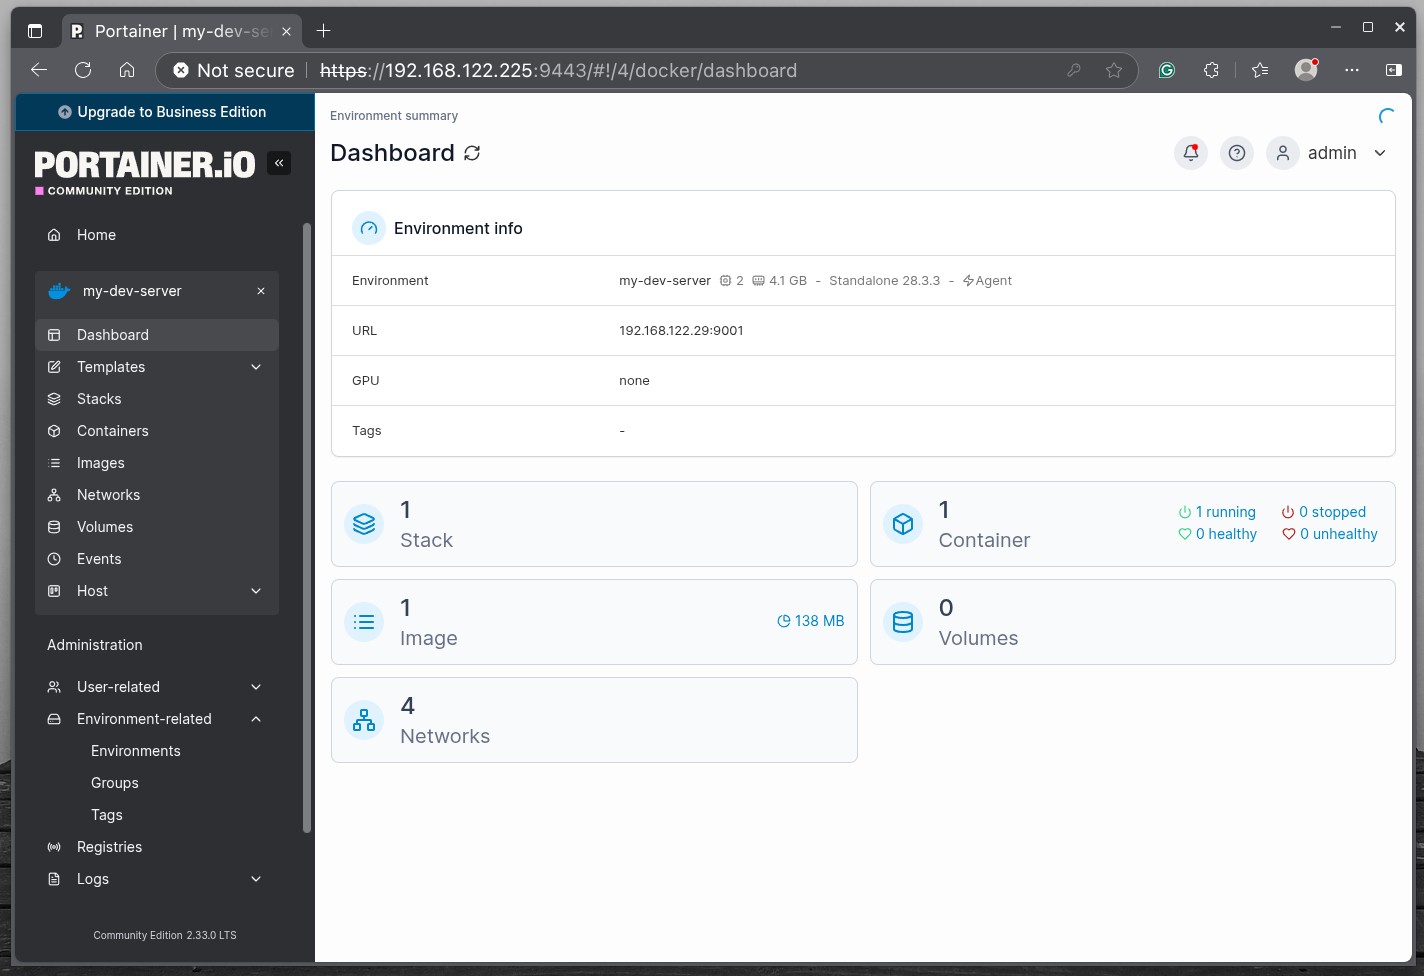
You can now manage your remote Docker environment through Portainer, just like your local one.
Conclusion
The installation and usage of Portainer to manage Docker containers provides a powerful and user-friendly solution for efficiently managing containerized applications, making it an ideal tool for individuals and organizations of all sizes.
For additional help or useful information, we recommend you check the official Portainer documentation or visit the project’s website.
Thanks for your time! I hope you find this guide helpful. As always, your feedback and comments are most welcome.