Nowadays, Docker is the de facto standard for packaging, distributing, and running applications in lightweight, portable containers. As the free RHEL replacement, AlmaLinux promises a stable, enterprise-grade platform.
Pairing Docker with Alma gives you one of the most reliable platforms for all your containerization needs—whether you’re a self-hosting enthusiast or part of a team at a large enterprise.
In this guide, I’ll walk you through the Docker installation process on AlmaLinux 10. Follow the steps, and in just a few minutes, you’ll have everything up and running smoothly, ready to build, ship, and easily run your containers.
Install Docker on AlmaLinux 10
Step 1: Refresh the Package Base
First, refresh the packages on your Alma system to ensure you’re using the latest software versions available in the distro’s repos. If there are pending updates, apply them.
sudo dnf updateCode language: Bash (bash)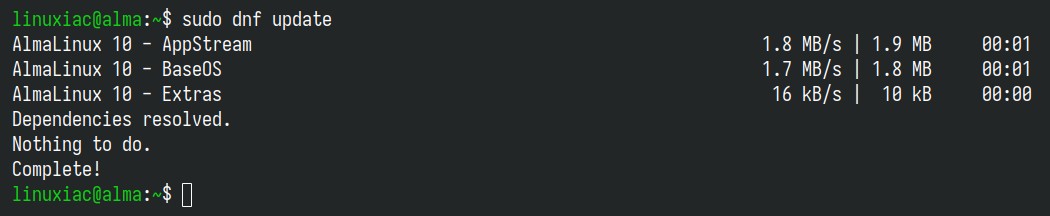
If you’re unsure about using Alma’s DNF package manager, I highly recommend checking out our “DNF Command-Line Package Manager in Linux: A Complete Guide.” Now, back to the topic.
Step 2: Add Docker Repository
Now let’s add the official Docker repository to your AlmaLinux 10 system so you can install and update Docker directly from upstream’s maintained RPM packages.
sudo dnf config-manager --add-repo https://download.docker.com/linux/centos/docker-ce.repoCode language: Bash (bash)
Step 3: Run System Update
Run the system update, which will force your AlmaLinux system to refresh the package metadata for all enabled repositories and the packages available in them.
sudo dnf updateCode language: Bash (bash)
As you can see from the command’s output, the newly added Docker repo is now available under the “Docker CE Stable – x86_64” name. Additionally, you can also use the command below to verify that the Docker repo was properly added:
sudo dnf repolistCode language: Bash (bash)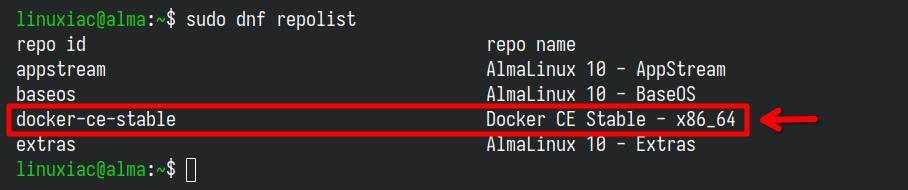
Step 4: Install Docker on AlmaLinux 10
Finally, run the following command to install the latest up-to-date Docker release on AlmaLinux 10.
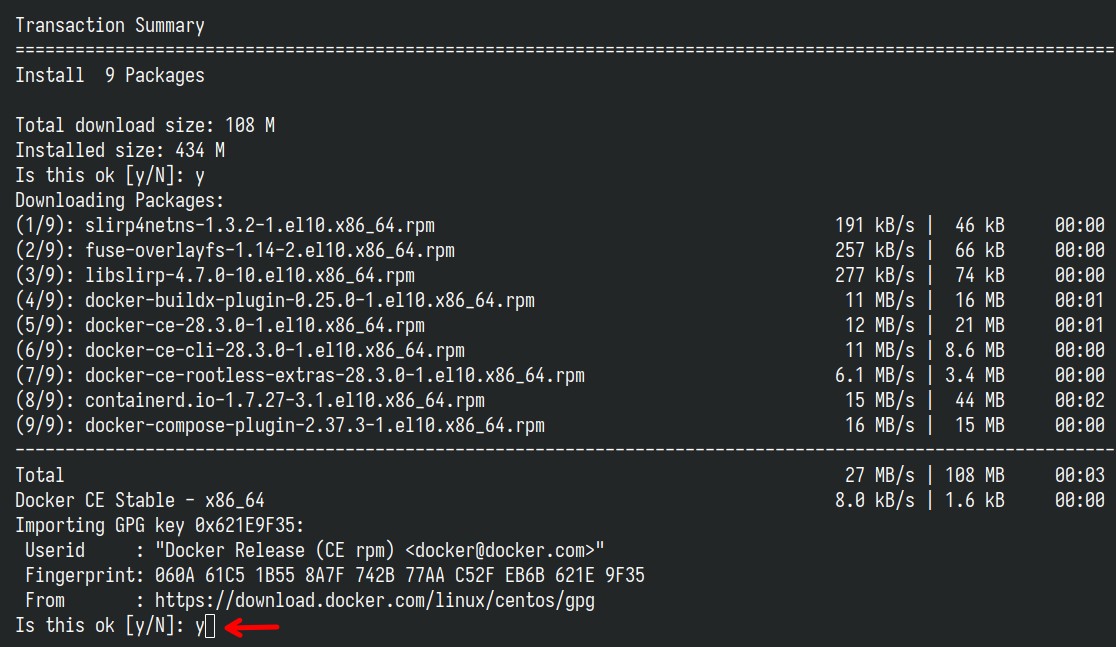
sudo dnf install docker-ce docker-ce-cli containerd.io docker-buildx-plugin docker-compose-pluginCode language: Bash (bash)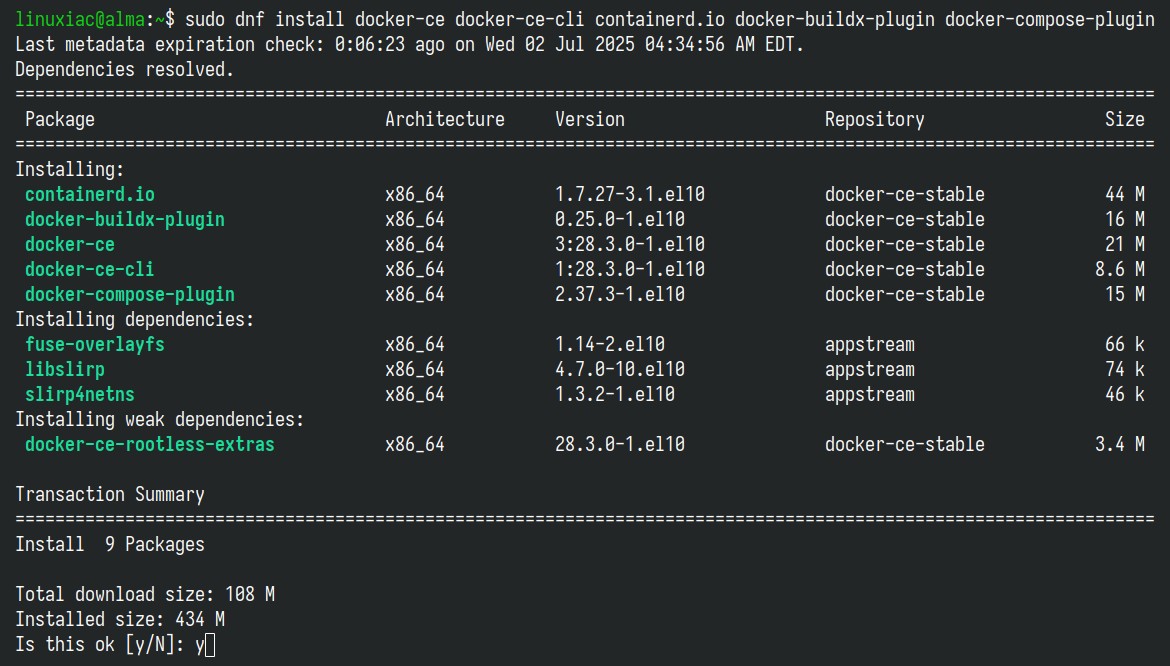
This installs the following Docker components:
- docker-ce: The Docker engine itself.
- docker-ce-cli: A command line tool that lets you talk to the Docker daemon.
- containerd.io: A container runtime that manages the container’s lifecycle.
- docker-buildx-plugin: This extension for Docker enhances the capabilities of building images, mainly focusing on multi-platform builds.
- docker-compose-plugin: A configuration management plugin that helps manage multi-container Docker applications using a single YAML file.
Confirm with “Y.” Next, you will be asked to accept the Docker repo’s GPG key to be imported into your Alma system. Confirm again with “Y.”
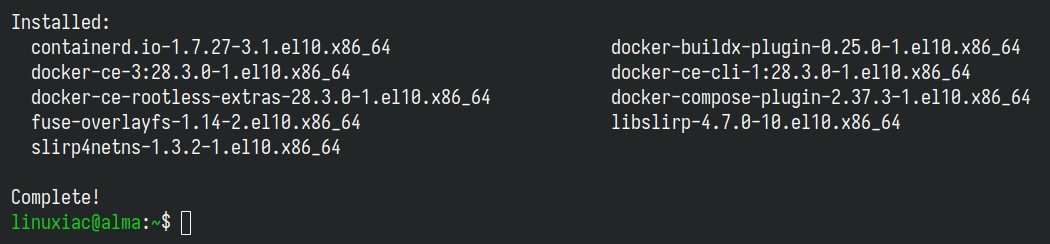
Wait for the installation to finish—it should take no more than 30 seconds.
Step 5: Enable and Start the Docker Service
Now, you can launch the Docker service and configure it to start automatically when the system boots:
sudo systemctl enable --now dockerCode language: Bash (bash)
To confirm that the Docker service has been enabled and started, run:
sudo systemctl status dockerCode language: Bash (bash)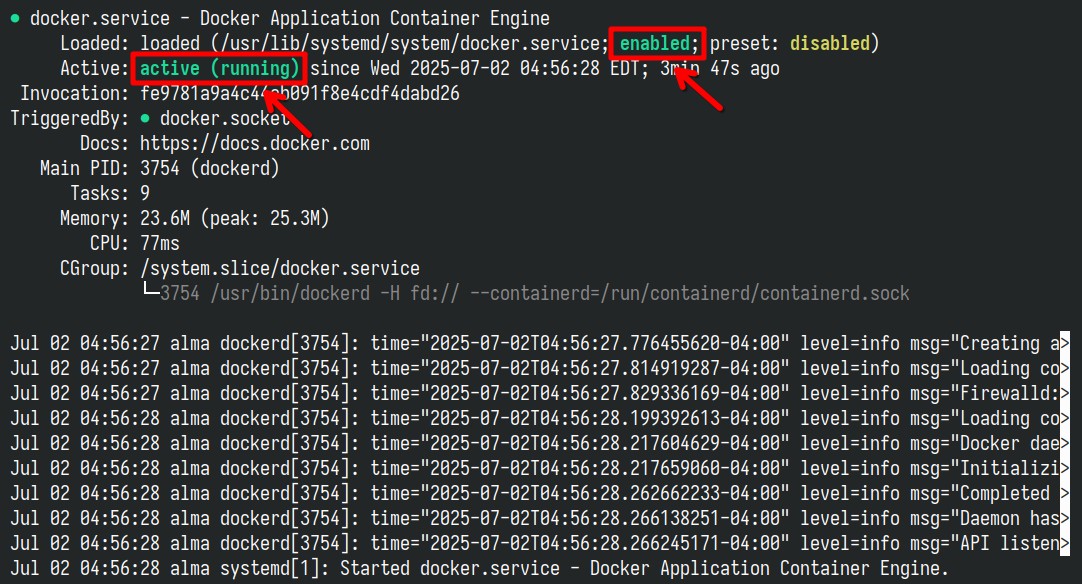
Alternatively, you can use the command below:
sudo systemctl is-active dockerCode language: Bash (bash)
Step 6: Verify Installation
We come to the most exciting part. Let’s test if our new Docker installation works correctly by running a simple containerized application called “hello-world.”
sudo docker run hello-worldCode language: Bash (bash)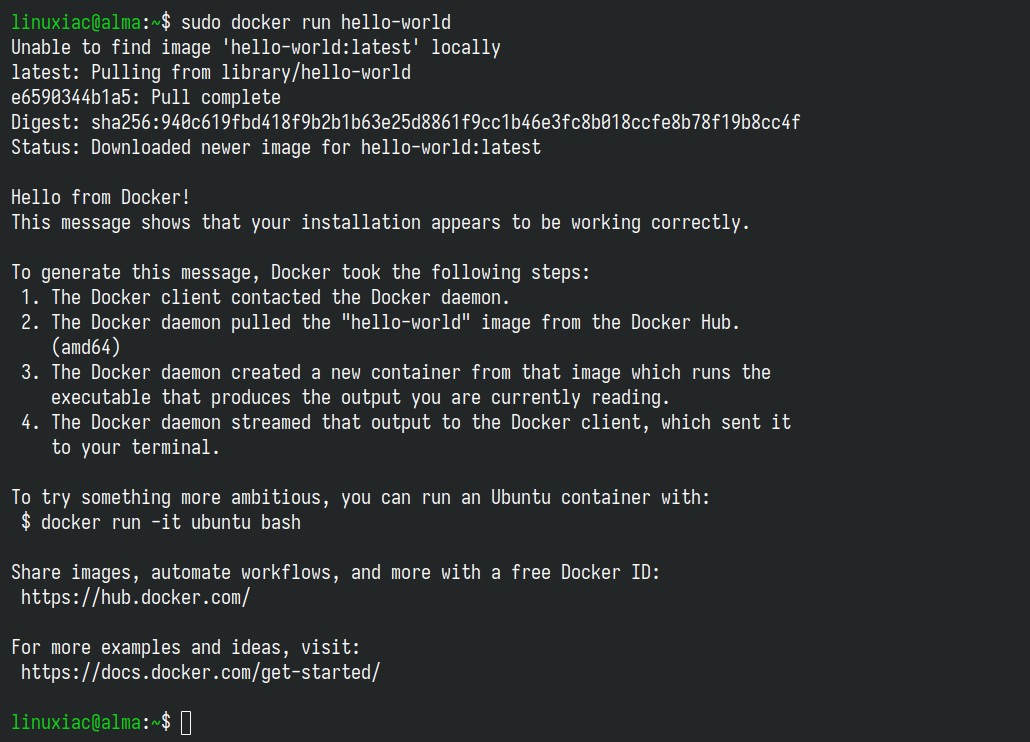
Congratulations! As we can see, everything works properly.
Enabling Non-root Users to Run Docker Commands
We have successfully installed Docker on our AlmaLinux 10 system so far. However, only root and users with sudo privileges can execute Docker commands by default.
In other words, if you attempt to run the docker command without prefixing it with sudo, you’ll get an error message like this:

But there is no room for worries. To run Docker commands as a non-root user, you must first add your user to the “docker” group. It is a simple task. To do that, type in the following:
sudo usermod -aG docker ${USER}Code language: Bash (bash)In the above command, “${USER}” is a system environment variable that contains your username. Then, run the following command to activate the changes to the group:
newgrp dockerCode language: Bash (bash)You can then execute docker commands without prefixing them with sudo.

Remember that this temporary solution will work only for your current terminal session. In other words, if you close the terminal, you will either have to execute the newgrp command above again or prefix docker commands with sudo. To make this change system-wide and to last permanently, restart your AlmaLinux system.
Conclusion
As you can see, installing Docker on AlmaLinux 10 is an easy task with the right guidance. You’re now ready to containerize applications and fully take advantage of Docker’s efficiencies and portability.
To learn more about Docker, check out its official documentation. Additionally, we recommend our detailed guide to expanding your skills with Docker and learning how to run and manage multi-container applications using Docker Compose.
If you encounter any issues or have questions, let me know in the comments section below. Thank you for following this tutorial, and happy Dockerizing!