We all know that a stable and fast internet connection is essential for everything from streaming to remote work. However, internet speeds can fluctuate, and (sometimes) service providers don’t always deliver the performance they promise.
That’s where Speedtest Tracker comes in—a powerful self-hosted tool (written in PHP) that allows you to monitor your internet speed over time, log test results, and identify trends in your connection quality.
The way the application works is pretty straightforward—you set time intervals, and Speedtest Tracker uses the closest Ookla Speedtest servers to measure your internet speed in real time. It captures both download and upload speeds, ping, jitter, etc., logs the results, and displays them in a sleek, easy-to-read dashboard.
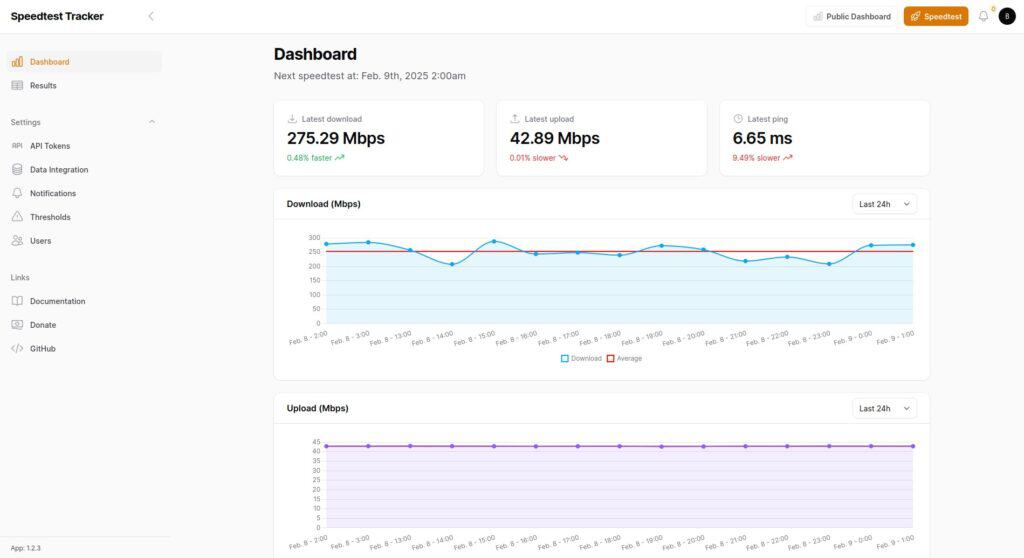
In this guide, I’ll walk you through the step-by-step process of installing Speedtest Tracker using Docker, making it easy to deploy and manage without complex configurations. So, let’s get started.
Prerequisites
Before proceeding with the installation, ensure you have Docker installed on your system. If you don’t have it, the following guides will help you quickly install it.
Just pick the distribution you are using: Ubuntu 24.04, Debian 12, Arch, Alma/Rocky, Fedora, Linux Mint 22, Pop!_OS 22.04, or Raspberry Pi OS, and follow the steps to install Docker.
The other essential component is Docker Compose. Recent Docker versions now include Docker Compose by installing the “docker-compose-plugin” package. So, install it if it’s not already in your setup.
As another option, you can also get it separately using both commands below. In that case, remember, when running the tool, to type docker-compose instead of docker compose.
sudo curl -L "https://github.com/docker/compose/releases/latest/download/docker-compose-linux-$(uname -m)" -o /usr/local/bin/docker-compose
sudo chmod +x /usr/local/bin/docker-composeCode language: Bash (bash)
To be clear, Docker Compose only works if you already have Docker installed and running.
How to Install Speedtest Tracker with Docker
With everything we need already at hand, the first step is to create the project directory in which our Docker Compose deployment file will be placed. Then switch to it; from here on, you need to execute all commands further down in this guide from that location.
mkdir speedtest
cd speedtestCode language: Bash (bash)
Next, create a “docker-compose.yml” file, like a blueprint for our Docker setup. This file will define the services, volumes, ports, etc., telling Docker Compose what to do and how to set up the Speedtest Tracker container.
nano docker-compose.ymlCode language: Bash (bash)services:
speedtest-tracker:
image: lscr.io/linuxserver/speedtest-tracker:latest
restart: unless-stopped
container_name: speedtest
ports:
- 8080:80
environment:
- PUID=1000
- PGID=1000
- APP_KEY=<YOUR-APP-KEY-HERE>
- SPEEDTEST_SCHEDULE="0 * * * *"
- DISPLAY_TIMEZONE=America/New_York
volumes:
- ./speedtest:/configCode language: YAML (yaml)As you can see, the Docker deployment is pretty simple. The last three lines in the “environment” section are the key to focus on, so let me break them down for you.
For “APP_KEY,” you’ll need to replace “<YOUR-APP-KEY-HERE>” with a base64-encoded string. Speedtest Tracker uses this key to encrypt and decrypt data, such as user sessions and other sensitive information. To generate one yourself, just run the command below and copy the output as the value for “APP_KEY.”
echo -n 'base64:'; openssl rand -base64 32;Code language: Bash (bash)
Here’s what the final version of the line will look like:
- APP_KEY=base64:iZEBvPkqmwN3j7oiEsEjxk+fzeRI2VSfNJbpXDhG1sk=Code language: YAML (yaml)The next setting—and probably the most important one—is “SPEEDTEST_SCHEDULE.” This controls how often the app automatically tests your internet connection’s speed. It uses the same scheduling syntax as the CRON daemon.
In our deployment above, I’ve set it to run every hour (“0 * * * *“). But of course, you can adjust it to fit your needs, for example, every half hour (“*/30 * * * *“), or say every six hours (“0 */6 * * *“). It’s all up to your preferences.
If you’re unsure about the exact syntax, don’t worry—we’ve got you covered. Check out our detailed guide, “How to Use Cron on Linux,” which will help you get up to speed in no time.
For the last option, “DISPLAY_TIMEZONE,” set it to your actual one. This ensures that timestamps are shown in your local time. If you have doubts about the correct spelling, check this link for a full list of available time zones.
One more useful option to consider—though I don’t use it—is the ability to set a time limit for how long your recorded internet speed statistics are stored before older ones get deleted. So, if you’d like to keep data only for a certain number of days, say the last 30, you can add the following to the “environment” section of your Docker Compose deployment:
- PRUNE_RESULTS_OLDER_THAN=30Code language: YAML (yaml)For a complete list of all the available options in Speedtest Tracker, check it out here.
Finally, just a quick clarification—as you can see, the application runs on the host’s port 8080. Since many containerized applications commonly use this port, you might run into an error if something else is already using it. If that happens, just update the port mapping in your Compose file and switch it to any available one, for example, 8181, and you’re good to go.
ports:
  - 8181:80Code language: CSS (css)
Now, everything is in place, so let’s run our Docker Compose deployment in the background (detached mode):
docker compose up -dCode language: Bash (bash)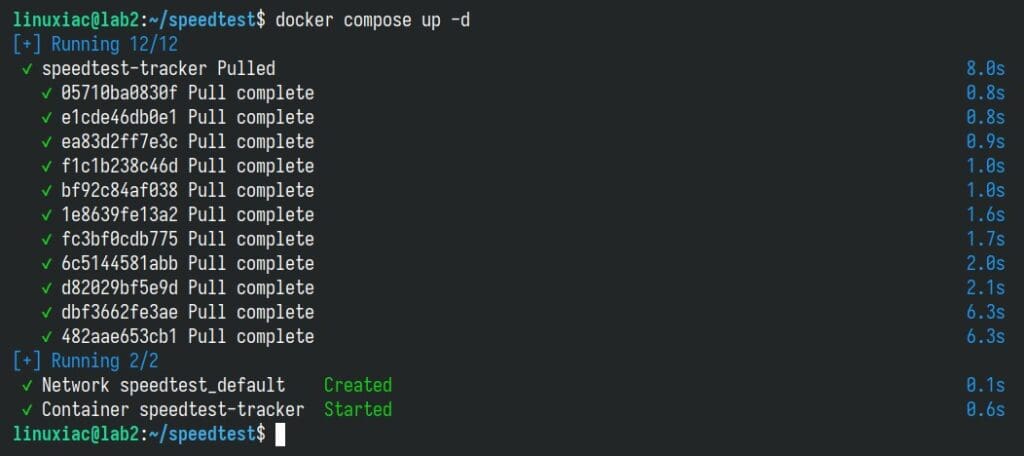
So far, so good. Now, let’s move to the most exciting part. Open your browser and navigate to “http://localhost:8080” (if you access Speedtest Tracker from the same host) or “http://<server-ip-address>:8080“ (if you access it remotely). Of course, replace the “<server-ip-address>” part with your actual server’s IP address.
Just to mention, if, for some reason, something goes wrong, you can easily figure out what happened by checking the container log with this simple Docker command:
docker logs speedtestCode language: Bash (bash)When accessing Speedtest Tracker for the first time, enter the app’s default username & password (shown below), then hit the “Sign in” button:
- Username: admin@example.com
- Password: password
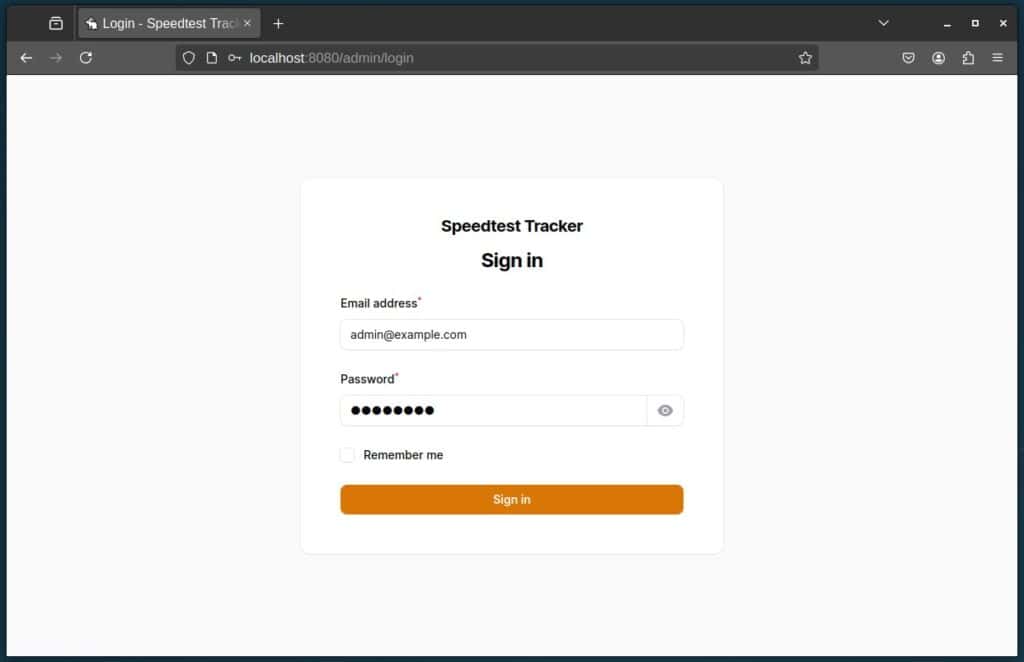
I recommend changing the default username and password as your first step. To do this, click on your avatar in the top right corner of Speedtest Tracker, then select “Profile” from the menu that appears.
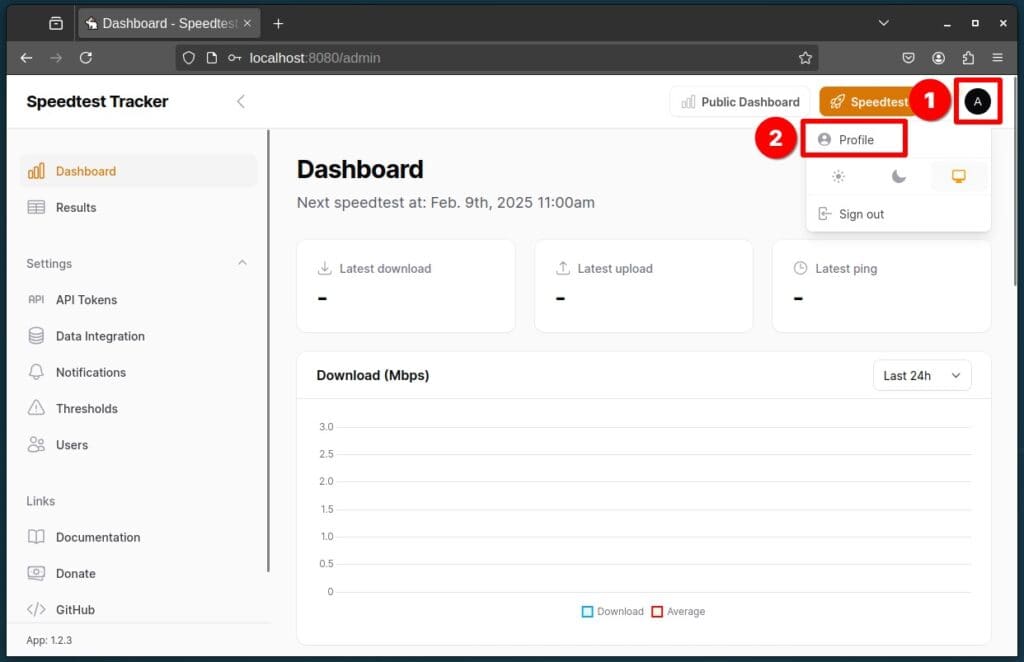
Enter your preferred new ones (your password must be at least eight characters long) and click the “Save changes” button to confirm.
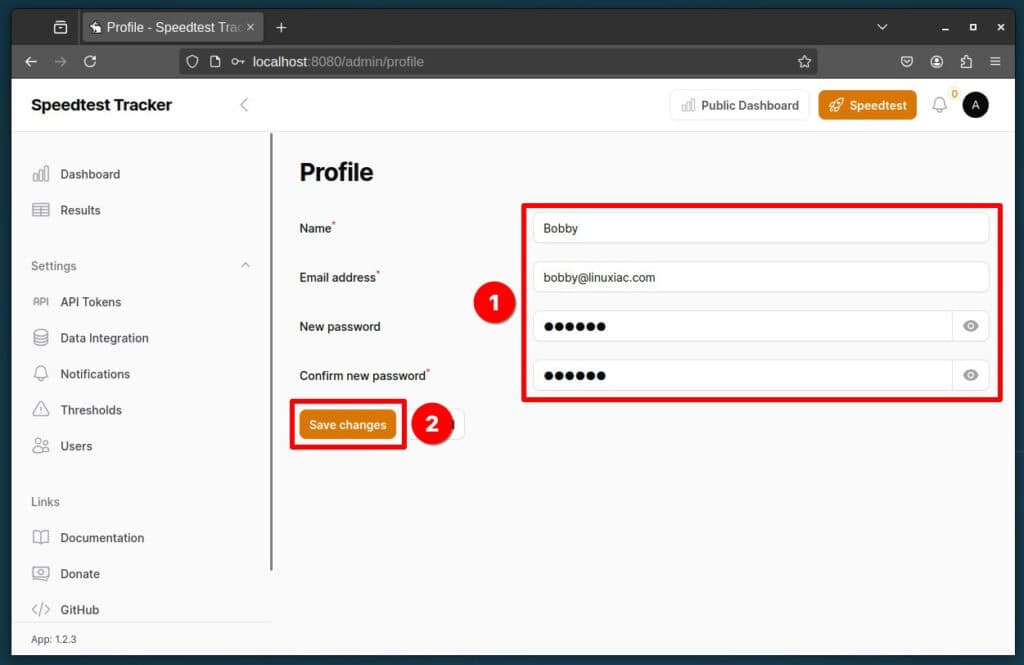
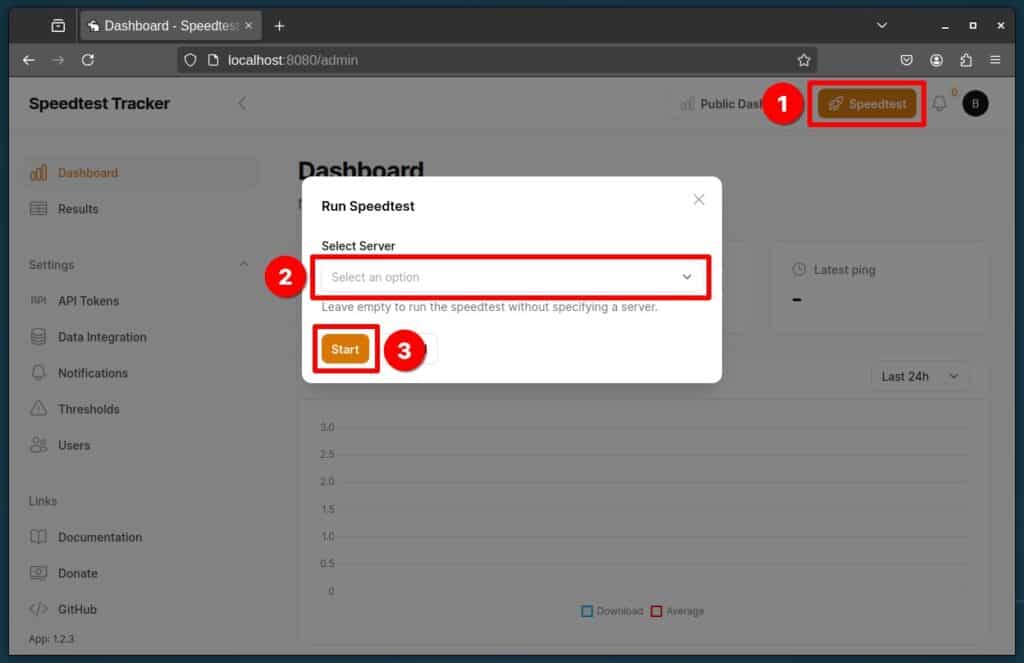
And that’s it. Wait for the interval you set to pass, and the first measurement will appear on the dashboard. If you don’t want to wait, you can start a test right away—click the “Speedtest” button in the top right, pick a server from the “Select Server” dropdown menu, and hit “Start.”
Conclusion
From now on, you’ve got a reliable tool to monitor your internet speed and keep tabs on what your ISP is delivering. But of course, Speedtest Tracker isn’t the only option out there.
MySpeed is another great alternative, and if you’d rather go with that, our guide will walk you through the setup in no time.
For more detailed information about Speedtest Tracker, I strongly recommend checking the official documentation or visiting the project’s GitHub page.
Lastly, if you consider your service to be accessed via the internet, ensure it’s available via a secure HTTPS connection. You can do this by putting the Speedtest Tracker app behind a reverse proxy like Nginx, Nginx Proxy Manager, Caddy, Traefik, HAProxy, or any other option you prefer.
I hope this guide was helpful. If you have any questions or feedback, feel free to comment below.

All working well.
When I log in it says “Update Available”
How do I update please???
Hi Janson,
Just enter the directory where your docker-compose.yml file is located and run:
docker compose down --rmi alldocker compose up -dThis stops your deployment, removes the existing Docker image, and then pulls the updated one if a newer version is available.
Many thanks
Okay, I monitored my speed and it's slow. What can I do about it?
you could upgrade your equipment if that is the reason its slow or find a new faster internet company if that is a option or you could also make sure there are no issues with fiber cables or cable lines depending on what you use or you could check wifi make sure fastest options are in use and that there are no issues with signal by just doing some generic or basic test to see if anything improves. they make wifi 7 routers now. using a Ethernet cord directly into router should be faster then wifi. i just made my mini pc faster by upgrading its wifi bluetooth internal card.