
WordPress is the most popular CMS (Content Management System) globally, built on a MySQL database and powered by PHP.
However, setting up a local WordPress installation involves multiple steps and can be time-consuming. Usually, you need to set up a local web server, configure the server to execute PHP code, and set up a MySQL database.
But there’s an easier way, which I’ll show you in this guide. Namely, to set up a WordPress environment using Docker containers.
1. Install Docker Compose
When using Docker extensively, managing multiple containers may become cumbersome. Docker Compose is a tool that solves that, allowing you to easily define and start multi-container applications in Docker.
With Compose, you define all services in a single YAML file and, with a single command, spin everything up or tear it all down.
In this tutorial, we will run two containers (WordPress and MySQL) in an isolated containerized environment using Docker Compose.
Now let me show you how to install the latest version of Docker Compose to help you manage multi-container applications.
First, check the current release and, if necessary, update it in the command below:
sudo curl -L "https://github.com/docker/compose/releases/download/v5.2.0/docker-compose-$(uname -s)-$(uname -m)" -o /usr/bin/docker-composeCode language: Bash (bash)Then apply executable permissions to the binary:
sudo chmod +x /usr/bin/docker-composeCode language: Bash (bash)Finally, you can verify that the installation was successful by checking the version:
docker-compose --versionCode language: Bash (bash)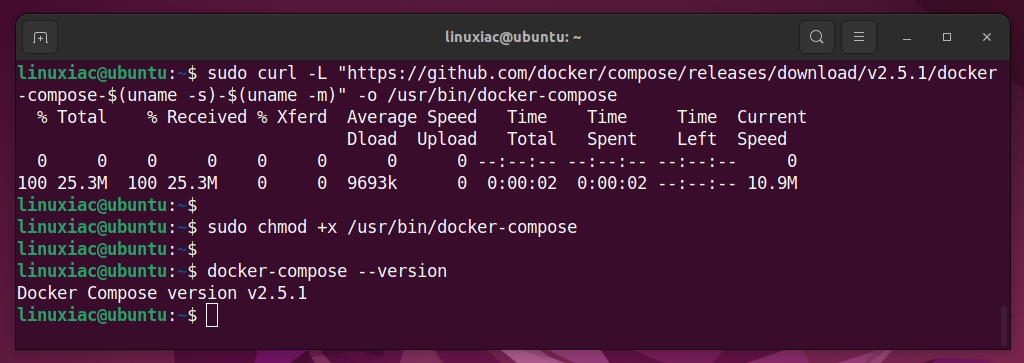
For more information on Docker Compose, refer to the official documentation.
2. Prepare Directory
You need to create a new directory called wordpress under /srv to house the WordPress data. This way, we achieve a certain data persistence.
sudo mkdir -p /srv/wordpress
cd /srv/wordpress/Code language: Bash (bash)
As you know, the data in the Docker containers is not persistent. This means you lose all data when you stop and restart the container. Fortunately, this can be avoided by adding a Docker volume, as you’ll see later in this tutorial.
3. Creating the YAML File
In the Docker Compose realm, all the resources needed to run a container must be defined in a YAML file named docker-compose.yaml.
Docker Compose will then read such files and communicate with the Docker daemon to create, configure, or destroy the defined resources.
In our case, the docker-compose.yaml file will contain the service definitions for our dockerized WordPress setup.
In addition, Docker Compose allows us to link these services together with shared networks and volumes.
So let’s start with creating a new docker-compose.yaml file inside the /srv/wordpress directory with an editor of your choice.
sudo vim docker-compose.yamlCode language: Bash (bash)Populate it with this config:
services:
  mysql:
    image: mysql:latest
    restart: always
    environment:
      MYSQL_ROOT_PASSWORD: my_password
      MYSQL_DATABASE: wordpress
      MYSQL_USER: wordpress_user
      MYSQL_PASSWORD: wordpress_password
    volumes:
      - mysql_data:/var/lib/mysql
  wordpress:
    image: wordpress:latest
    depends_on:
      - mysql
    ports:
      - 8080:80
    restart: always
    environment:
      WORDPRESS_DB_HOST: mysql:3306
      WORDPRESS_DB_USER: wordpress_user
      WORDPRESS_DB_PASSWORD: wordpress_password
    volumes:
      - ./wp-content:/var/www/html/wp-content
volumes:
  mysql_data:Code language: YAML (yaml)
A little bit of explanation here:
- We define two services,
mysqlandwordpress, that are automatically linked with each other. - They use a Docker image that determines which versions of MySQL and WordPress to use. In this case, their latest versions.
- MySQL environment: WordPress will use these environment variables to connect to the MySQL container.
- WordPress environment: For a WordPress container to run, you should set the database connectivity details.
- WordPress image is based on Apache, which runs on port
80by default. Map the default Apache port to the port8080of the local computer. - mysql_data: Data flowing into this database will be persisted to a named volume
mysql_dataso that even when you remove the container, the data will still live on your machine and can be mounted again inside a new container.
In addition, the volumes parameter under wordpress is what tells Docker to surface the wp-content directory in the local file system.
So we now have persistent storage for parts of our WordPress site, such as the wp-content directory. The wp-content contains all user-supplied content. So basically, anything you can upload to your site ends up here.
However, as long as you have both the database and your wp-content folder, you can always get your site back, even if everything else is lost.
4. Run WordPress with Docker Compose
Now you are ready to run the Docker command to build your local environment. Make sure you are still in the wordpress directory. Run the following command:
sudo docker compose up -dCode language: Bash (bash)The command will begin running scripts, and you should see various “Downloading” and “Waiting” messages appear in the terminal while Docker pulls in the MySQL and WordPress images. This will take a little while to run.
When you keep a close eye on your local file system, you’ll see that the /srv/wordpress/wp-content folder will be created and filled with files and folders after the Docker images have been pulled in.
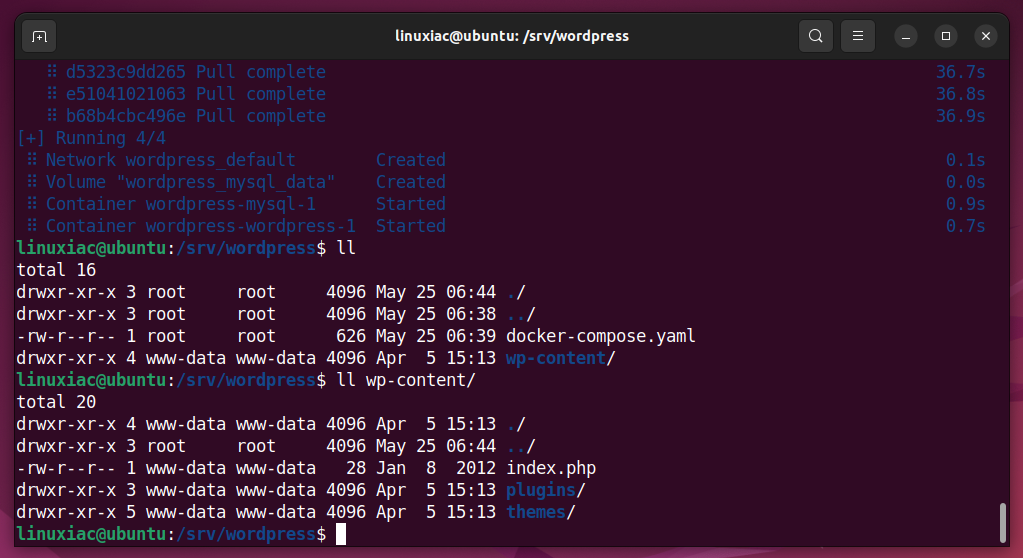
The WordPress installation with a MySQL container and a WordPress container has been successful.
Let me now explain why we made the contents of the wp-content directory permanent, i.e., available outside of the Docker container.
When you install new themes or upload media files like images to your WordPress installation, they are saved in directories under the wp-content directory.
Because, as previously stated, containers do not retain the information stored in them after a restart, these files would be lost if the Docker container is relaunched. This is something we would never want to happen.
So, by moving the wp-content directory outside the Docker container, we ensure that the files within it remain accessible once the container is restarted.
5. Access Your WordPress Installation
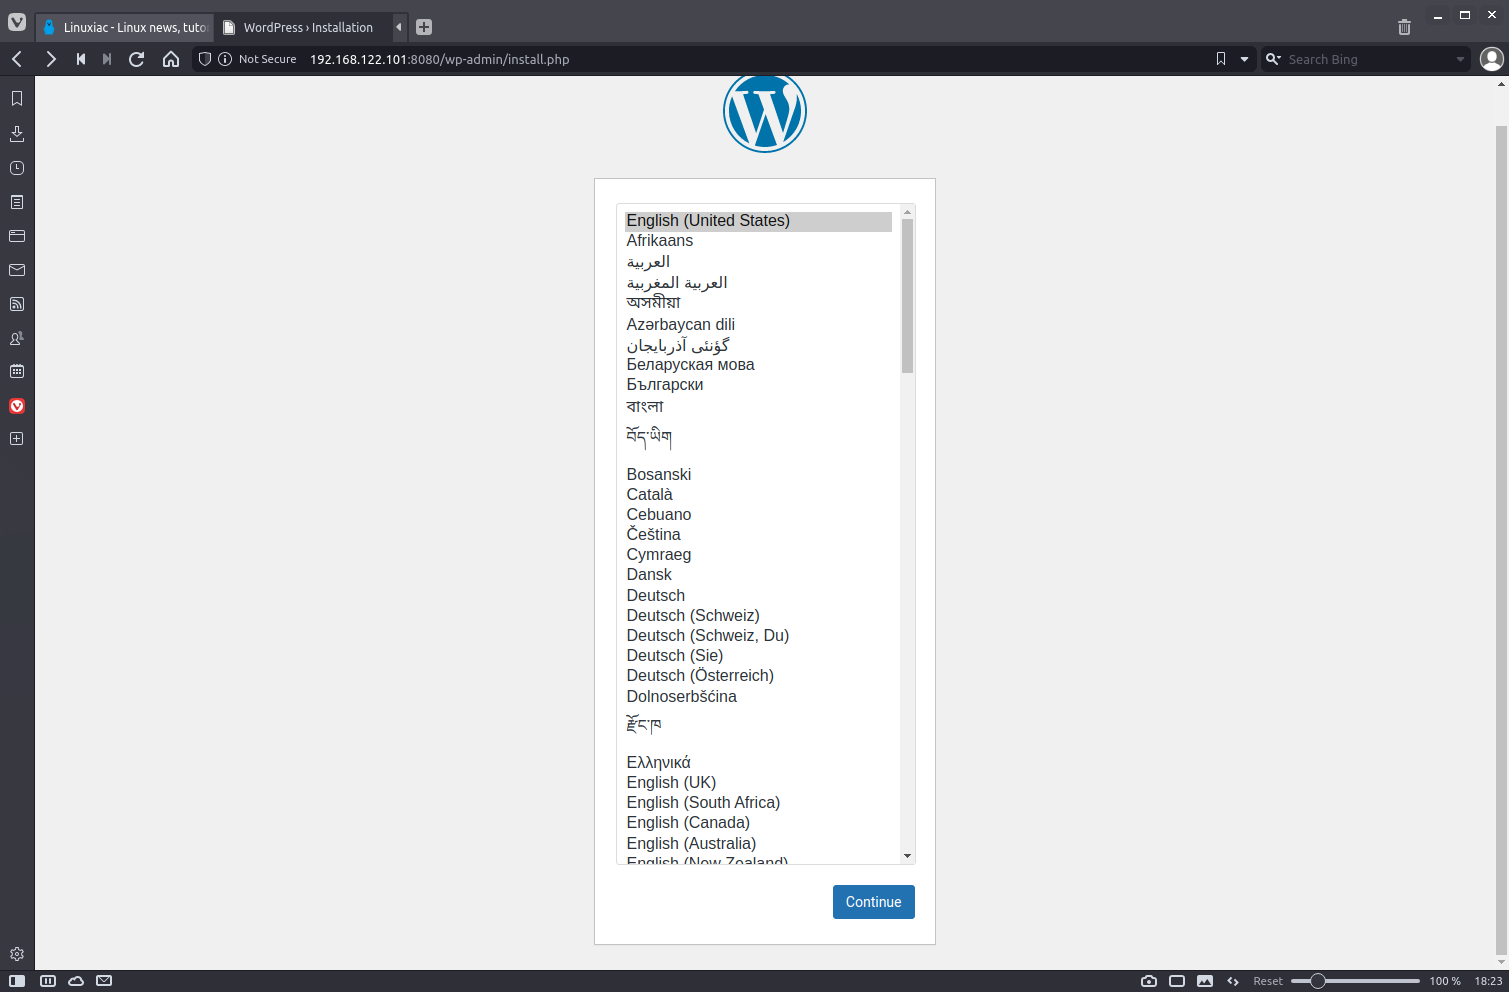
Finally, we can complete the installation through the WordPress web interface while our containers are running. In your web browser, navigate to http://localhost:8080 or http://your_ip_address:8080.
You may need to find out your IP address using the ifconfig command.
The language selection page will greet you. Select your language and click Continue.
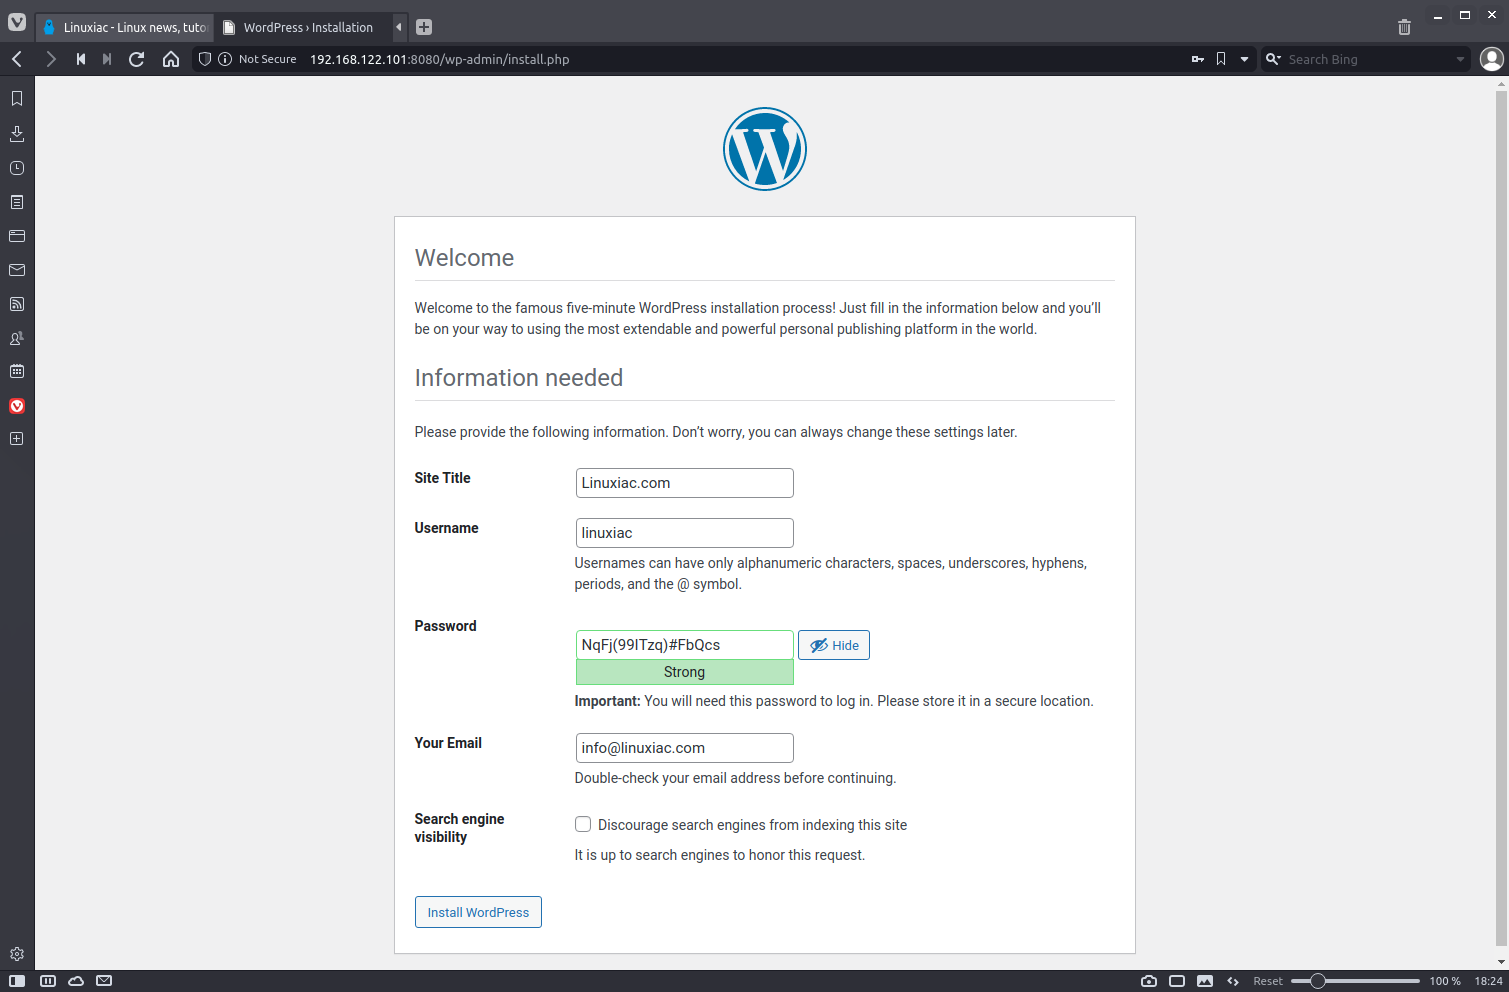
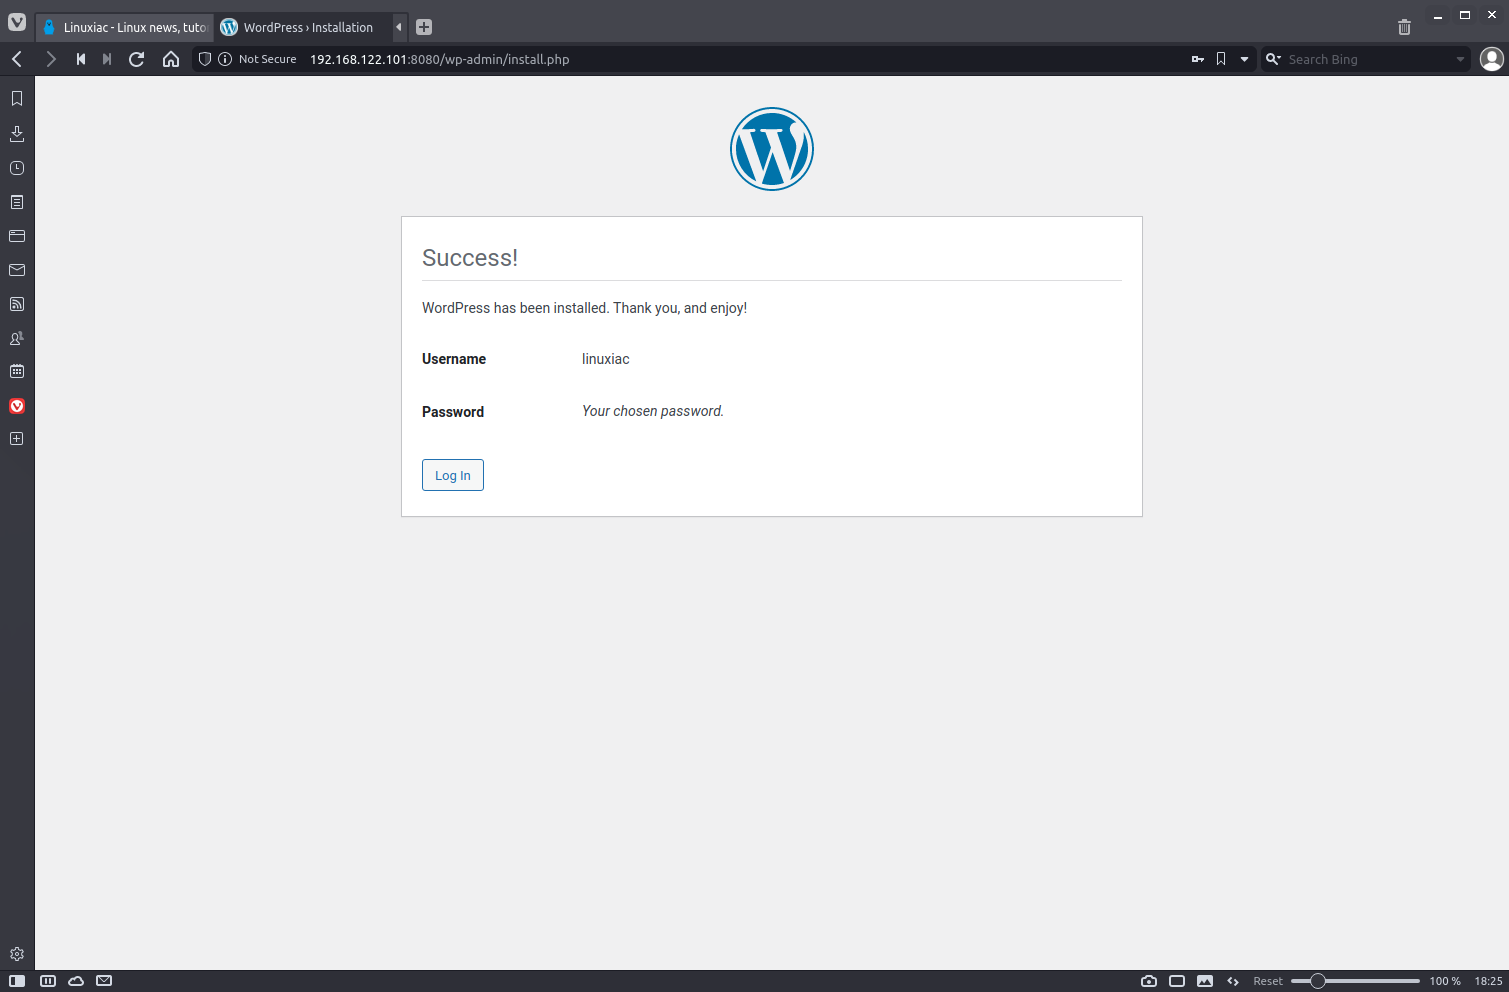
Fill out the required information on the next screen, then click “Install WordPress.”
Finally, when prompted, click Login.
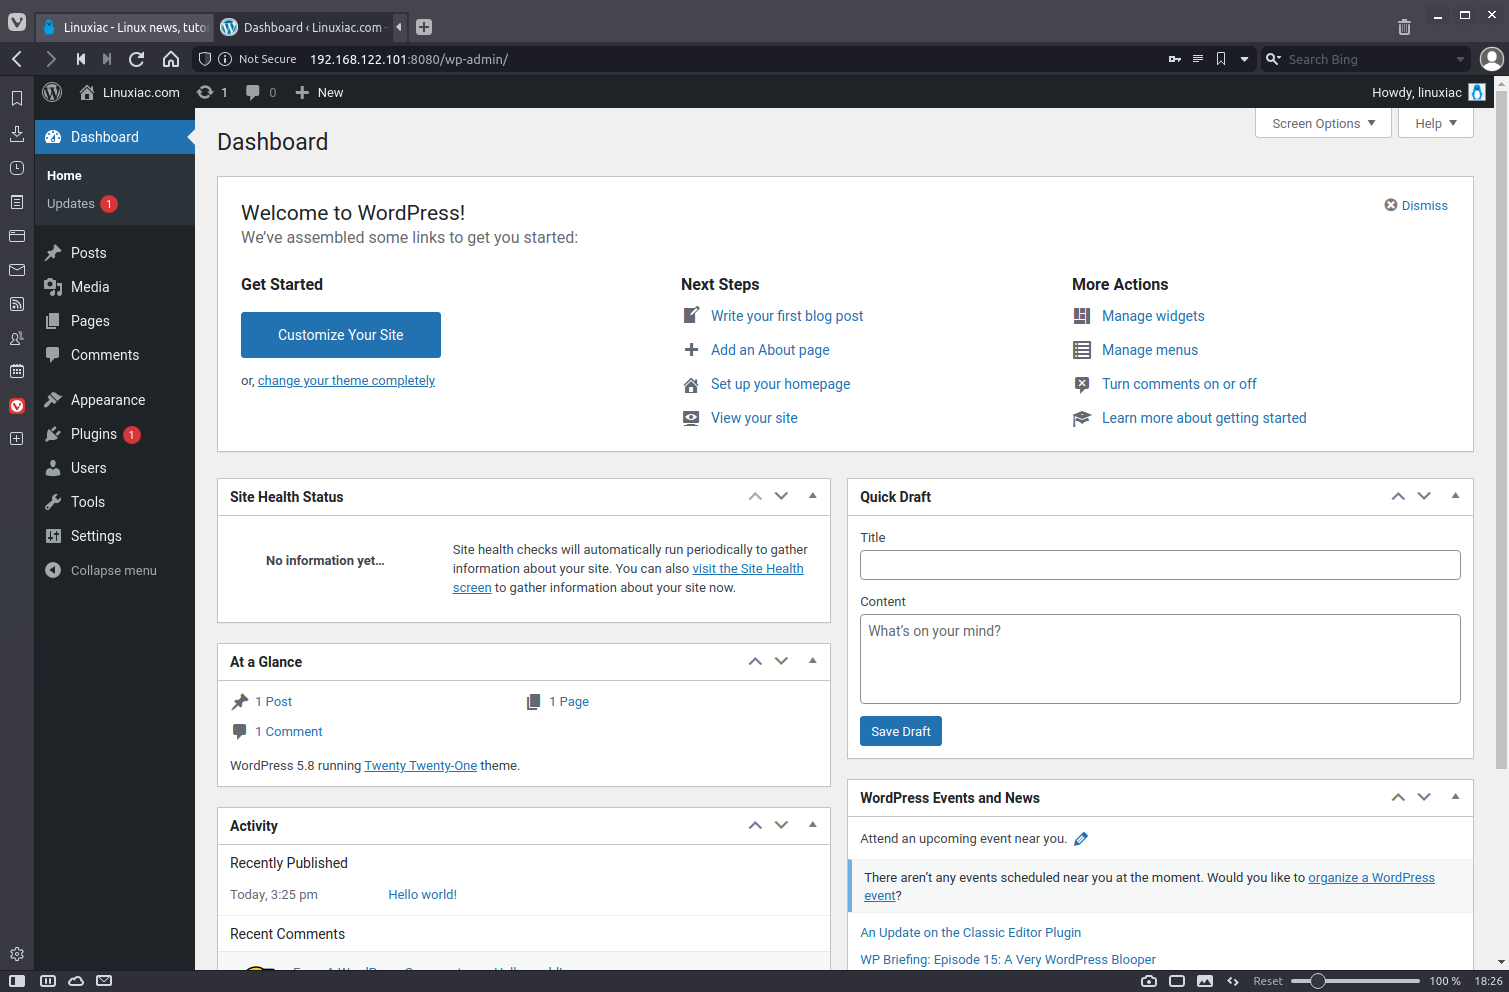
The standard WordPress login screen will then greet you. Once you’ve successfully authenticated, you can start using WordPress.
Additional Docker Compose Options
First, make sure you are in the /srv/wordpress directory.
To view the status of a Docker application, execute the following command:
sudo docker compose psCode language: Bash (bash)You can stop all the running containers by using the following command:
sudo docker compose stopCode language: Bash (bash)To start existing containers that were created with docker-compose up:
sudo docker compose startCode language: Bash (bash)The command shown below will stop and remove containers and all the networks:
sudo docker compose downCode language: Bash (bash)Conclusion
We introduced you to the concept behind Docker Compose, and you should now be able to define even simple multi-container applications.
In this tutorial, you used Docker Compose to install WordPress with Docker. You now have WordPress up and running.
We hope you enjoyed reading this guide. Happy blogging!


The steps all word but when I go to the browser it get a forbidden message and when i go into the folder the /var/www/html is empty
Forbidden
You don’t have permission to access this resource.
Apache/2.4.52 (Debian) Server at localhost Port 8080