
As we informed you earlier, Linux Mint 21 “Vanessa” has been available to all fans of this widely popular Ubuntu-based Linux distribution for some time.
As expected, most users of the previous stable release 20.3 were eagerly waiting for the official Linux Mint upgrading tool to emerge to update to the next version, Linux Mint 21.
Although its version debuted “unofficially” a few days ago, in keeping with our practice of providing our readers with only the best, most thoroughly tested solutions, we waited for the official announcement of the final version of the upgrade tool from the Linux Mint project.
And now, we are pleased to present the proper step-by-step approach, based on official recommendations and best practices, for upgrading your current Linux Mint 20.3 to Linux Mint 21.
So without further ado, let us get down to work.
1. Backing Up Your System
Although many authors fail to mention it, we urge that you never upgrade your operating system without first ensuring that you’ll be on the right side of things if something goes wrong.
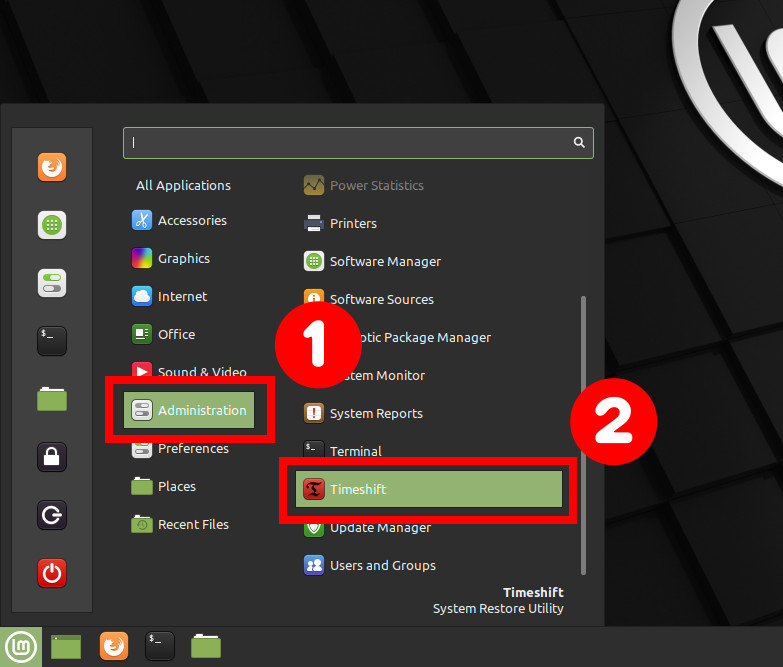
The Timeshift application in Linux Mint is an excellent solution for this. It will take a snapshot of your system, which implies that you can restore your entire system, including its data, to its prior and working state at any time.
So, before upgrading to Linux Mint 21, run Timeshift to take a snapshot of your current Linux Mint 20.3 system.
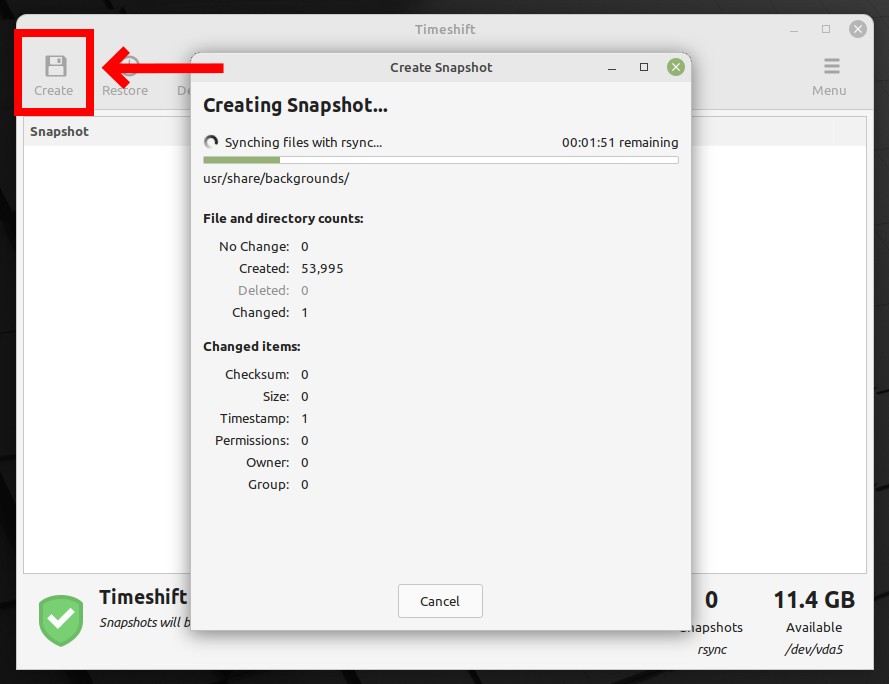
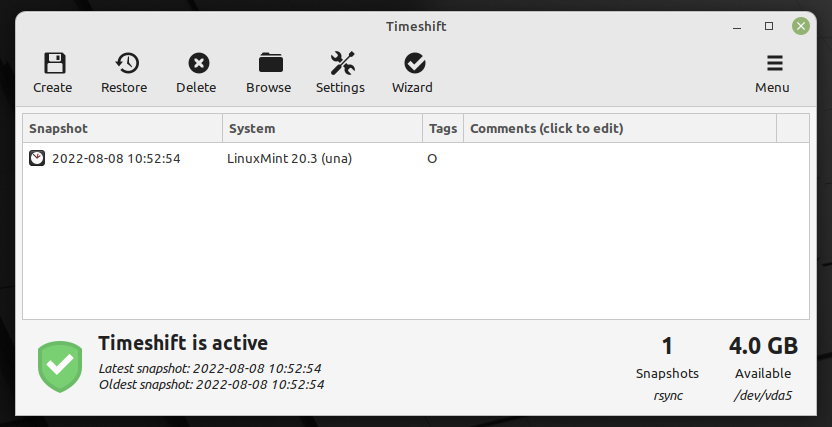
To start creating the snapshot, click the “Create” button. After successfully making the snapshot, you are good to close the Timeshift application.
Alternatively, you can always use a command like the one shown below to archive all of the more important directories and their contents in a single tar.gz archive file.
sudo tar czf /mint20-3.tar.gz \
     --exclude=/mint20-3.tar.gz \
     --exclude=/dev \
     --exclude=/mnt \
     --exclude=/proc \
     --exclude=/sys \
     --exclude=/run \
     --exclude=/tmp \
     --exclude=/media \
     --exclude=/lost+found \
     /Code language: JavaScript (javascript)
Of course, add more --exclude= parameters if you need to. Finally, the command creates a backup of all the files and directories by placing them in the mint20-3.tar.gz archive in the root partition (/).
Then, this file must be transferred to another computer or drive, for example, with the help of the SCP command.
2. Update All Currently Installed Packages
Before upgrading to Linux Mint 21, ensure your current Linux Mint 20.3 system is fully upgraded and has no packages waiting to be updated.
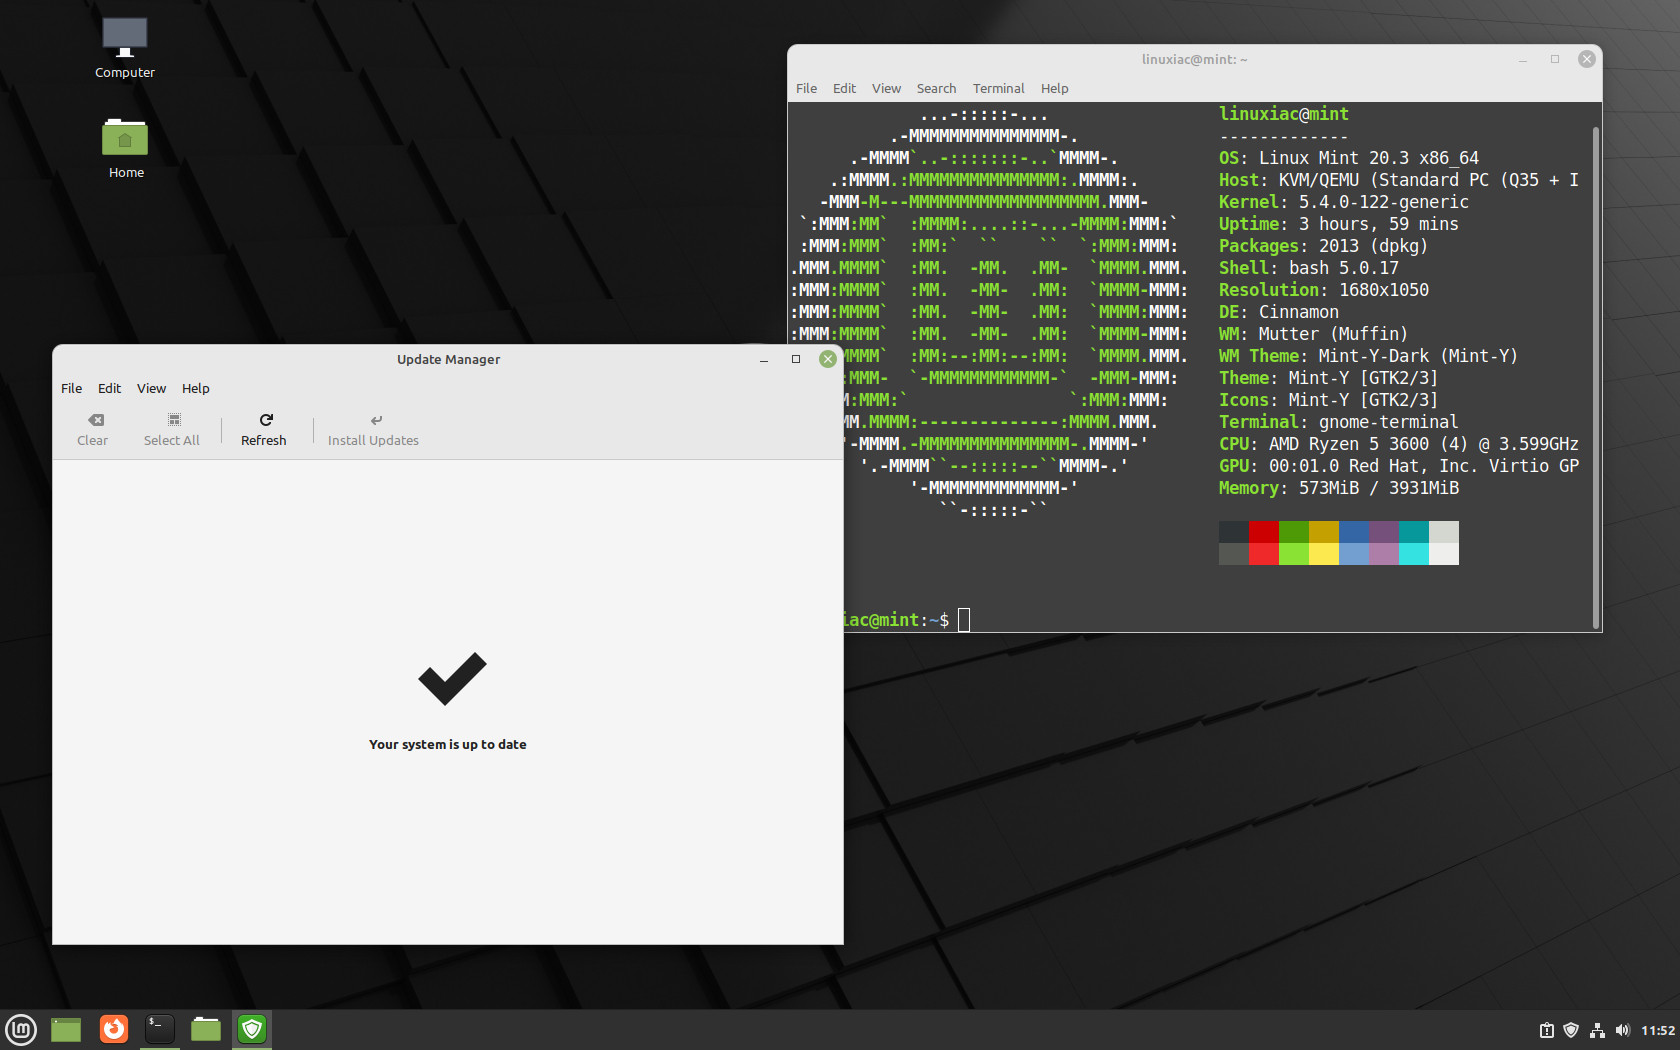
If there are any, install them first, reboot if required, and then proceed to the next step.
3. Install Mintupgrade Tool
To upgrade Linux Mint from 19.3 to 20, you must first install the mintupgrade command-line tool. It is a utility created by the Linux Mint team to let you upgrade from one version of Linux Mint to another.
To install it, run the following command in the terminal:
sudo apt install mintupgrade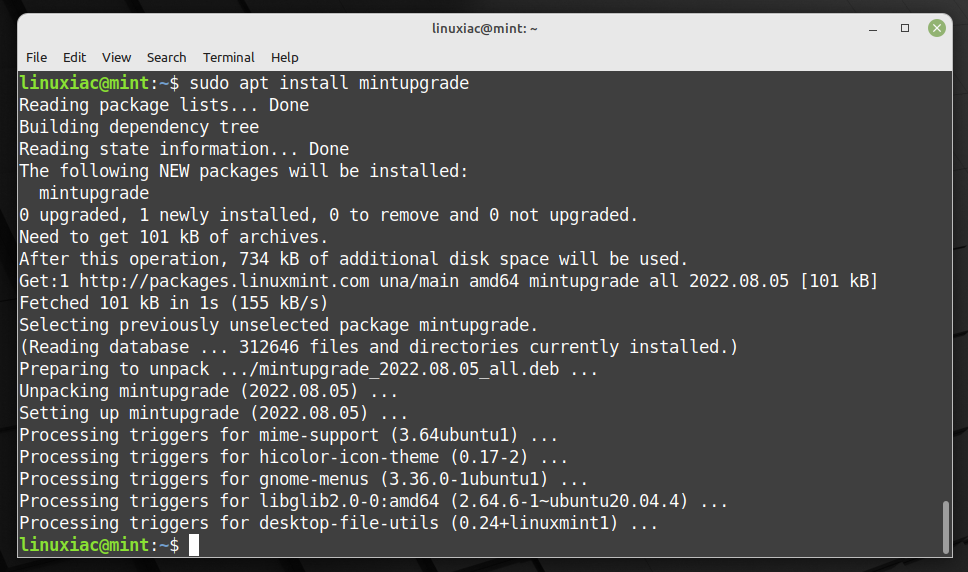
4. Upgrade to Linux Mint 21 from Linux Mint 20.3
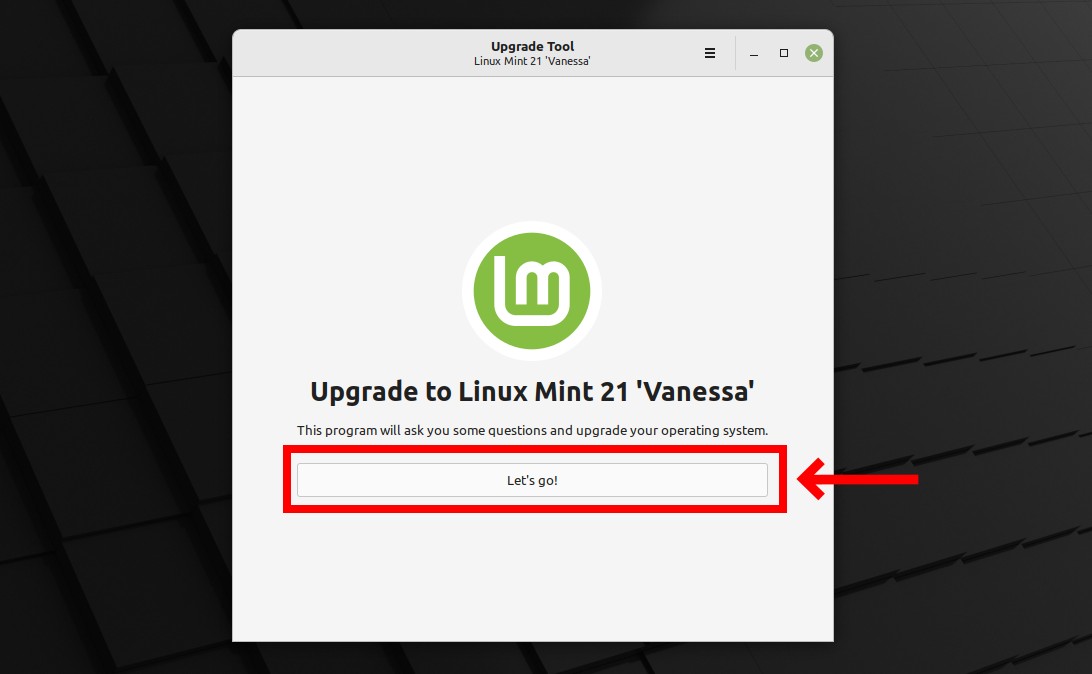
Everything is now in place to begin the upgrade to Linux Mint 21. Run the mintupgrade tool by typing the following command:
sudo mintupgradeYou will be greeted by a home screen alerting you that your system is about to be upgraded to Linux Mint 21 “Vanessa.” To continue to the next step, press the “Let’s go!” button.
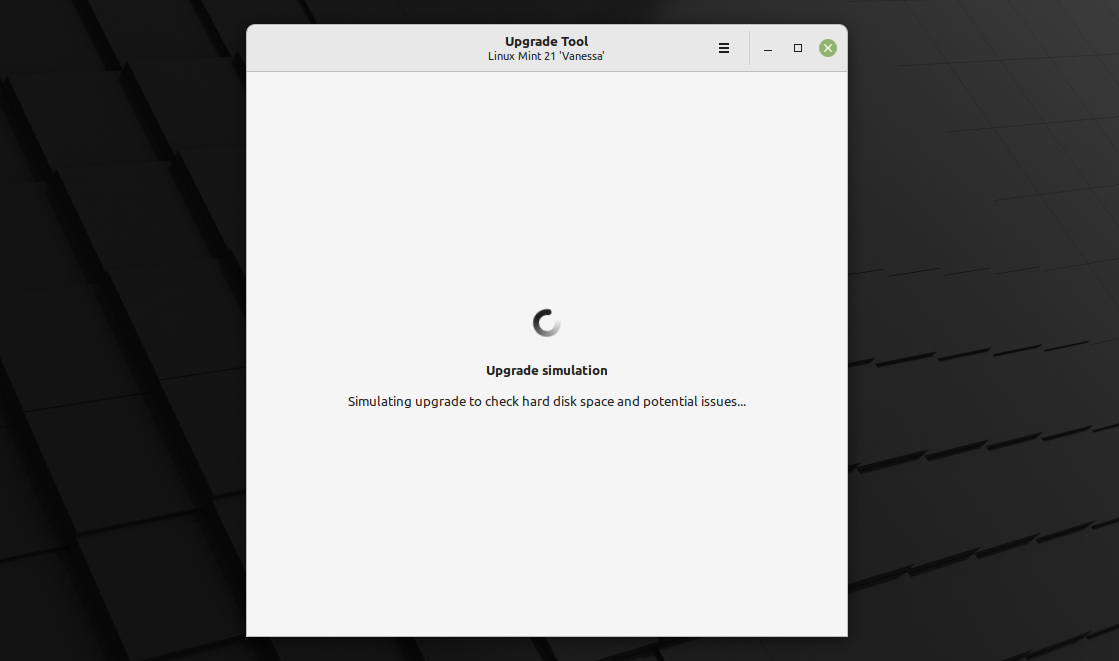
The tool will notify you that some tests will perform to ensure that your existing Linux Mint 20.3 system meets the requirements for upgrading to Linux Mint 21. Press the “OK” button to start the checks.
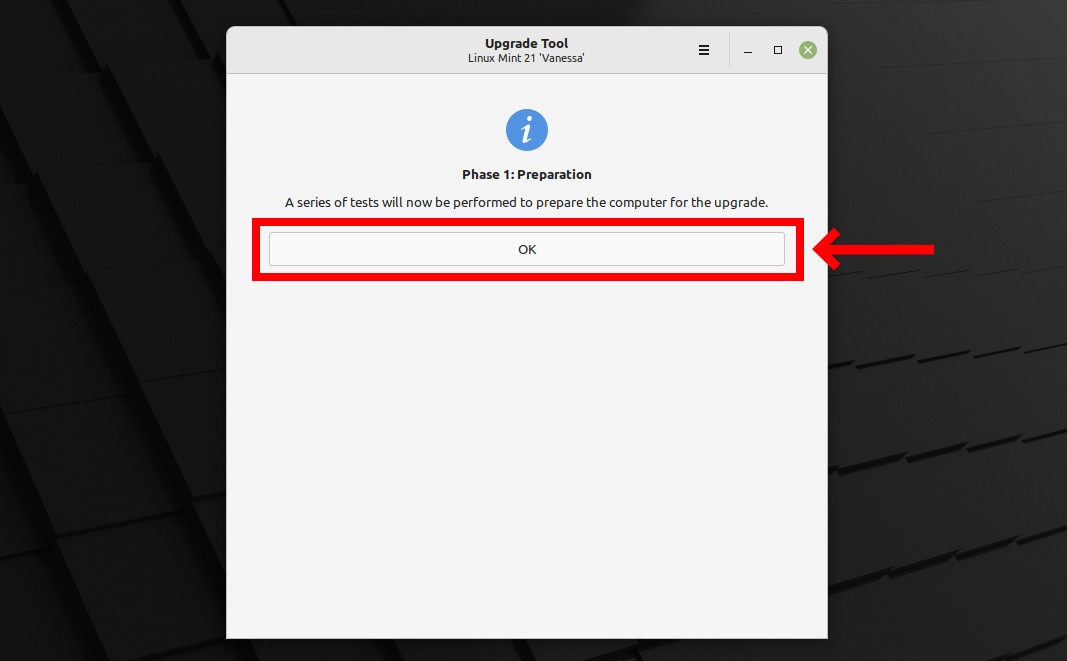
Wait for the checks to complete. The entire procedure will take no more than a minute.
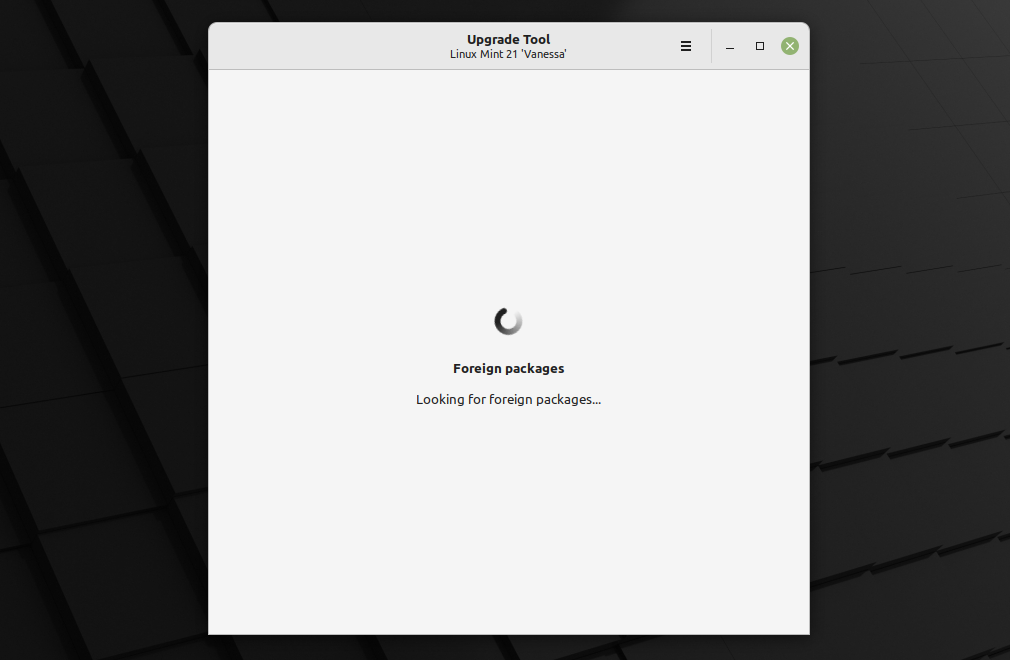
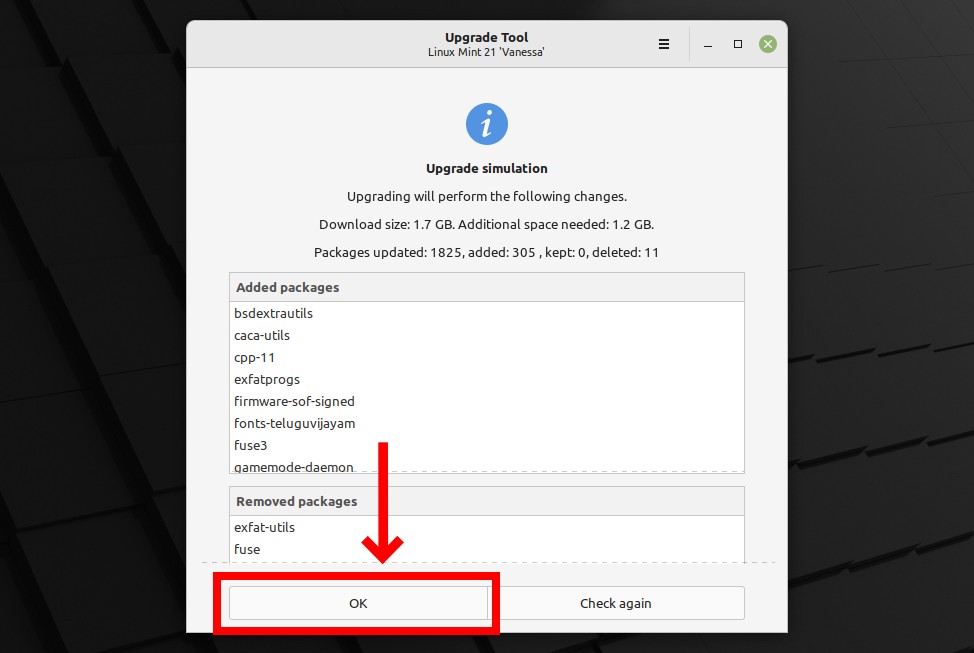
Upon completing the initial checks, Mintupgrade will notify you that additional tests are required. To proceed, click “OK.”

Again, this should not take more than a minute. Please wait for it to complete.
This is the step in which you are notified that downloading all the packages required to upgrade your system from Linux Mint 20.3 to Linux Mint 21 has begun. Click the “OK” button to confirm.
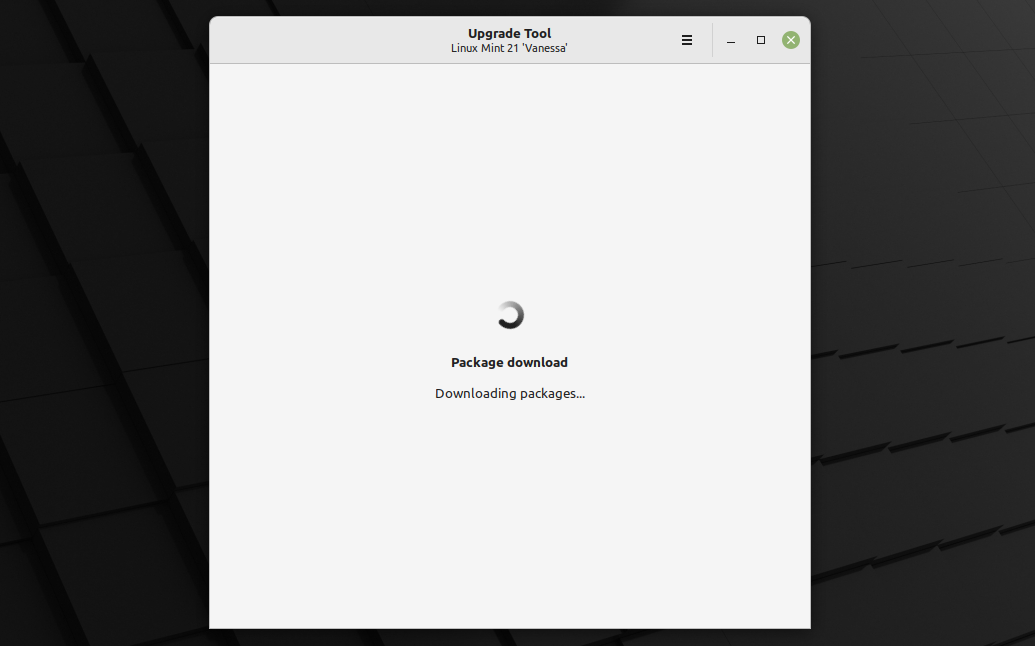
You’ll need to be patient here because, depending on your setup, the mintupgrade tool may need to download several gigabytes of updates.
The speed of your internet connection is another aspect that will impact how long the operation takes. So, wait patiently for the entire process to be completed.
Once all downloads have been completed successfully, you may begin the actual upgrading procedure from Linux Mint 20.3 to Linux Mint 21. To start the process, click the “OK” button.
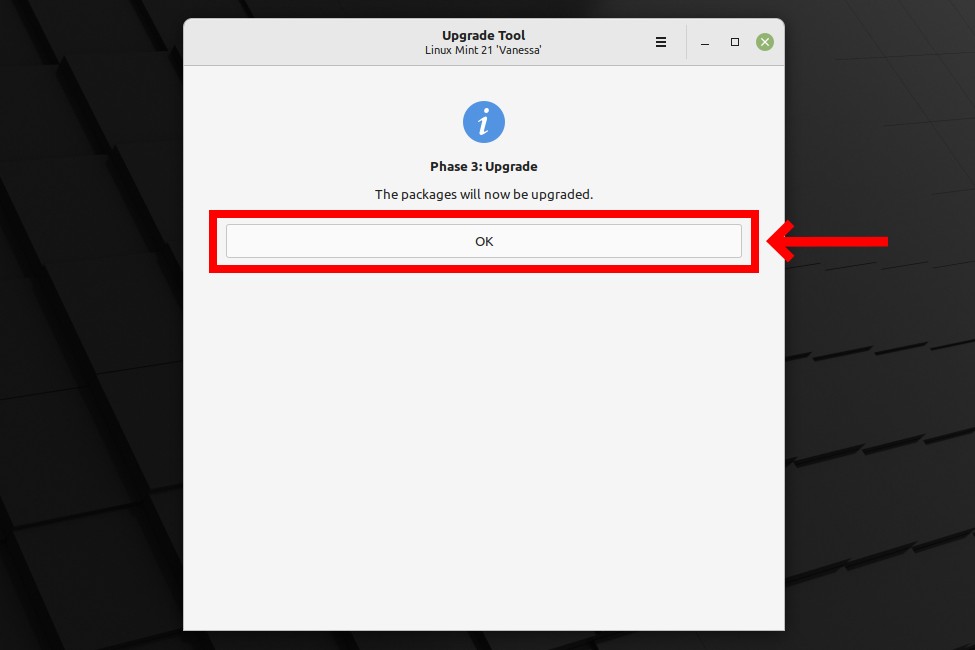
As with the previous step, be patient and wait for the upgrading process to finish.
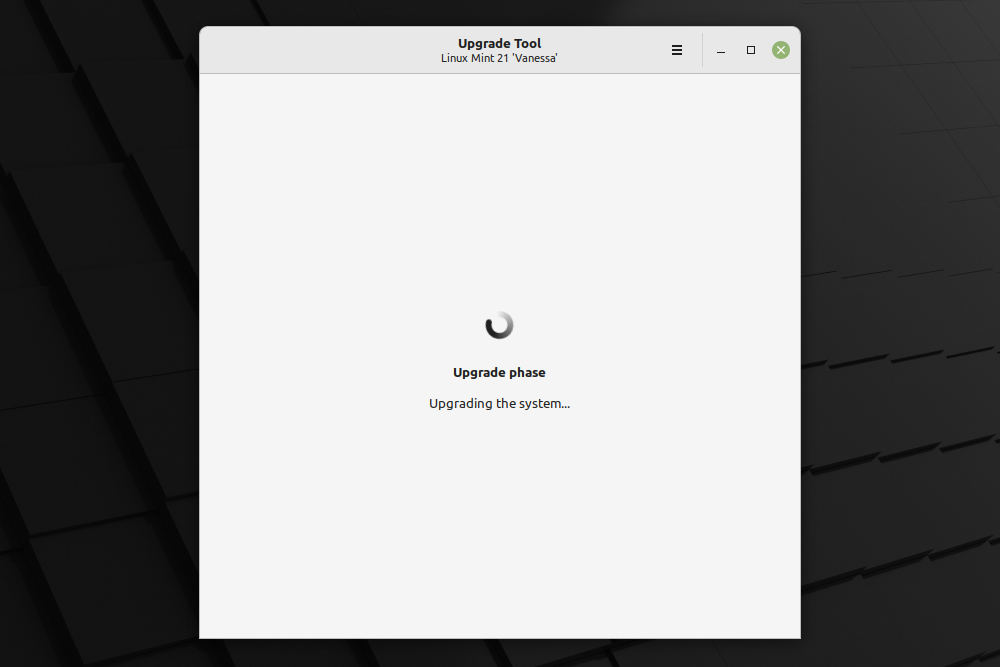
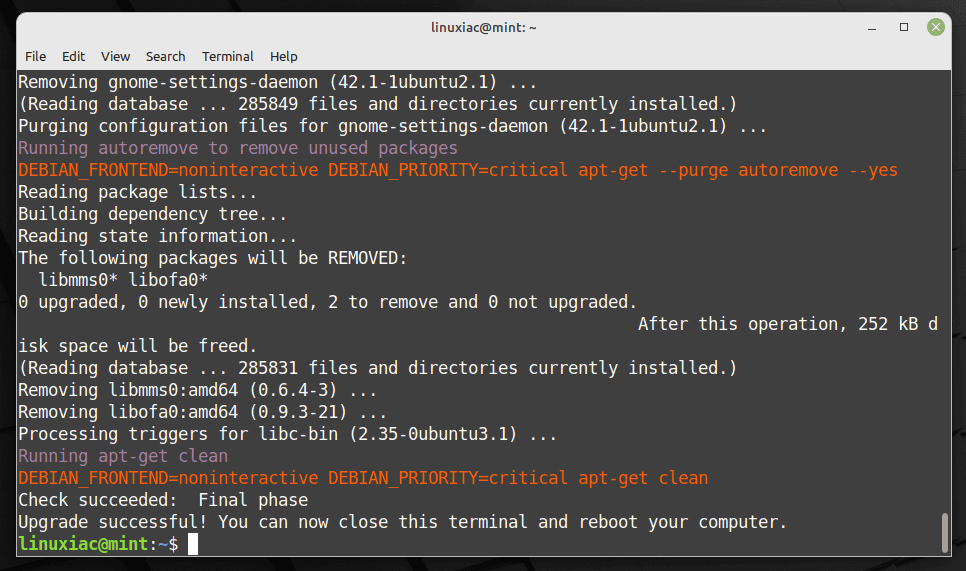
If you look at the terminal from which you started the mintupgrade tool, you will be able to see what is happening behind the scenes in real-time.

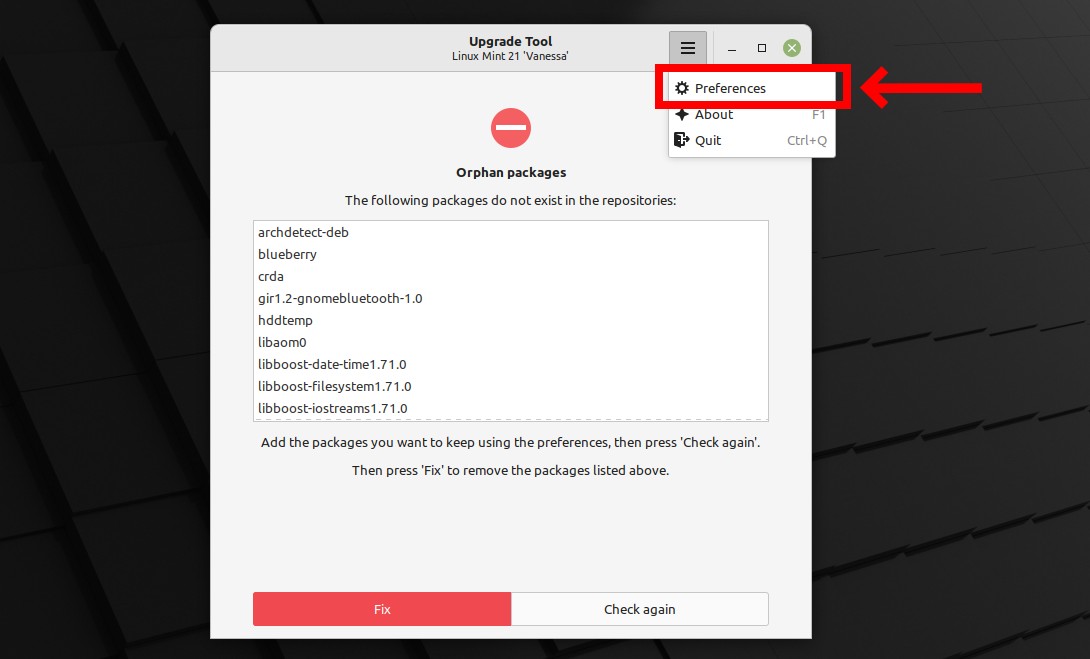
The mintupgrade tool will probably discover various orphan packages during the system upgrade. This means that, unfortunately, these are unavailable in the Linux Mint 21 repository and cannot be maintained or updated.
However, if you have a good reason to keep any of them, here’s what you need to do. First, select “Preferences” from the hamburger menu in the top right corner.
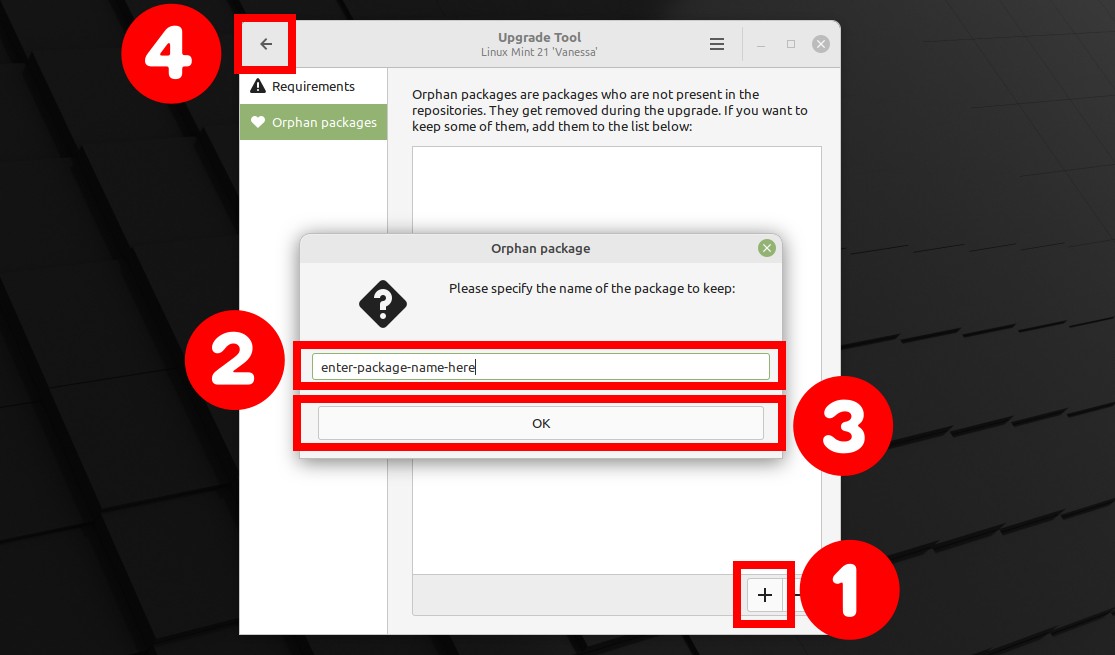
Press the “+” sign. Next, enter the name of the package you want to keep in the window that appears and confirm with the “OK” button.
Once you are done with all the packages you want to be preserved, click the arrow in the upper left corner to return to the home screen.
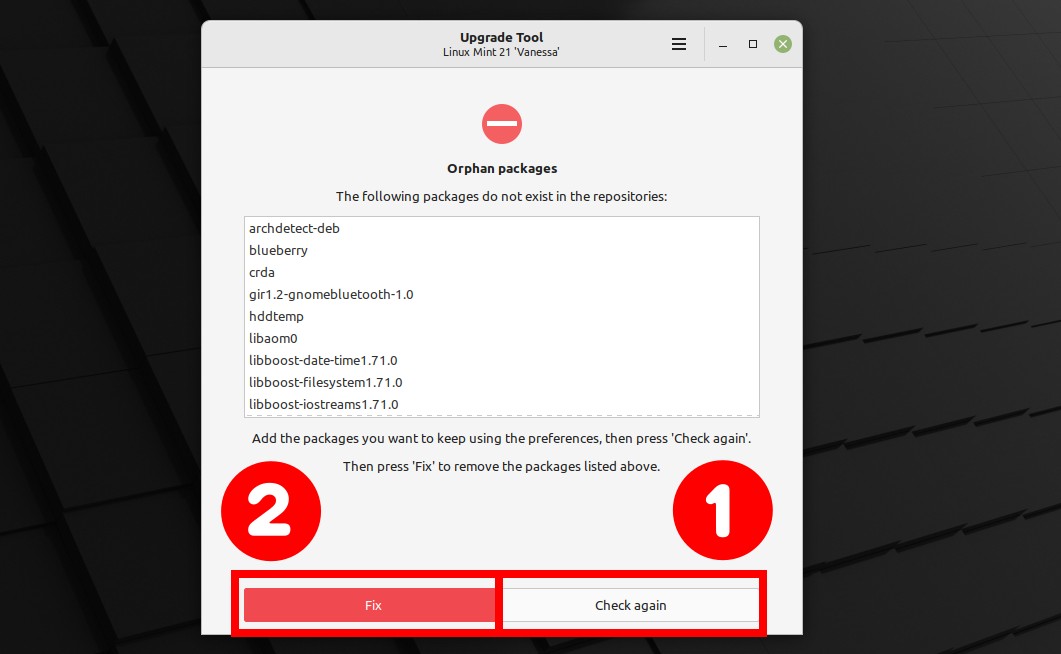
To apply your changes, click the “Check again” button. Then, wait until the operation finishes before pressing the “Fix” button to continue the upgrade process.
When the process is finished, the Mintupgrade tool will notify you that the upgrade from Linux Mint 20.3 to Linux Mint 21 succeeded. So, you can safely close the window now.
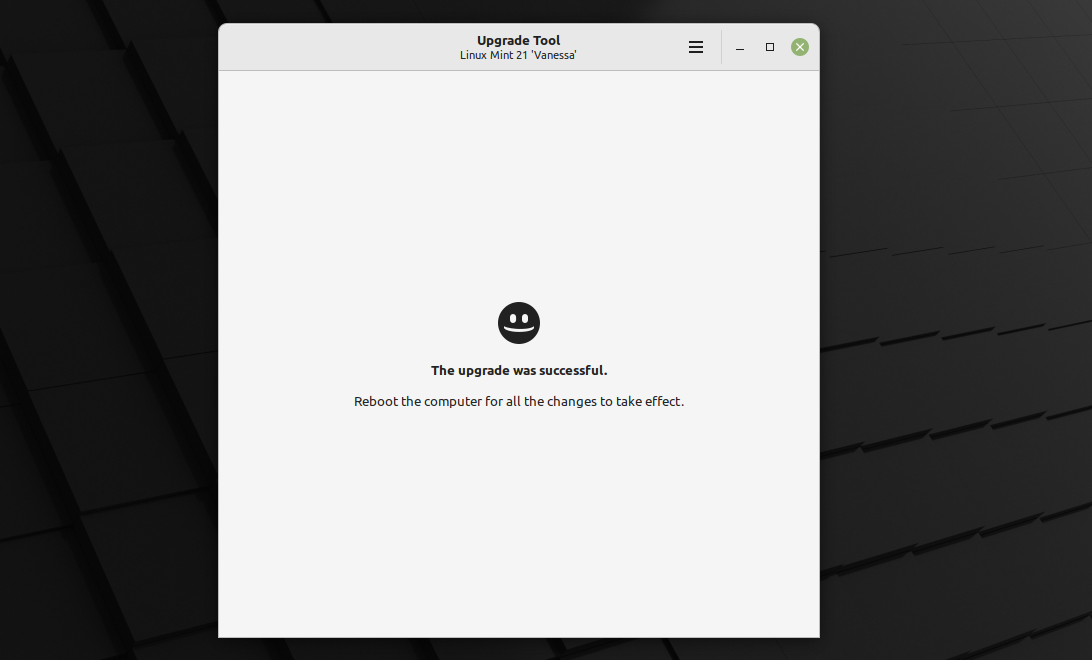
Messages in the terminal also confirm the upgrade’s success.
That’s all. Your system has been successfully upgraded to Linux Mint 21.
5. Remove Mintupgrade Tool and Reboot
After successfully upgrading to Linux Mint 21 from Linux Mint 20.3, remove the mintupgrade tool as you will no longer require it. Run the following command to accomplish this:
sudo apt remove mintupgrade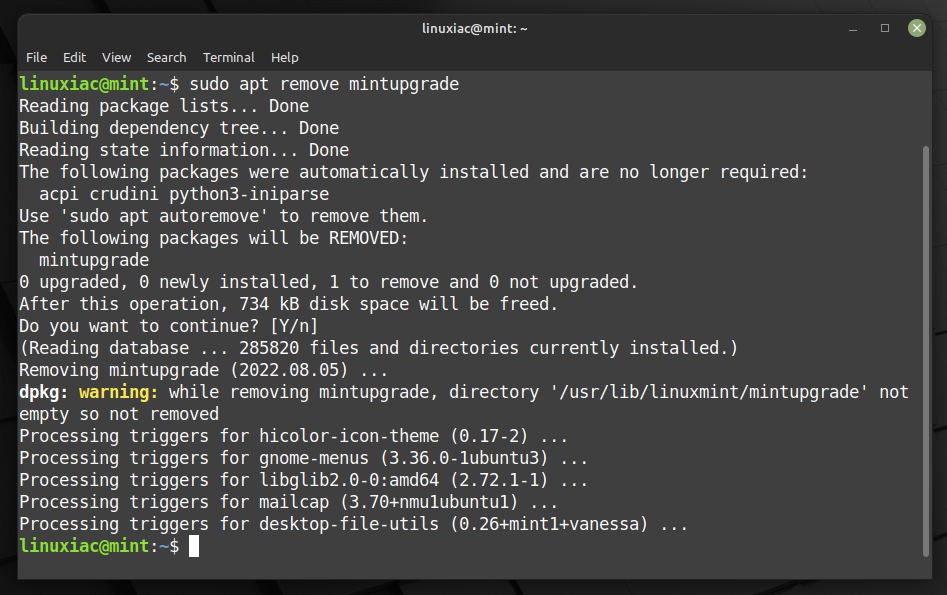
Reboot your system and log into your newly upgraded Linux Mint 21.
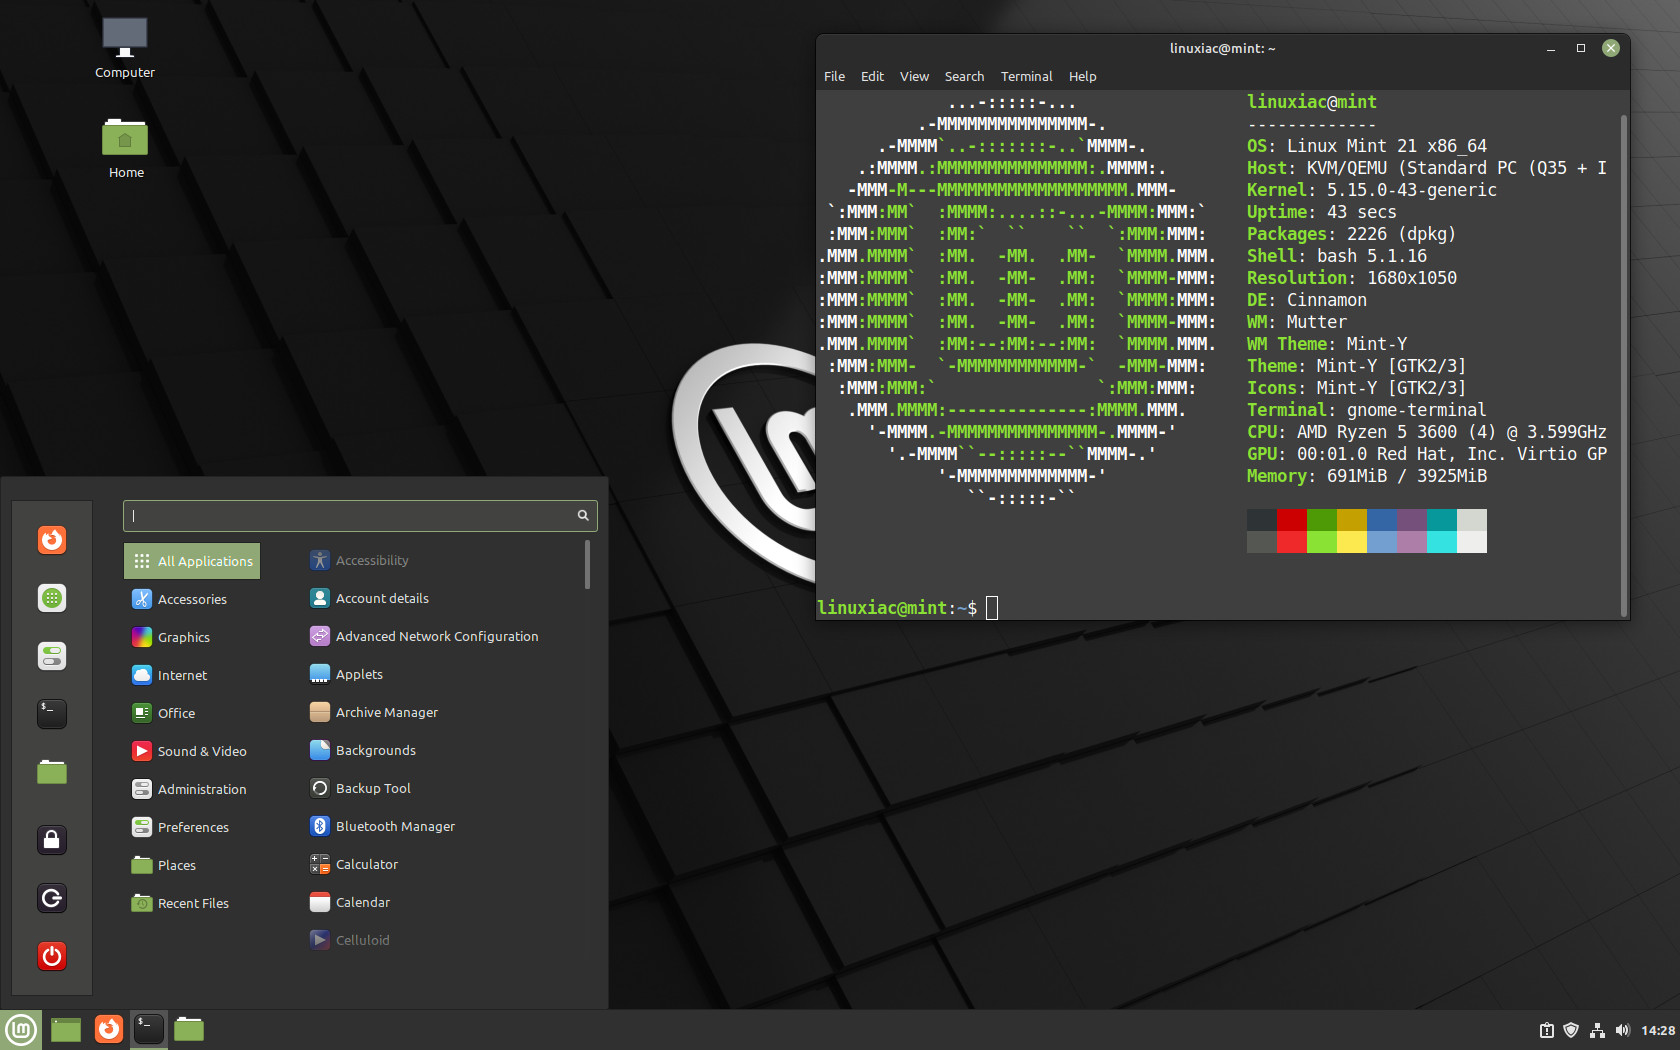
Conclusion
This guide shows how to upgrade Linux Mint 20.3 to Linux Mint 21. Now you can enjoy the latest packages and hardware support from the newest Linux Mint release.
We tried to make this guide as simple to follow as possible yet while being detailed and comprehensive. We hope you found it helpful. Thank you for using it.
We recommend you check the official documentation for additional help or valuable information.


Unfortunately the Mint developers still haven’t figured out how to do a release upgrade as seamlessly as it can be done with Ubuntu which can be done with a few mouse clicks. Why this is I haven’t been able to figure out since I started with Ubuntu in 2006. I usually end up creating a separate partition and do a fresh install of the new release and load all needed packages and data files. It does take several hours. But I end up with a complete system free of errors. Update GRUB and I’m good to go!
Failure on apt cache check. Looks like vivaldi related, removed but still get signing error on a vivaldi website. I don’t want to do a clean install but will if I have to.
upgrade from 20.3 doest work typical mint BS as always
What about a computer with a dual boot? On my Toshiba Satellite Laptop, I can boot whether on Linux Mint 20.3 or Windows 7 (sorry). Is the upgrade procedure still convenient? Thank you.
Working without any problems
Hi Eric,
We haven’t tested the specific scenario you mentioned, but the process is the same, and I see no reason why it couldn’t be done.
I have the same issue
I followed your steps and received a response: ‘Please don’t run this command as root or with elevated privileges.’ What does this mean and how can I install Mint 21?
I had the same issue,
then I realized I am running Linux Mint 20.2.
You have to update to 20.3, then you can upgrade …