PostgreSQL, also known as “Postgres,” is an advanced, enterprise-class open-source relational database management system (ORDBMS). A worldwide team of volunteers developed it, and it is pretty popular due to its stability and advanced features.
Any corporation or other private entity does not control PostgreSQL, and the source code is available free of charge.
Most Linux distributions such as Debian, CentOS, openSUSE, and Ubuntu have PostgreSQL integrated with their package management.
This tutorial will show you how to install and use the version available by default with your version of Ubuntu and how to install it by adding the PostgreSQL repository and installing the same.
Install PostgreSQL on Ubuntu
Install PostgreSQL from the Official Ubuntu Repository
We recommend installing PostgreSQL this way since it ensures a proper integration with the operating system, including automatic patching and other update management functionality.
First, as always, update your packages:
sudo apt updateThen, install the postgresql package along with a postgresql-contrib package. The addition of the -contrib package ensures that you get some extra utilities and features.
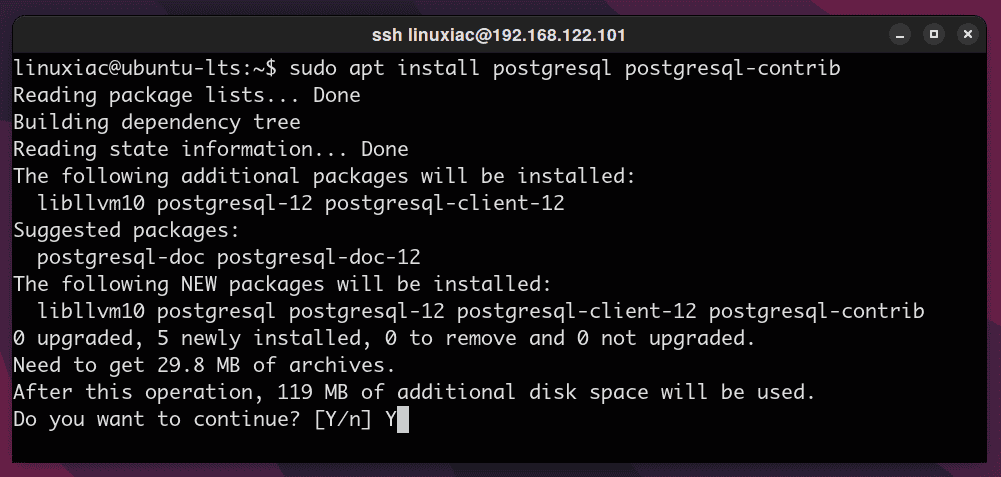
So, to install the default supported PostgreSQL version provided by Ubuntu’s repository, run:
sudo apt install postgresql postgresql-contrib
That’s all. The software creates a postgres user by default once you successfully install the database system. This user account has the default postgres role.
Install PostgreSQL by Adding the PostgreSQL Repository
To start, you first need to add the PostgreSQL repository to the Ubuntu system’s sources list.
1. Install a few required packages:
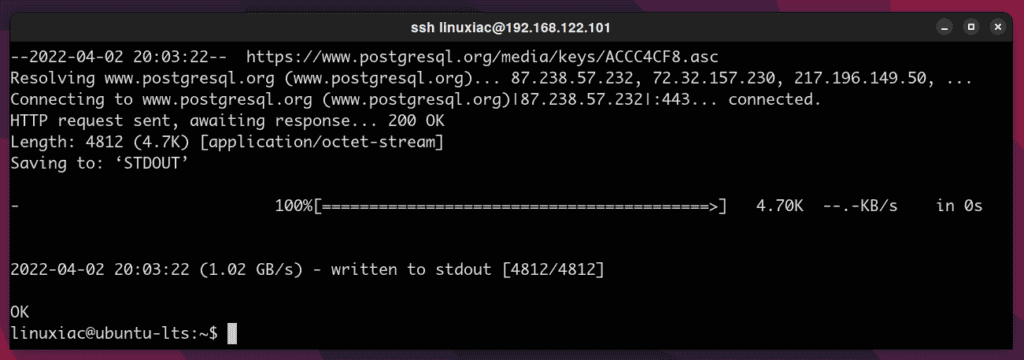
sudo apt install wget curl ca-certificates2. You need to download and import the PostgreSQL GPG repository key:
wget -O - https://www.postgresql.org/media/keys/ACCC4CF8.asc | sudo apt-key add -Code language: JavaScript (javascript)
3. Now, execute the following command to create the file repository configuration:
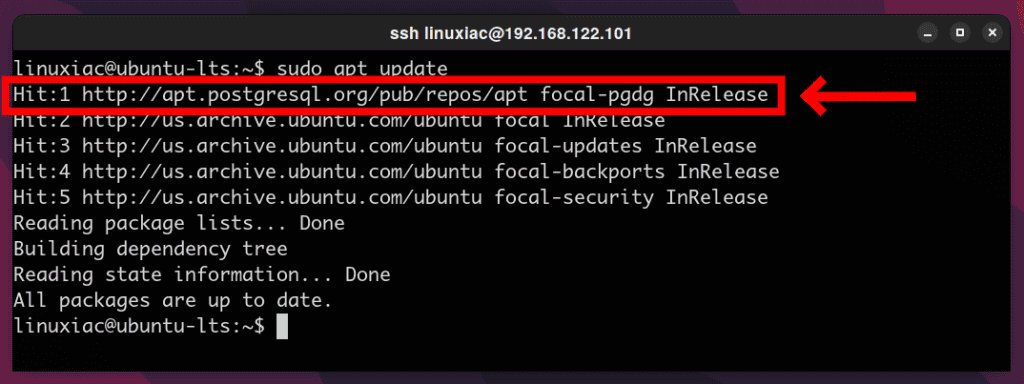
sudo sh -c 'echo "deb http://apt.postgresql.org/pub/repos/apt $(lsb_release -cs)-pgdg main" > /etc/apt/sources.list.d/pgdg.list'Code language: JavaScript (javascript)4. Update the package list on your Ubuntu system. You should see the newly added PostgreSQL repo listed.
sudo apt update
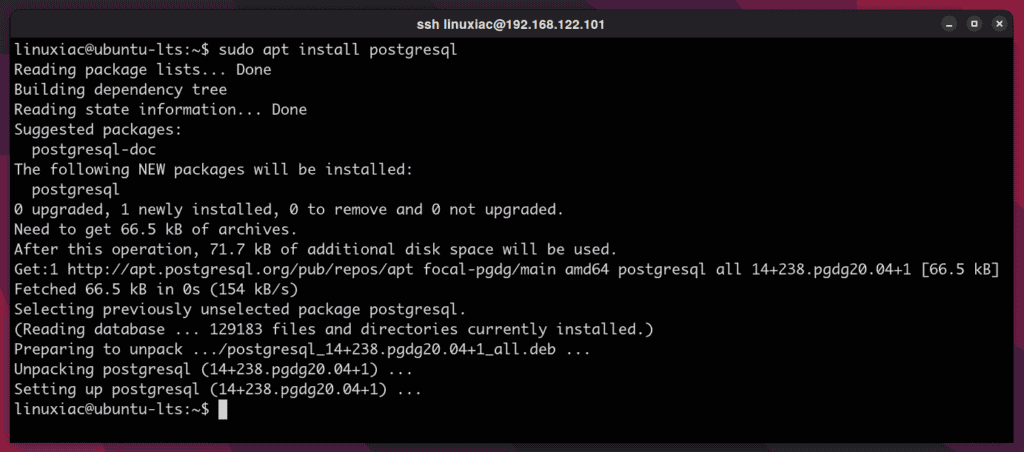
4. Finally, install PostgreSQL on your Ubuntu system:
sudo apt install postgresql
To install a specific version from the PostgreSQL repository, instead of just postgresql, which refers to the latest version, specify it like postgresql-12.
At the time of writing, the available versions are postgresql-10, postgresql-11, postgresql-12, and postgresql-13.
sudo apt install postgresql-12Once installation completes, you can check the status of the PostgreSQL service:
sudo systemctl status postgresql.serviceCode language: CSS (css)
Congratulations! You have successfully managed to install PostgreSQL on Ubuntu.
Connect to PostgreSQL
A postgres user gets created post-installation automatically and has super-admin access to the DB instance. To establish a connection with the newly set-up database, switch to this account as:
sudo su - postgresThen you can access the PostgreSQL prompt by typing:
psql
To quit the PostgreSQL prompt, type \q.
Of course, instead of switching users to connect to PostgreSQL, you can do so with a single command:
sudo -u postgres psqlConclusion
PostgreSQL is a widely adopted database in the enterprise world. Whether you decide to install it from the official Ubuntu repository or the PostgreSQL repository, both installations are simple and easy to do.
If you’d like to learn more about PostgreSQL and how to use it, a tutorial is available on the project’s website.
