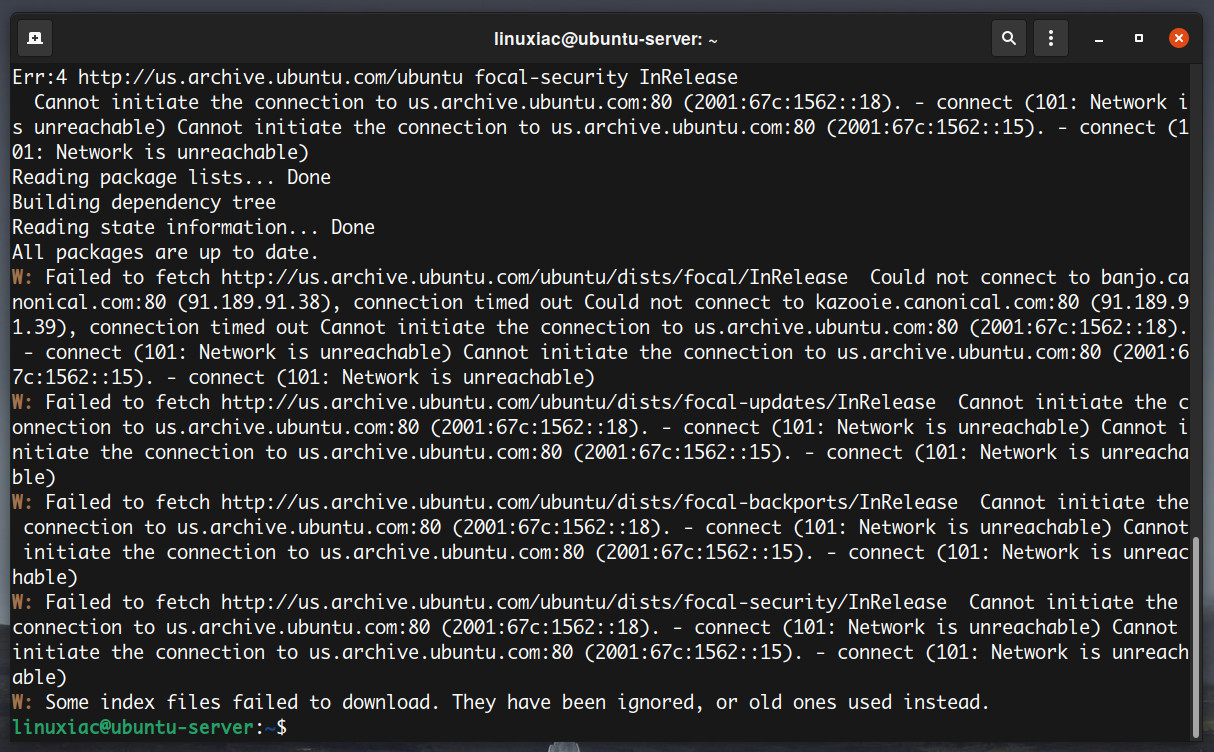
Using a proxy server can be essential in environments where direct internet access is restricted or monitored, such as corporate networks. If you are running an Ubuntu or Debian system behind a proxy server, you may have unsuccessfully tried to install packages.
If you filled in your proxy information during installation, the APT configuration file would have been automatically updated. However, if you did not, you must follow the following instructions.
Configure APT to Work with a Proxy Server
On Ubuntu and Debian systems, the APT package manager provides robust support for proxy configurations, allowing you to fetch updates and install software packages through HTTP, HTTPS, or SOCKS proxies.
It can be done easily. APT loads all configuration files under the “/etc/apt/apt.conf.d” directory. Therefore, we can create a specific configuration for our proxy, keeping it separate from all other configurations.
Step 1: Create a New Empty File
You need to create a new empty file inside the “/etc/apt/apt.conf.d/” directory. Let’s name it “proxy.conf.” Of course, the name can be anything you like.
sudo touch /etc/apt/apt.conf.d/proxy.confCode language: Bash (bash)Step 2: Open the proxy.conf File in a Text Editor
Next, open the “proxy.conf” file with your preferred text editor.
sudo nano /etc/apt/apt.conf.d/proxy.confCode language: Bash (bash)Step 3: Add APT Proxy Configuration
You need to have the IP address and the proxy server’s port.
To set your HTTP proxy, add the following line:
Acquire::http::Proxy "http://proxy_server:port/";Code language: Bash (bash)To set your HTTPS proxy, add the following line:
Acquire::https::Proxy "http://proxy_server:port/";Code language: Bash (bash)There is also an alternative way of defining the proxy settings for APT. While similar, it removes some redundancy.
Acquire {
  HTTP::proxy "http://proxy_server:port/";
  HTTPS::proxy "http://proxy_server:port/";
}Code language: CSS (css)
If your proxy supports authentication and requires a username/password for login, use:
Acquire::http::Proxy "http://user:password@proxy_server:port/";Code language: PHP (php)Save your changes and exit the text editor.
Note: Keep in mind that “proxy_server” and “port” from the examples above should be replaced with the proper proxy IP address/name and port.
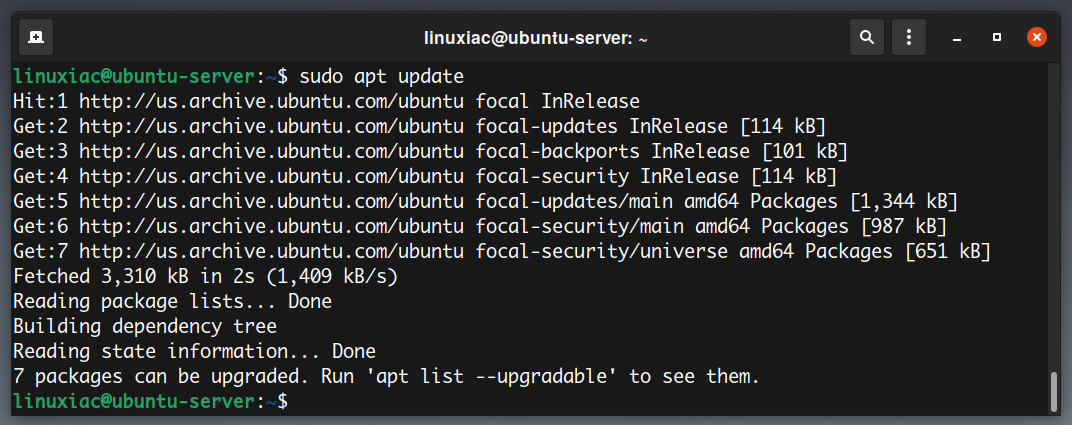
4. Test APT Proxy Configuration
Now APT will use the proxy settings to get updates, install packages, etc.
Bottom Line
To wrap things up, configuring APT to work with a proxy on Ubuntu or Debian is straightforward and can make a big difference in restricted or controlled network environments.
With your setup complete, you can now easily update and install packages, no matter what network you’re working behind.