
Zorin OS 18 arrived, hitting 1M downloads in just one month. It’s packed with new features and improvements, so many users are already itching to make the jump to the latest stable release of this user-friendly, visually appealing Linux distro. If that’s you, you’re in the right place.
While the upgrade process is relatively straightforward, it’s always best to do it the safe way—following the proper steps in the correct order with the right guidance. And that’s precisely the purpose of this article.
I’ll walk you through the process of upgrading from Zorin OS 17 to 18, covering all key points. For most cases, the entire process typically takes between 30 and 60 minutes. Needless to say, everything you’ll see below has been tested and proven to work. So, let’s do it.
Step 1: Take System Backup
Although it is optional, this step is highly recommended. Take a system snapshot before proceeding. For this, you can use Zorin’s built-in Backups tool, which makes it easy to create a full system backup. This way, if something goes wrong, you can restore your system to its previous state.
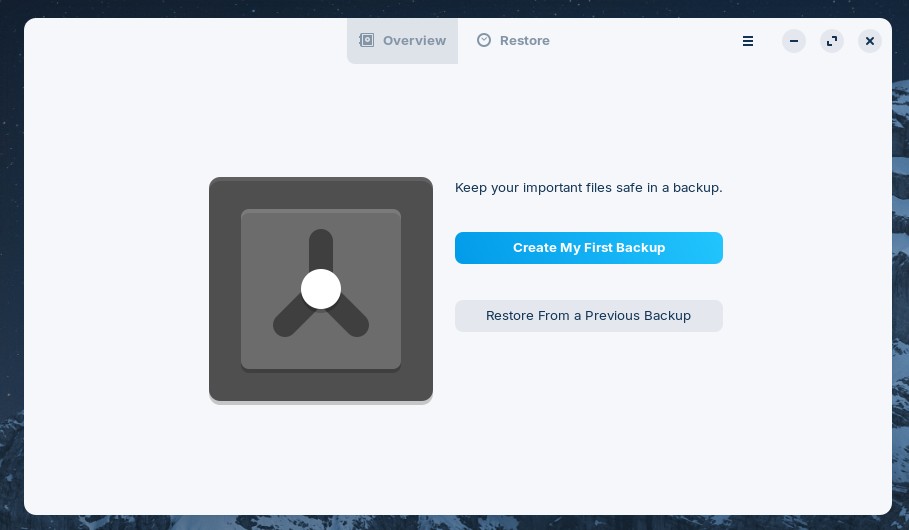
You’ll find the Backup application under Start Menu > Utilities > Backup.
Step 2: Update All Software
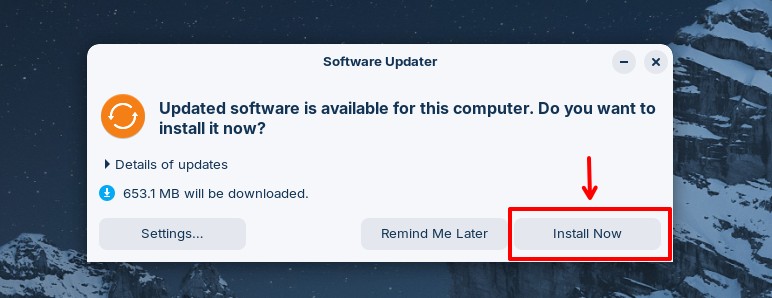
Ensure you have a fully updated Zorin 17 system. Open the Software Updater app (Start Menu > System Tools > Software Updater). If any updates are available, install them (and reboot if necessary) before moving on.
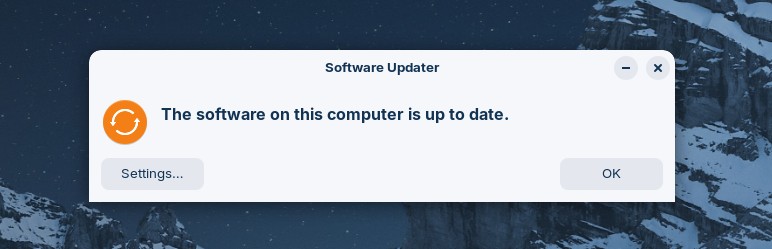
Then open the application again to confirm there are no pending updates. Once everything is up to date and the preparation is complete, you can move on to the actual upgrade.
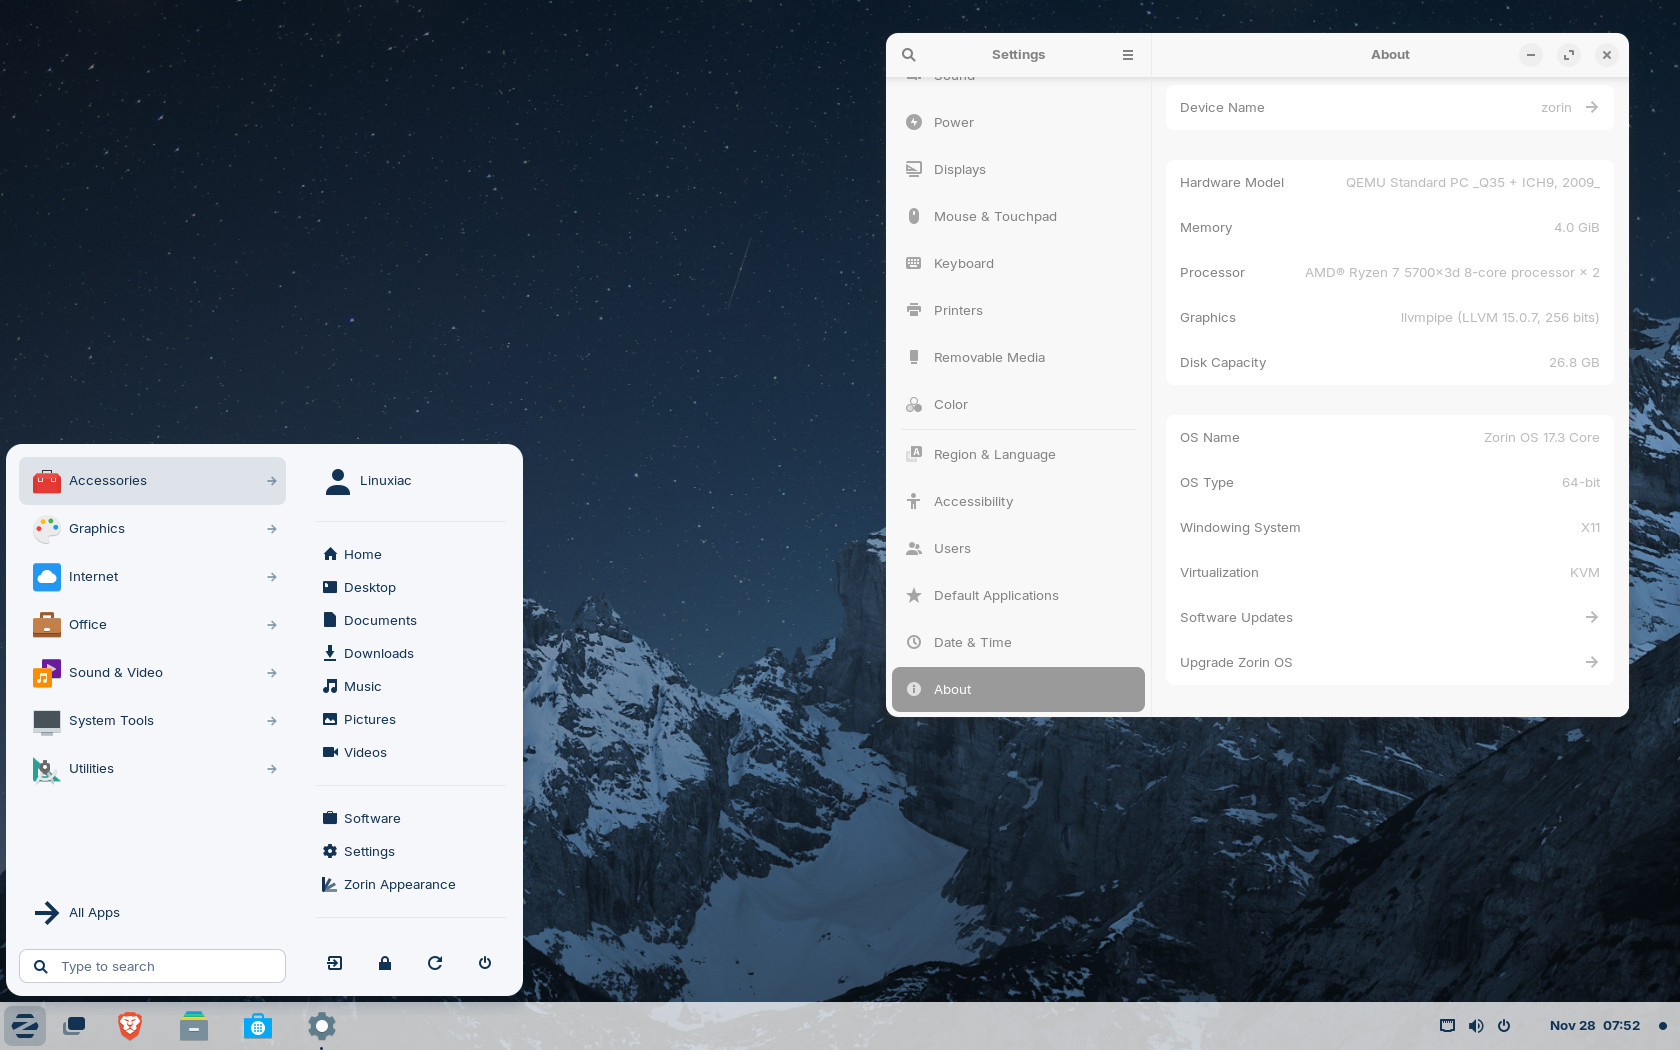
Here is our fully updated Zorin OS 17.3 system before upgrading to Zorin OS 18.
Step 3: Upgrade to Zorin OS 18 from 17
Open the terminal (Start Menu > Utilities > Terminal) and run:
gsettings set com.zorin.desktop.upgrader show-test-upgrades trueCode language: Bash (bash)What does this command do? Since Zorin currently considers the official upgrade process in a test phase, this enables the graphical upgrader to show upgrade options that are normally hidden.
Now, open the Zorin Menu > System Tools > Upgrade Zorin OS.
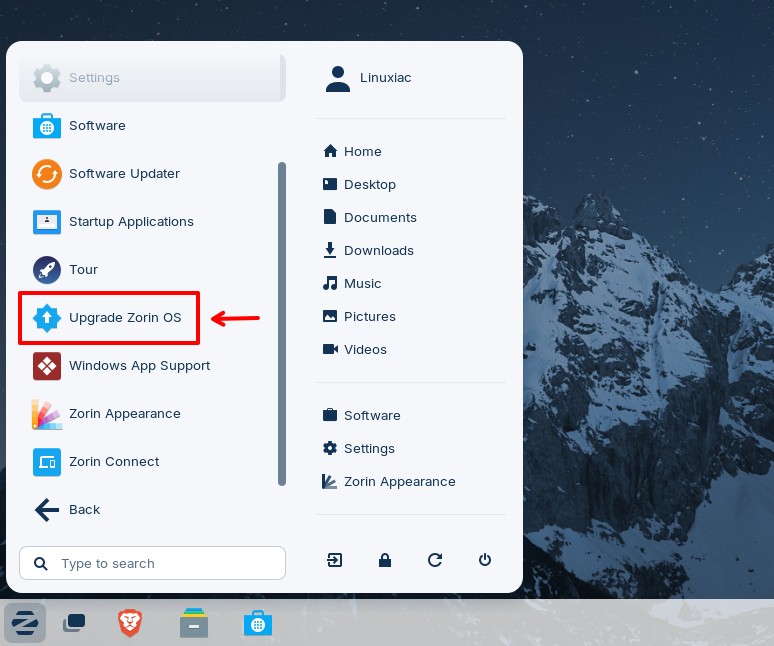
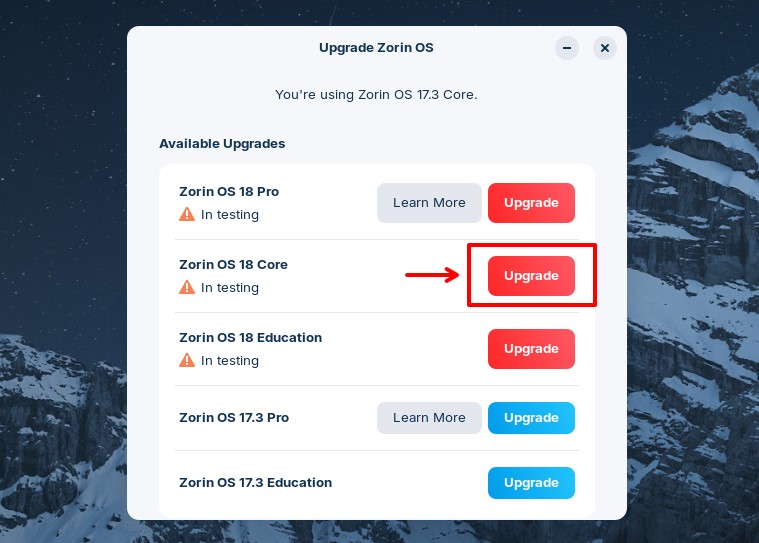
You’ll see several options. Since we’re using Zorin OS Core (which is likely what you’re using too), click the Upgrade button for your current edition. If you’re running the Pro or Education edition instead, select the corresponding Upgrade option for that one.
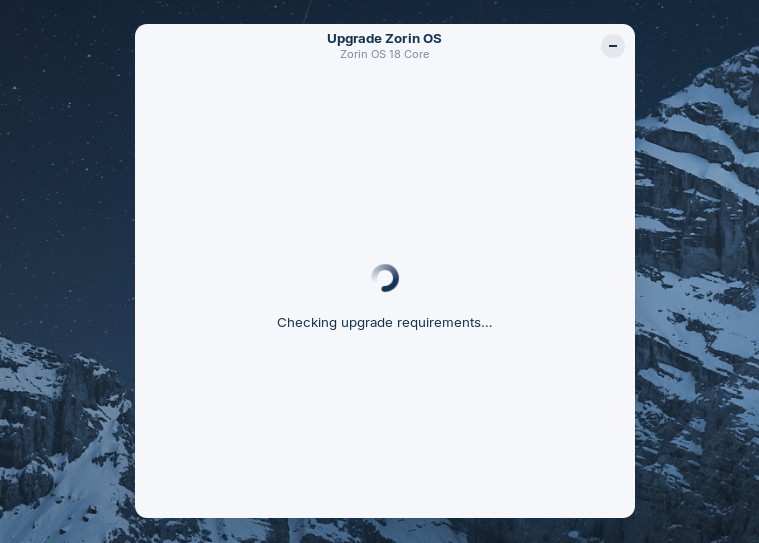
The system starts checking the upgrade requirements, which usually takes about 1 to 2 minutes.
Once it’s done, you’ll see an Upgrade button in the upper-right corner. Click it to begin upgrading from Zorin 17 to Zorin 18.
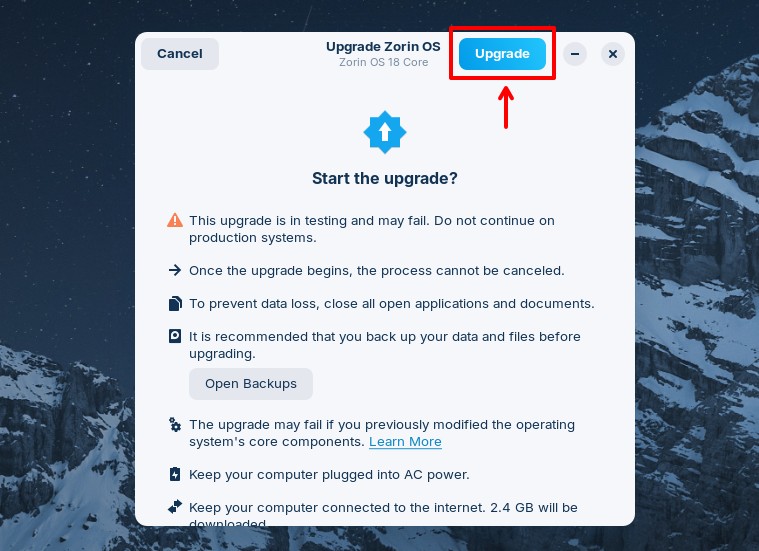
You’ll need to be patient here, because the process takes some time. The exact duration depends on your hardware and how many apps you have installed, but for most people it finishes in about 30–40 minutes.
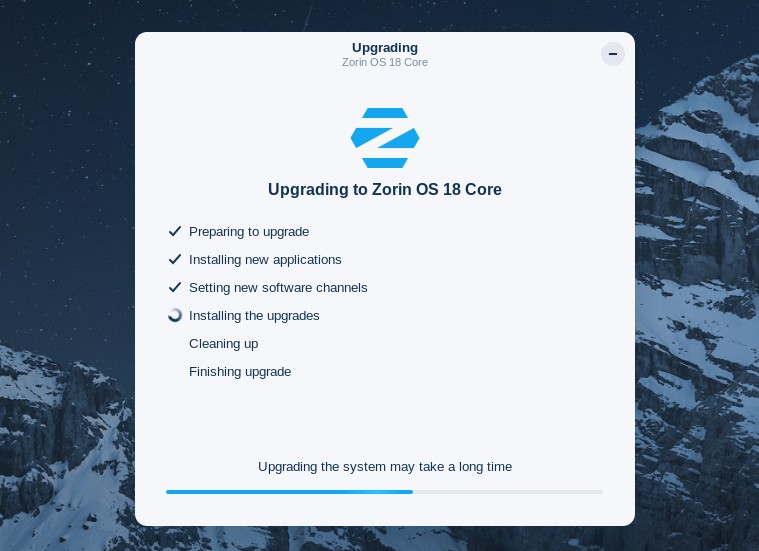
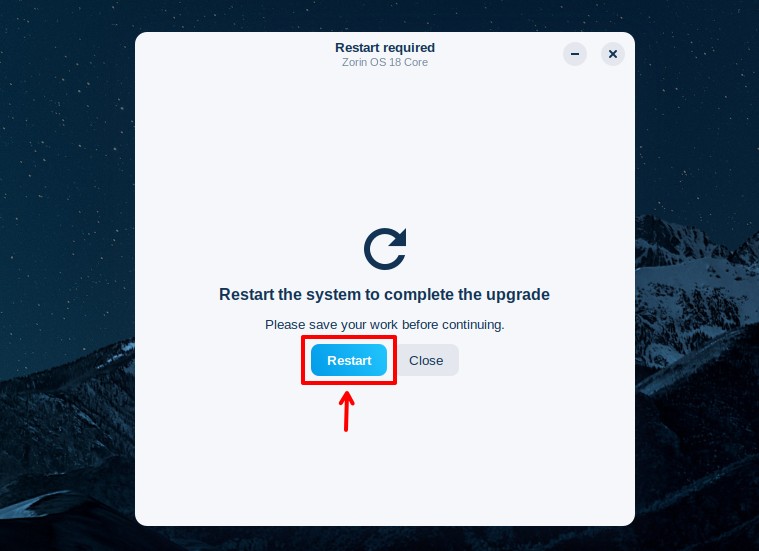
Once the process finishes and everything completes successfully, you’ll see a prompt asking you to restart your computer. Go ahead and do so.
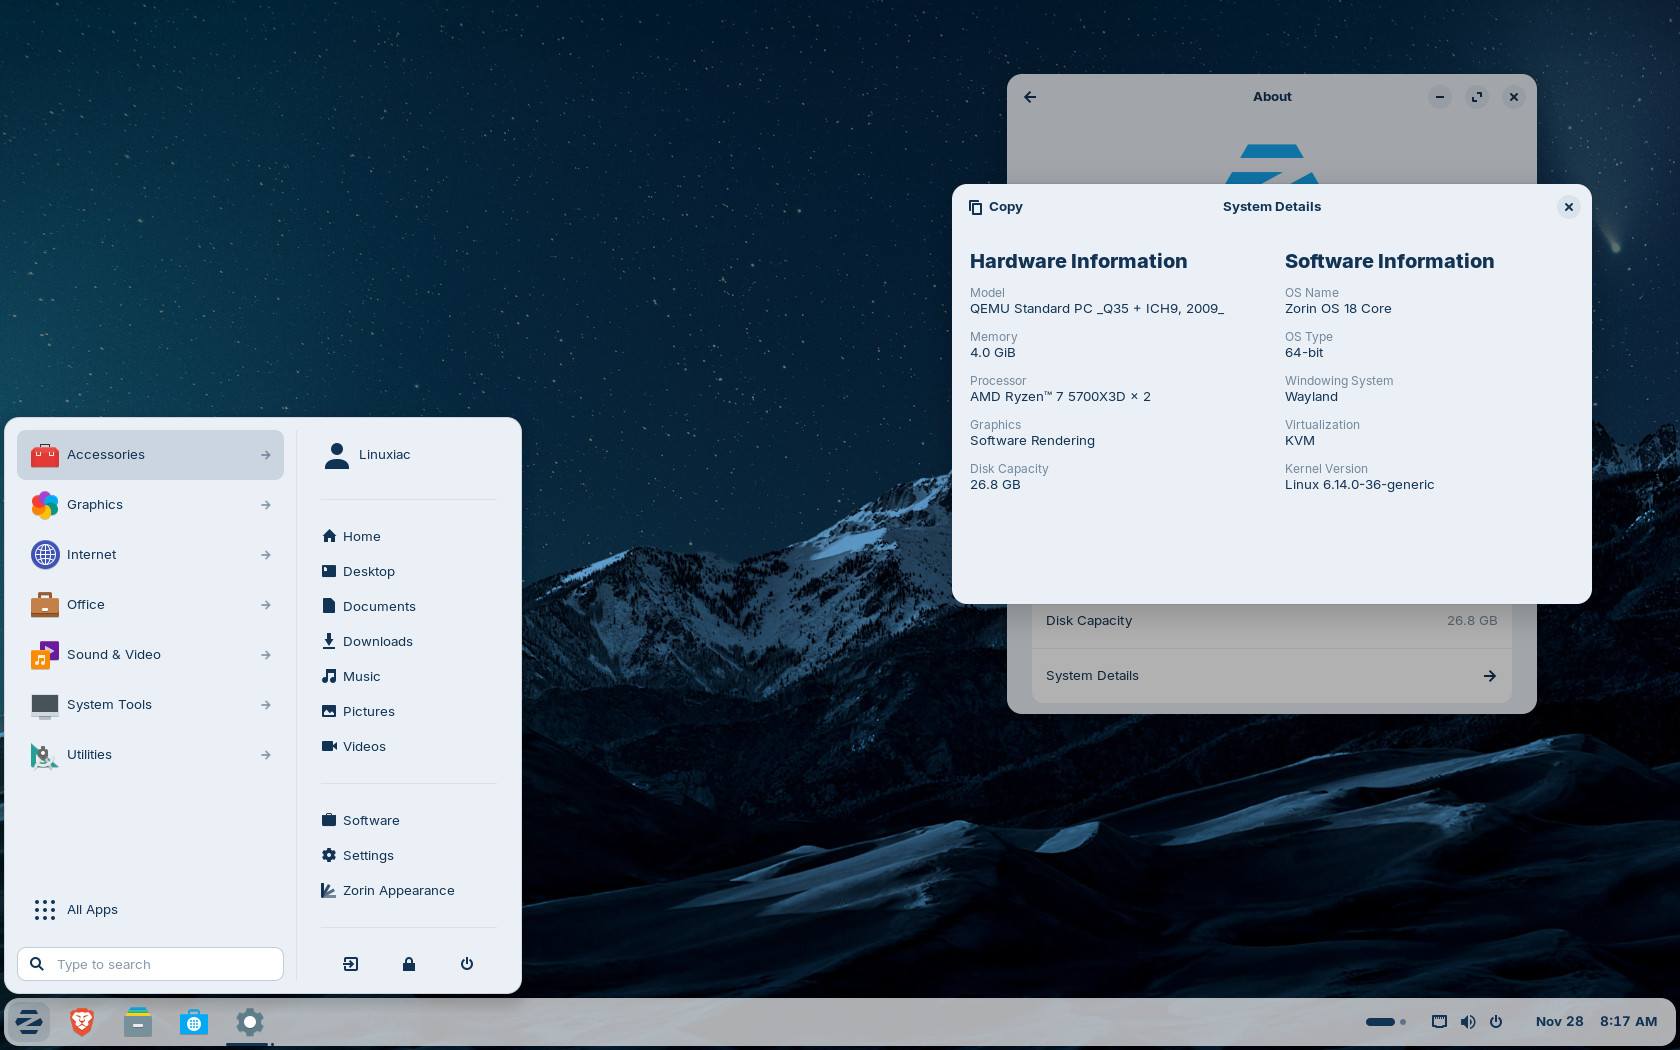
And that’s all. Your upgrade from Zorin OS 17 to 18 has been completed successfully. Log in, and enjoy your newly upgraded Zorin OS 18 system.
Conclusion
As you can see, with the right guidance, upgrading from Zorin OS 17 to Zorin OS 18 is relatively easy. The entire process took me about an hour. For additional help, check the official Zorin upgrade guide.
Thanks for taking the time to read and use this guide. As always, your comments are most welcome.


I’m an old timer purist Linux Geek.
I never do Distro upgrades, I always do full install from scratch….clean install for me only!!.
Of course, my data is always backed up in my NAS. Once I do the installation, run all updates, install software I normally use, and tweak the OS…….I then do a sync with NAS to copy back all my personal files.
It might take me 2 – 3 hours for the full installation and everything else, but I’ve been doing that for decades….and I’m not about to change.
Besides, installing Linux yet one more time is nothing but fun for me!!
Everything worked until the restart. Then I got the white fail screen. 😞 It would not load. Saw on the Zorin forum others have had this happen also. Found a person who had some steps to try via recovery mode and thank God it Worked! But dang, I don’t want to do that again! Definitely not without risk.
Just two days ago (2025-12-25) Inplace-Upgrade from Zorin Pro 16.3 suggested Version 17.3. So I paid for it hoping to get the latest version. I upgraded to 17.3 and now I realise there is a newer Version 18. So I tried to upgrade to 18. But Zorin asks me to pay again for it. That doesn’t feel fair.
Bare in mind, it only works if the key is purchased as it requests the purchase info before executing the upgrade (email and key).
upgraded two computers from 17 to 18 no problems