VirtualBox is a powerful virtualization tool, but sometimes, you need to move a virtual machine (VM) to another instance—whether you’re migrating to a new host, want to share a VM with a colleague, or just back up an important environment.
Fortunately, the process is super easy and only takes a few minutes—though the exact time depends on the VM size. In this guide, I will show you exactly how, through two reliable methods for moving a VM from one VirtualBox instance to another:
- GUI Approach – Using VirtualBox’s graphical interface built-in export and import features for a user-friendly migration.
- CLI (Command-Line) Approach – Leveraging VBoxManage commands if you use a headless VirtualBox server or simply prefer working in the terminal.
Move a VirtualBox VM to Another Instance (GUI Approach)
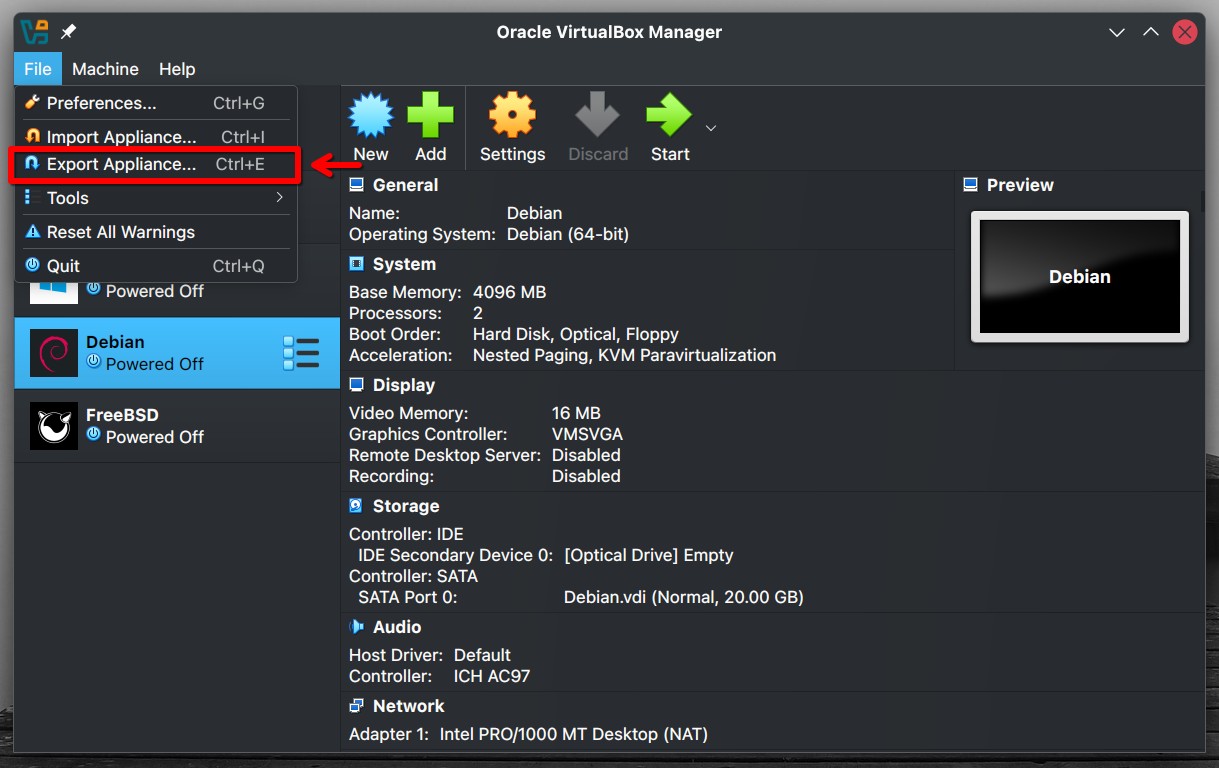
Below is our local VirtualBox instance. For the purposes of this guide, we will export the Debian virtual machine and then import it into VirtualBox on another host.
First, let’s export the VM itself. To do so, open VirtualBox, go to the “File” menu, and select “Export Appliance.”
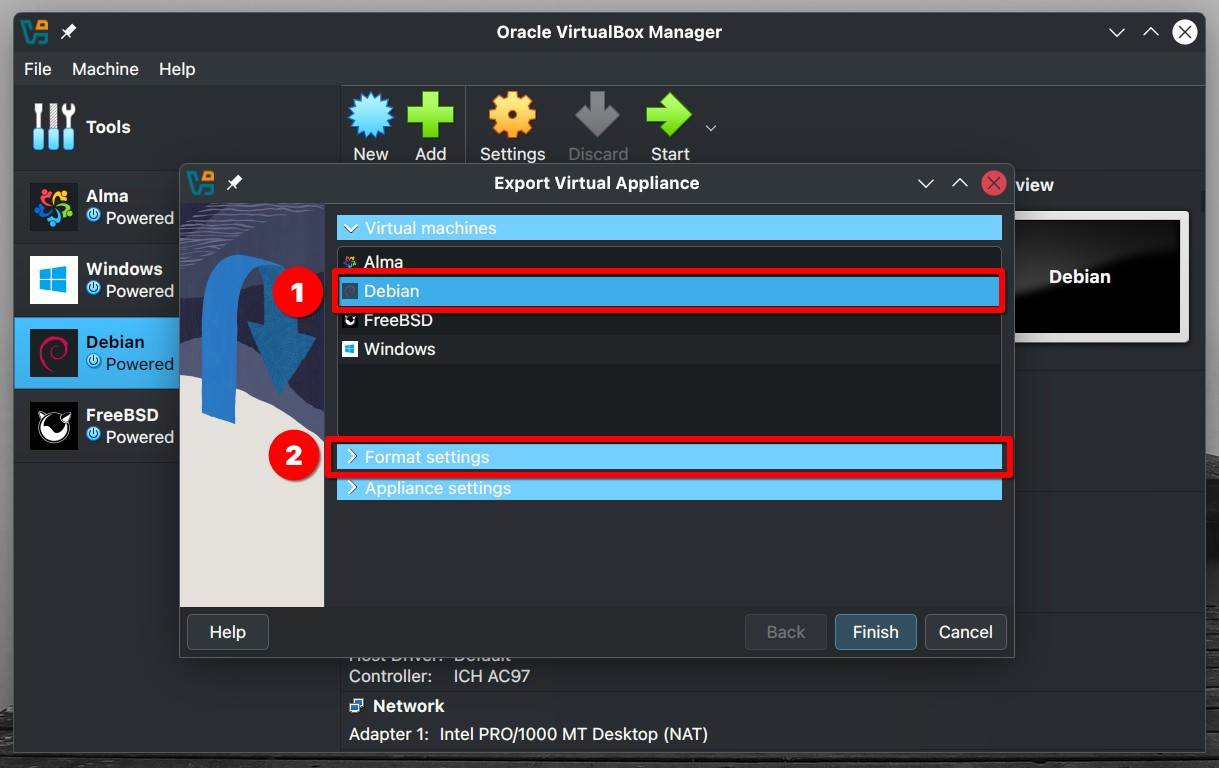
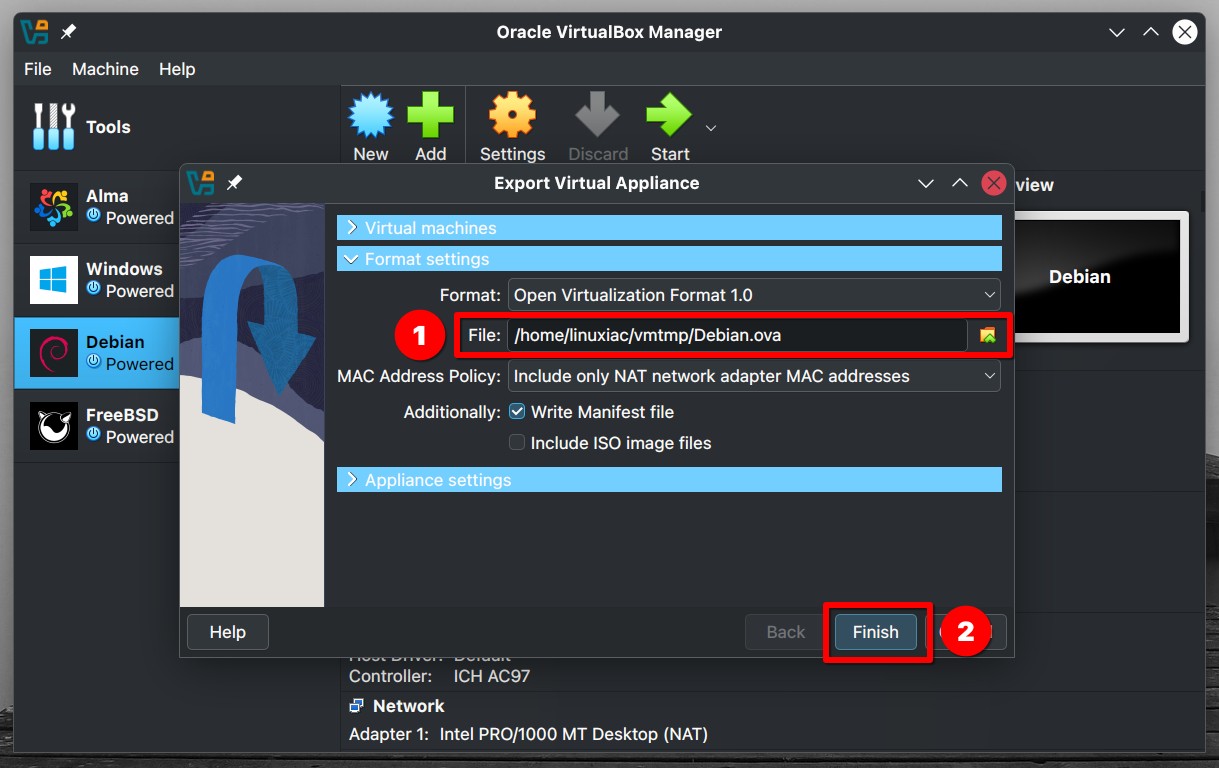
This will open a new window. In the “Virtual Machines” section, ensure you’ve selected the one you want to export— in our case, “Debian.” Then, head over to the “Format Settings” section and click on it.
The main setting to focus on here is the directory where we’ll export the virtual machine. For this, I’ve created a folder called “vmtmp” in my home directory, where the “Debian.ova” file will be saved (more on that in a bit).
Before proceeding, however, make sure you have enough free disk space for the export. The process essentially duplicates the original virtual machine so that it will take up just as much space.
If your VM is particularly large—say, a few hundred gigabytes, as can be the case with some Windows VMs—you could run out of disk space. So, it’s worth double-checking beforehand.
Lastly, mark the “Write Manifest file” option, leave everything else at its default settings, and click “Finish.”
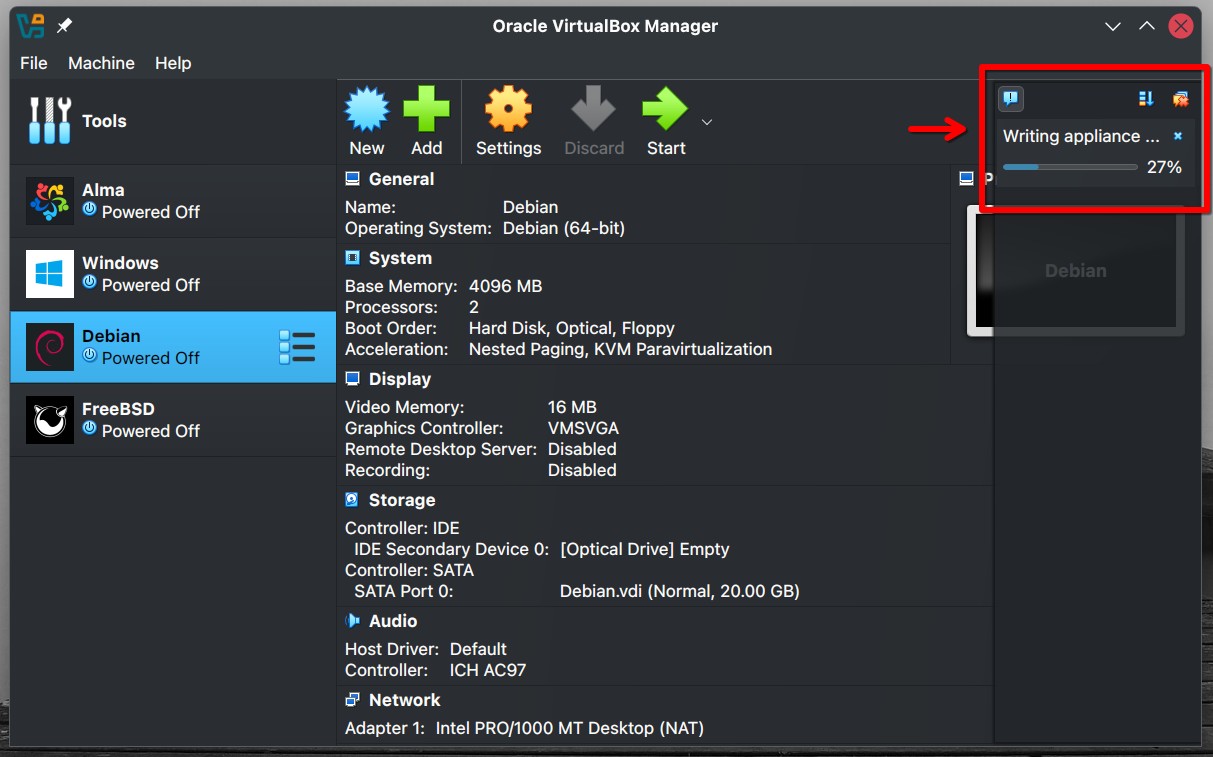
Once the export process begins, a progress indicator will appear on the right side of the VirtualBox application. The time it takes to complete depends on the size of the VM, so just sit tight and let it finish.
Once the process is complete, head over to the directory you chose for the export. There, you’ll find a file with the “.ova” extension (in our case, “Debian.ova“). Let’s say a few words to break it down and clarify exactly what just happened.
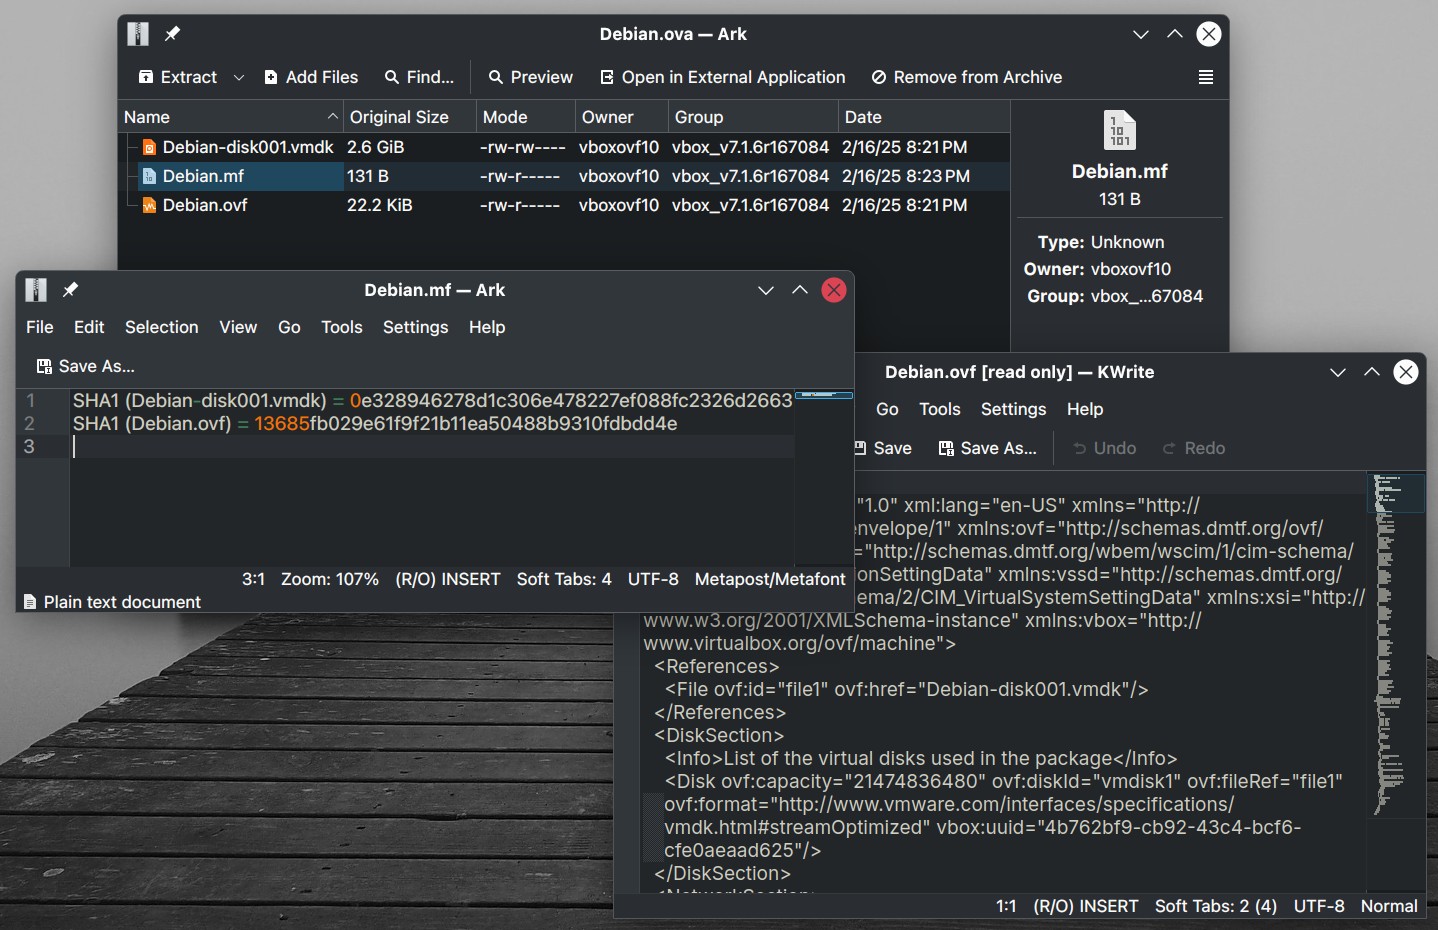
An OVA file (Open Virtualization Appliance) is a package used by VirtualBox (and other virtualization software) to distribute virtual machines. It is essentially a single archive file that contains everything needed to deploy a pre-configured VM, including:
- OVF file – Describes the VM’s settings and structure (in XML format).
- MF file (Manifest file) – Stores checksums for integrity verification.
- VMDK or VHD file – Contains the virtual hard disk of the VM.
If you’re curious, you can open it with your usual archiver. Inside, you’ll find the three files I mentioned above. The MF and OVF files are plain text, while the VMDK is binary.
Of course, this is just for your information. Whatever you do, do not try to modify these files—doing so (almost) guaranteed to result in an inability to import the VM.
So far, so good. Move the OVA file to the machine where you want to set up your VirtualBox VM. You can transfer it over the network or save it to a portable flash drive—whichever works best for you.
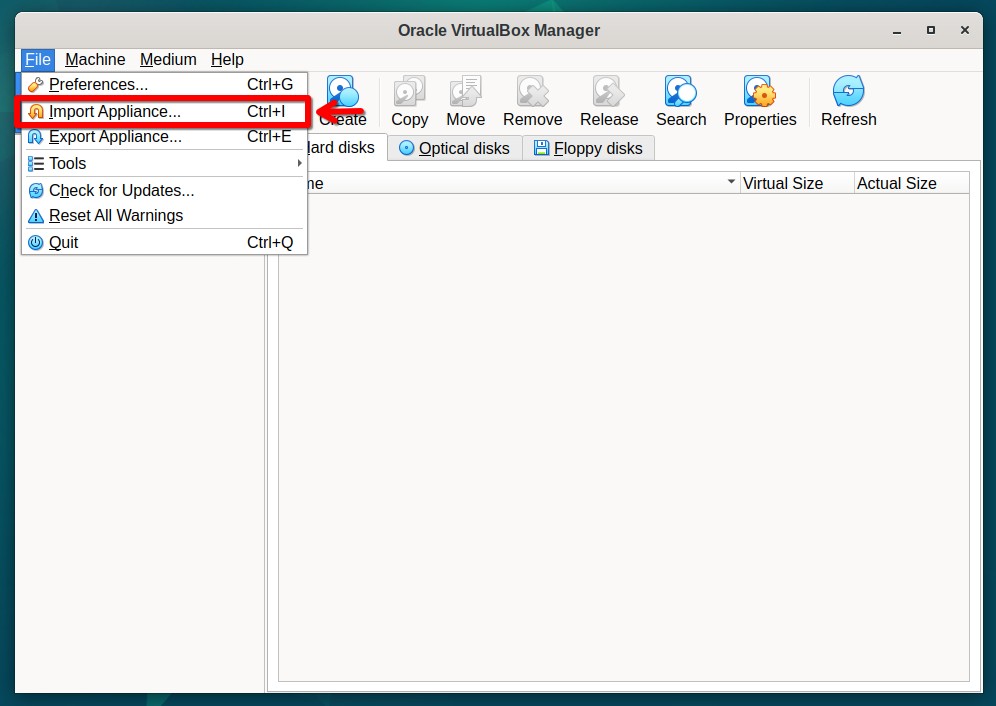
Select the “Import Appliance” option from the “File” menu.
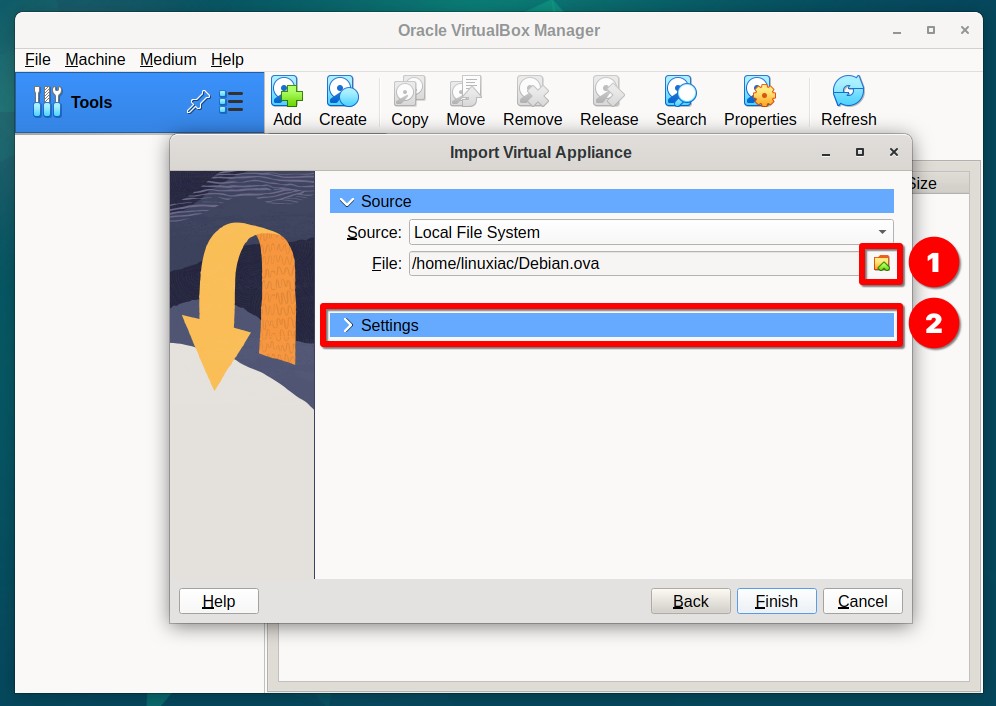
Click the icon next to the “File” box to browse for your OVA file. Once you’ve selected it, click on the “Settings” section.
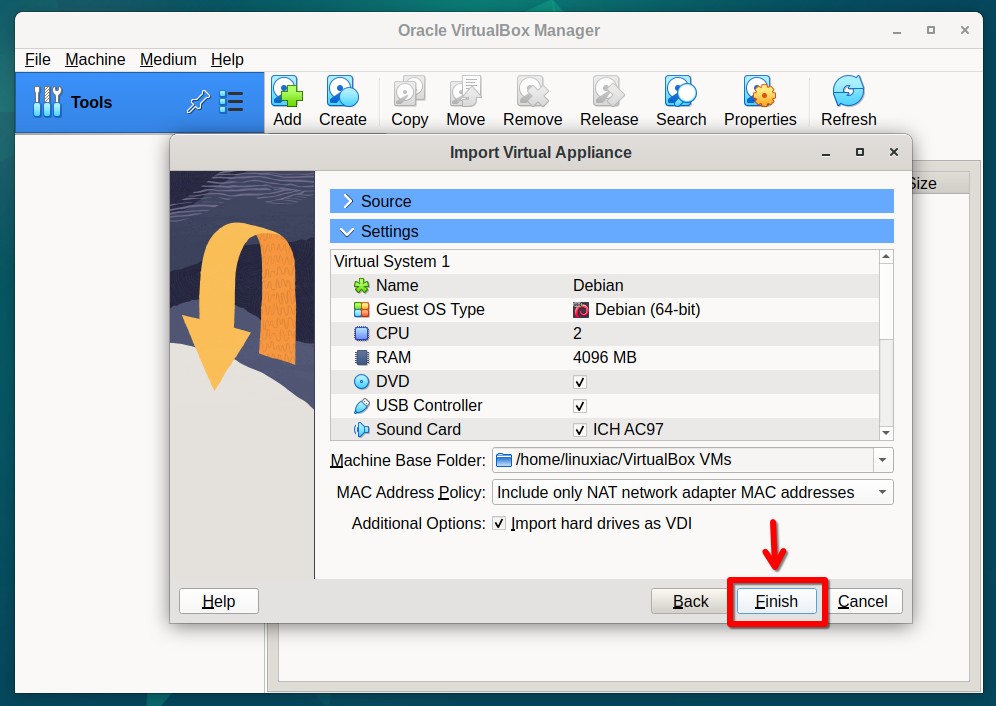
Here, you can review all the settings that will be imported for the virtual machine and make any changes if needed. Once you’re ready, just click “Finish” to confirm.
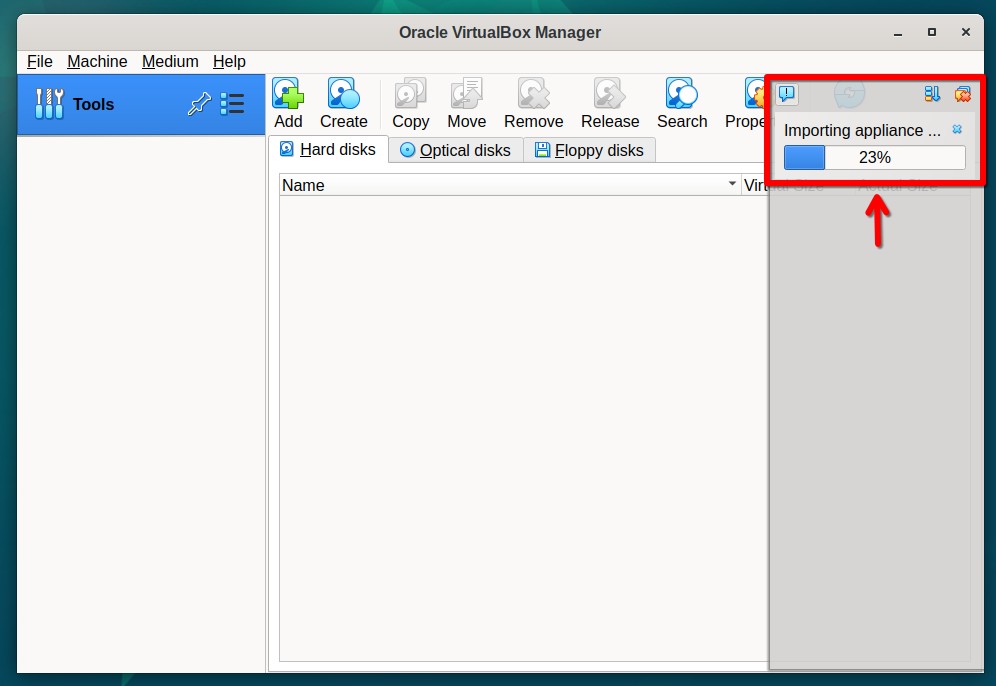
The import will start, and you’ll see a progress indicator on the right side of the app.
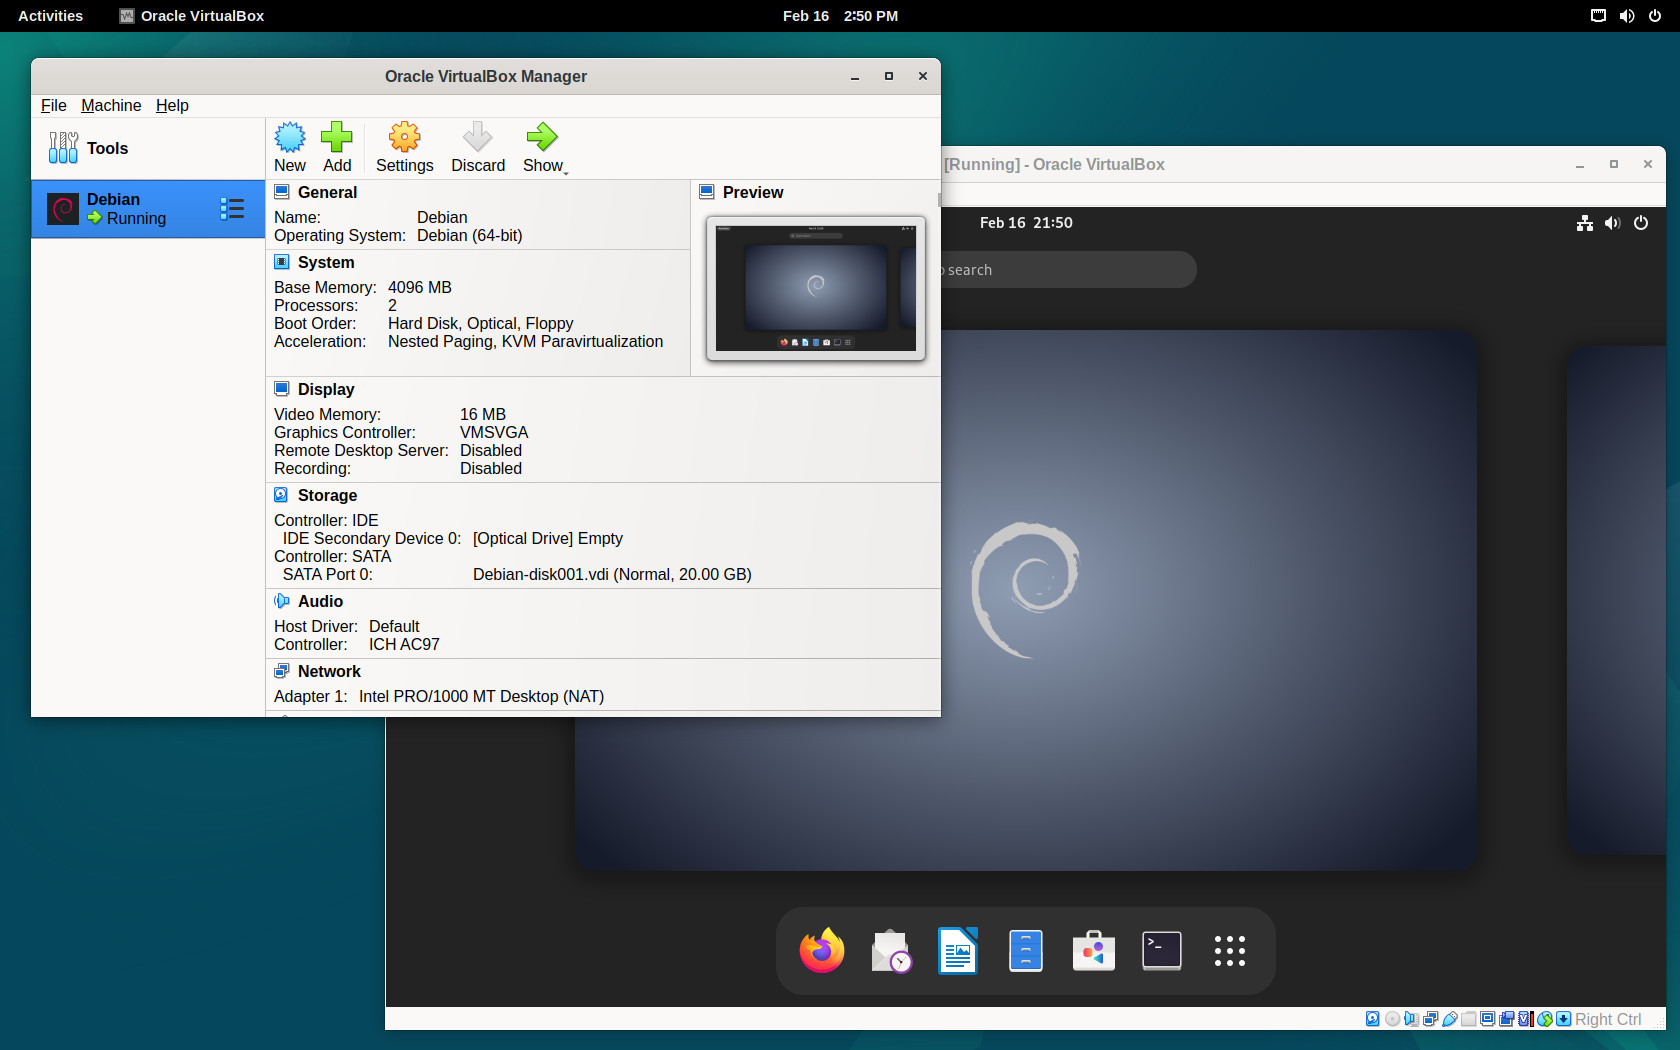
Once the process is complete, go ahead and hit the “Start” button—your VirtualBox virtual machine has been successfully transferred to another instance. Well done!
Move a VirtualBox VM to Another Instance (CLI Approach)
A lot of VirtualBox users think of it purely as a graphical application, not realizing that the GUI is just one part of the picture. Behind the scenes, VirtualBox has a powerful command-line interface that lets you do everything the GUI can—and even more.
Below, I’ll show you how to use the VBoxManage command to export a VirtualBox virtual machine and then import it onto another VirtualBox host. I personally find this method easier, but I’ll let you decide what works best for you.
First, let’s list the VMs:
VBoxManage list vmsCode language: Bash (bash)
As you can see from the command’s output, the virtual machine we want to transfer is named “Debian.” Now, use the following command to export the VM as an OVA file and specify the desired export path for it (you can name the file however you like):
VBoxManage export "Debian" -o /tmp/debian.ovaCode language: Bash (bash)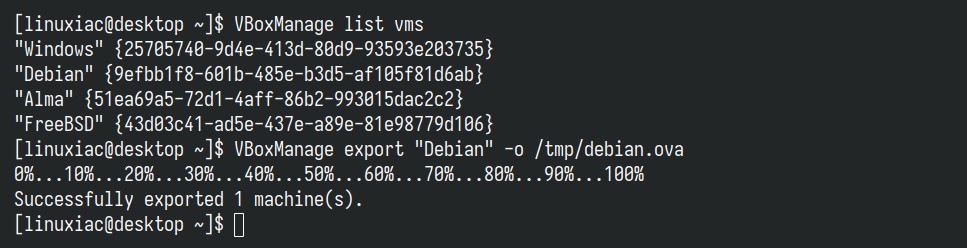
Now, transfer the OVA file to the other host machine in whatever way is easiest for you. Once it’s there (on the destination host), run the following command to import it, providing the full path to the file:
VBoxManage import /home/linuxiac/debian.ovaCode language: Bash (bash)
You’ll get messages about all the resources being created for the virtual machine. Once that’s done, the process will start, and you’ll see the progress right in the terminal. Just wait for it to finish, and then you’re all set.
In addition, if you’d like to import the virtual machine with a new name, just run the command below, replacing “My Linux VM” with your desired name. Then, open VirtualBox, and you’ll find your newly imported VM ready and waiting to be started.
VBoxManage import /home/linuxiac/debian.ova --vsys 0 --vmname "My Linux VM"Code language: Bash (bash)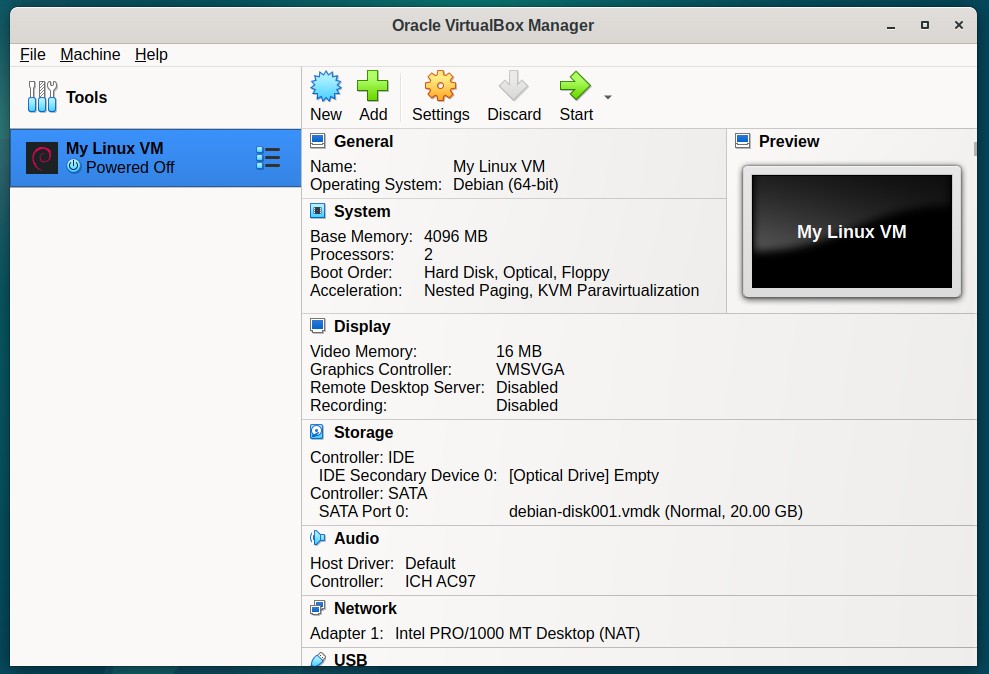
Conclusion
Migrating a VirtualBox virtual machine to another instance is an incredibly useful, time-saving feature in many situations. Just imagine having to set everything up from scratch instead—what a hassle that would be.
Whether using VirtualBox’s GUI or the CLI, ensuring a smooth transition without data loss is crucial, and this guide provides exactly that. By understanding both approaches, you can choose the method that best suits your workflow.
Finally, I recommend checking the official documentation for individuals who want to learn more about VirtualBox’s features and how to use them effectively.
Thanks for your time! Your feedback and comments are most welcome. Happy virtualizing!