
Visual Studio Code, commonly known as VS Code, is a popular source-code editor developed by Microsoft. Developers widely use it for its rich features, flexibility, and cross-platform compatibility.
In addition, VS Code supports various programming languages and provides extensions that enable developers to customize their workflow.
If you are an openSUSE user and want to install VS Code on your system, this article is for you. This article will quickly guide you through the VS Code installation process on openSUSE Leap or Tumbleweed.
By the end of this article, you will have VS Code up and running on your openSUSE system, ready for your coding projects.
Install Visual Studio Code on openSUSE
This guide will use the sudo command and assuming you have sudo privileges.
1. Refresh the Packages List
Before we install VS Code on our openSUSE system, we need to refresh the package list to ensure that the system is up-to-date with the most recent package versions available in the repositories. So, run the following two Zypper command-line package manager commands:
sudo zypper refresh
sudo zypper update
As a best practice, reboot your system after updating if the updates include a new kernel or if you’ve installed many updates. This ensures that all changes are applied, and your system runs smoothly.
2. Import Microsoft’s GPG Key
To ensure that the packages we receive to install the Visual Studio Code are genuine, we should download and import the Microsoft signed GPG keys on your openSUSE system.
To do so, type the following commands:
sudo rpm --import https://packages.microsoft.com/keys/microsoft.ascCode language: JavaScript (javascript)
3. Add Microsoft’s Visual Studio Code Repository
After importing the GPG keys, you must add the official Microsoft Visual Studio Code repository to your openSUSE system. This implies that the update package will be made available with the rest of our system’s regular updates if a new version is released.
To accomplish it, type the command shown below.
sudo zypper addrepo https://packages.microsoft.com/yumrepos/vscode vscodeCode language: JavaScript (javascript)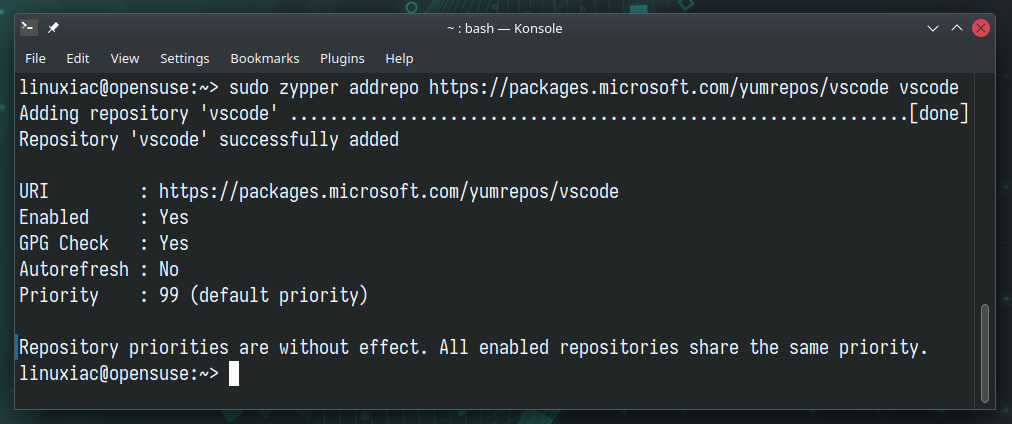
3. Run System Update
Before installing VS Code on your openSUSE system, you should update the packages list. So, run the below command to update the software repositories index.
sudo zypper refresh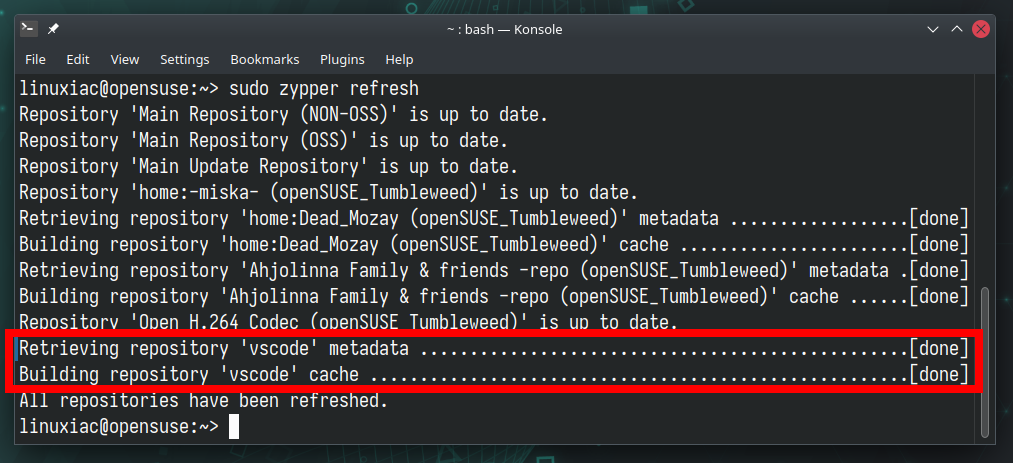
As you can see, your new Microsoft Visual Studio Code repository is now available and ready to be used.
4. Install VS Code on openSUSE Leap & Tumbleweed
Everything is already prepared for the actual installation. Now, to install VS Code on your openSUSE system, run the following commands:
sudo zypper install code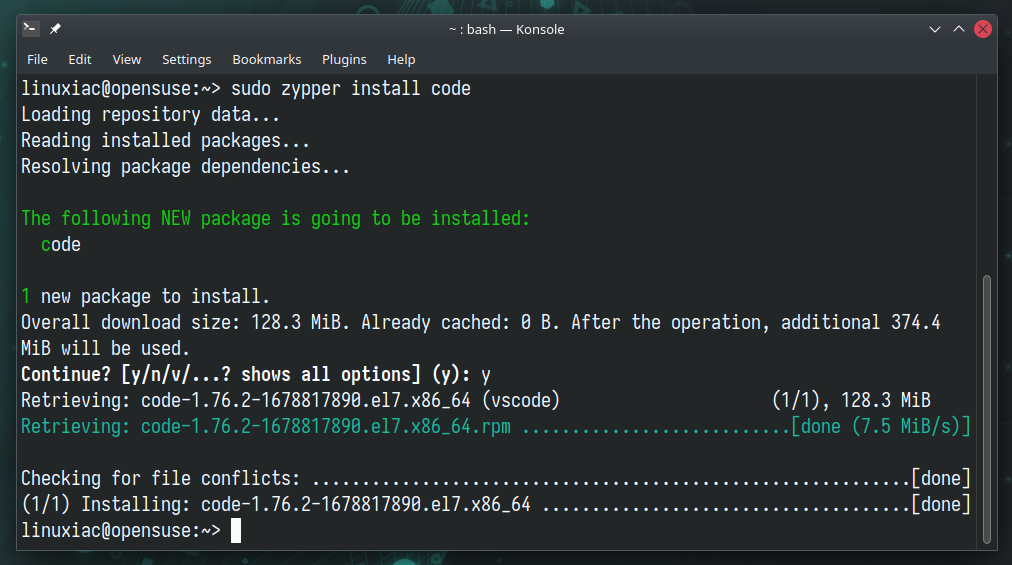
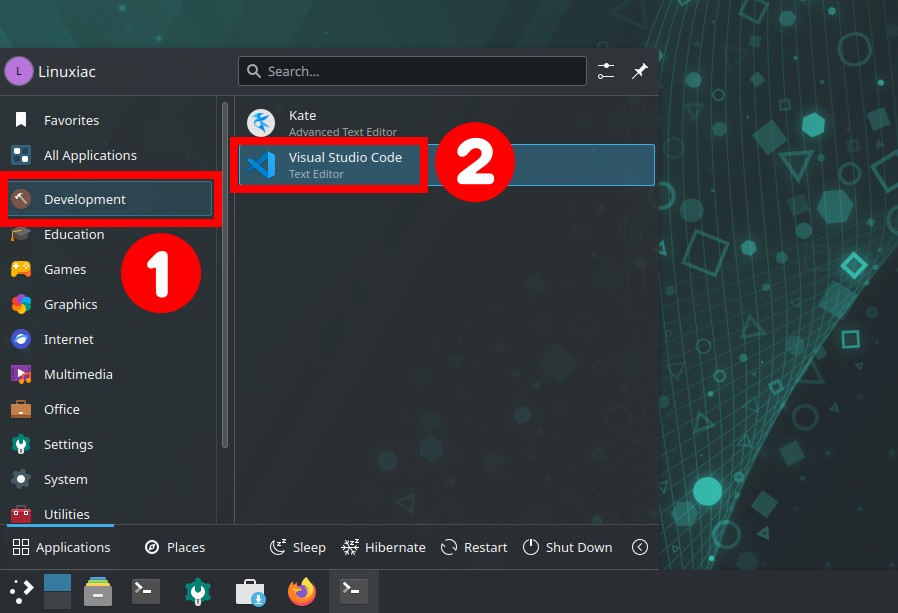
5. Launch VS Code
That’s all! You can start using VS Code by launching it from the “Start Menu,” “Development,” and picking “Visual Studio Code.”
When you start VS Code for the first time, a window like the following will appear:

When setting up your interface, you will be asked to choose a theme and have the ability to personalize your IDE to match your preferences. For example, you can modify font size, color scheme, and layout settings. Furthermore, you can install extensions that expand the IDE’s capabilities and features.
Doing so will allow you to customize your development environment according to your requirements, making your coding experience more efficient and enjoyable.
Uninstall VS Code
If you uninstall Visual Studio Code from your openSUSE Leap or Tumbleweed system for any reason, you can do it easily by running the provided Zypper command below:
sudo zypper remove code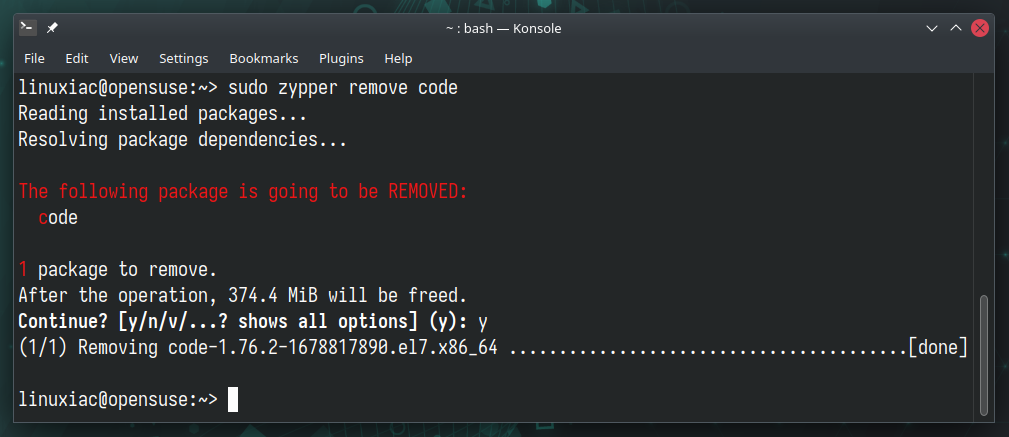
Conclusion
Installing Visual Studio Code on openSUSE Leap or Tumbleweed is a straightforward process that can be accomplished with a few simple steps. Following the instructions outlined in this article, you can easily install and set up the code editor, customize it to your preferences, and begin coding immediately.
With its intuitive user interface, an extensive list of features, and a vast library of extensions, Visual Studio Code is an excellent choice for developers of all levels looking to streamline their workflow and enhance their coding experience. So don’t hesitate to try it and see how it can improve your productivity and efficiency today!
If you have any questions, please leave them in the comments section below. To learn more about Visual Studio Code, visit its official documentation page.


Thanks from Zimbabwe!
Many Thanks from Germany!
Thank you very much. It works perfectly!