
VirtualBox is a powerful, free, open-source software that allows you to run multiple operating systems inside virtual machines on top of your OS, each acting like a separate computer.
It’s an excellent tool for testing new software or learning about different operating systems, all within the safe confines of your existing computer.
If you’ve navigated the adventurous waters of installing Arch Linux – a feat often regarded as a challenge in the Linux community – you’re well-prepared for the journey ahead.
This guide is designed to be straightforward and user-friendly, making setting up VirtualBox on your Arch system a breeze. So, let’s dive into virtualization on one of the most esteemed Linux distributions!
Step 1: Install VirtualBox Dependencies
First, you need to install some dependencies, specifically the “virtualbox-host-modules-arch” package. It contains the necessary kernel modules (vboxdrv, vboxnetadp, and vboxnetflt) that allow VirtualBox to interact with the Linux kernel.
Using the well-known Pacman package manager, run:
sudo pacman -S virtualbox-host-modules-arch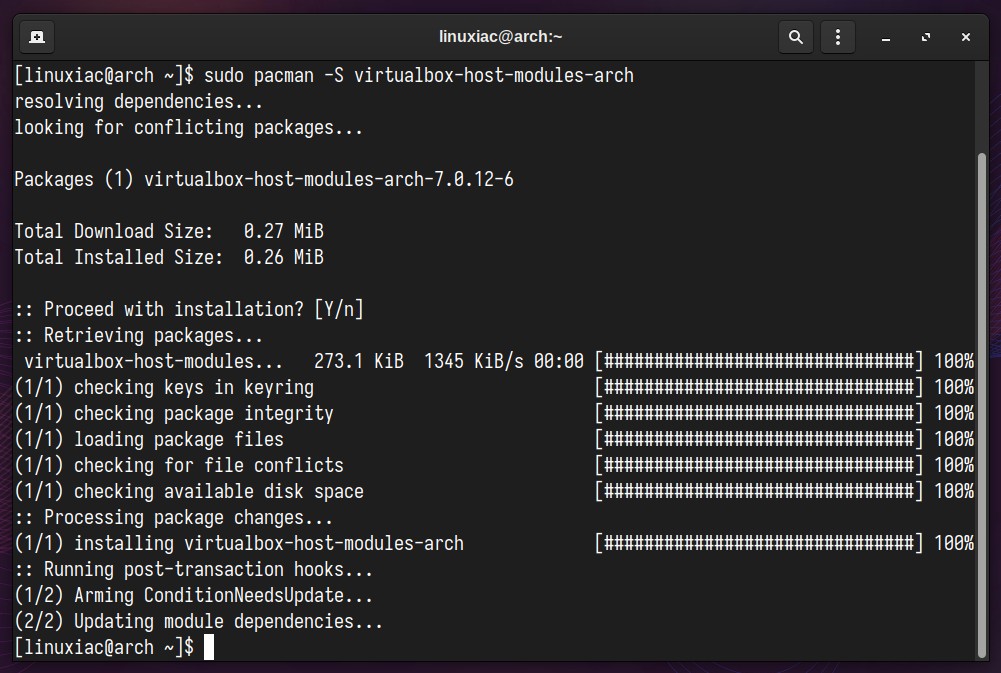
Step 2: Install VirtualBox on Arch Linux
Everything is already prepared for the actual installation. Now, to install VirtualBox on your Arch system, run the following commands:
sudo pacman -S virtualbox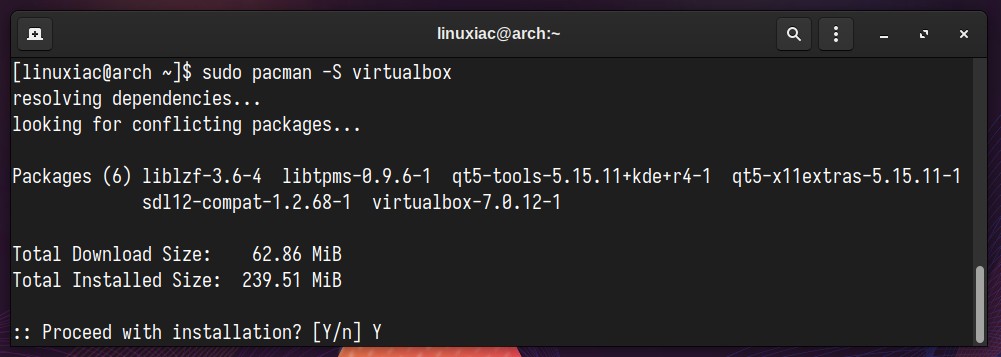
Currently, our installation is prepared and ready for use. You have two options if you want to try it out right now. Firstly, you must manually load the required VirtualBox’s modules with the command:
sudo modprobe vboxdrvAlternatively, rebooting your Arch system will automatically load them. However, it’s highly advisable to proceed with the subsequent instructions outlined below for a fully functional and user-friendly VirtualBox experience.
Step 3: Install VirtualBox Extension Pack
This is an optional step, but we strongly encourage it because it will make working with VirtualBox on your Arch box more straightforward and convenient.
The Extension Pack enhances the capabilities of the VirtualBox base package, providing additional features that are useful for both personal and enterprise use. These typically include:
- USB 2 and USB 3 support
- VirtualBox Remote Desktop Protocol (VRDP)
- Host webcam passthrough
- Disk image encryption with AES algorithm
- Intel PXE boot ROM
- Support for NVMe SSDs
Let’s highlight one peculiarity here. The VirtualBox Extension Pack’s version is strongly recommended to match the VirtualBox’s installed version.
So, to verify the exact version of the installed locally VirtualBox, you can use vboxmanage, a build-in VirtualBox’s command:
vboxmanage -v | cut -dr -f1
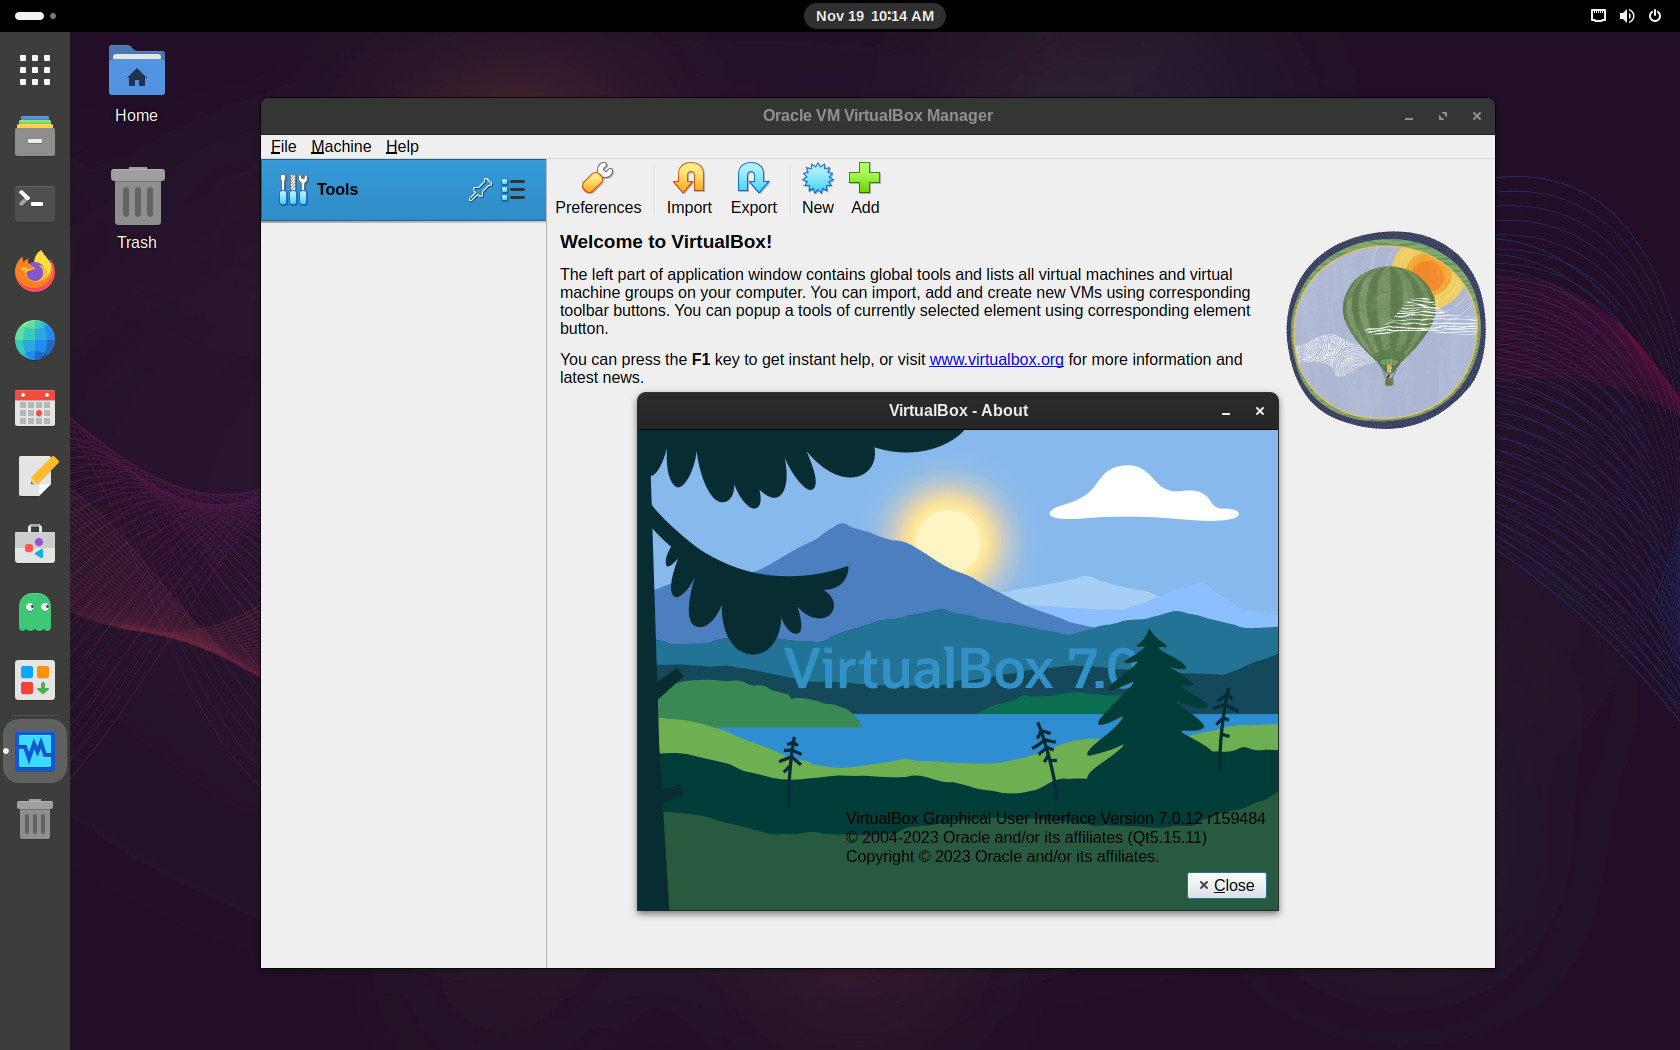
As you can see, the version of VirtualBox installed is “7.0.12.” Therefore, you must then download the Extension Pack with the same version. So, use the below wget command to download the appropriate Extension Pack for VirtualBox.
If your installation is different, replace both places containing “7.0.12” in the command below with the appropriate version. In addition, you can also go straight to the downloads page and look at the available versions.
wget https://download.virtualbox.org/virtualbox/7.0.12/Oracle_VM_VirtualBox_Extension_Pack-7.0.12.vbox-extpackCode language: JavaScript (javascript)Next, to install the VirtualBox Extension pack, run the vboxmanage command as follows:
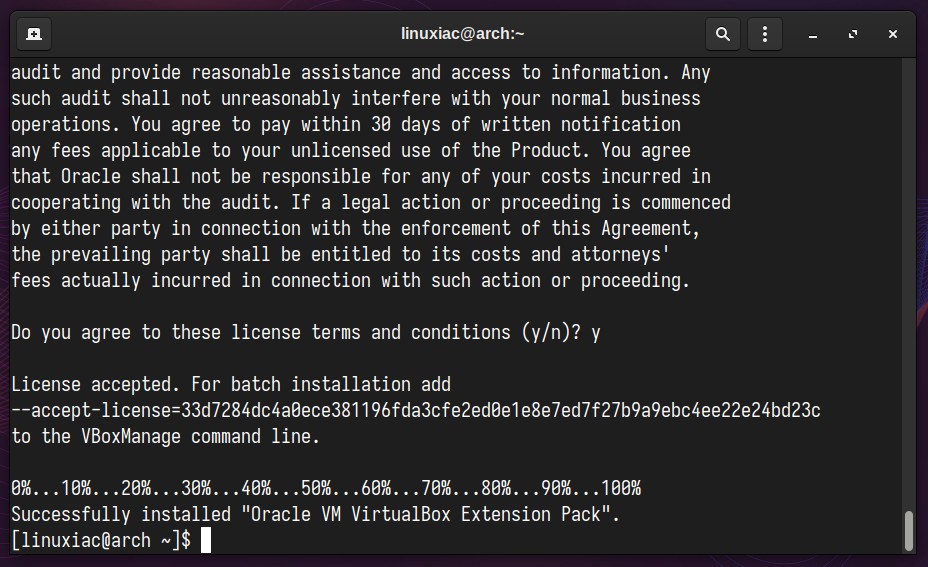
sudo vboxmanage extpack install Oracle_VM_VirtualBox_Extension_Pack-7.0.12.vbox-extpackCode language: CSS (css)You will be prompted to agree to Oracle’s license terms and conditions. So, type “y” to confirm and press “Enter.”
Additionally, you can verify installed VirtualBox’s extension pack version by running the following:
vboxmanage list extpacksCode language: PHP (php)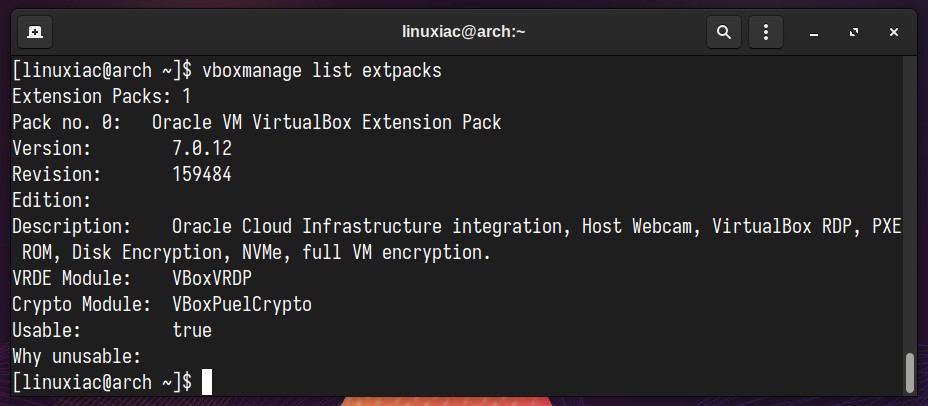
Step 4: Add User to vboxusers Group
Before using VirtualBox, add your user account to the “vboxusers” group. This is quick and simple to accomplish by running:
sudo usermod -aG vboxusers $USERCode language: PHP (php)Now, perform a reboot. After login, check that you are in the “vboxusers” group with this command:
groups $USERCode language: PHP (php)
Step 5: Running VirtualBox on Arch Linux
You can start using VirtualBox by launching it from the desktop environment’s application launcher.

Bottom Line
By following the steps in this article, users can easily install VirtualBox on their Arch Linux system, whether they are beginners or seasoned Linux enthusiasts.
For detailed and thorough insights on all aspects of this exceptional rolling release distribution, refer to our article “Arch Linux: Everything You Need to Know About It” for valuable information.
We hope this guide has been informative and helpful in getting you started with VirtualBox on Arch Linux. As always, the Arch’s community and VirtualBox’s extensive documentation are valuable resources for troubleshooting and further learning.
Thanks for your time! Your feedback and comments are most welcome. Happy virtualizing!


Update July 2025 : where mentioned , replace “Oracle_VM_VirtualBox_Extension_Pack” with “Oracle_VirtualBox_Extension_Pack”
Thank you .. you just make my life easier 😍
Thank you, perfect instructions.
Perfection – it worked exactly as noted in the instructions. Thank you!
hey bob iam actually on arch and usinf linux lts kernel, virtual box works fine also the vms work well but when i try to fullscreen kali vm the screen goes black! i have no idea i tried sm stuff but it doesnt work. thanks for ur time
Thanx, this worked fine.
I’ll go find an iso to make VM.
Thanks again Bobby for a nice and informative tutorial. I am running the zen kernel on my main system and have used virtmanager up until now w/o but want virtualbox. Are there any specific considerations when using the zen kernel with box?
Hi Jeff,
The peculiarity is that if you are using a different kernel than the default Аrch one, in Step 1, instead of the “virtualbox-host-modules-arch” package, you need to install “virtualbox-host-dkms” which will allow automatic compiling of the VirtualBox’s “vboxdrv” module when the kernel is updating.
Best,
Bobby
Gnome boxes is much faster and easier than VirtualBox, just install and use
Hi,
Thanks for replying so soon. It seems my problem was to do with installing the correct headers. I had uplaoded them but not properly installed them. Whe I did this:
>sudo apt install linux-headers-$(uname -r) dkms -y
It worked fine.
I am still having problems mopunting virtual disk images but otherwise thoings are OK.
Thanks.
PS shoudl have explained I am using Debian 12 Linux
Hi,
All worked fine and the VM comes up beautifully. However when I try to install an OS I get the following:
Kernel driver not installed (rc=-1908)
The VirtualBox Linux kernel driver is either not loaded or not set up correctly. Please try setting it up again by executing
‘/sbin/vboxconfig’
as root.
If your system has EFI Secure Boot enabled you may also need to sign the kernel modules (vboxdrv, vboxnetflt, vboxnetadp, vboxpci) before you can load them. Please see your Linux system’s documentation for more information.
where: suplibOsInit what: 3 VERR_VM_DRIVER_NOT_INSTALLED (-1908) – The support driver is not installed. On linux, open returned ENOENT
What is this? I have followed your guide exactly and I have checked that everything is as it should be so what is missing? Any ideas?
My friend, this is simpler than it sounds, this error means that because of Secure Boot the virtual box does not have direct access to the kernel.
You need to enable access, just go to the folder described in the error: /sbin/vboxconfig open a terminal there in the folder with a right click and simply run vboxconfig using: sudo ./vboxconfig
Hi John,
What does the command “
sudo lsmod | grep vboxdrv” return? The expected output should be:vboxdrv 692224 2 vboxnetadp,vboxnetf
You don’t have the vboxdrv driver loaded. Try “
sudo modprobe vboxdrv” as described in step two of this guide. By any chance, are you using Arch’s linux-lts kernel?Best,
Bobby