Dropbox is a popular cloud storage service that lets you save files online and sync them to your devices. It is an excellent choice for anyone seeking an easy-to-use, low-cost cloud storage platform.
This article will show you how to install Dropbox in Ubuntu 22.04, with the caveat that the steps are the same for all other versions of Ubuntu.
Step 1: Get Ubuntu Dropbox Installer
The first step is to get the Dropbox application’s installation file for our Ubuntu system. So, go to the Dropbox website and choose the 64-bit (.deb) file version for Ubuntu for download.
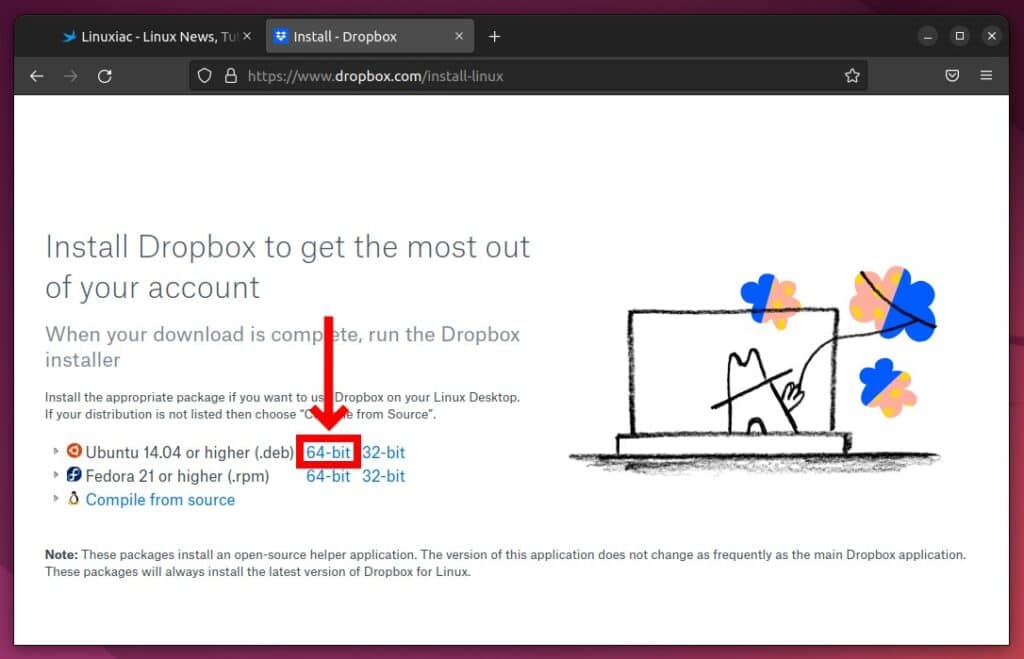
A file with a .deb extension is a Debian Software Package file. If you are interested in getting into detail about installing .deb files in Ubuntu, our excellent guide “How to Install deb Files in Ubuntu [with Examples]” may help you.
Once the system has finished downloading the Dropbox installer, the installation process is next.
Step 2: Install Dropbox Installer on Ubuntu
We should clarify that the downloaded package does not install the Dropbox application itself but just its installer. In other words, we must first install it and then run it to install the Dropbox desktop client for your Ubuntu system.
Navigate to your “Downloads” directory, find the Dropbox installer package, right-click on it and choose the “Open With Software install” option.
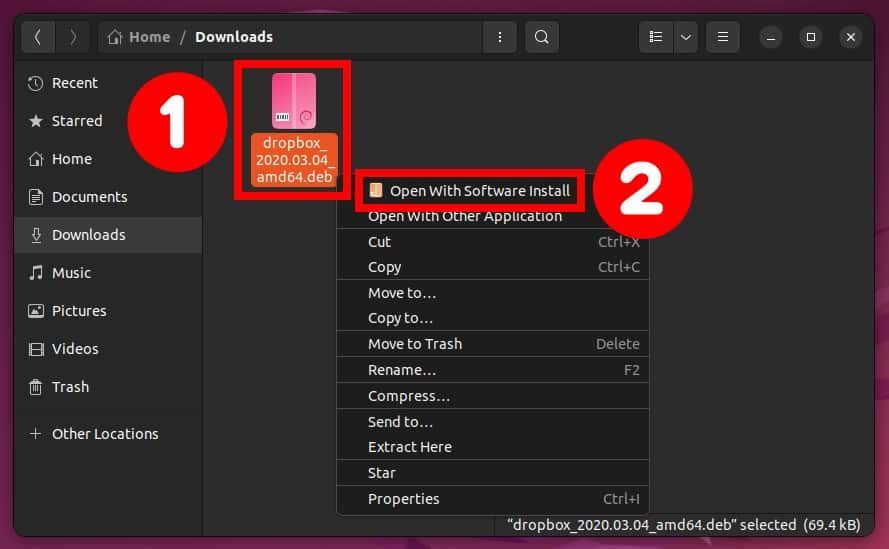
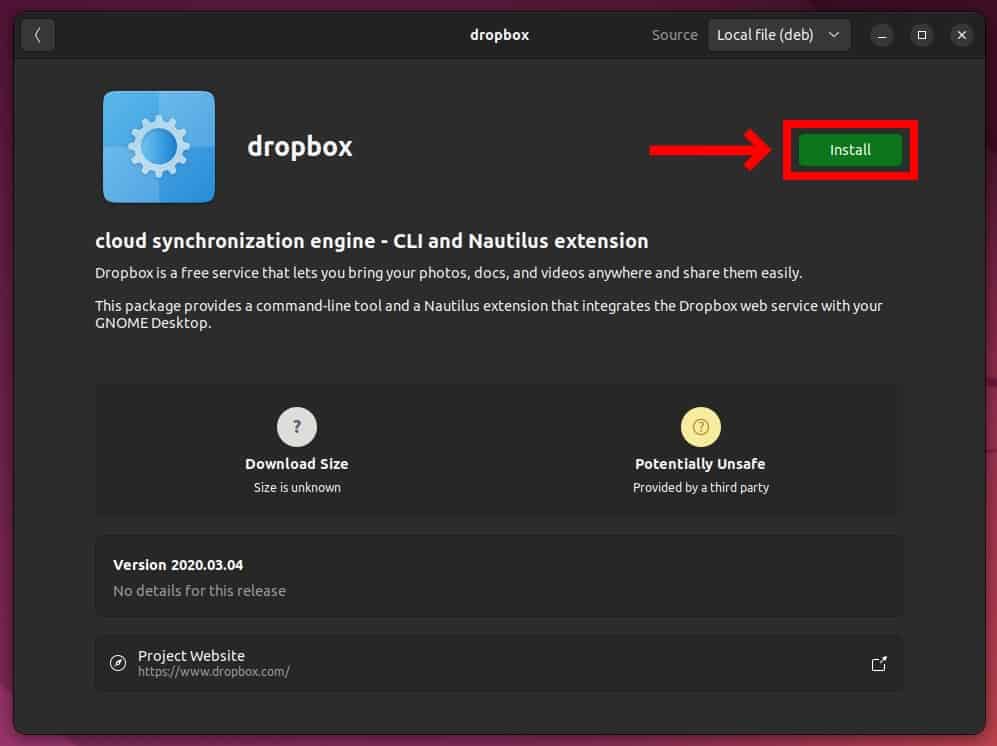
The Ubuntu software application will open the file and allow you to install it. Click the “Install” button to begin the installation.
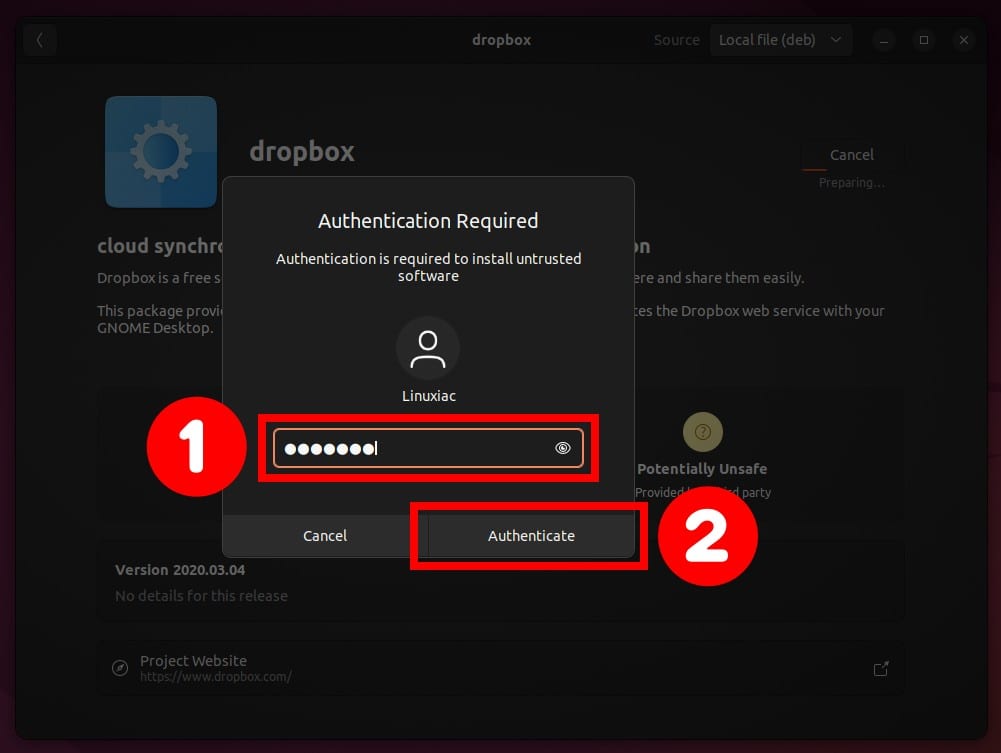
Enter your user password when prompted and hit “Authenticate.”
Wait for the installation to complete then you can close the window.
Step 3: Run Dropbox Installation
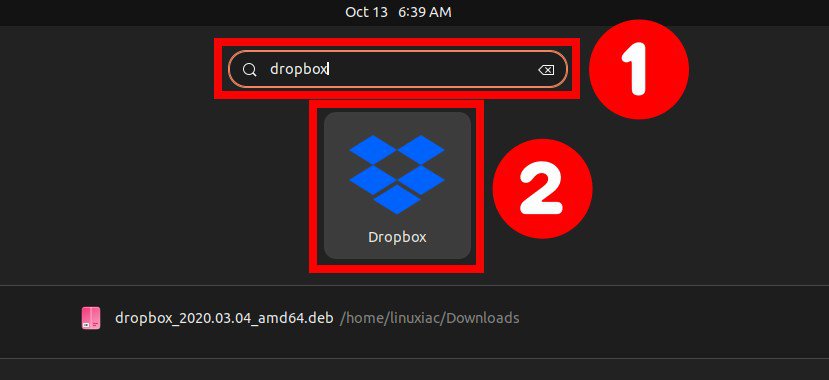
Once installed, you can start Dropbox installation from the application menu. Type “dropbox” and click on the icon when it appears.
An informational pop-up window appears the first time you run it. To proceed, click “OK.”

The Dropbox installation on your Ubuntu system will begin. It will be finished quickly, in less than a minute. So, please wait for it to be complete.

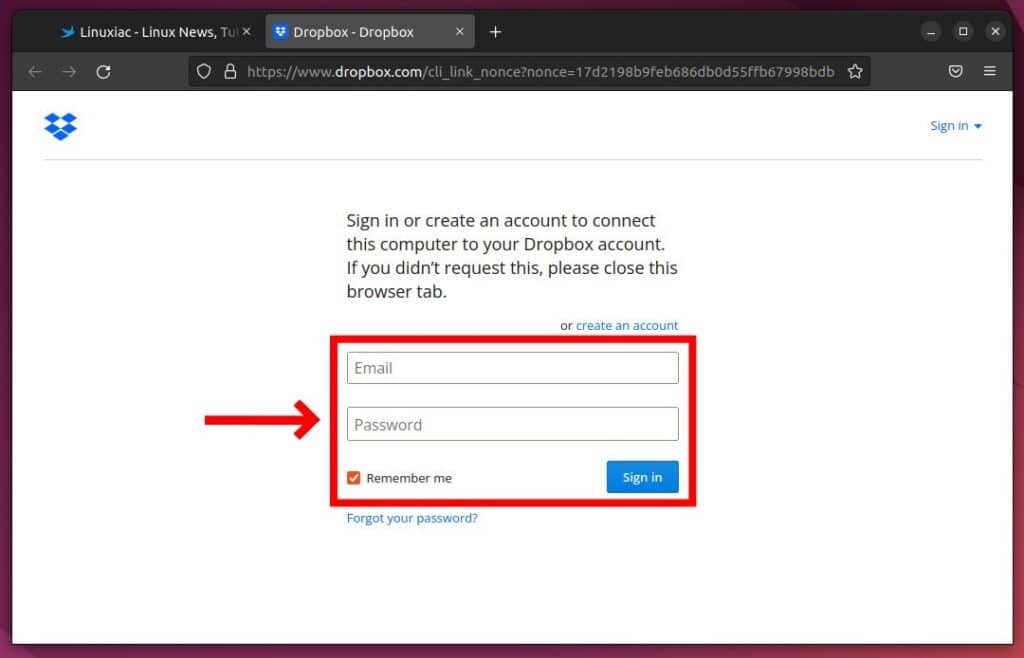
Once Dropbox is installed, it will launch your default browser and show the Dropbox login screen, where you must enter your Dropbox account username and password. Keep in mind that Dropbox will not function until you properly sign in.
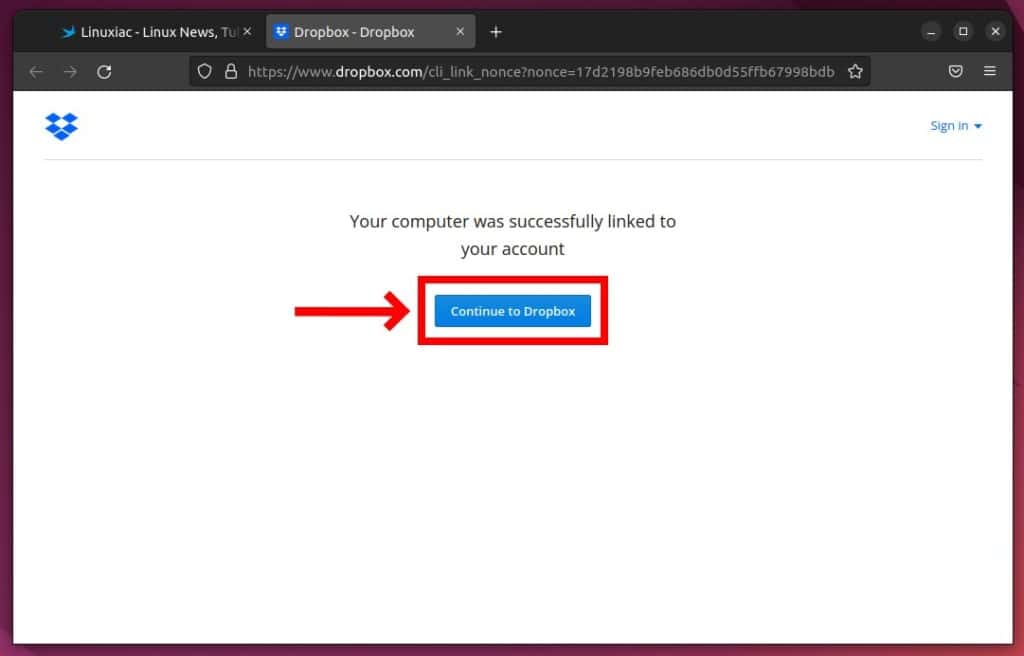
You are done once you successfully authenticate. A message will notify you that your Dropbox account has been successfully connected. Clicking on “Continue to Dropbox” will take you to your Dropbox account.
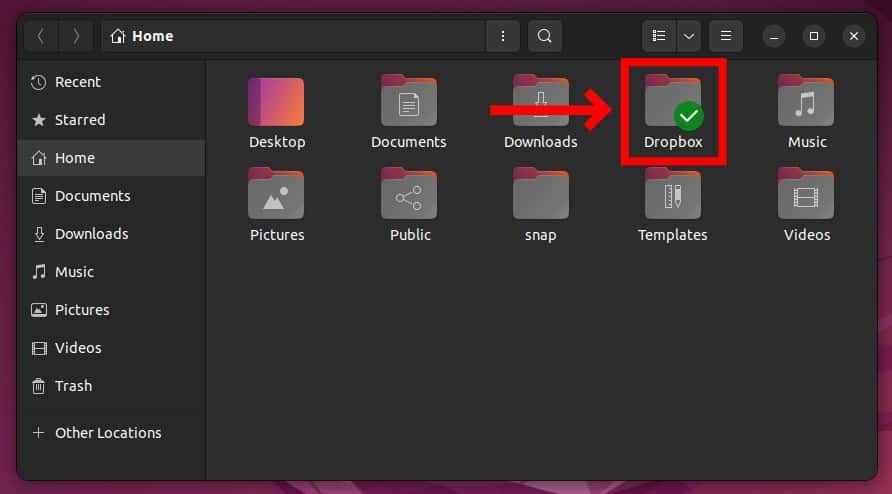
Now you should see a Dropbox folder created in your home directory, and your files from the cloud should begin to show here.
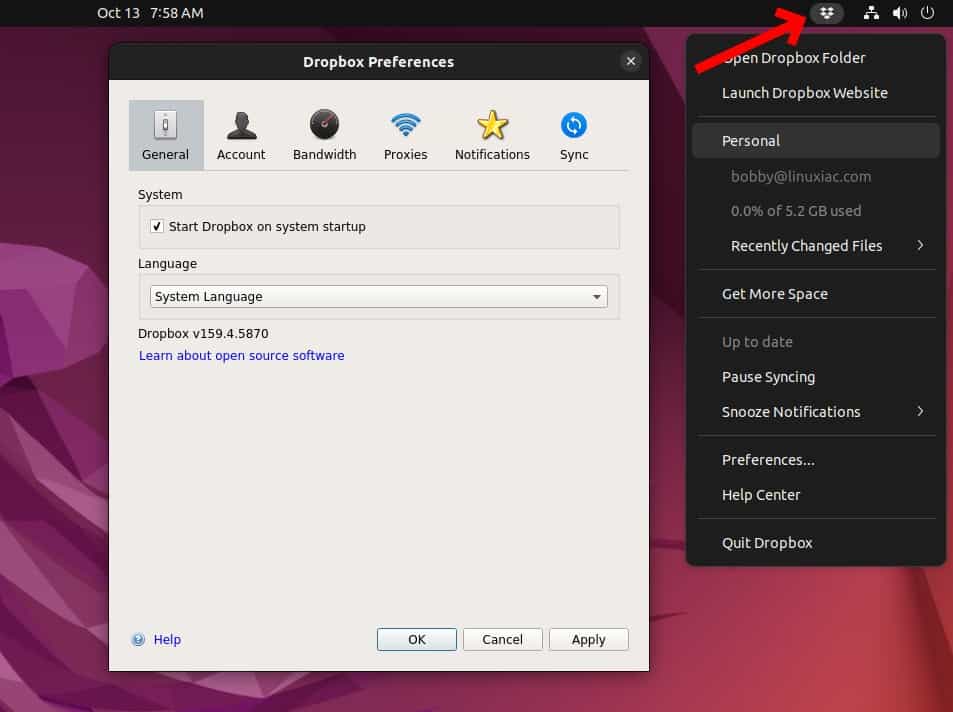
Furthermore, the Dropbox icon will appear in the system tray area of your Ubuntu system, and by clicking on it, you may manage your Dropbox instance.
Conclusion
This tutorial showed you how to install one of the world’s most popular cloud storage services, Dropbox, on Ubuntu 22.04 LTS.
It should be noted that the free Dropbox version allows for a maximum of three devices to be connected simultaneously. If you reach this limit, you must unlink one of them before joining the new one.
This limitation, however, can be bypassed by using an alternative Dropbox client, such as Maestral. Our comprehensive “Maestral Dropbox Client, How to Install and Use It on Linux” article will come in handy if you choose to go this way.
Thank you for using this guide. Feel free to share your thoughts in the comments box below.
