
Linux is a powerful operating system that offers various tools for managing software packages. The APT (Advanced Package Tool) command is one of the most popular.
So, if you are a Debian, Ubuntu, or Linux Mint user, APT allows you to easily install, update, and remove software packages from your Linux system.
However, for beginners, APT can be overwhelming. That’s why we’ve put together this article to provide real-world examples of how to use the APT command in Linux.
Whether you’re a novice or an experienced Linux user, these examples will help you to master the APT command and simplify your package management tasks. So, let’s dive in and explore the power of APT!
What is APT Command in Linux?
APT (Advanced Package Tool) is a command-line tool that is used for easy interaction with the dpkg packaging system in Debian and Debian-based Linux distributions like Ubuntu. It is a collection of tools distributed in a package named apt, aiming to simplify the process of managing software.
At the same time, dpkg, the Debian packages manager, is responsible for packing the software in an easy-to-install package. So, when apt is used, it invokes the dpkg program to install or remove applications while including additional functions as a dependencies resolution.
In other words, apt acts as a user-friendly layer that interacts with the dpkg packaging system. It is a powerful package management tool that can be used to search, install, update, upgrade, and manage packages in Ubuntu, Debian, Linux Mint, or any other Debian or Ubuntu-based distributions.
In addition, it automatically manages package dependencies, installing required software as needed and removing it when no longer required.
How to Use APT Command in Linux
Remember that most of the apt commands must be run by a user with sudo privileges.
Fetch Updates
Before any operations with apt, we must ensure that our local copy of the package database is up-to-date. Without this, the system won’t know whether newer packages are available.
The apt update command downloads up-to-date information about available software packages:
sudo apt update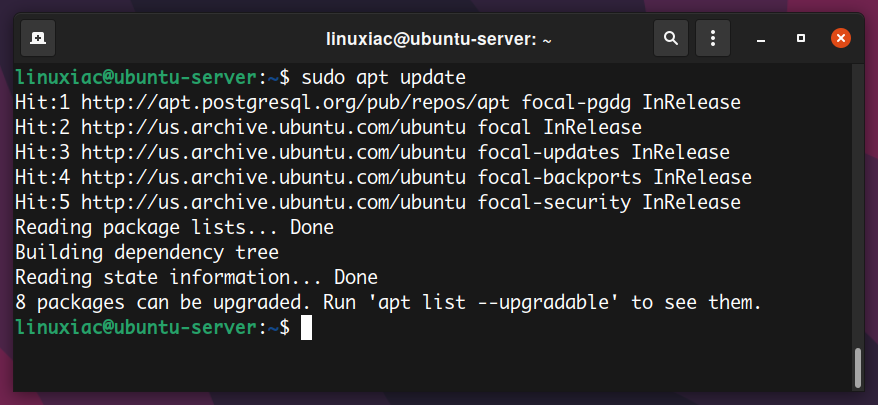
This downloads the latest up-to-date software packages and their metadata – package names, version numbers, etc.
List Available Updates
You can view the list of packages that have a newer version ready to be upgraded. For this, run the following apt command:
apt list --upgradeableCode language: PHP (php)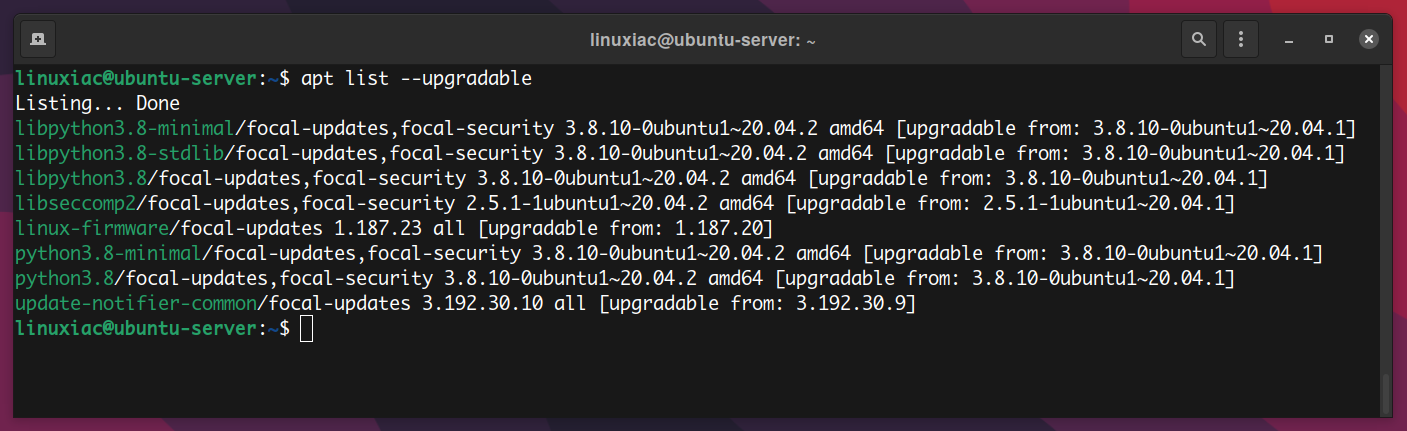
apt list --upgradeable is a hint always displayed at the end of the output of the apt update command.
Upgrade Packages
Running an apt upgrade will update all the packages that have a new version available. Remember that you need to perform an apt update before the apt upgrade command so that apt knows that new versions of packages are available.
sudo apt upgrade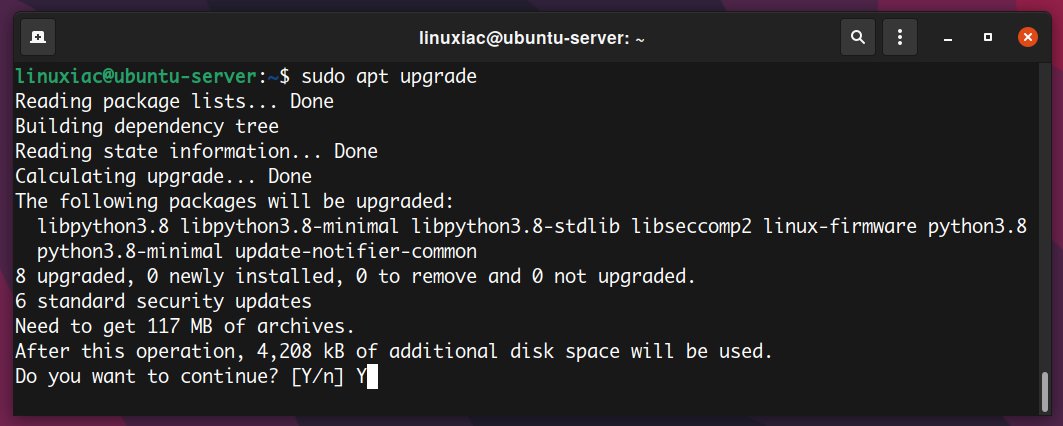
Full System Upgrade
The common difference between an apt upgrade and an apt full-upgrade is that a full-upgrade will remove the installed packages if needed to upgrade the whole system.
For example, this is useful when upgrading from Debian version 10 to 11.
sudo apt full-upgrade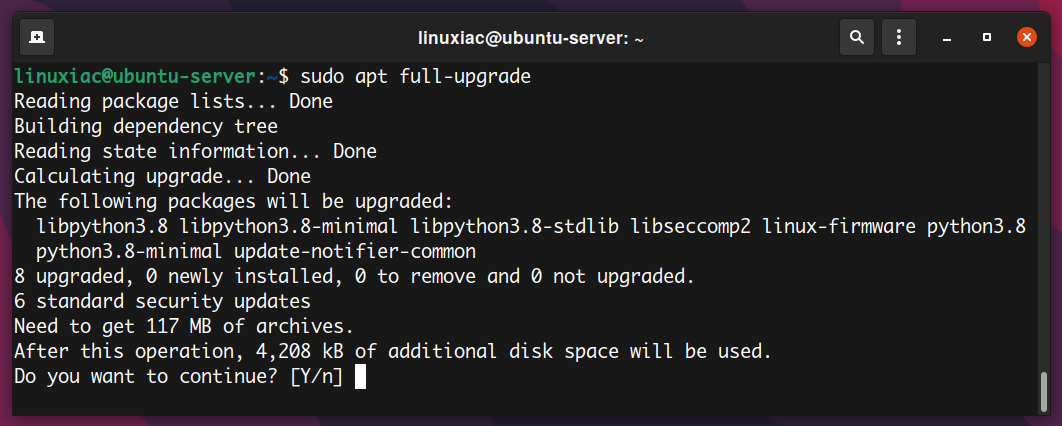
Commands with full-upgrade require special care to be used safely, and there’s no good reason even for experienced users to run them routinely.
Installing New Packages
Installing a new package is one of the most common uses of the apt command. So, once your packages database is updated, you can install any packages with the apt install. For example, let’s install Nginx Web Server:
sudo apt install nginx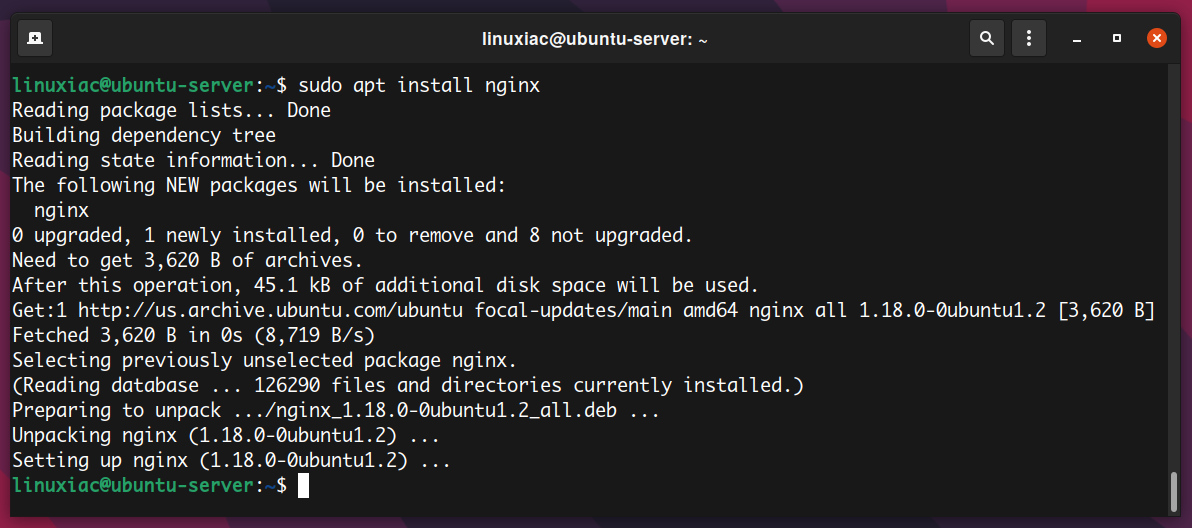
If you want to install multiple packages at once, for example, nginx and firewalld, specify them as a space-separated list:
sudo apt install nginx firewalld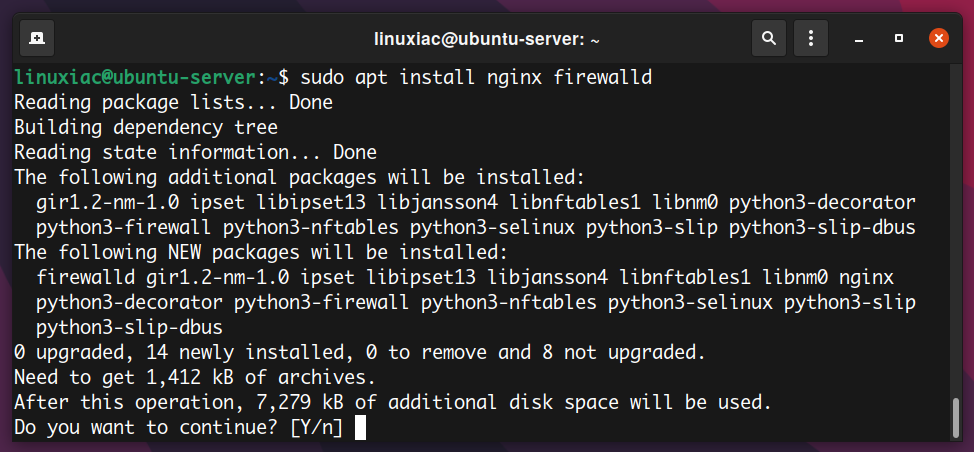
Simulating Installation
There are situations when you want to know in advance which packages the apt command will install on your system. In these cases, the “-s” option comes in handy because it allows you to simulate an actual installation by showing the full list of actions that apt will execute without actually performing any of them.
For example, simulating the installation of the “lighttpd” package looks like this:
sudo apt install lighttpd -s
Removing Packages
To remove (uninstall) an installed package, use the apt remove command. For example, to remove a “nginx” package, enter the following apt command:
sudo apt remove nginx
You can also specify multiple packages, separated by spaces:
sudo apt remove nginx firewalld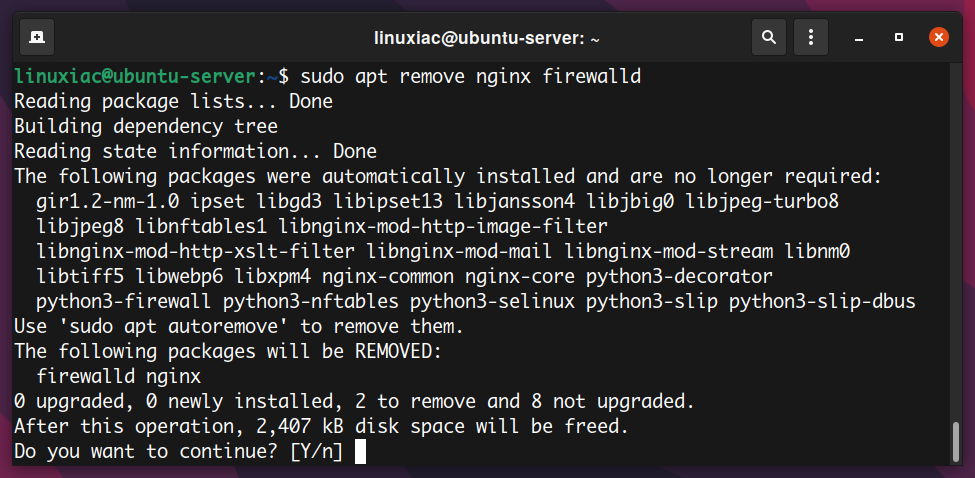
We can also easily remove packages with the apt purge command. The primary difference is that the apt remove command will uninstall the given packages, leaving its configuration files behind.
Whereas apt purge not only removes the package but also removes all configuration files outside the home directory.
sudo apt purge nginx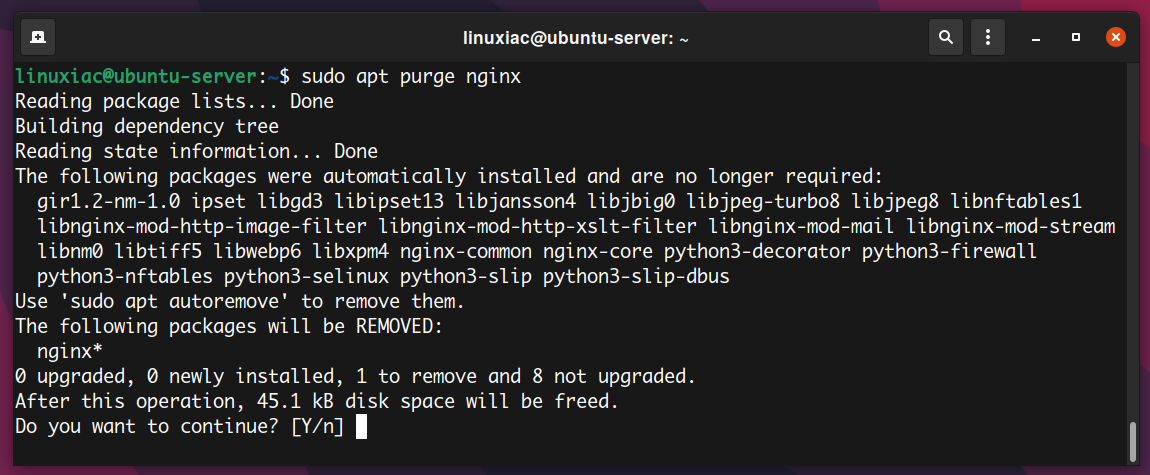
Remove Unused Dependencies
When a package is installed, the APT package manager automatically installs any additional packages required to function correctly. These additional packages are known as dependencies.
However, as software is updated and removed, dependencies can accumulate on the system, which is no longer needed by any installed packages.
The apt autoremove command will remove any packages automatically installed as dependencies for other packages that are no longer needed. This way, you free up disk space and reduce clutter in the system.
sudo apt autoremove
Additionally, to remove packages alongside their associated configuration files, add the “--purge” option to the command.
sudo apt autoremove --purgeSearching Packages
The apt search command allows you to search for a given package in the list of available packages. For example, to search for nginx packages, enter:
apt search nginx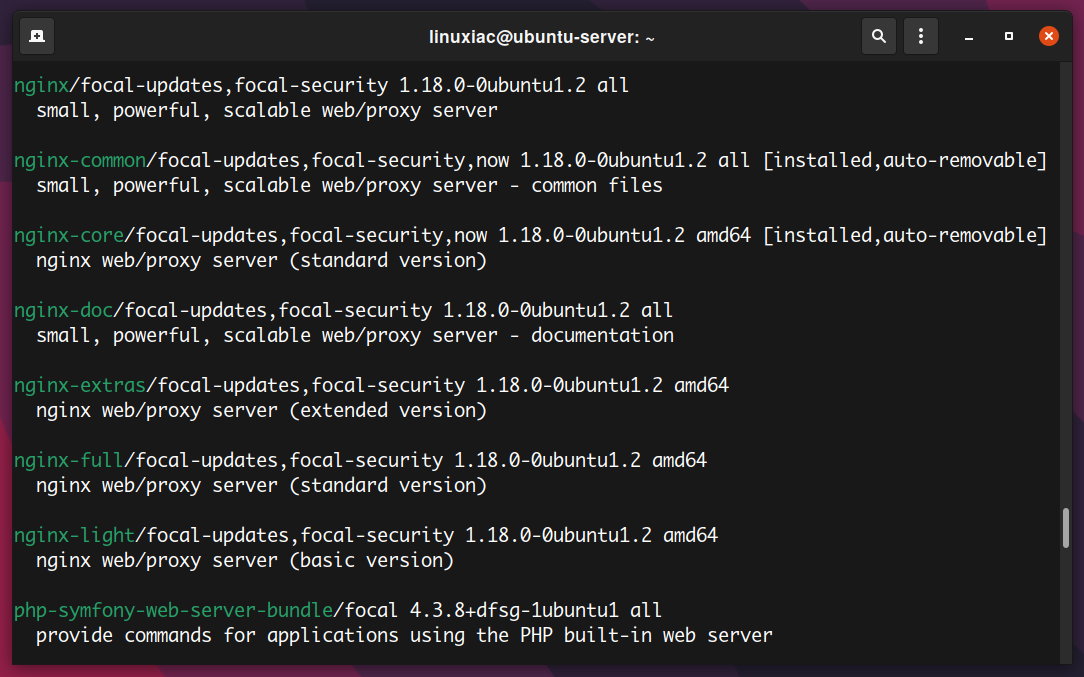
Searching Through Installed Packages
The apt list command displays both installed and packages available to install. What if you want to list specific currently installed packages only? Just pass the “--installed” option to the apt list command. The good news is you can use a wildcard (*) in searches.
For example, to find all the packages currently installed on the system which contain the nginx within their name, run:
apt list --installed nginx*Code language: PHP (php)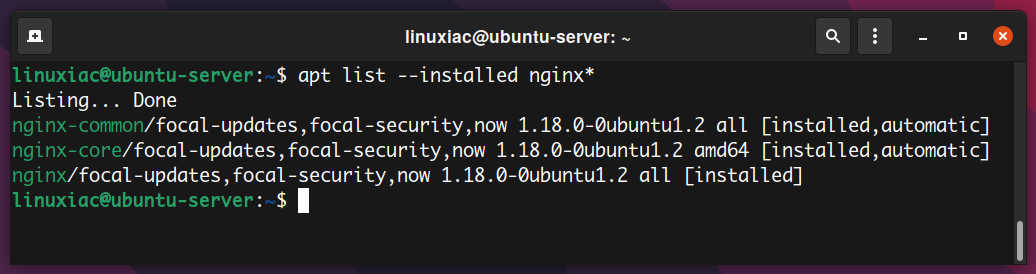
Get Details About Package
The output of the apt search command gives you a brief introduction to the packages. If you want more details, use the apt show command.
apt show nginx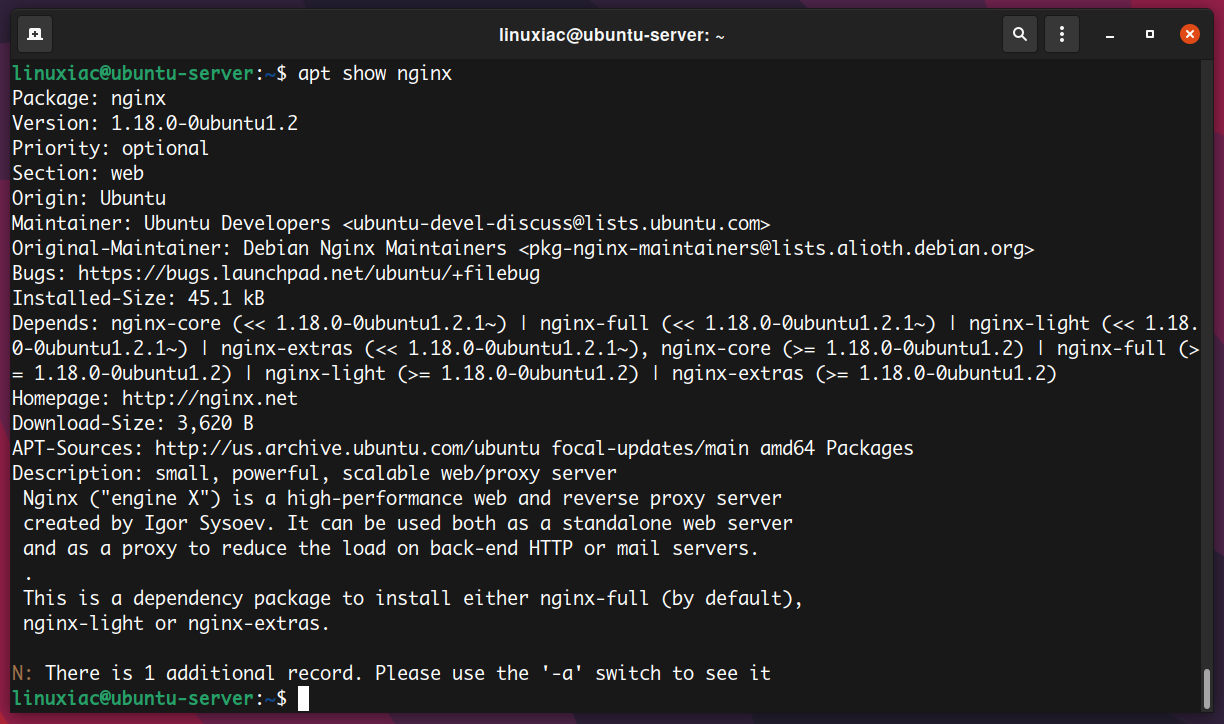
It’s important to note that you must give the exact package name to the apt show command. Otherwise, the apt show won’t work.
Bottom Line
In this article, we have explored some of the most commonly used APT commands and provided examples of how to use them effectively. By mastering APT, users can streamline their package management workflow and keep their system up-to-date and secure.
Its simple and easy-to-use syntax allows users to quickly install, update, remove, and manage software packages and their dependencies. Of course, there is more to APT, but this should get you started.
In conclusion, we would like to add that besides the direct interaction with APT, users can also use Nala – a prettier frontend for the APT command that offers some enhanced features.
For more about the APT command in Linux, consult its manual page. Use the form below for feedback, questions, or suggestions.


cool, very high quality editing.👍