When we think about SQL Server, we always think about it running on Windows. However, starting from SQL Server 2017, you can run it on Linux.
SQL Server offers some features that its open-source counterparts don’t, and depending on application requirements, it might be the right choice for a relational database management system (RDBMS).
SQL Server on Linux is an enterprise-ready relational database with industry-leading capabilities and robust business continuity.
SQL Server on Linux currently supports a couple of distributions: Red Hat, Ubuntu, SUSE, and the Docker engine. For this article, we will install SQL Server 2019 on Ubuntu.
SQL Server on Linux System Requirements
The hardware that will run SQL Server has the following minimum system requirements:
- Memory: 2 GB
- Disk Space: 6 GB
- CPU: 2 cores with 2 GHz, x-64 compatible only
- Filesystem Type: Ext4 or XFS
Install SQL Server on Ubuntu
Add Microsoft’s Repository Key
To install SQL Server on Ubuntu, we need to tell the APT package manager where to look for the mssql-server package by adding the appropriate repo.
To achieve this, first, we need to have Microsoft’s public repository GPG keys imported by entering the following command:
wget -qO- https://packages.microsoft.com/keys/microsoft.asc | sudo apt-key add -Code language: JavaScript (javascript)
Add SQL Server Repository
Next, we need to have the Microsoft SQL Server’s Ubuntu repository registered.
Ubuntu 20.04 “Focal Fossa”
sudo add-apt-repository "$(wget -qO- https://packages.microsoft.com/config/ubuntu/20.04/mssql-server-2019.list)"Code language: JavaScript (javascript)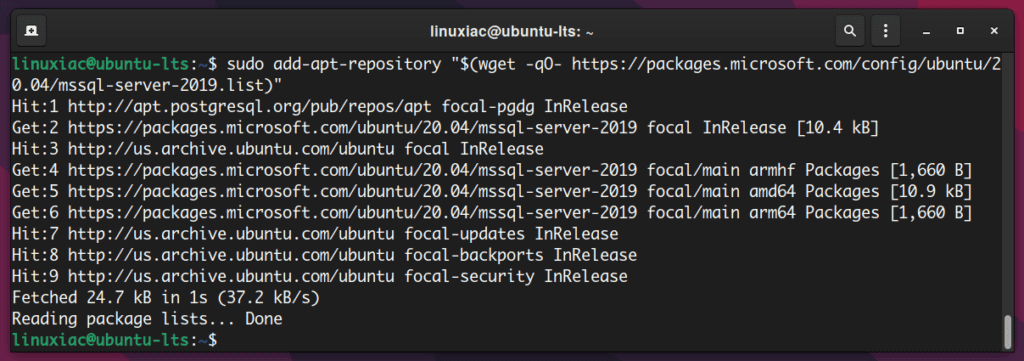
Ubuntu 18.04 “Bionic Beaver”
sudo add-apt-repository "$(wget -qO- https://packages.microsoft.com/config/ubuntu/18.04/mssql-server-2019.list)"Code language: JavaScript (javascript)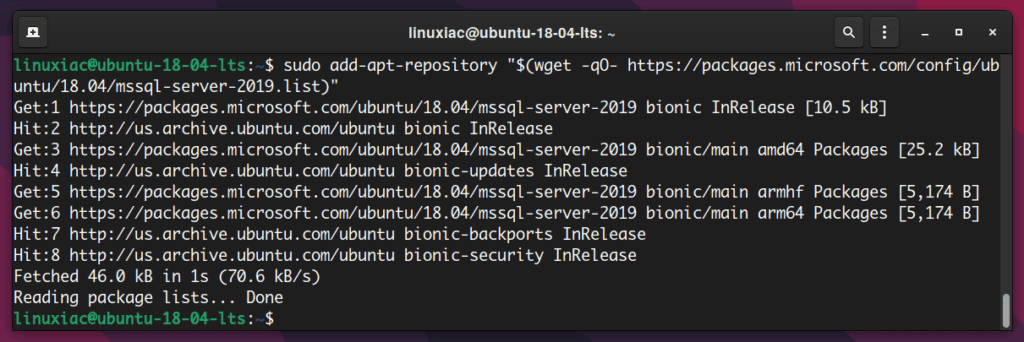
Install SQL Server on Ubuntu
Now that our Ubuntu system is aware of the Microsoft SQL repository, we can use apt to install the mssql-server package:
sudo apt install mssql-serverThe installation then proceeds to download, unpack, and set up the necessary packages.
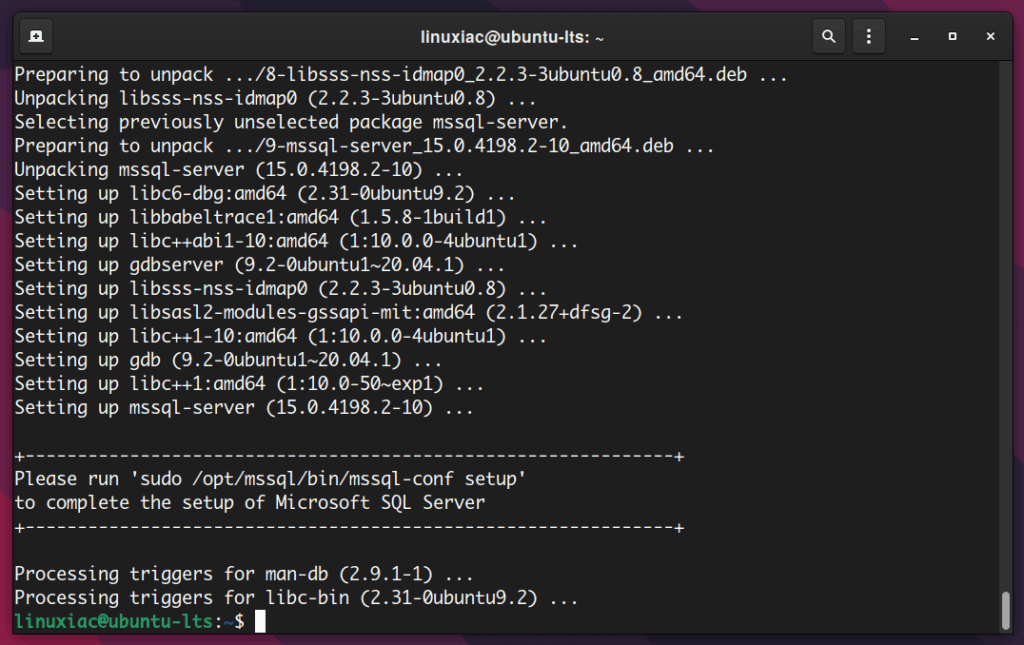
It writes a message to run the mssql-conf command for completing SQL Server Linux installation.
Configure Microsoft SQL Server
Next, we need to configure our SQL Server with a system administrator password and confirm the edition we want to use. Use the following command to start configuring the SQL Server:
sudo /opt/mssql/bin/mssql-conf setupFirst, the configuration requires you to pick from a list of available editions of SQL Server.
| 1 | Evaluation (free) | A fully functional and free instance of SQL Server for learning and developing solutions. This edition has a built-in expiry of 6 months from when you install it. |
| 2 | Developer (free) | Fully functional Enterprise Edition of SQL Server, licensed for use as a development and test database in a non-production environment. |
| 3 | Express (free) | Free, lightweight edition of SQL Server with some limitations, that can be used in a production environment. It can utilize only 1 CPU and 1 GB of memory; the maximum size of the database is 10 GB. |
| 4 | Web (paid) | Low total cost-of-ownership option for Web hosters. |
| 5 | Standard (paid) | Has fewer features than Enterprise when there is no requirement for advanced features. |
| 6 | Enterprise (paid) | The top-end edition with a complete feature set. CPU Core utilization is restricted to 20 physical/40 hyperthreaded. |
| 7 | Enterprise Core (paid) | Enterprise edition with the Core-based Licensing. CPU Core utilization up to Operating System Maximum. |
| 8 | I bought a license from a retail sales channel and have a product key to enter. |
I will use the Developer edition, choice 2, as it is free.
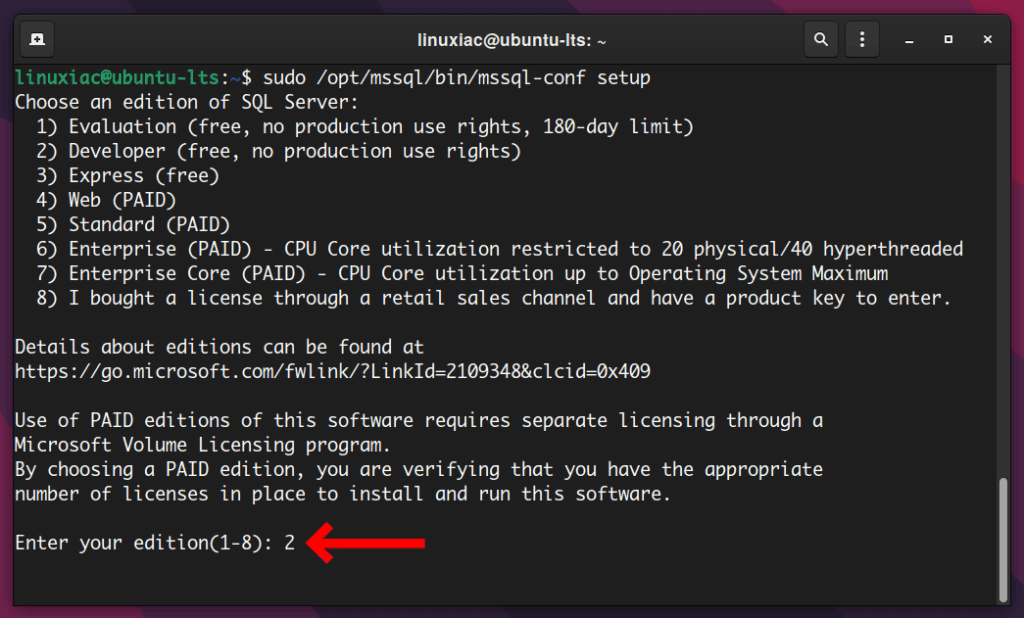
Next, you need to accept the license terms by typing Yes and pressing Enter.

Finally, you need to enter the SQL Server server administrator (SA) password. The password requires a minimum of 8 characters, including uppercase, lowercase letters, digits, and non-alphanumeric symbols.
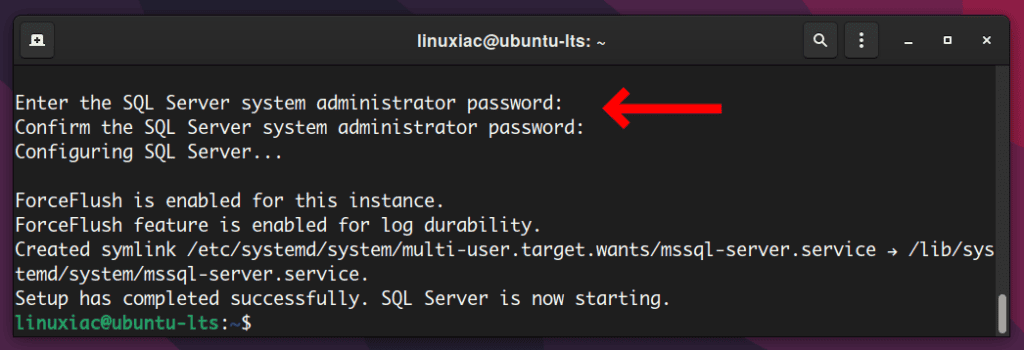
The setup will complete successfully, and the SQL server will be started. To verify that the mssql-server service is running:
sudo systemctl status mssql-server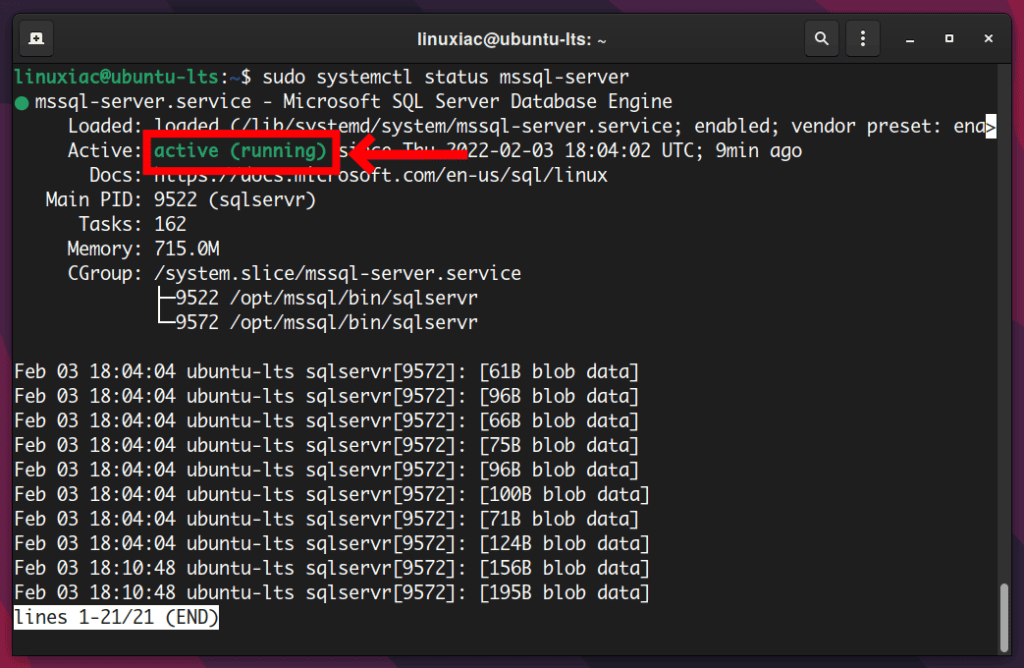
Install Command-Line Tools for SQL Server
You need to install the sqlcmd utility for connecting SQL Server on Linux. It is designed to optimize SQL queries and simplify some database administration tasks.
Of course, if you are familiar with SQL Server Management Studio, you can use it on Windows to connect remotely to a newly installed Linux instance of SQL Server.
Import the public repository GPG key and update the package base:
Ubuntu 20.04
curl https://packages.microsoft.com/config/ubuntu/20.04/prod.list | sudo tee /etc/apt/sources.list.d/msprod.list
sudo apt updateCode language: JavaScript (javascript)
Ubuntu 18.04
curl https://packages.microsoft.com/config/ubuntu/18.04/prod.list | sudo tee /etc/apt/sources.list.d/msprod.list
sudo apt updateCode language: JavaScript (javascript)
Install the SQL Server command-line tools (mssql-tools) and the SQL Server driver for Linux-based systems (unixodbc-dev) by entering the following command:
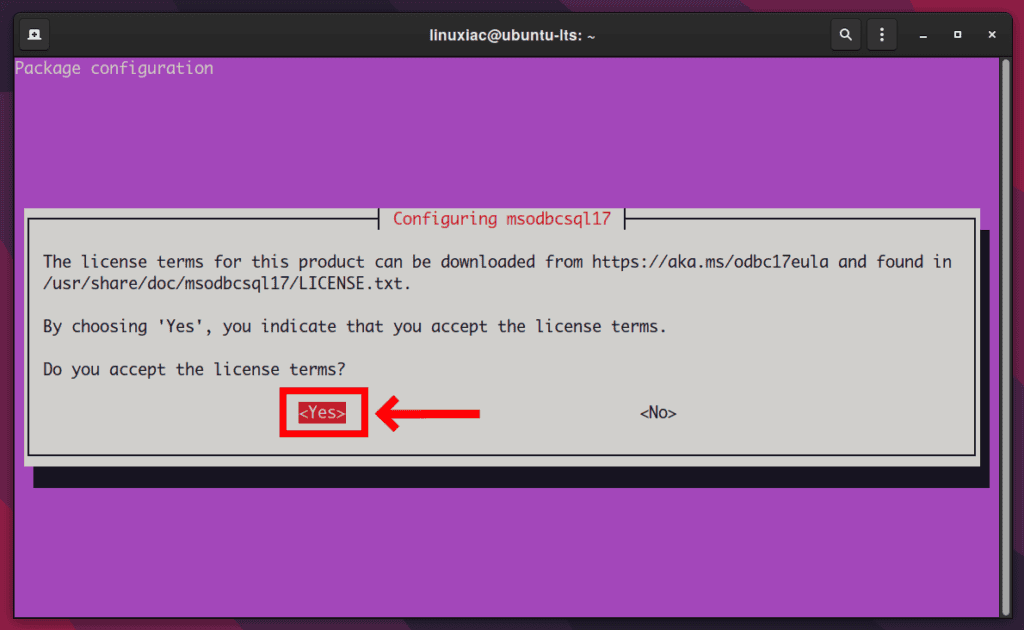
sudo apt install mssql-tools unixodbc-devChoose Yes to accept the license terms and proceed.
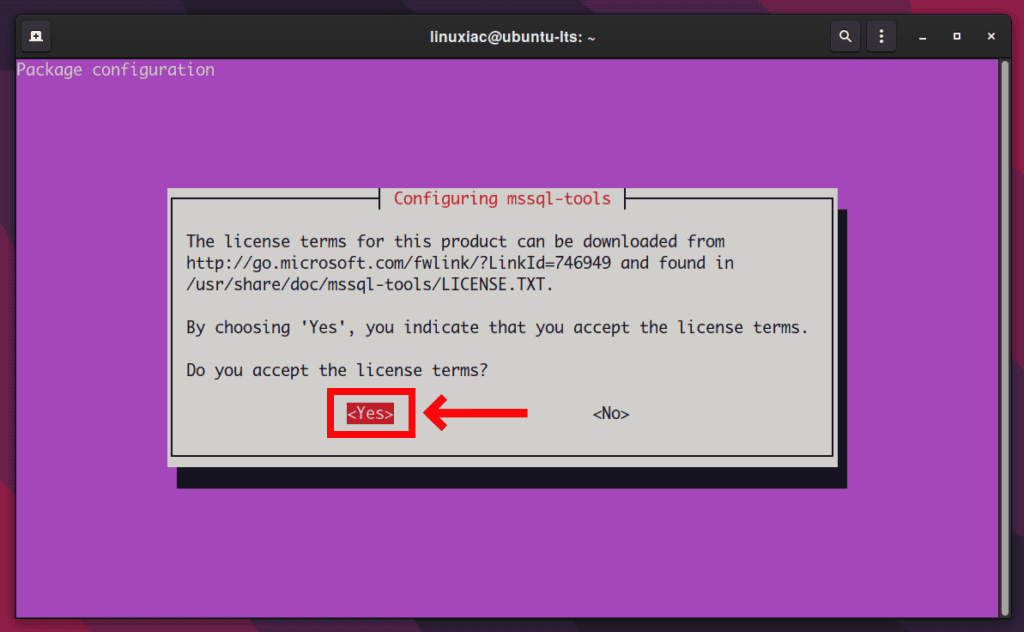
Next, choose Yes again to accept the license agreement for configuring mssql-tools.
We’ll add /opt/mssql-tools/bin/ to our PATH environment variable in a bash shell, so the sqlcmd command is accessible from the bash for the login sessions.
Run the below commands:
echo 'export PATH="$PATH:/opt/mssql-tools/bin"' >> ~/.bash_profile
echo 'export PATH="$PATH:/opt/mssql-tools/bin"' >> ~/.bashrc
source ~/.bashrcCode language: PHP (php)
Connect to SQL Server on Linux
Now it’s time to verify that we can connect to SQL Server locally:

Once connected, you get prompt 1>. Let’s run some test queries:
select @@VERSION
goCode language: CSS (css)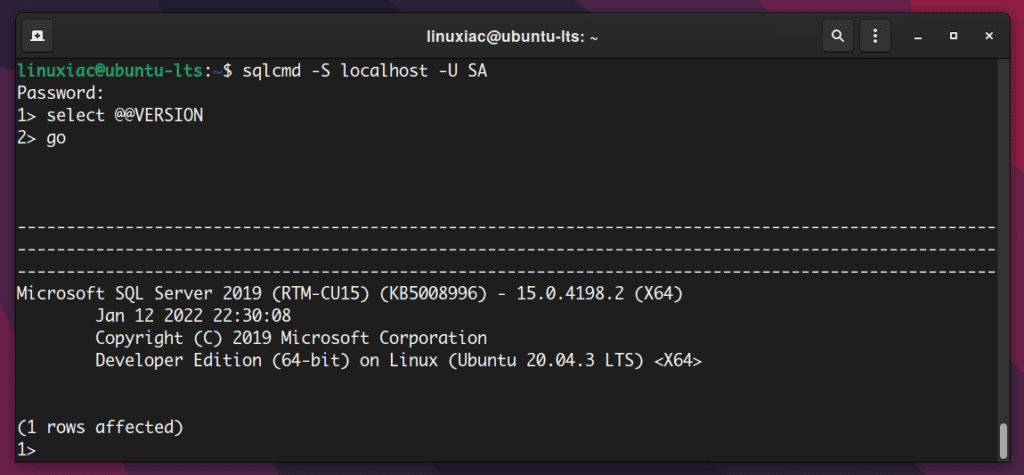
Congratulations! You have successfully installed Microsoft SQL Server on Ubuntu and tested connectivity. You can perform any database activities you want with your new SQL Server on Linux.
