With the release of Linux Mint 21.3 ‘Virginia,’ many of you might be keen to jump from the previous version, Mint 21.2 ‘Victoria.’ And why not? It brings great improvements such as a Cinnamon 6.0 desktop environment, File Manager enhancements, better TV viewing experience, experimental Wayland support, etc.
Furthermore, staying current also means improved security and more pleasing overall performance.
Because of this, in this article, we’ll guide you through the simple yet important process of upgrading to Linux Mint 21.3 from version 21.2. So, let’s dive in and unlock all the new possibilities the new release has in store for you!
Step 1: Backing Up Your System (Optional)
Although this step is optional, we urge you never to upgrade your operating system without ensuring you’ll be on the right side if something goes wrong.
Mint’s Timeshift app is an excellent solution for creating a reliable backup. It will take a snapshot of your system, which implies that you can restore your entire system, including its data, to its prior and working state at any time.
So, before upgrading, launch Timeshift from the application menu and take a snapshot of your current Mint 21.2 ‘Victoria’ system.
Step 2: Update All Software
Ensure your current Linux Mint 21.2 system is fully upgraded and has no packages waiting to be updated.
However, there is a peculiarity here. Even if Update Manager shows you no pending updates, press the “Refresh” button.
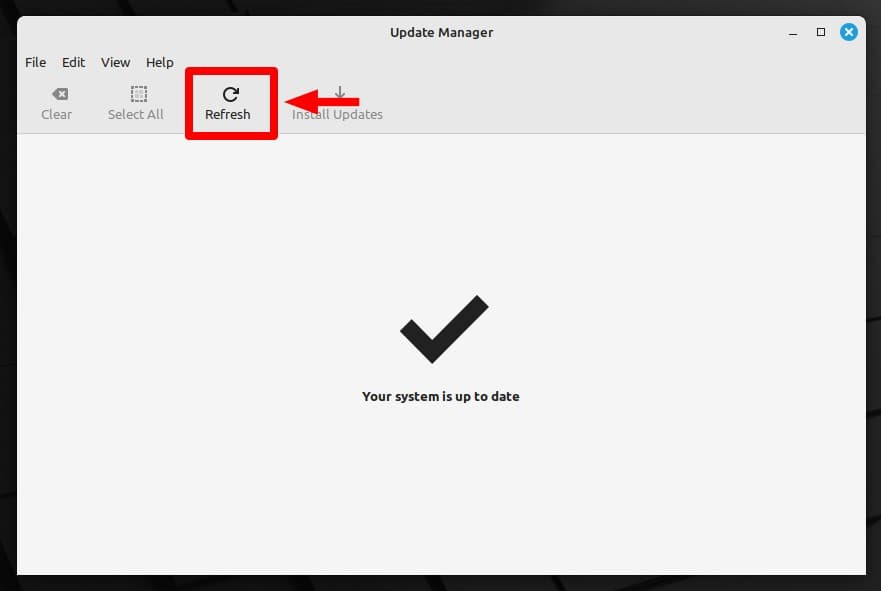
A notification will appear informing you of a new version of the Update Manager. Additionally, you should see the “mint-upgrade-info” package, version 1.2.5, available for update.
It’s important to note that the option to upgrade to Linux Mint 21.3 won’t appear in the Update Manager until this package receives an update to v1.2.5 or higher.
To install it, click the “Apply the Update” button.
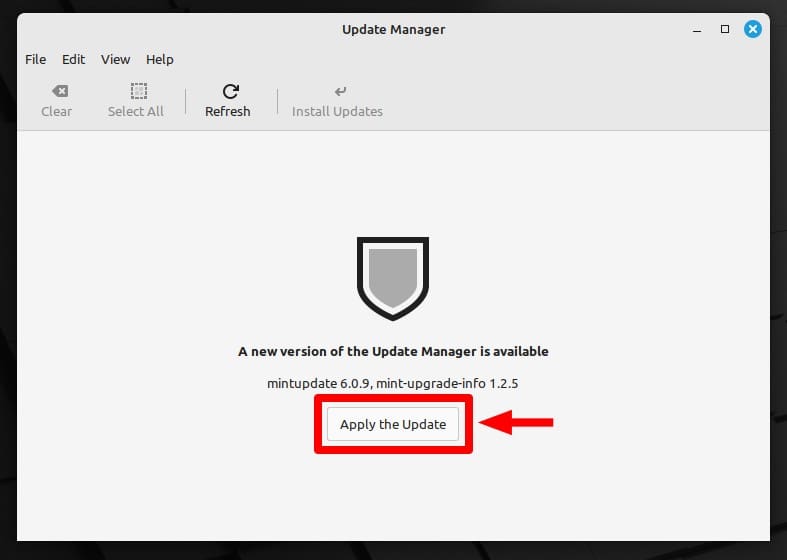
Then check again for pending updates and apply them if available. Reboot if required, and then proceed to the next step.
In addition, disable your screensaver, and if you installed some additional Cinnamon spices such as applets, desklets, extensions, or themes, upgrade them from the System Settings.
Step 3: Upgrade to Linux Mint 21.3 from 21.2
Everything is now in place to begin the upgrade to Linux Mint 21.3. Launch the Update Manager app and choose the “Edit” menu, where you will find the newly appeared “Upgrade to Linux Mint 21.3 Virginia” option. Click on it.
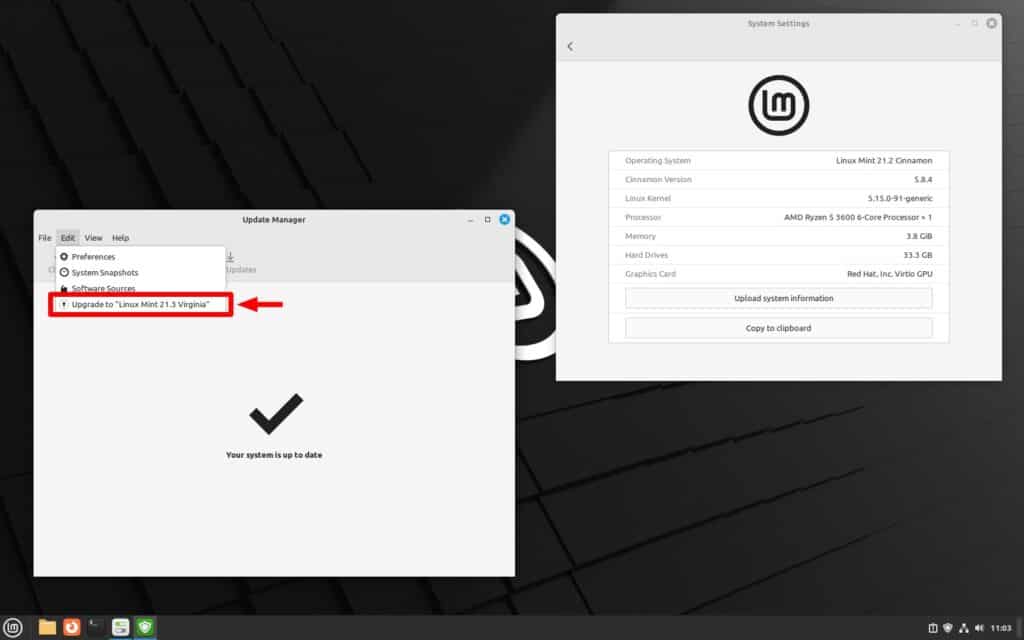
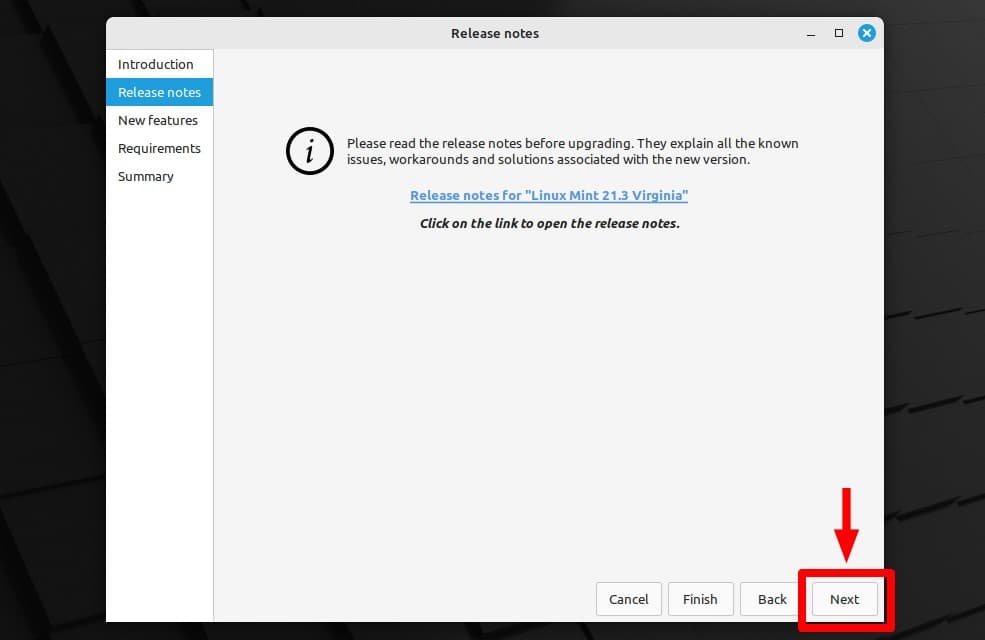
This action will open a new window that will take you through the upgrade process. Click the “Next” button.
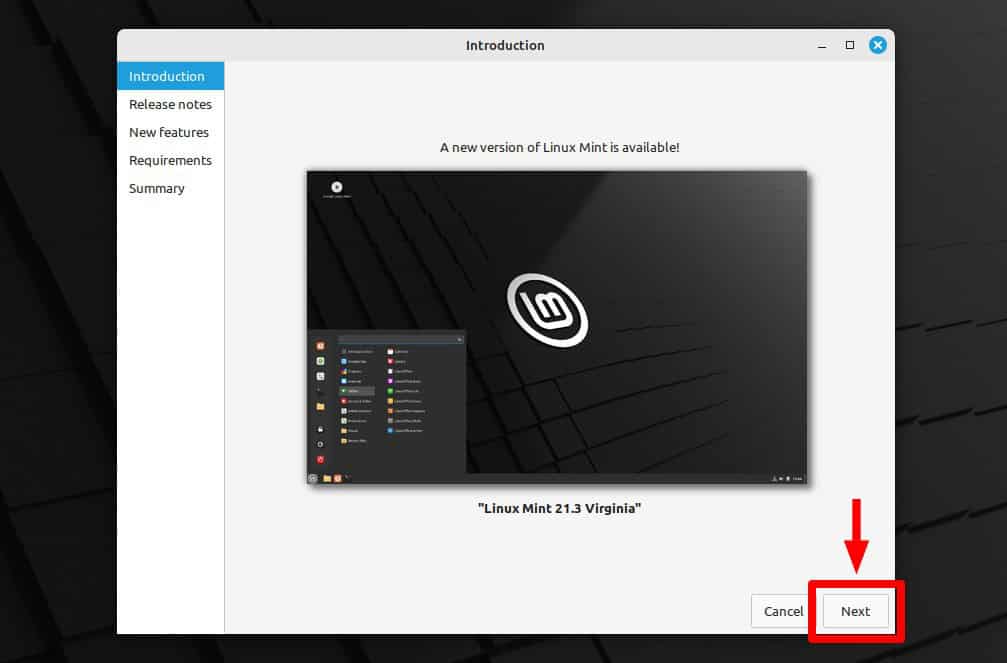
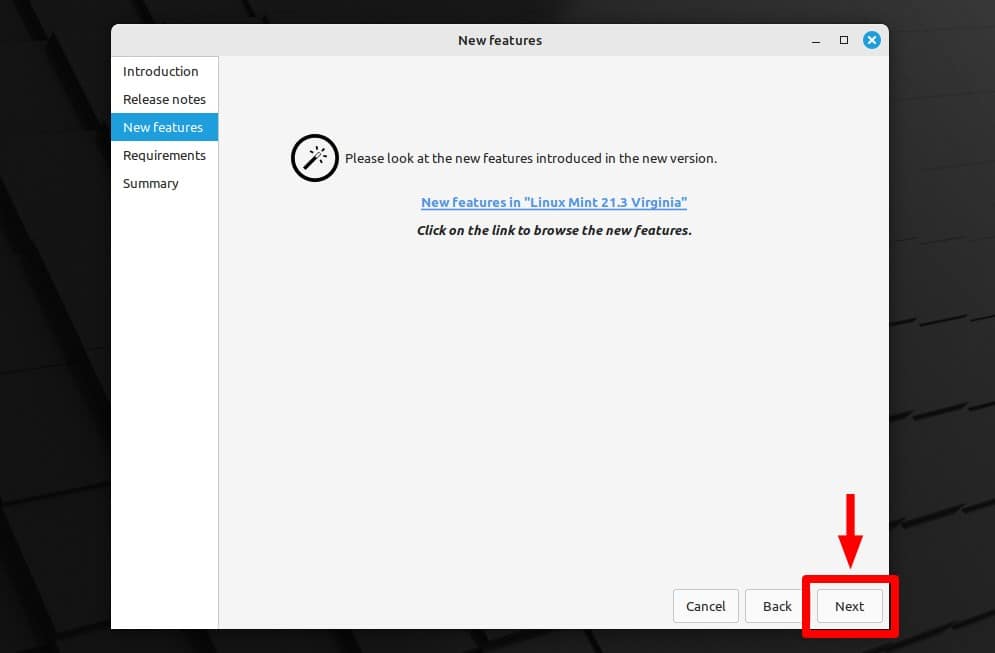
The following two screens, “Release notes” and “New features,” are entirely informative, so keep pressing the “Next” button to proceed.
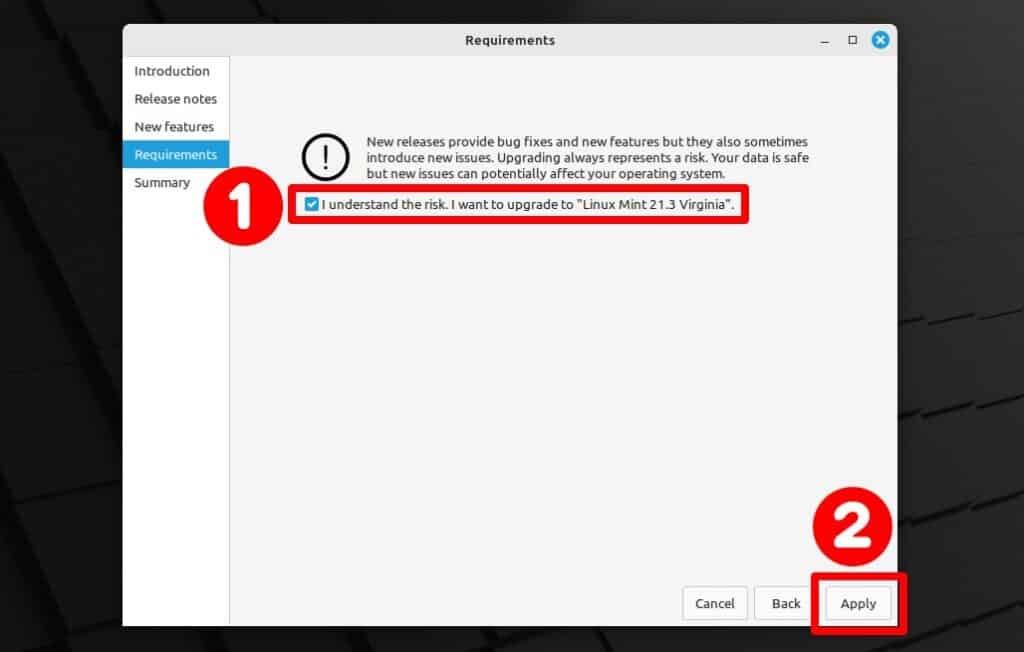
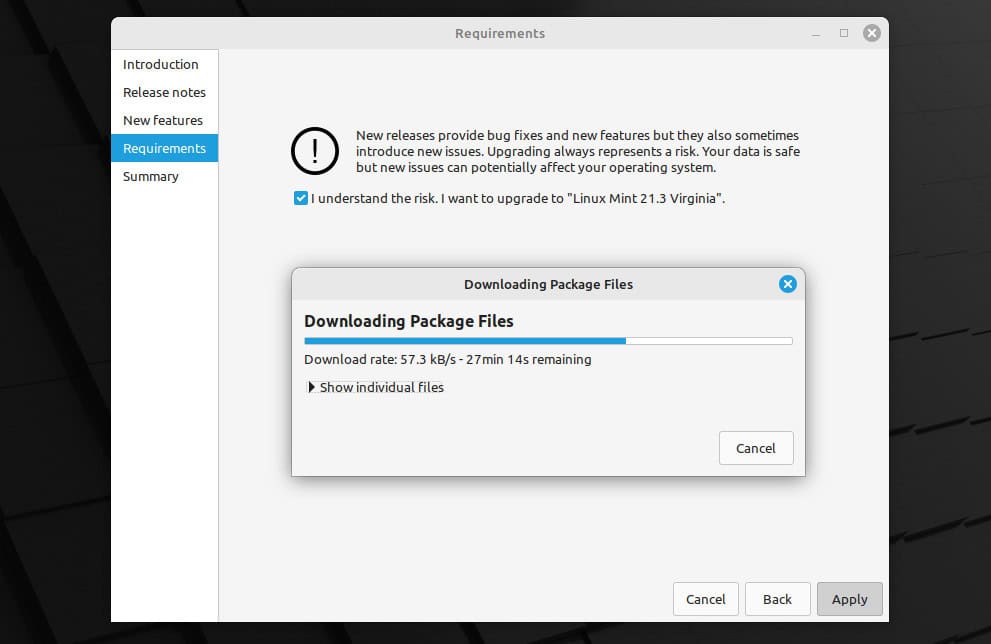
On the “Requirements” screen, tick the checkbox confirming that you know the risks and click the “Apply” button to proceed.
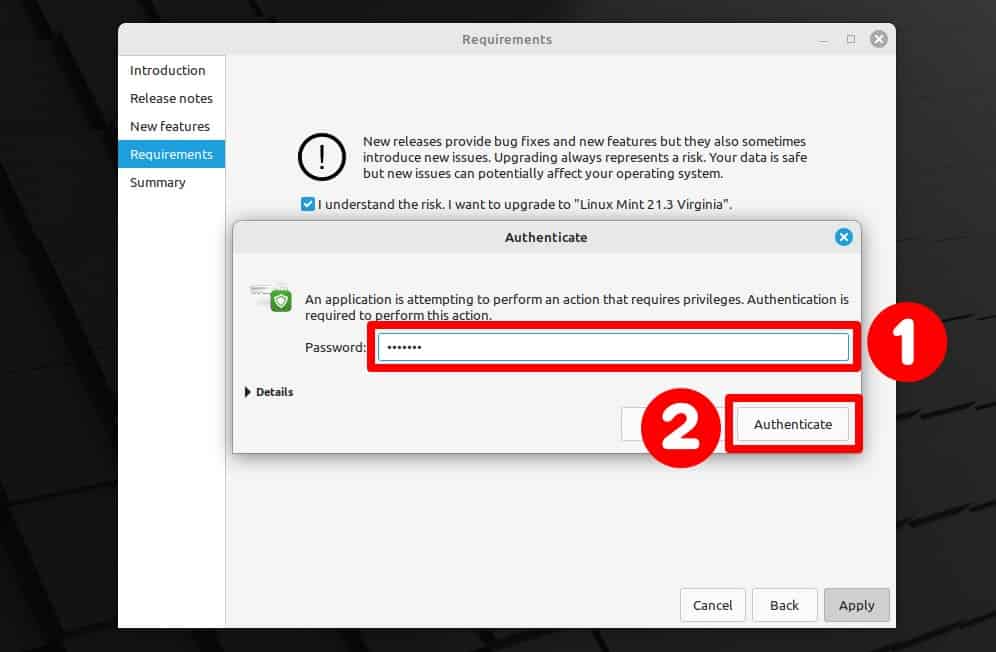
A new window pop-up prompts you to enter your user’s password. So, enter it and click the “Authenticate” button to confirm.
The actual upgrade process to Linux Mint 21.3 ‘Virginia’ will start. Downloading and installing the updates will take some time; be patient and wait for the process to complete.
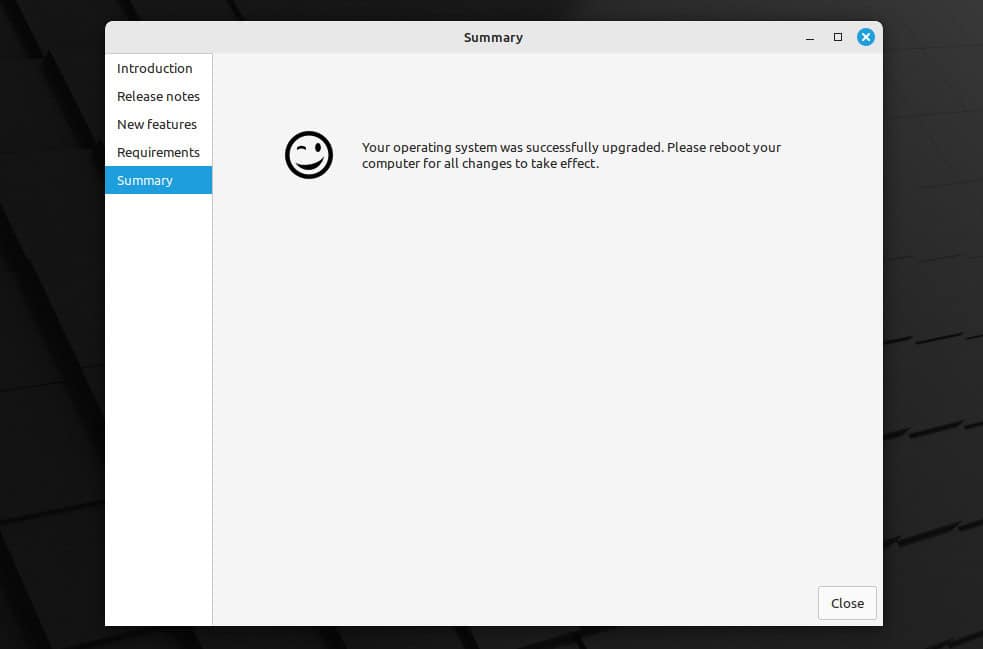
When the process is finished, the Update Manager will notify you that the upgrade has succeeded. So, you can safely close the window now.
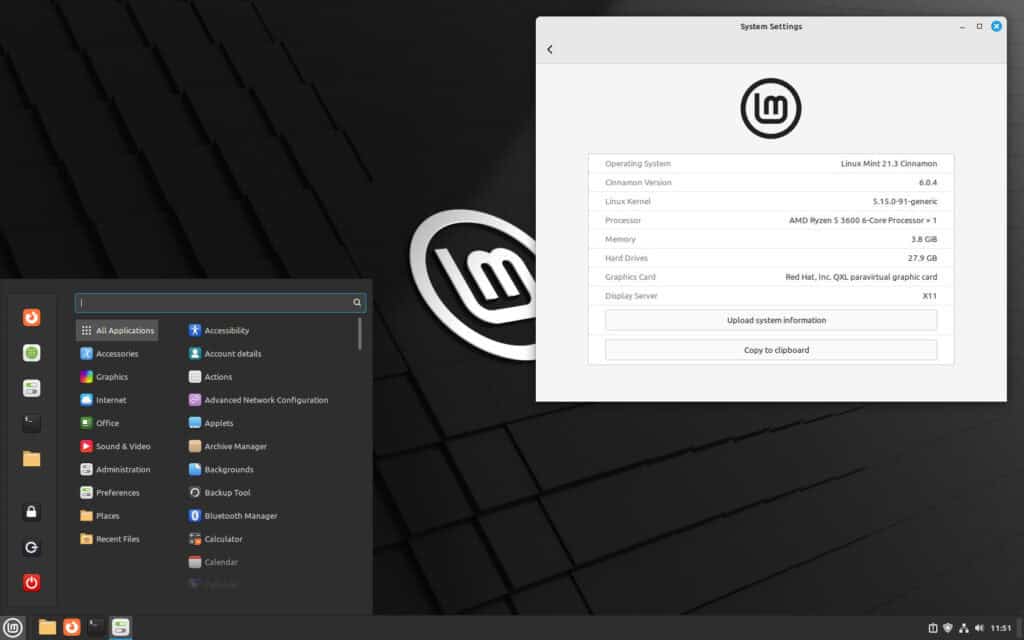
That’s all. Your system has been successfully upgraded to Linux Mint 21.3 ‘Virginia.’ Reboot, log in, and enjoy your newly upgraded Mint system.
Conclusion
Upgrading to Linux Mint 21.3 from Mint 21.2 is a straightforward process that allows you to enjoy the latest features, security updates, and performance enhancements.
In addition, we also recommend you consider setting up automatic updates; however, if you don’t know how, we’ve covered it in our comprehensive and easy-to-follow “How to Configure Linux Mint Automatic Updates” guide.
Furthermore, we recommend you also check the official manual for additional help or valuable information.
Thanks for your time! Your feedback and comments are most welcome.

In addition to Mint 21.2 I also have MX 23.1 and LMDE 6 on two other partitions on my Thinkpad T490. I am currently using MX as my daily driver and keep the other two distros updated as needed. Getting to Mint 21.2 was a time consuming affair since I only use BIOS mode installs from DVD and have no use whatsoever for the hassle of UEFI USB installs. I started with a Mint 20.3 DVD install and then had to do 3 additional upgrades to get to Mint 21.2. I’m really in no hurry to upgrade to Mint 21.3. It appears that the testing of 21.3 took much longer than what has been normal for the Mint team. I will wait until 21.3 appears to be somewhat stable (from user reviews on Distrowatch) and then upgrade at that time.