Are you looking to get Google Chrome up and running on your Ubuntu 24.04 LTS (Noble Numbat) system? You’re in the right place. Our tested and proven guide is designed to make the process as straightforward as possible, ensuring you can start browsing with your favorite browser in no time.
Below, we will show you two easy ways to achieve this: installation of Google Chrome from the DEB file and the command line approach. Choose the one that is the easiest to implement for you.
Install Google Chrome on Ubuntu 24.04 from DEB File
The first method mainly involves using the mouse for most tasks, requiring minimal command line use.
Step 1: Install GDebi App
Install GDebi – a GUI tool used on Debian and Ubuntu-based Linux distributions to install DEB packages. Why do we need it?
Ubuntu 24.04’s new App Center doesn’t support opening DEB files directly. This is where GDebi comes in handy, as it’s a popular app that enables this function. By installing GDebi, you can install Google Chrome on your Ubuntu 24.04 system directly from the DEB file that we’ll download in the next step and also use for future such cases.
Open the terminal and enter the command below to install GDebi:
sudo apt install gdebiCode language: Bash (bash)Step 2: Downloading Google Chrome for Linux
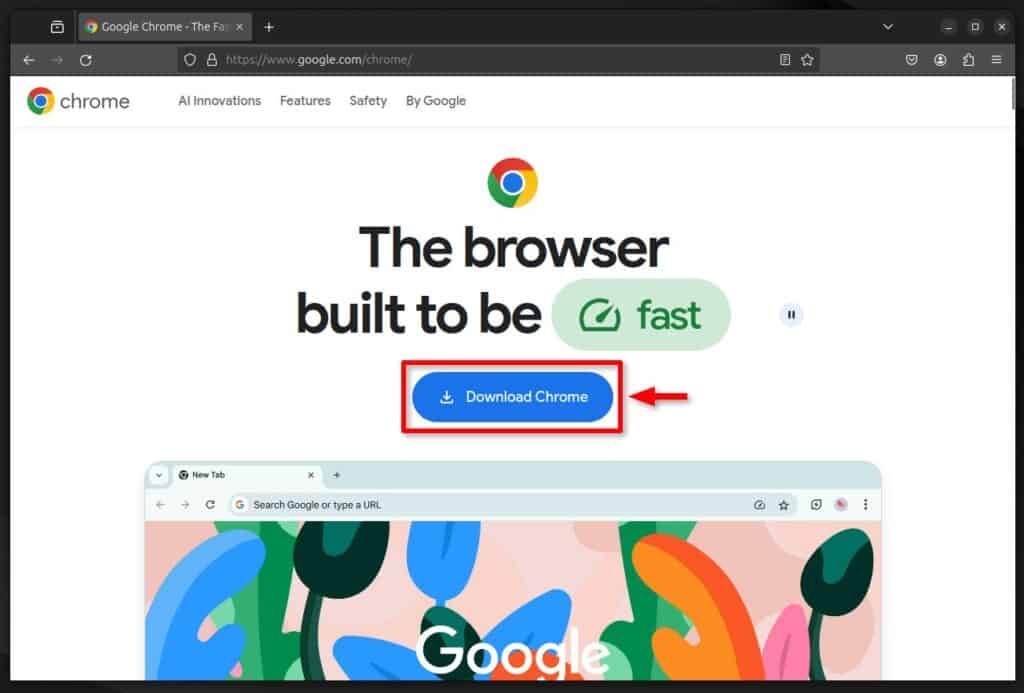
Open Firefox, navigate to the Google Chrome website and click the “Download Chrome” button.
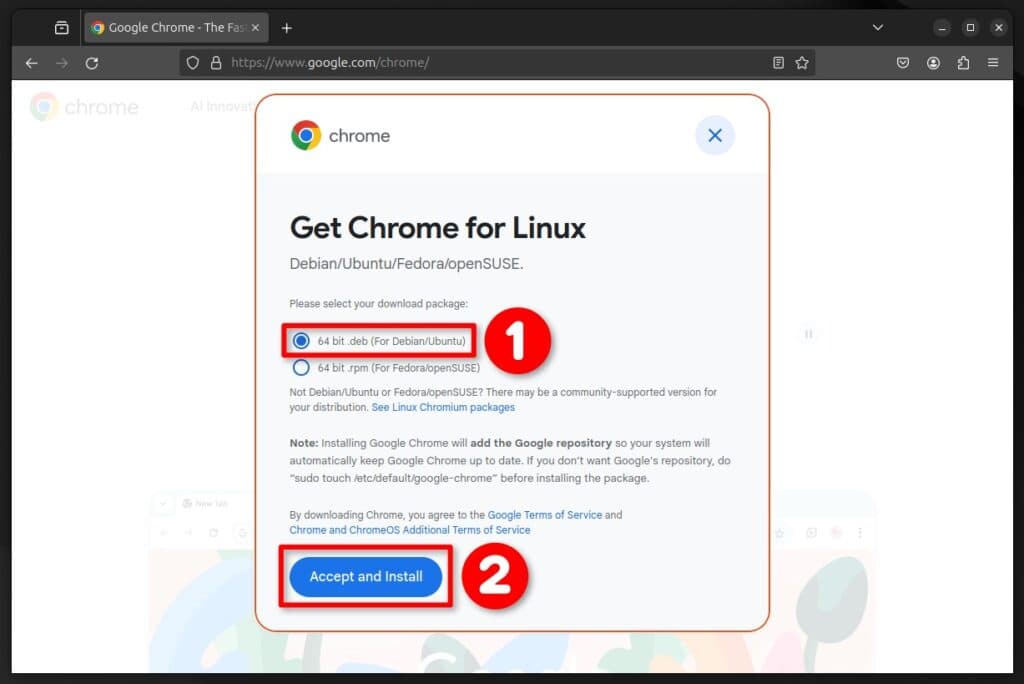
When prompted, select the “64-bit .deb (For Debian/Ubuntu)” option, then click “Accept and Install.” This will download Chrome’s installation DEB file to your computer.
Step 3: Installing Google Chrome
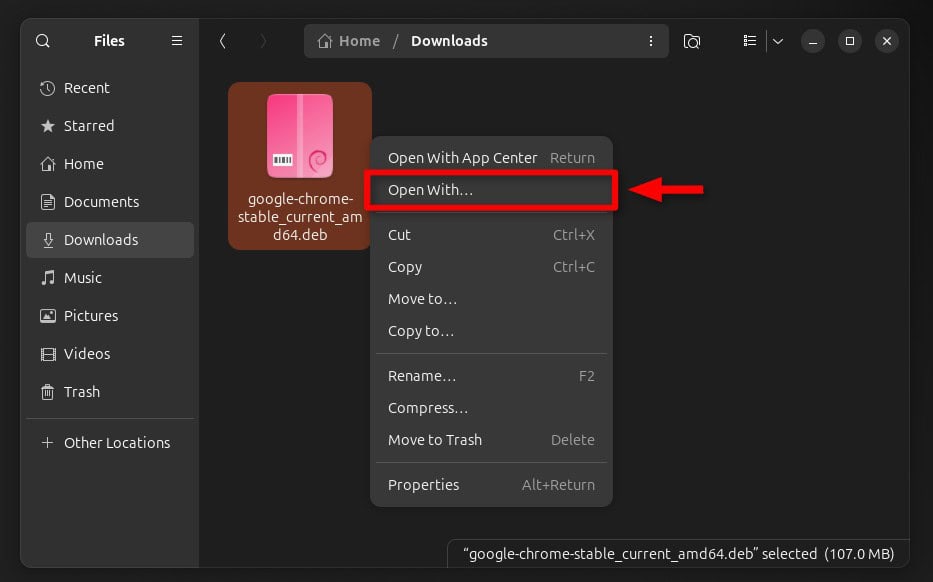
Once you’ve downloaded the DEB file, the next step is to install it. Navigate to the folder where the file was downloaded, which is typically the “Downloads” in your home directory, find the Google Chrome DEB installation package (“google-chrome-stable_current_amd64.deb“), right-click on it, and choose the “Open With…” option.
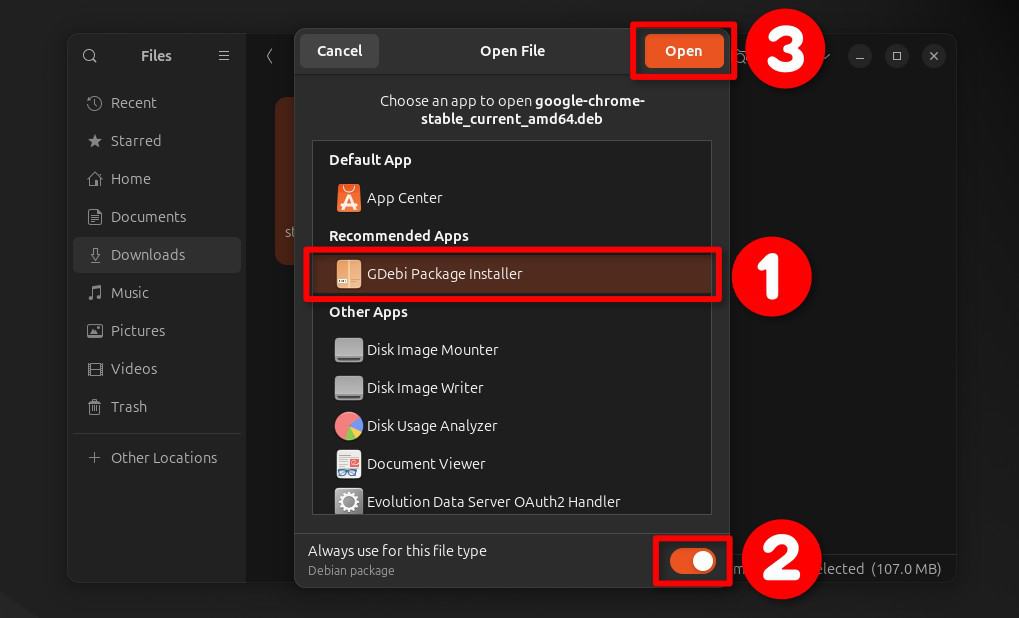
In the window that will open, choose “GDebi Package Installer,” enable the option “Always use for this file type” by switching the toggle on, and then click the “Open” button to confirm.
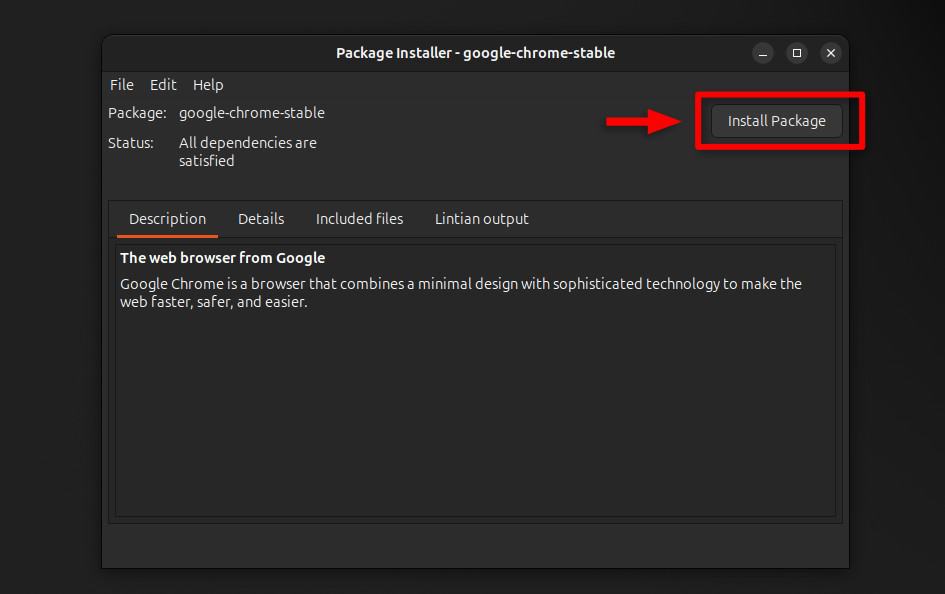
Click “Install Package” to start the installation.
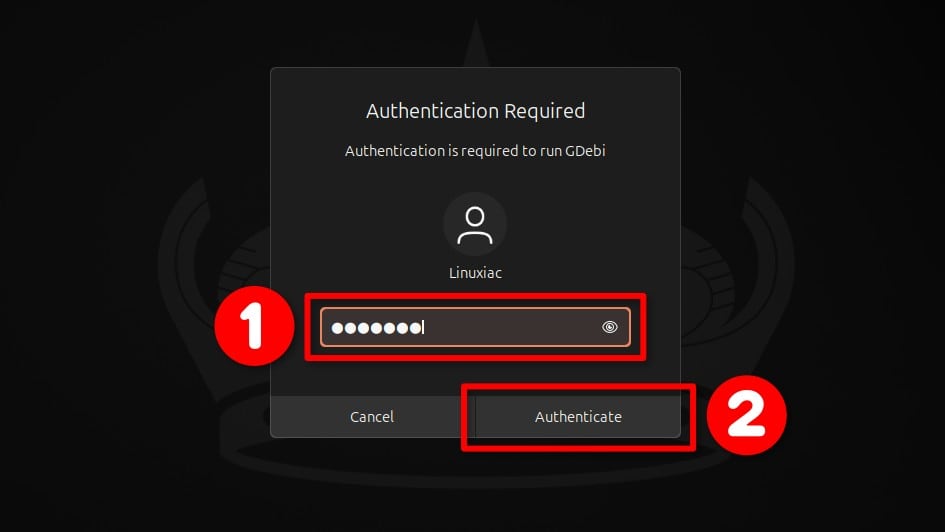
Enter your user password when prompted and hit “Authenticate.”
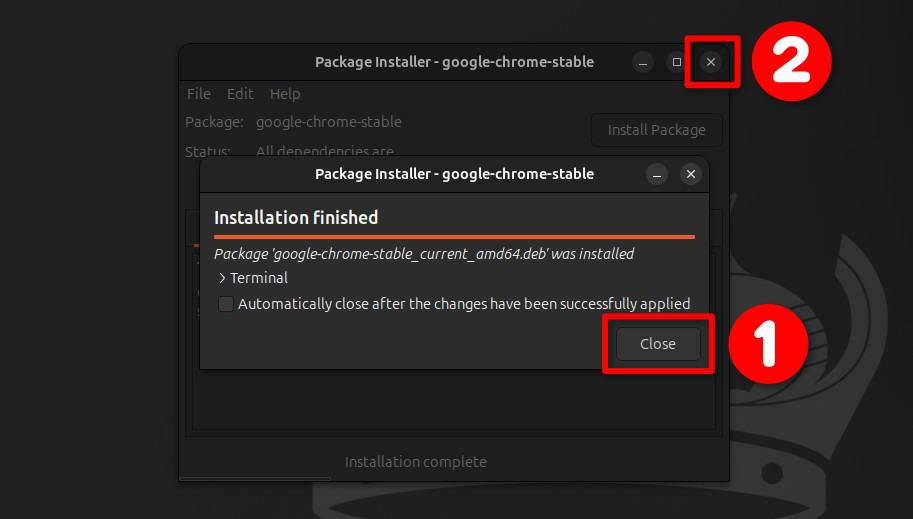
The process usually takes 20-30 seconds.When finished, please close the installation window and exit the GDebi application.
Step 4: Running Google Chrome
That’s all. Once installed, you can launch it from the GNOME’s dash and enjoy it. Type “chrome” and click on the icon when it appears.

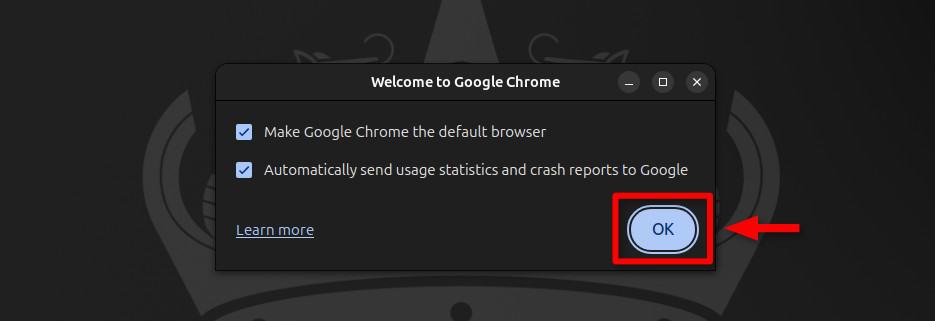
The first time you start Google Chrome, you’ll have the chance to make it your default browser. You can also choose to “Automatically send usage statistics and crash reports to Google.” It is up to you whether you want to enable this or not. Make your choices, and then click the “OK” button.
Google Chrome will start. Happy browsing!
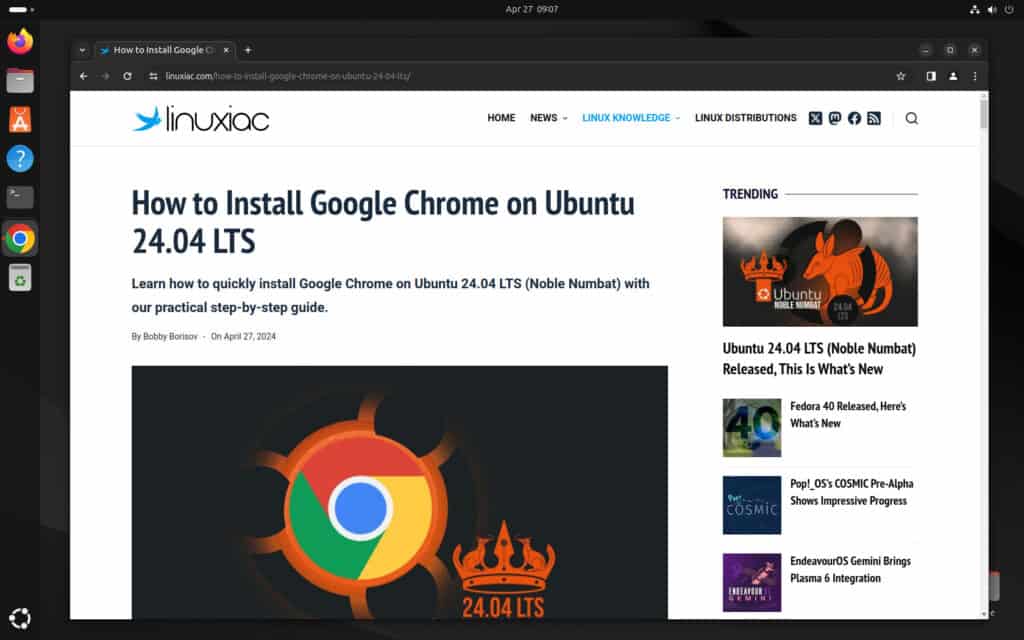
In addition, to add it to your Ubuntu’s dock, right-click the Chrome icon and select the “Pin to Dash” option from the context menu.

Installing Google Chrome on Ubuntu 24.04 Using CLI
The second way to install Google Chrome on Ubuntu 24.04 LTS is entirely command-line-based. It is way faster, so if you’re not afraid to dive into the Linux terminal, follow the steps below, and you’ll be greeted with a successful result in minutes.
Step 1: Download and Import Google’s Signed Key
To ensure that the packages we receive to install the Chrome browser are genuine, first, we should download and import the Google signed key on your Ubuntu system. Type the following two commands:
wget -q -O - https://dl-ssl.google.com/linux/linux_signing_key.pub > linux_signing_key.pub
sudo install -D -o root -g root -m 644 linux_signing_key.pub /etc/apt/keyrings/linux_signing_key.pubCode language: Bash (bash)
Notice that neither command produces any output.
Step 2: Add Google’s Chrome Repository
After importing the key, you must add the official Google Chrome repository to your Ubuntu 24.04 LTS system. This implies that the update package will be made available with the rest of our system’s regular updates when a new version is released.
sudo sh -c 'echo "deb [arch=amd64 signed-by=/etc/apt/keyrings/linux_signing_key.pub] http://dl.google.com/linux/chrome/deb/ stable main" > /etc/apt/sources.list.d/google-chrome.list'Code language: Bash (bash)
Just like before, this command also didn’t produce any output.
Step 3: Refresh Package List
Before proceeding with the installation, you should update the package list. Run the below command to update the APT repositories index.
sudo apt updateCode language: Bash (bash)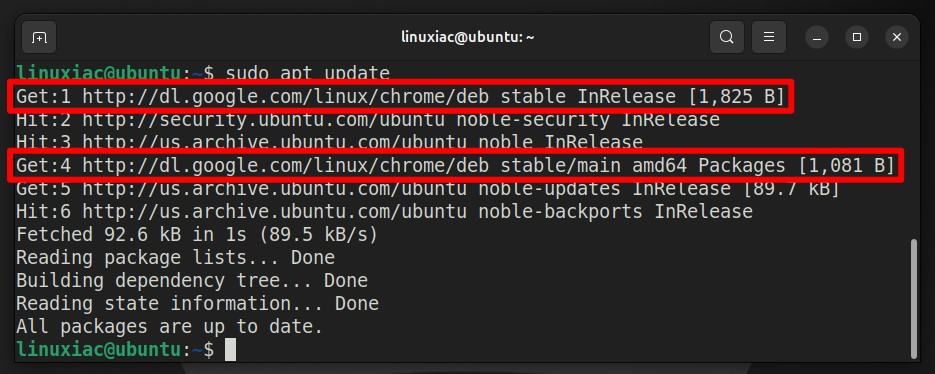
As you can see, your new Google Chrome repository is now available and ready to be used.
Step 4: Install Google Chrome on Ubuntu 24.04 LTS
We’re now all set. To install the Chrome browser on your Ubuntu system, run the following command:
sudo apt install google-chrome-stableCode language: Bash (bash)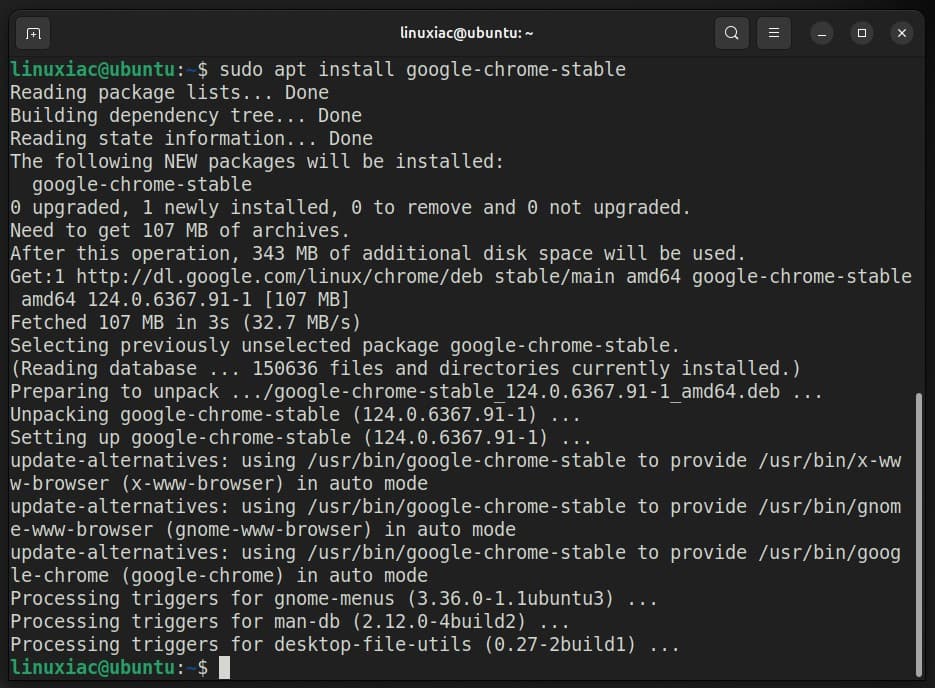
Once installed, launch the Chrome web browser from GNOME’s dash and enjoy it.
Uninstall Google Chrome
If you decide to remove the Google Chrome browser from your Ubuntu system for some reason, you can do it quickly and easily by typing the command shown below:
sudo apt purge google-chrome-stableCode language: Bash (bash)Conclusion
If you follow these steps, Installing Google Chrome on Ubuntu 24.04 LTS (Noble Numbat) is straightforward. Once installed on your Ubuntu system, you can add Chrome extensions and your favorite themes from the Chrome Web Store.
I just want to repeat again that the installation process adds Google’s Chrome official repository to your system, so the browser will receive the latest updates automatically whenever you update your system via the Software app or using the APT command.
Thanks for your time! I hope you find this guide helpful. Please let me know in the comments section below if you have any questions.

One comment